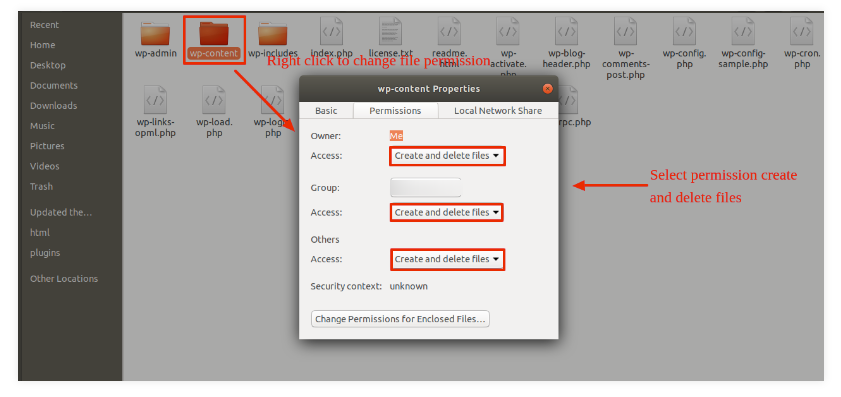
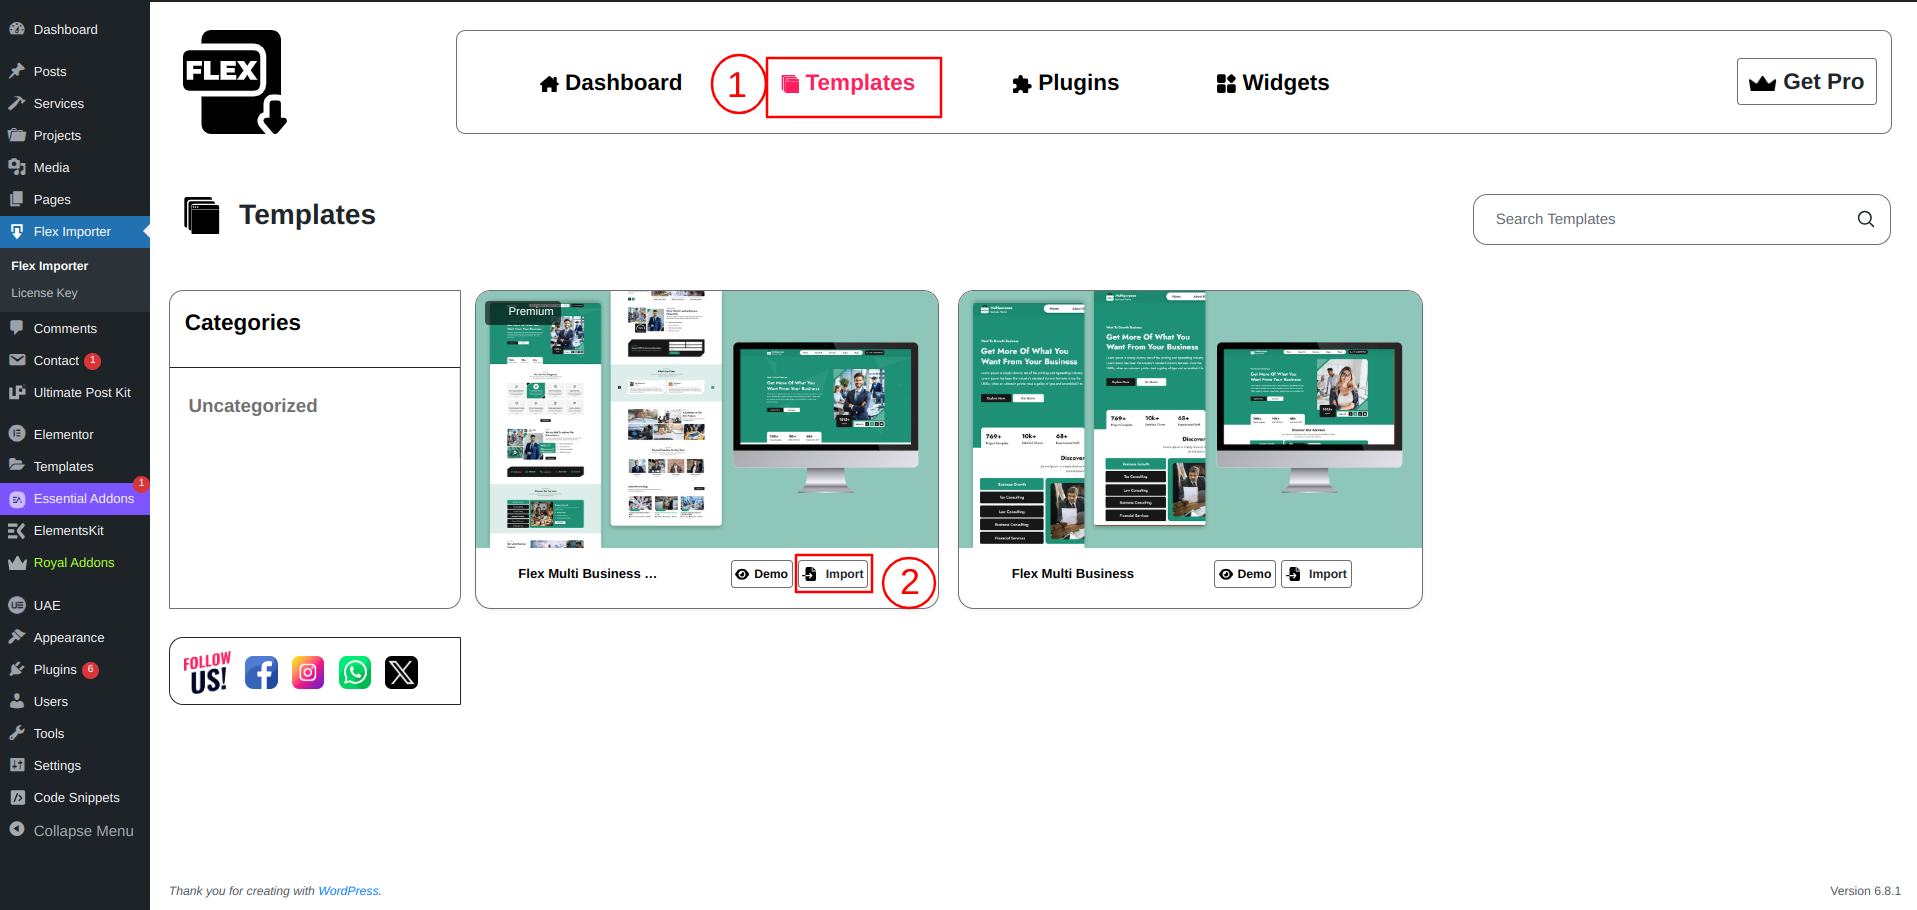
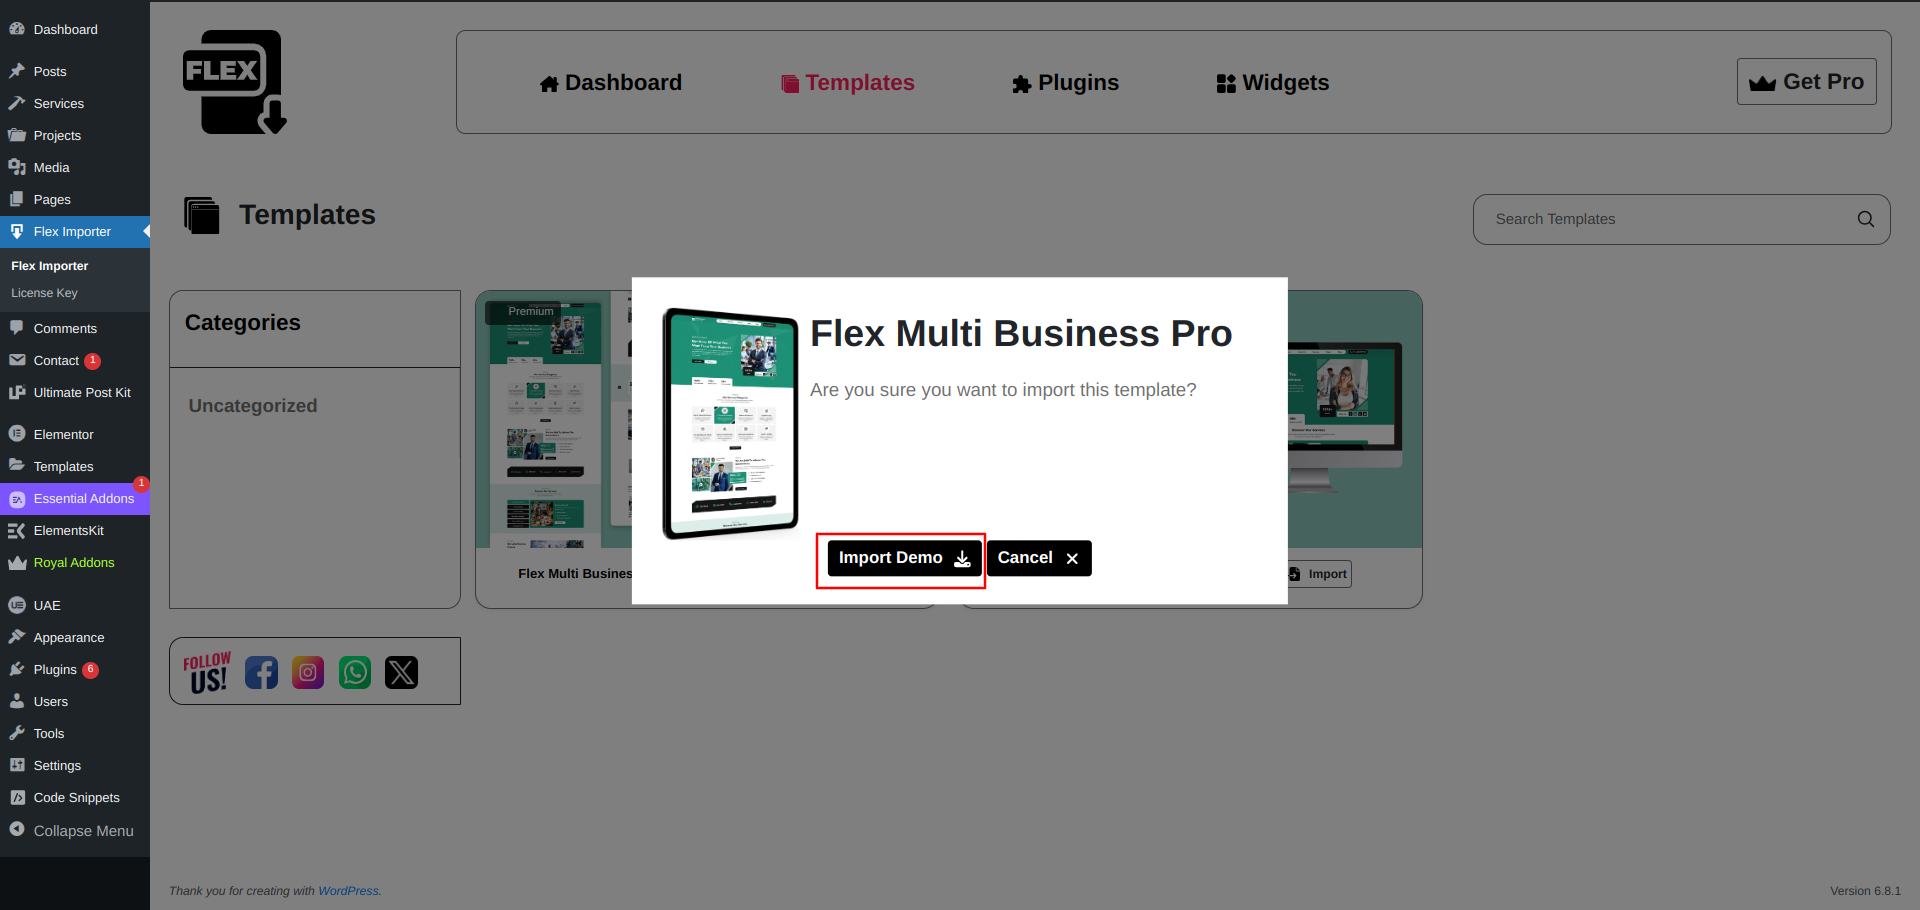
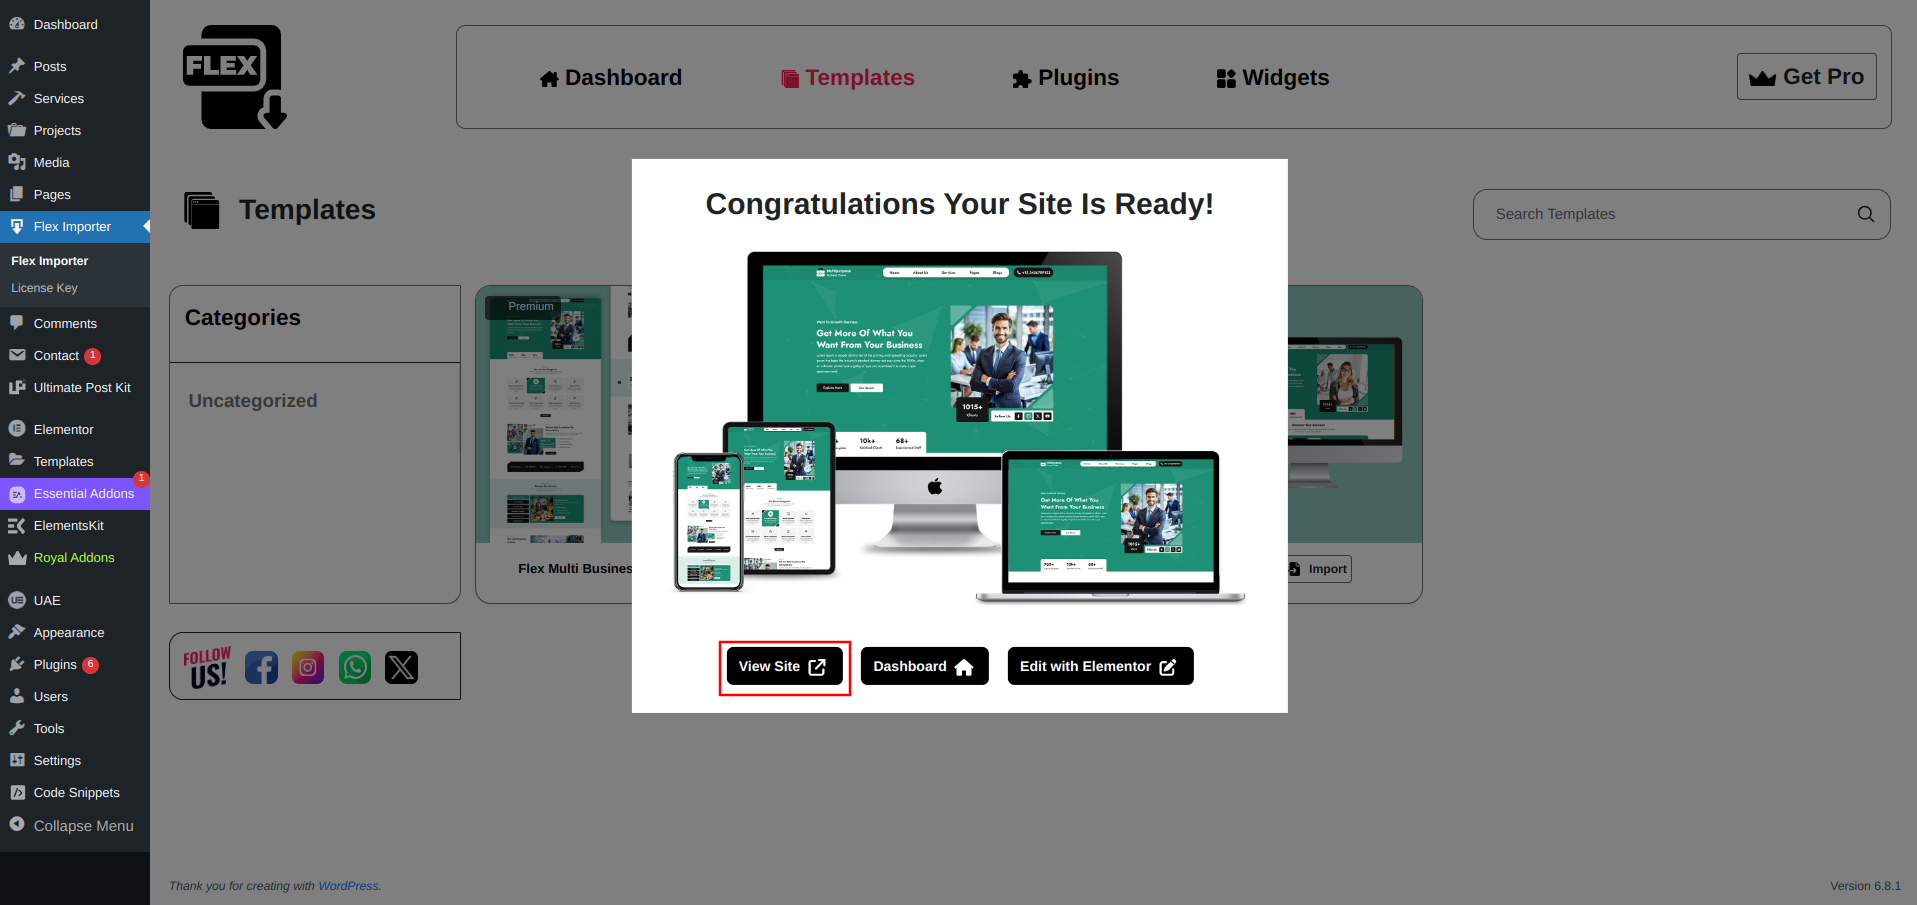
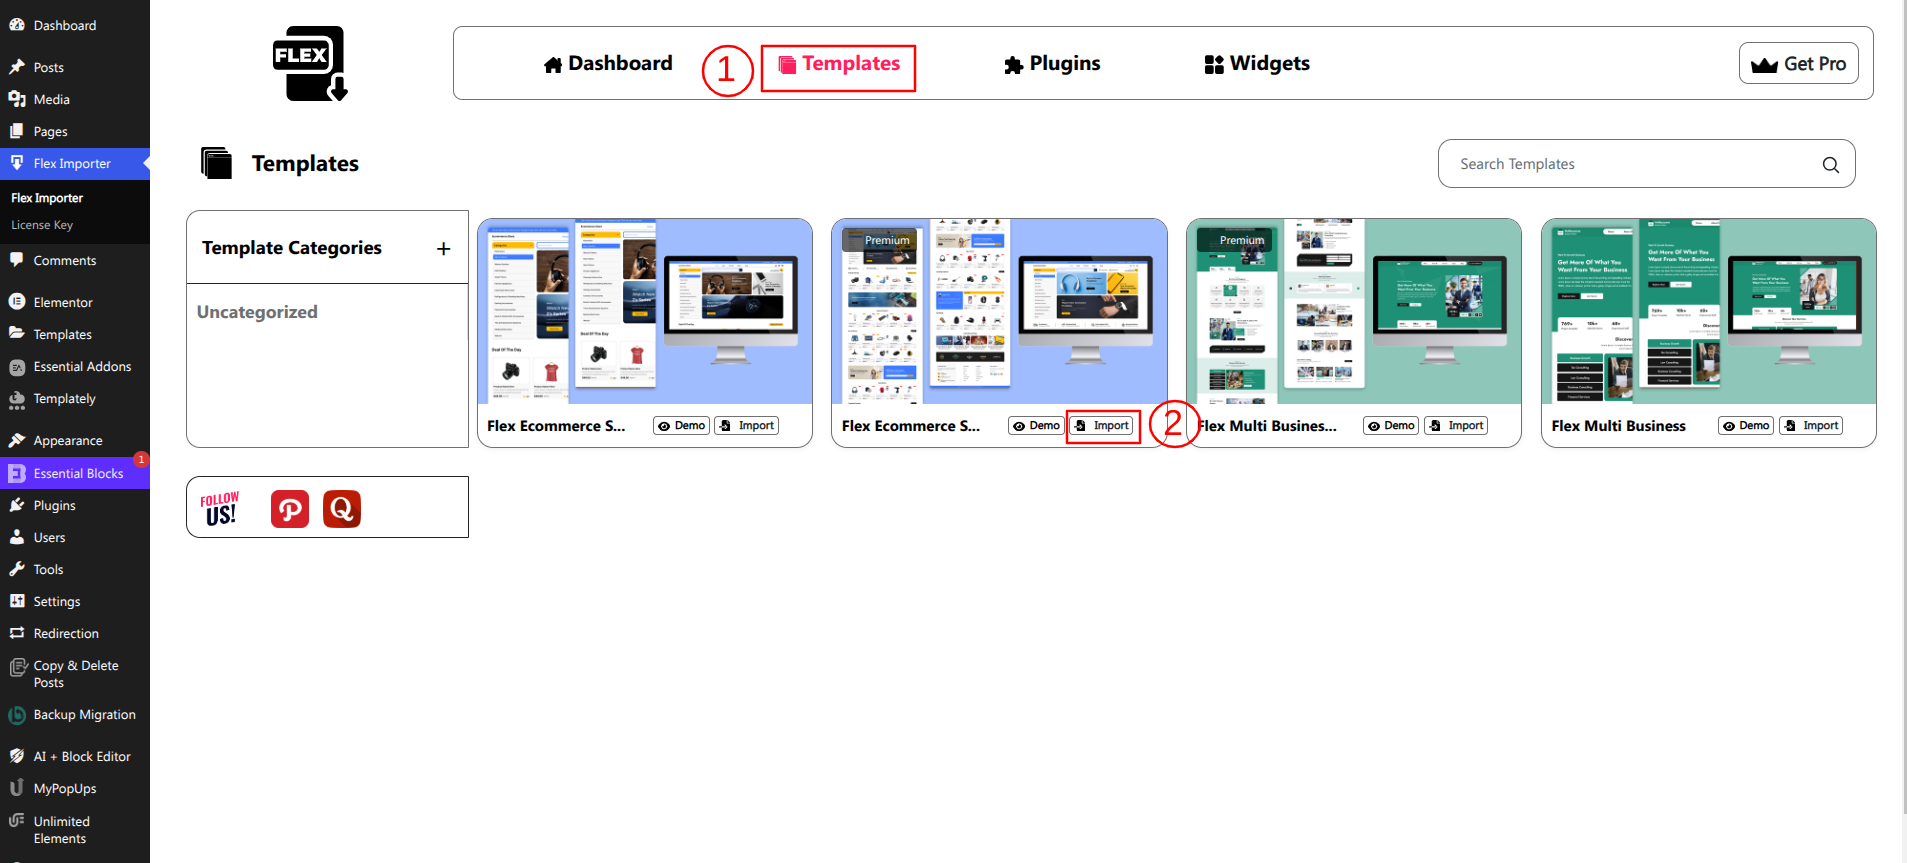
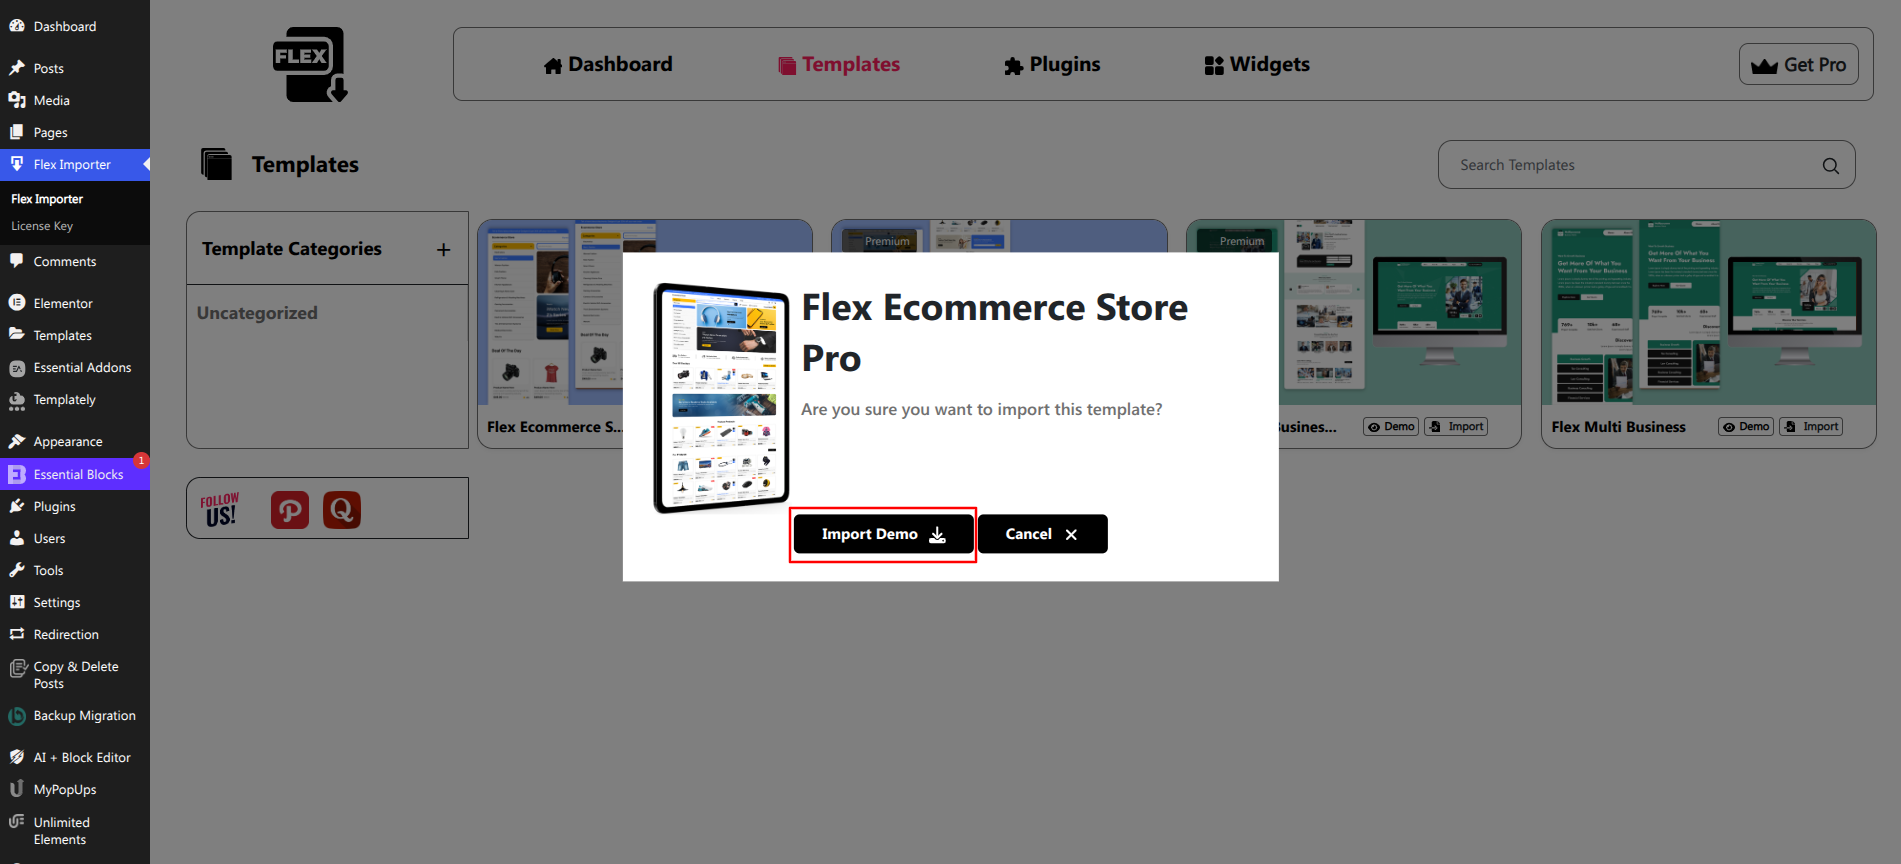
Installing a template is a straightforward process.
The WordPress interface can be used to complete the installation.
Consequently, the procedure is quicker and more comfortable.
There are two available installation techniques.
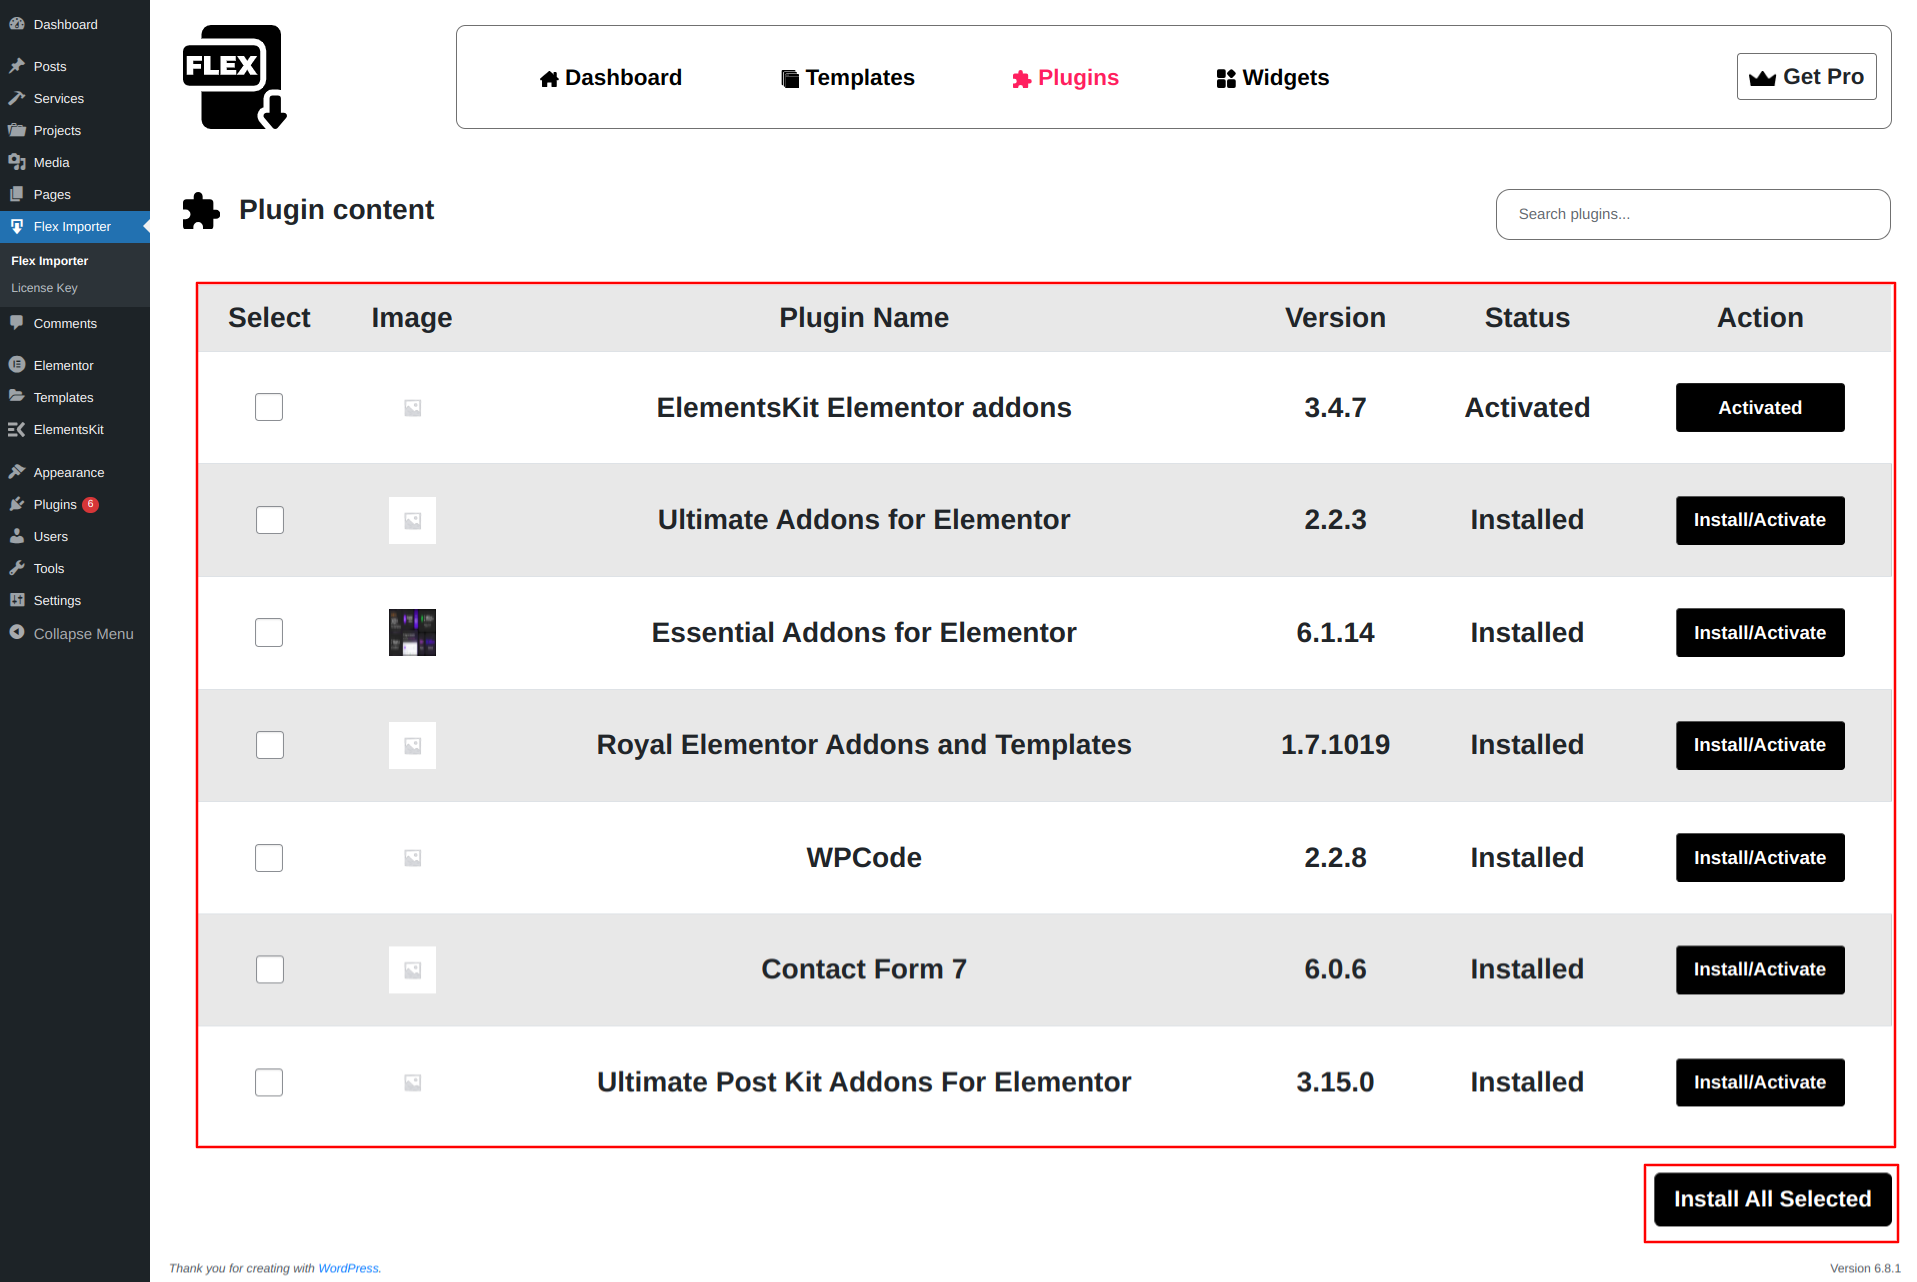
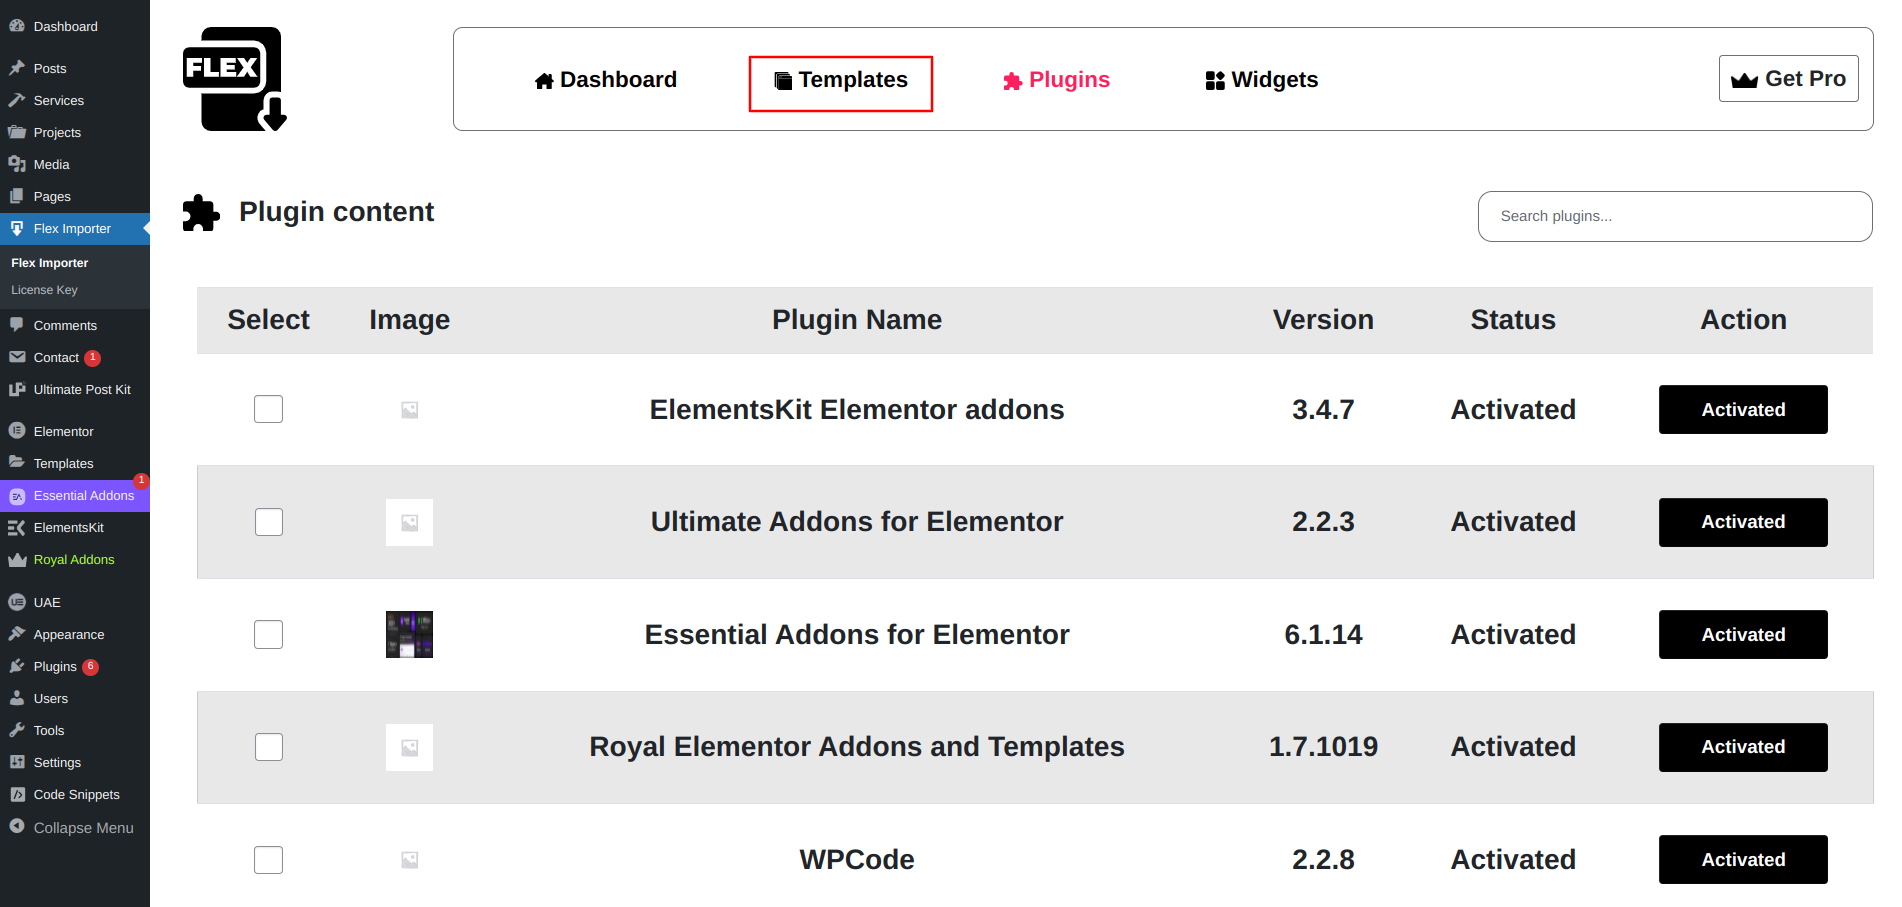
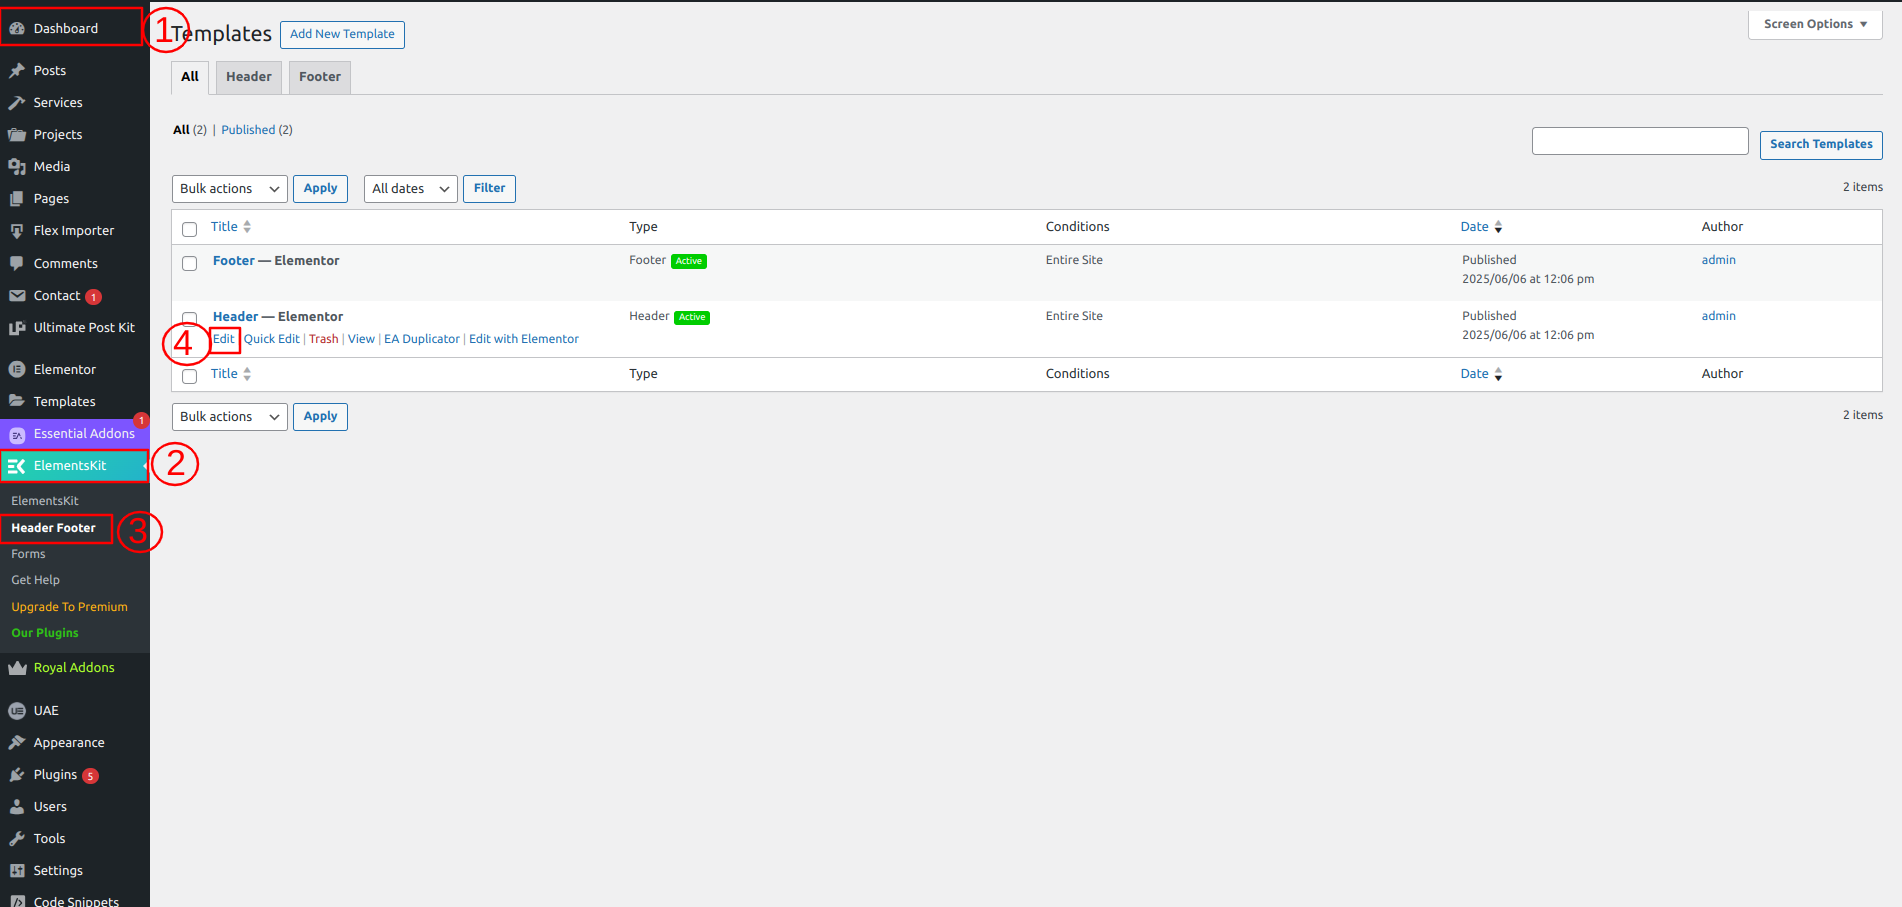
1-Use WordPress admin to
install a theme.
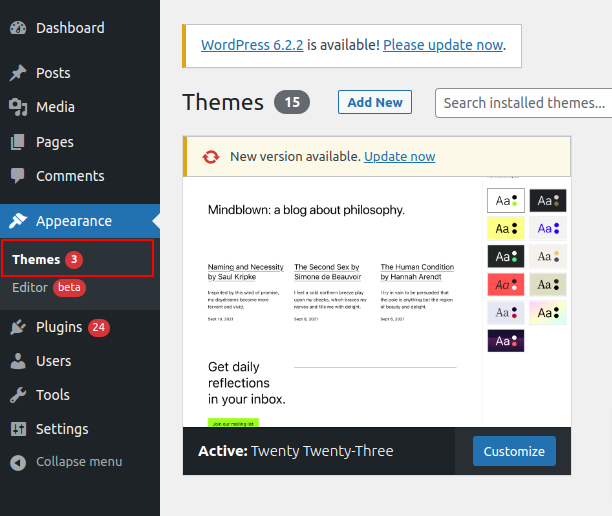
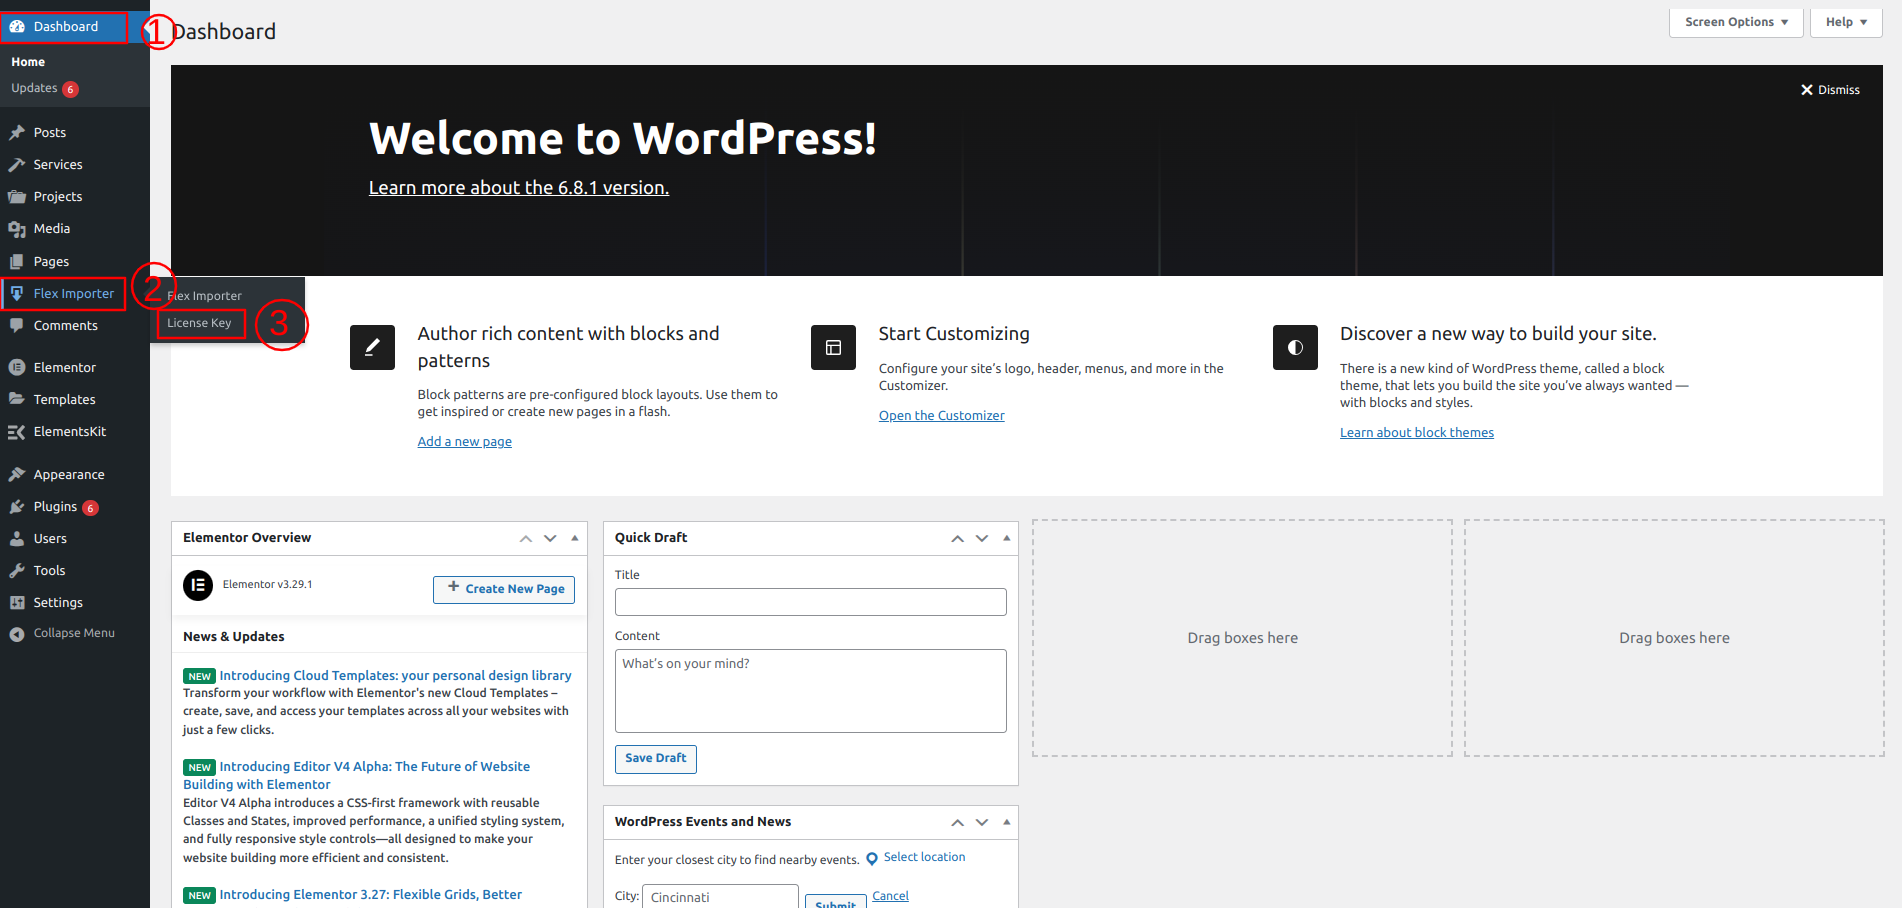
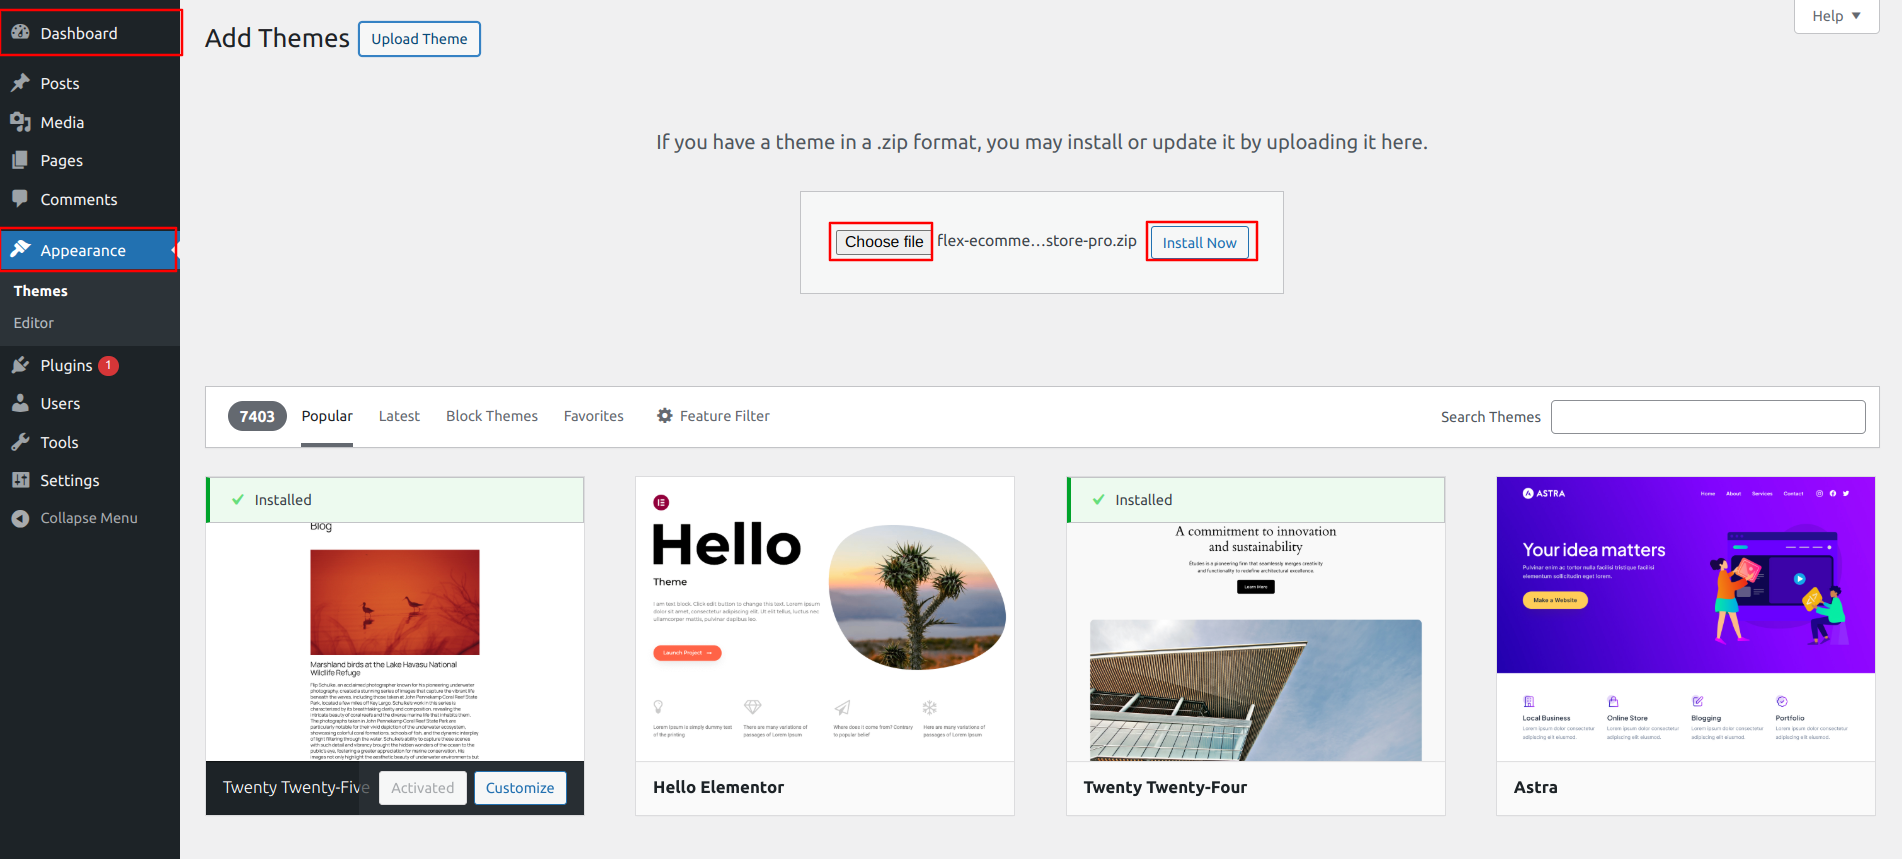
Go into the WordPress admin area to get started.
1. Click on Appearance >> Select Themes
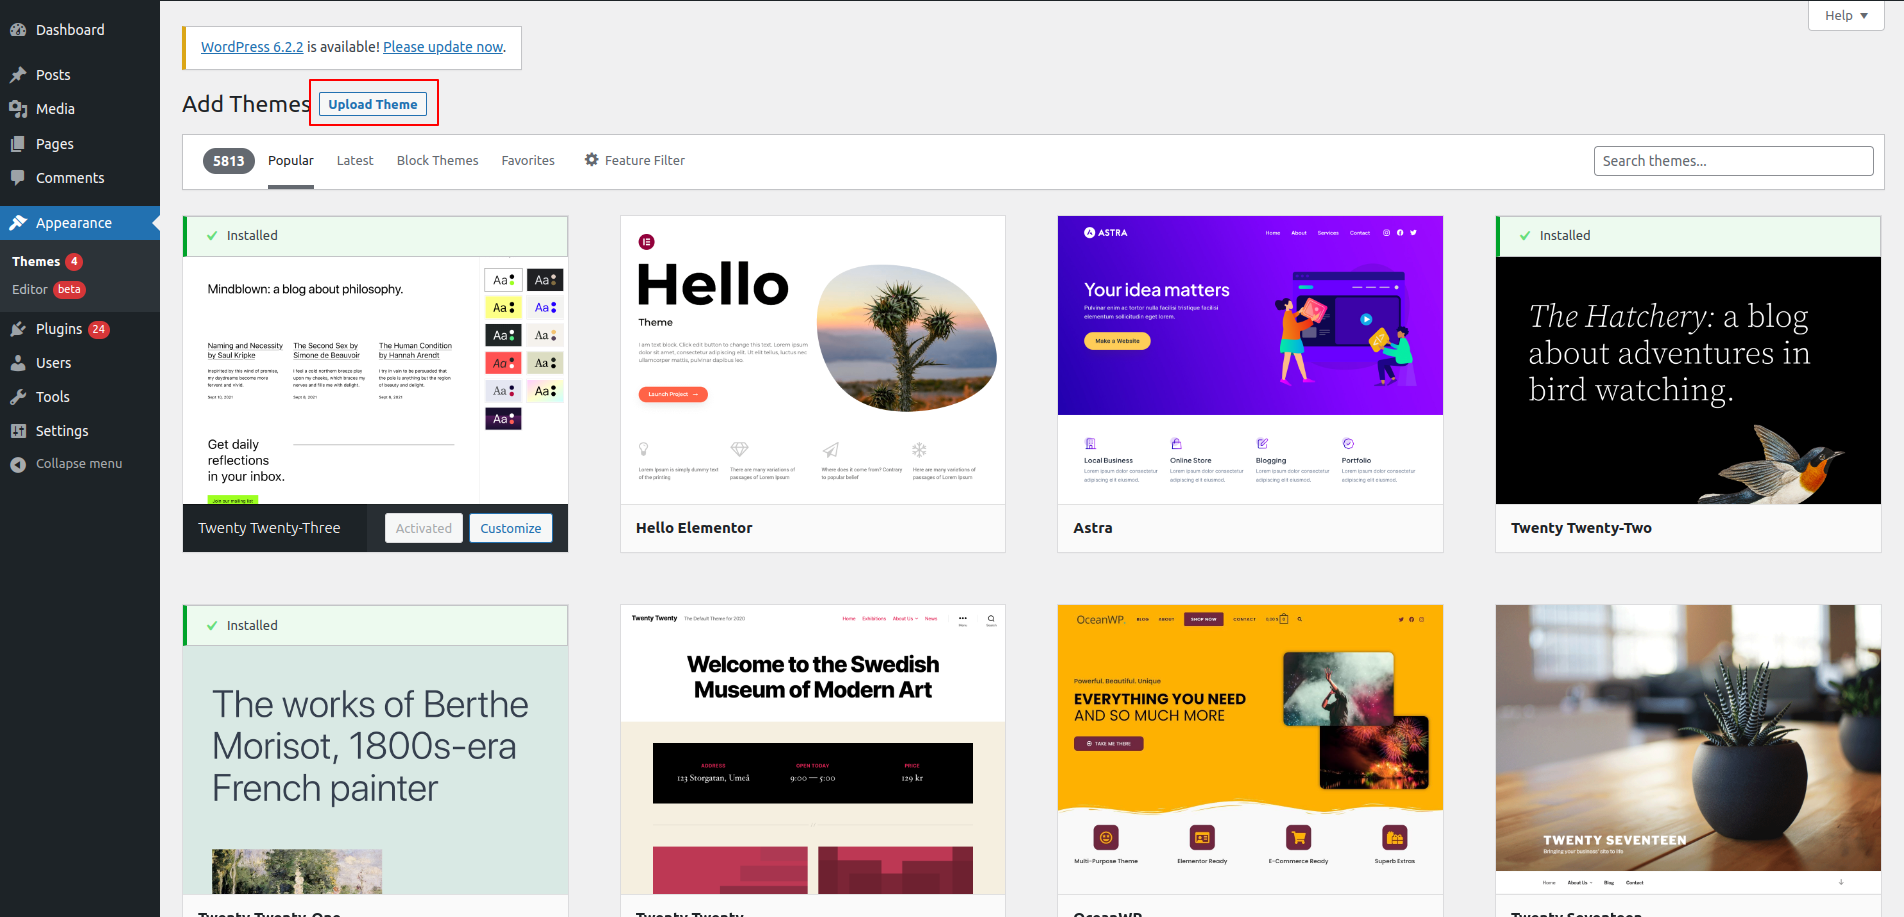
2.Click the Add New button located on the themes page.
3.Click the upload button to add the theme.
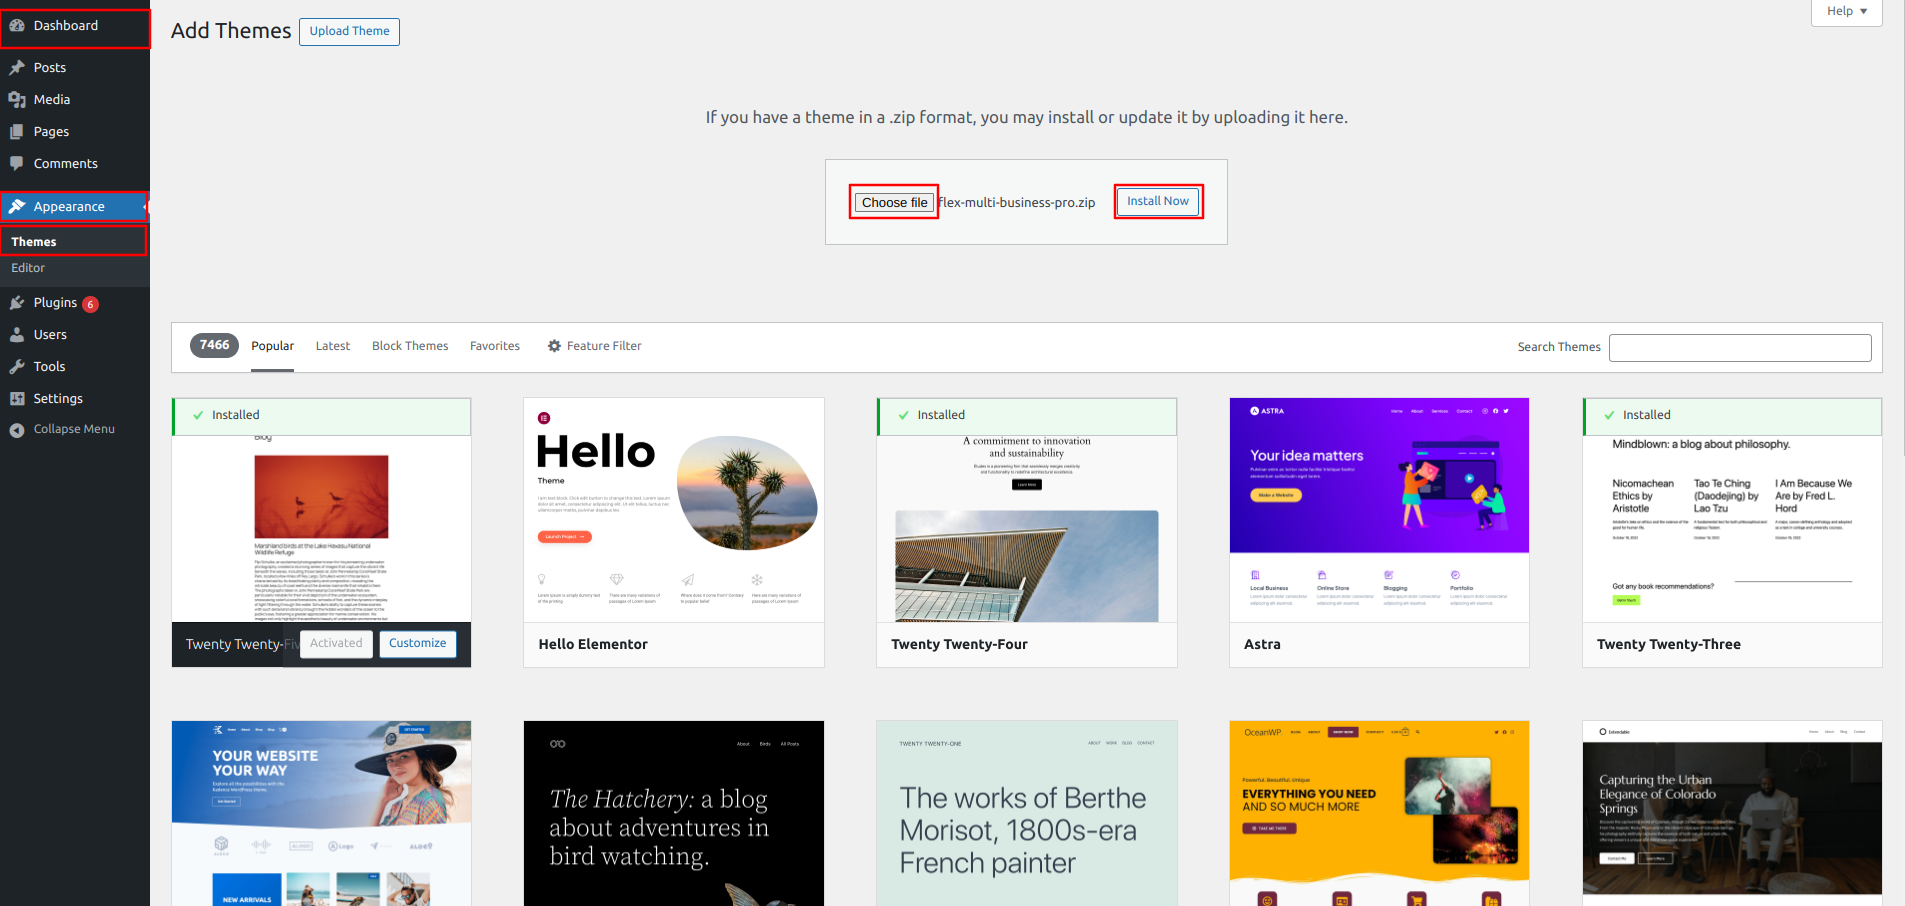
4. Select your yoga-studio-elementor-pro zip file and After selecting
Browse, select Install immediately.
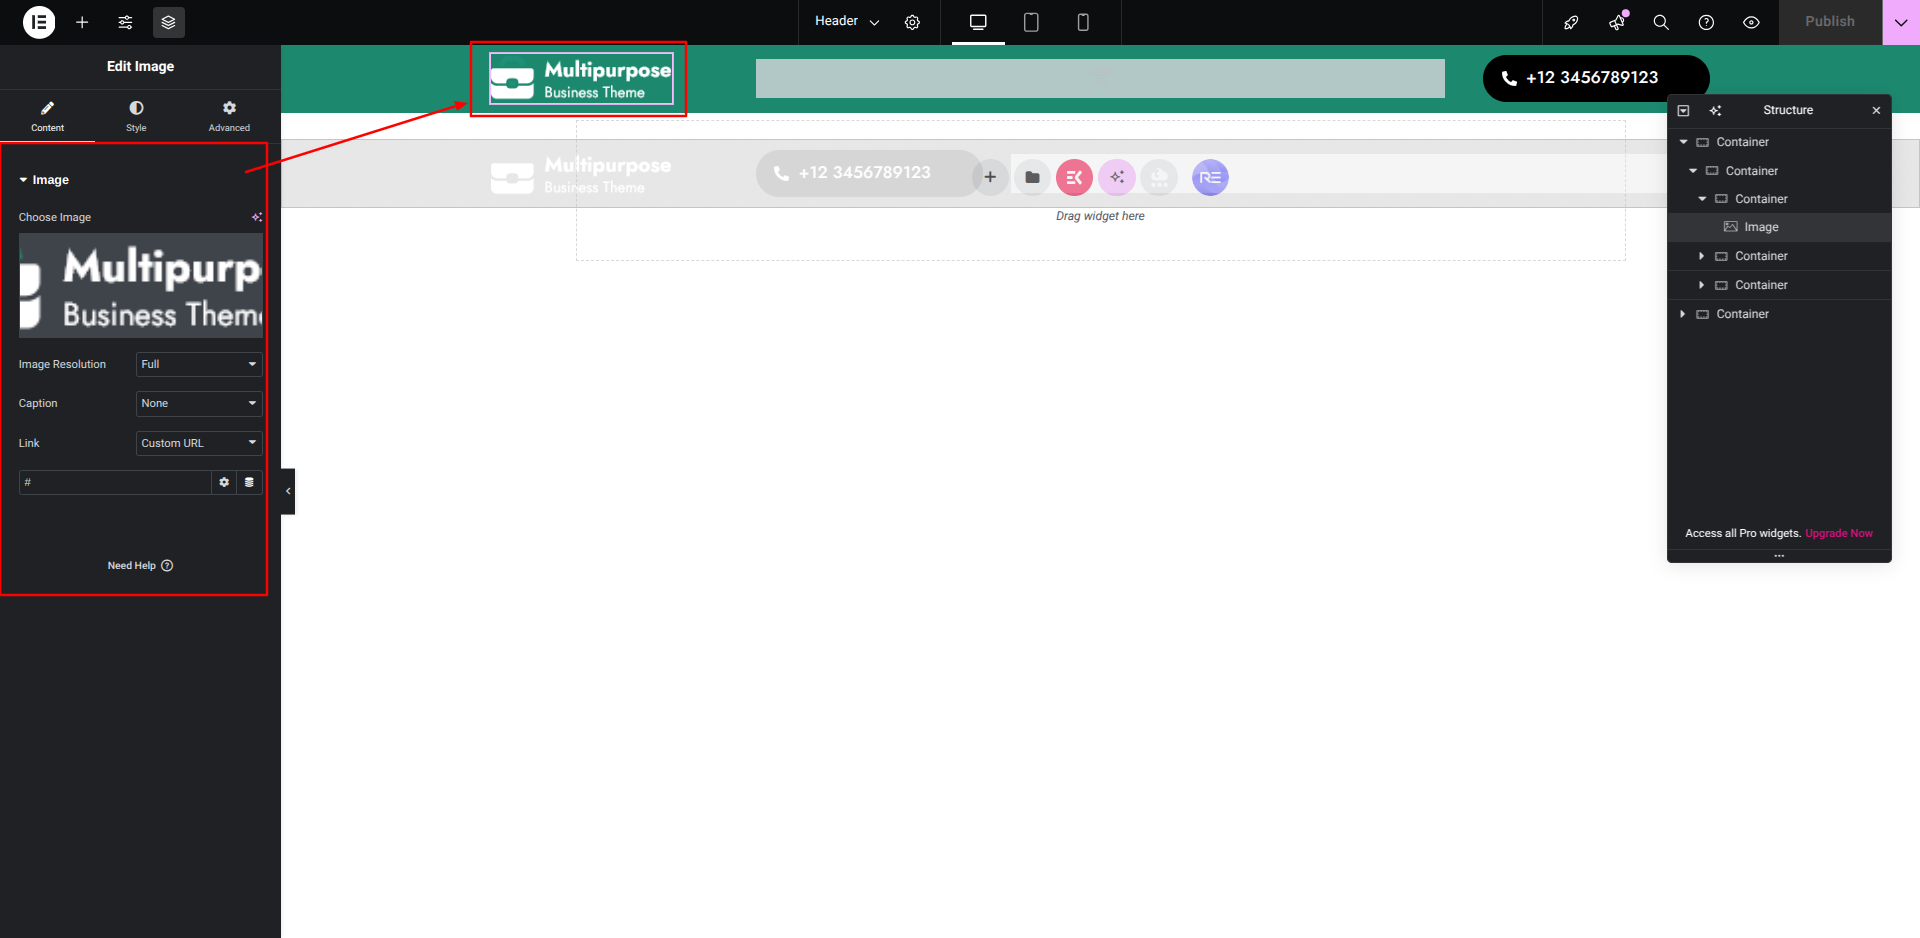
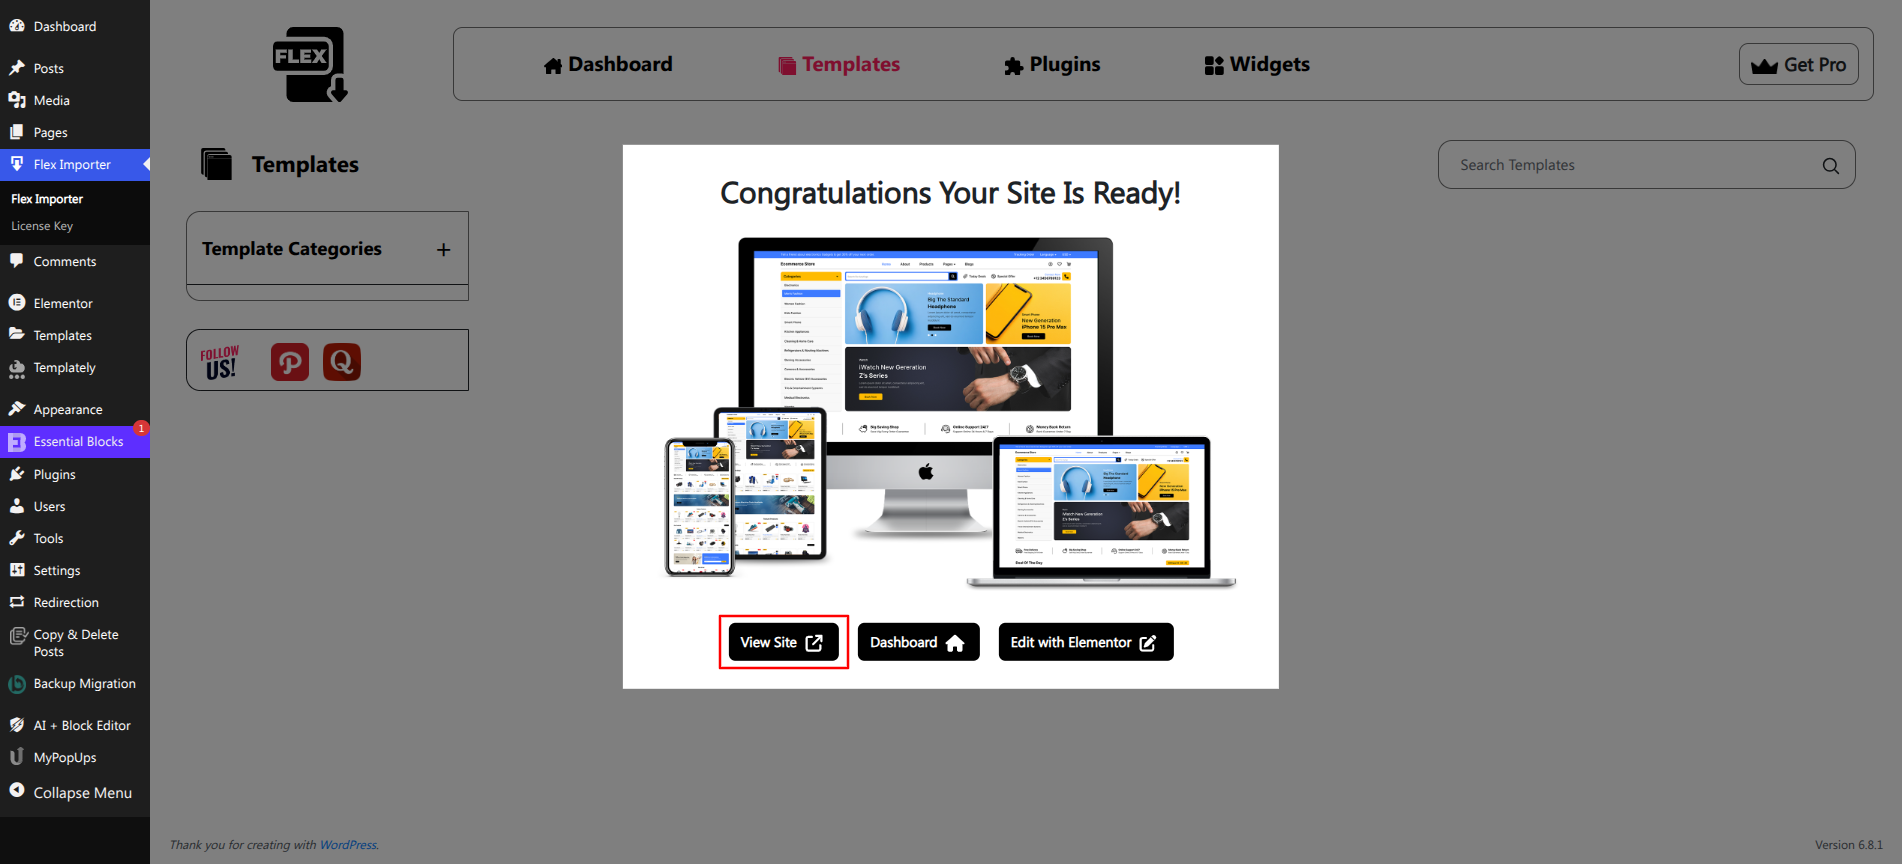
THEME IMPLEMENTATION
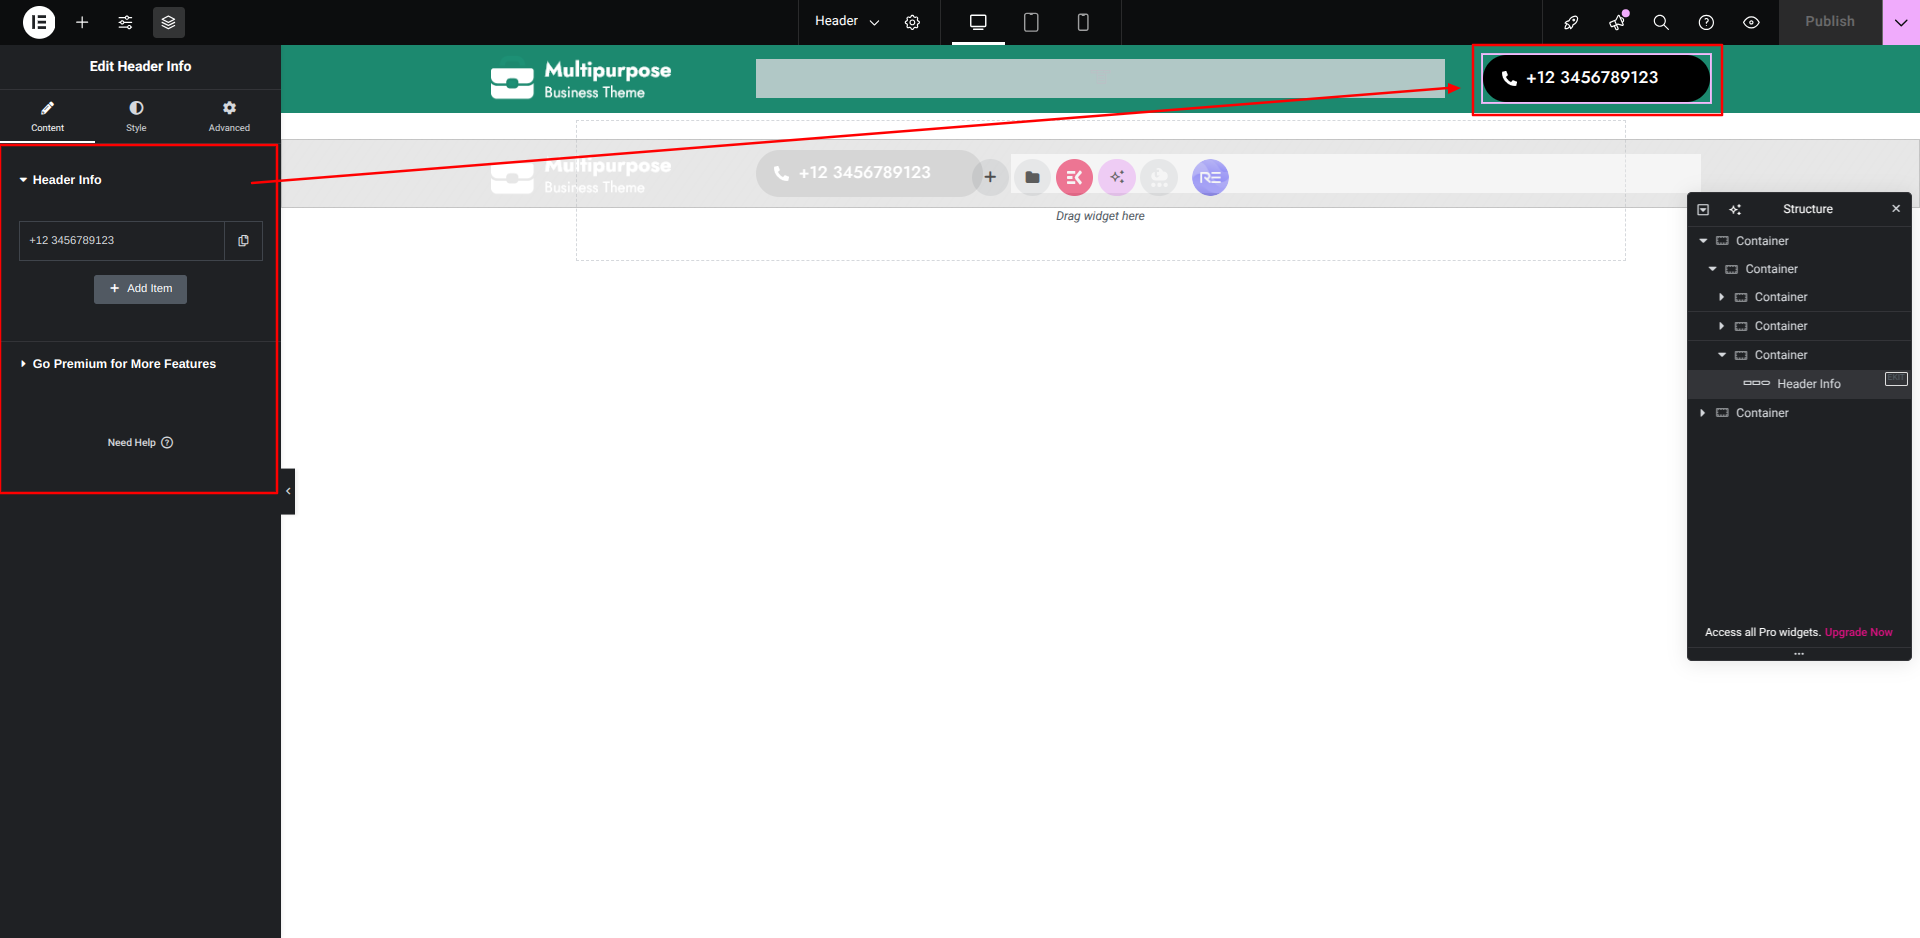
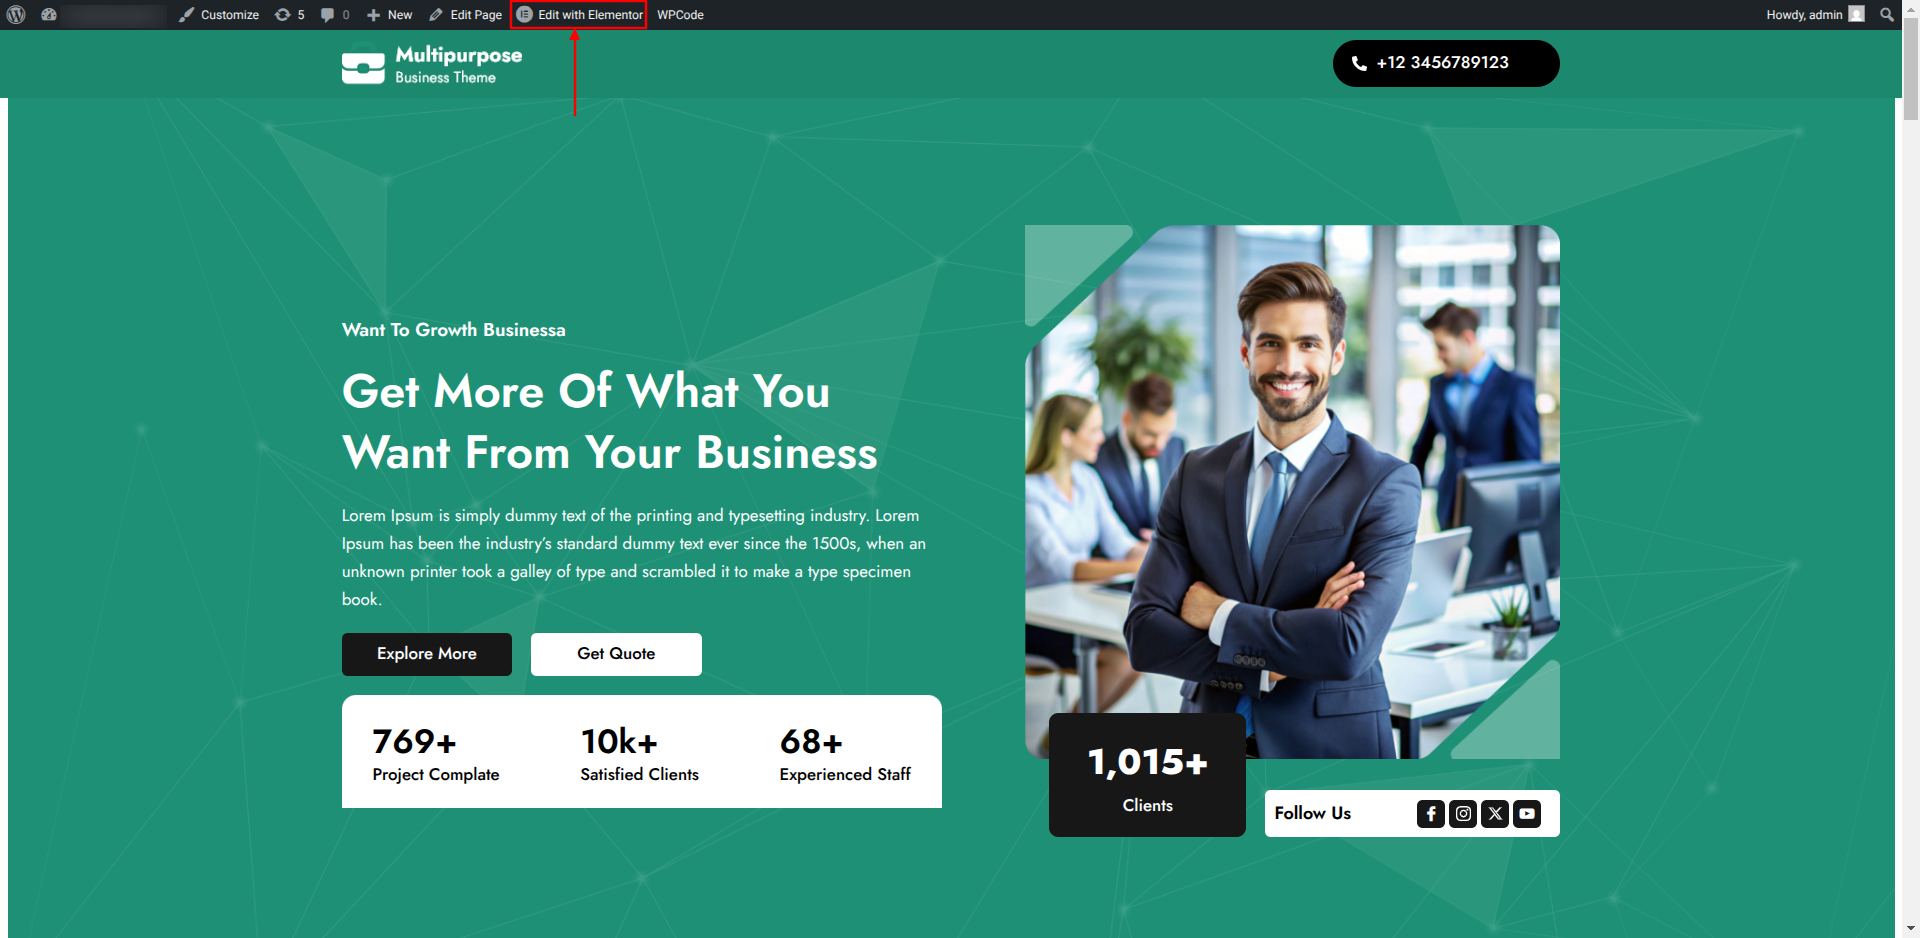
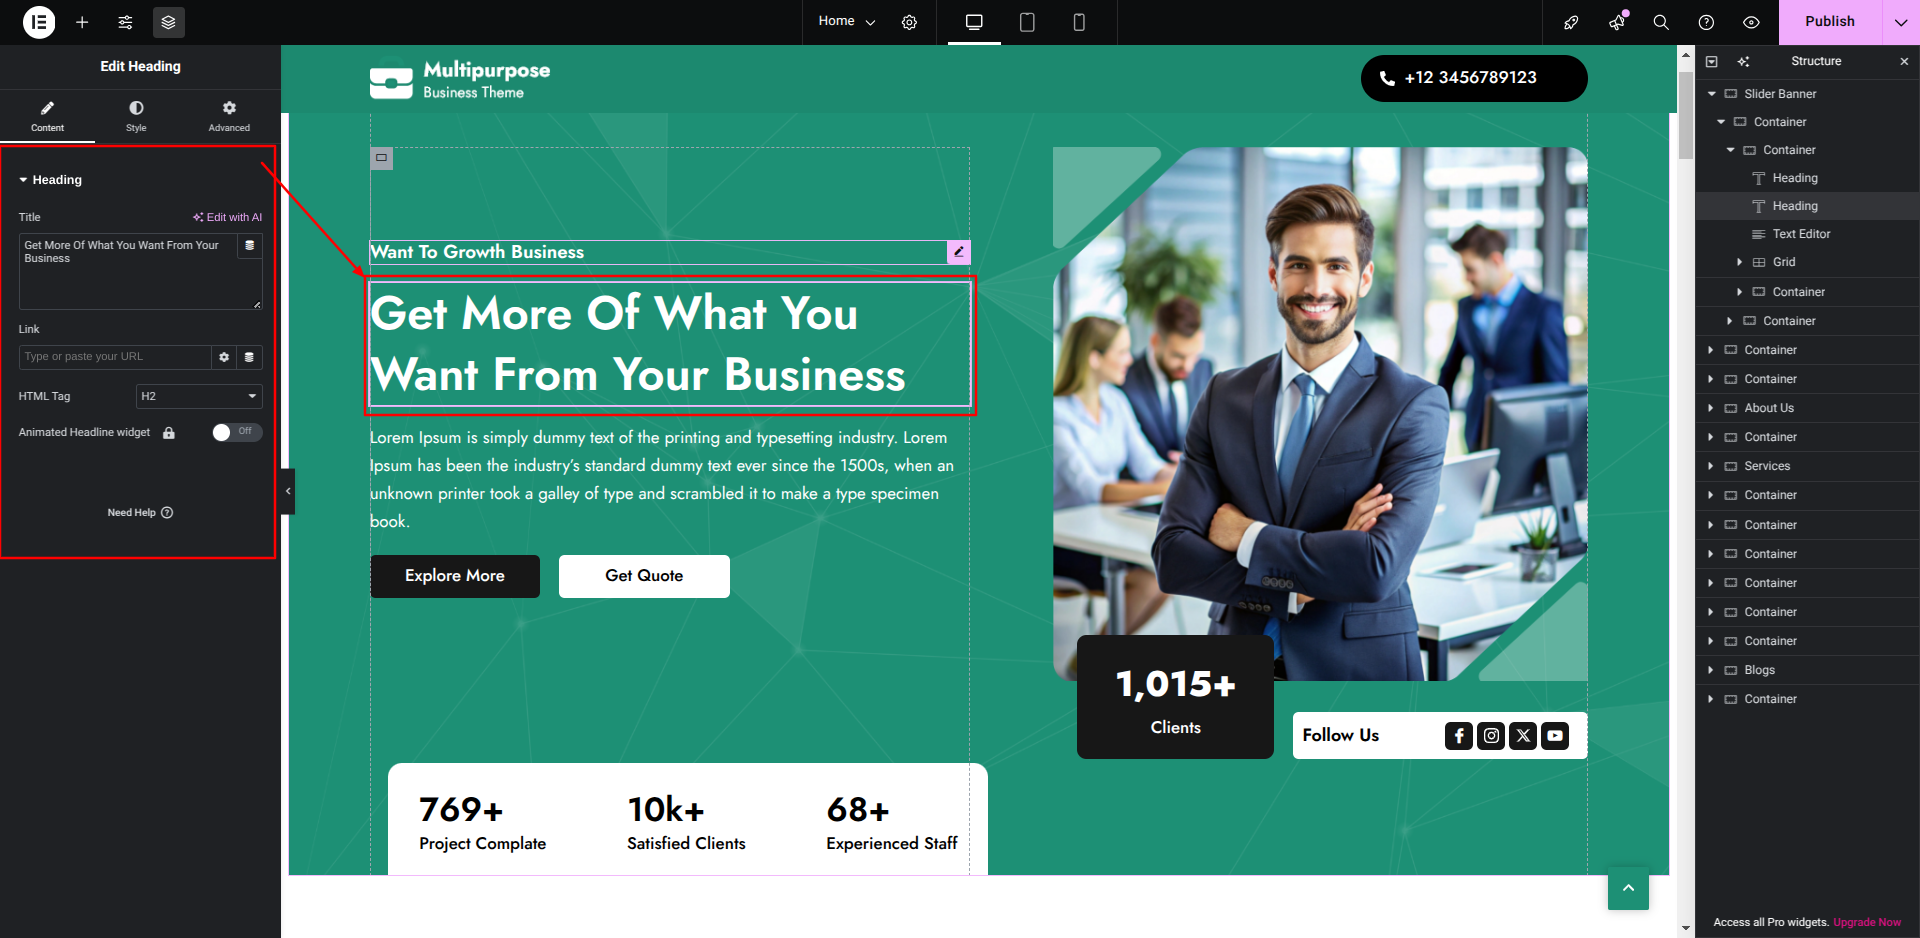
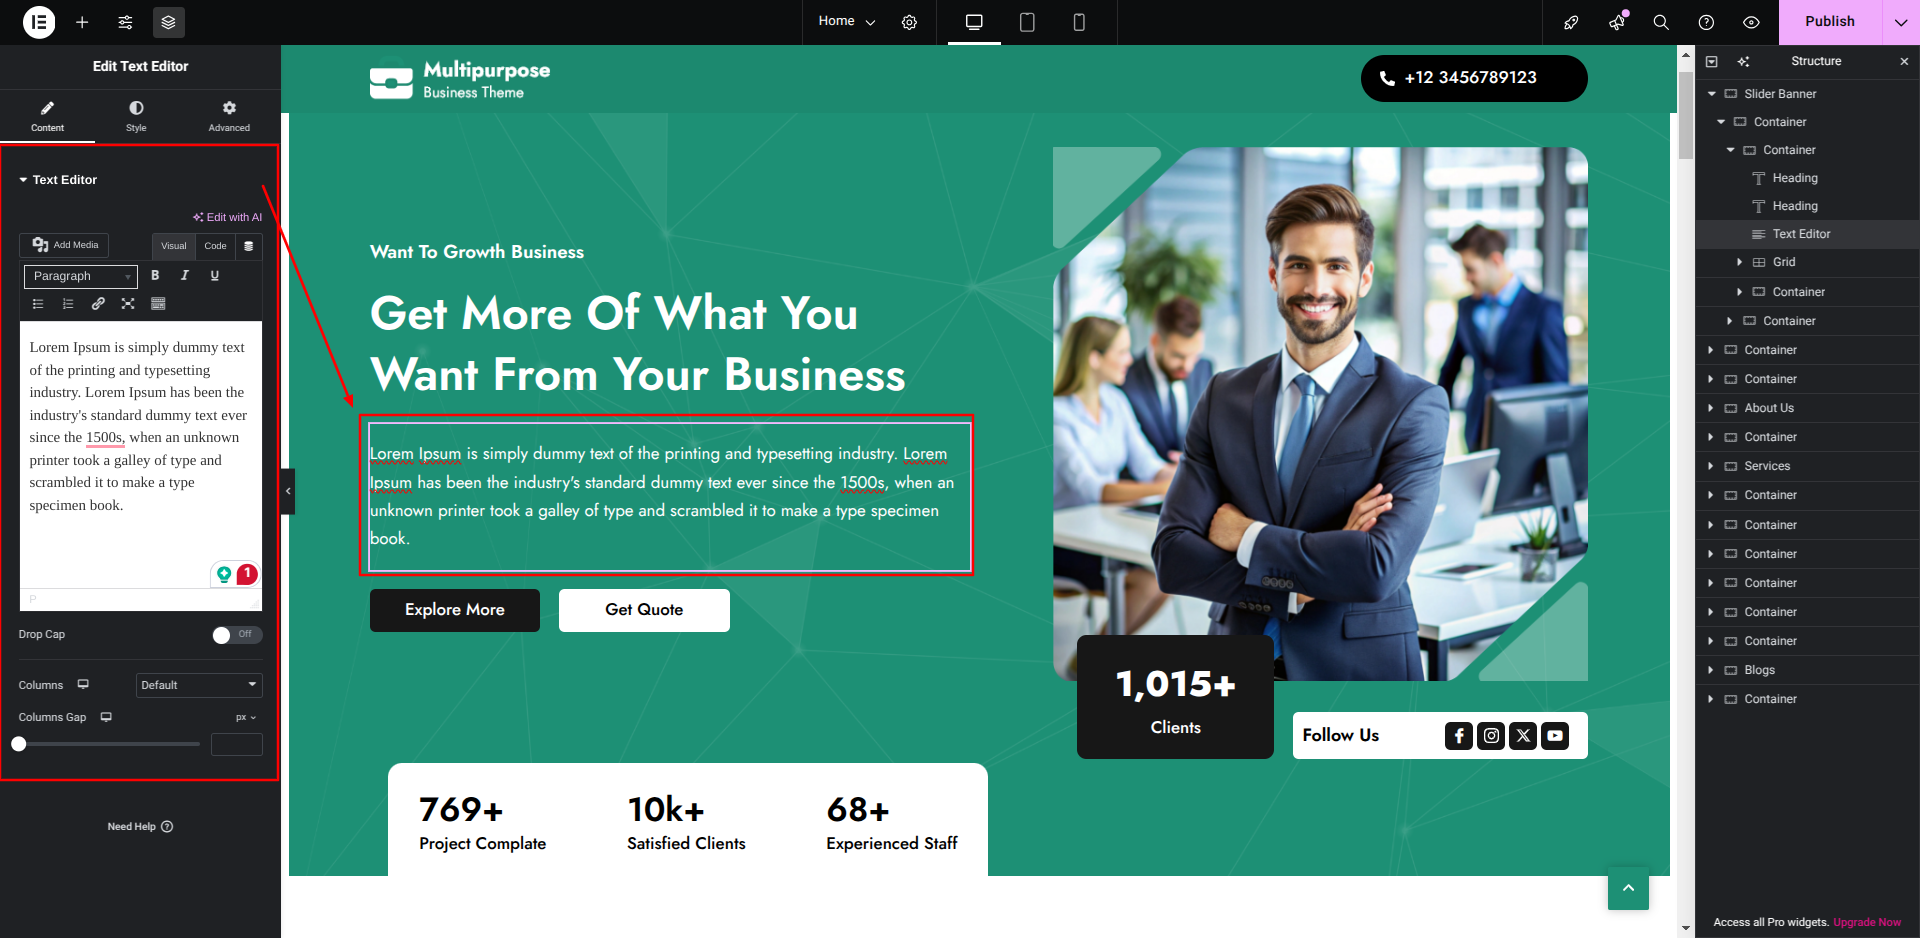
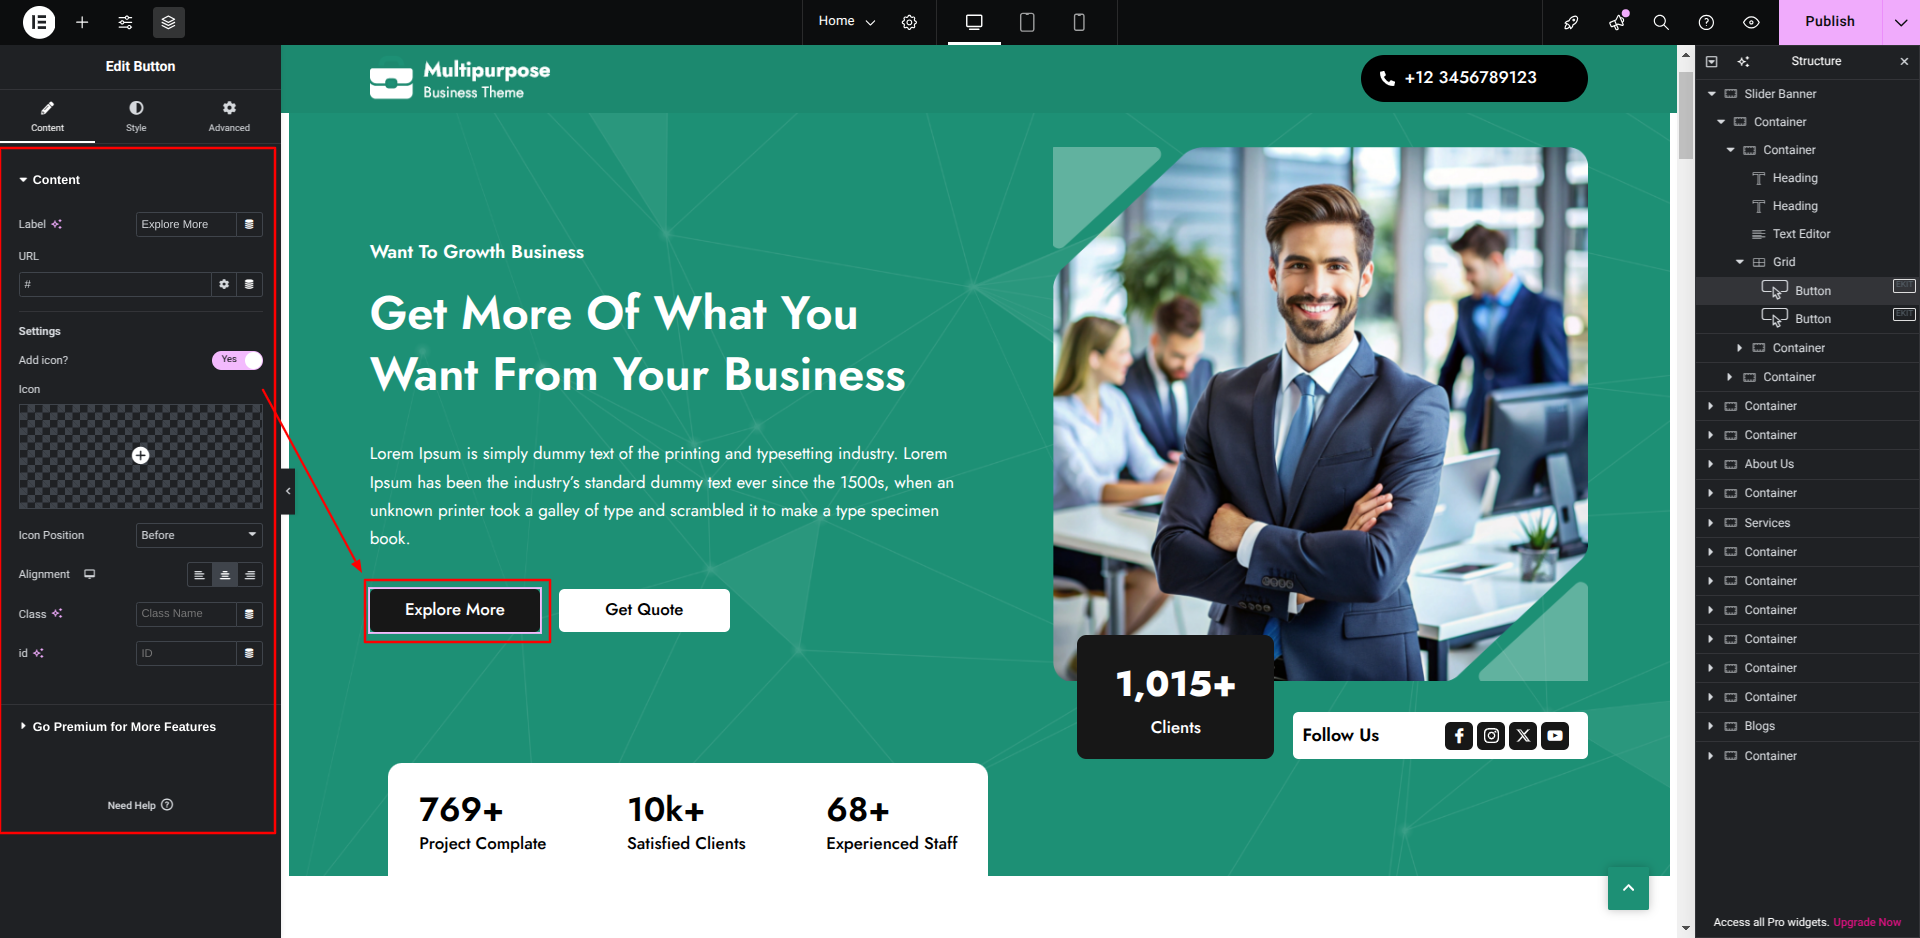
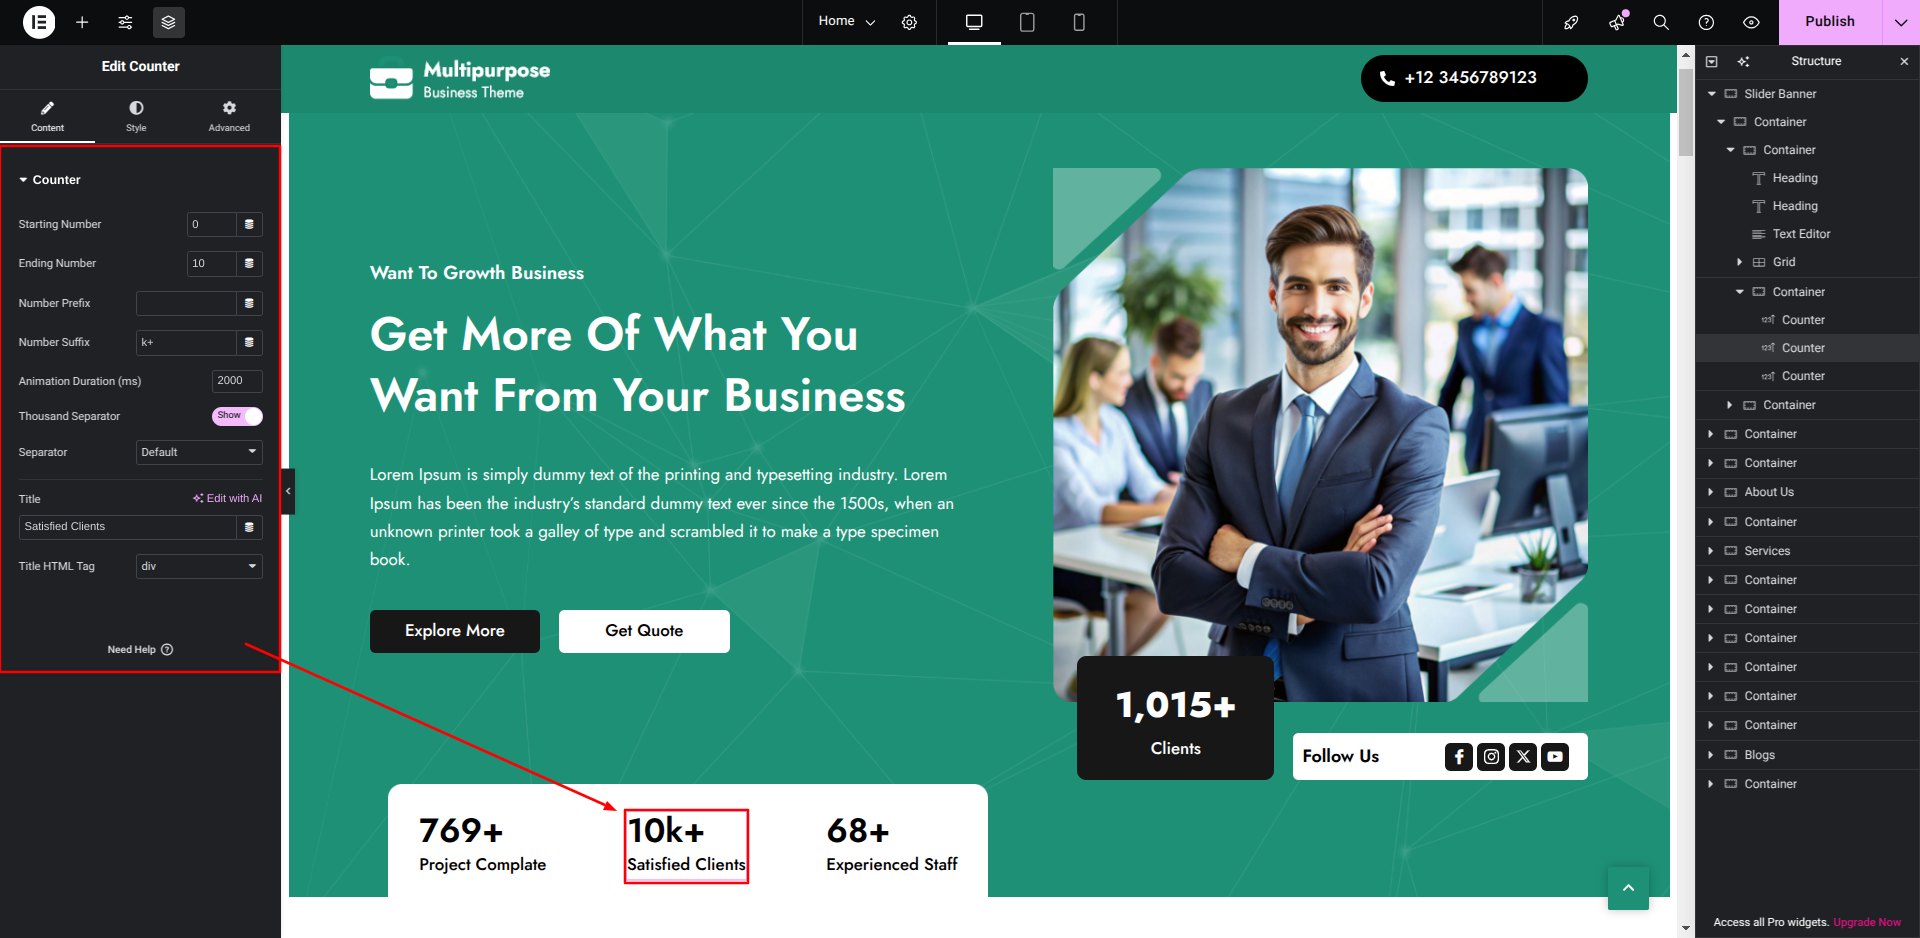
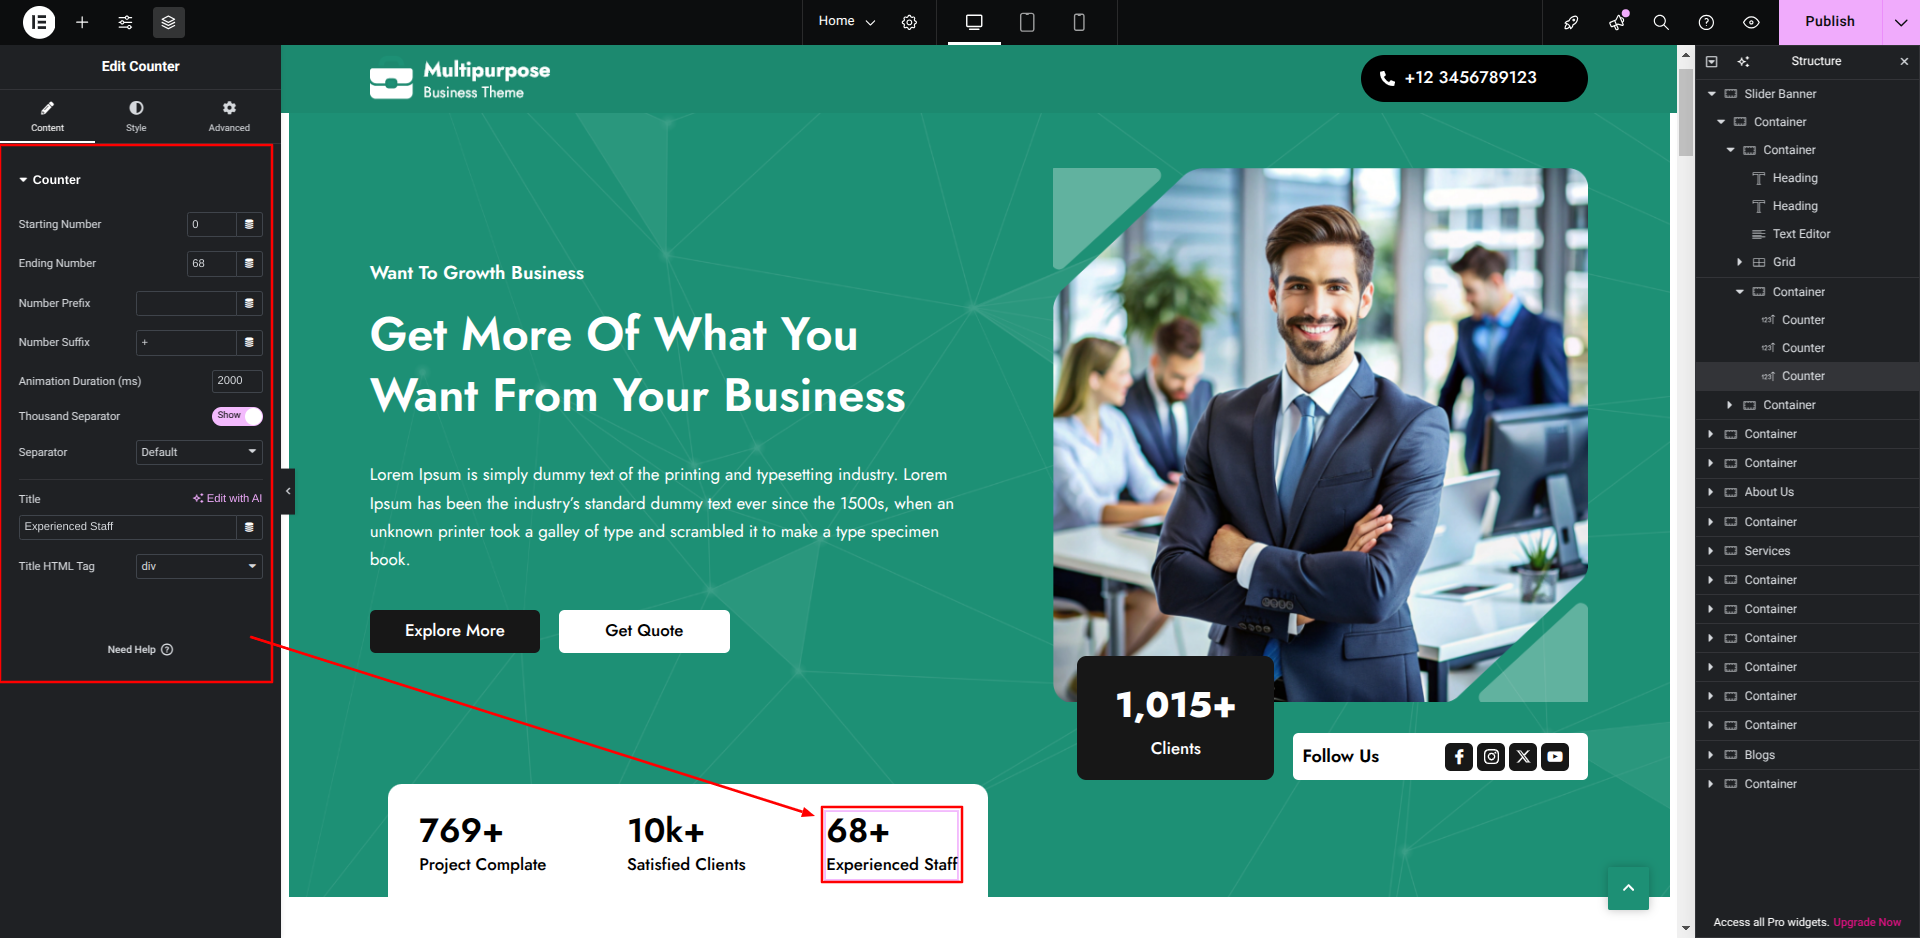
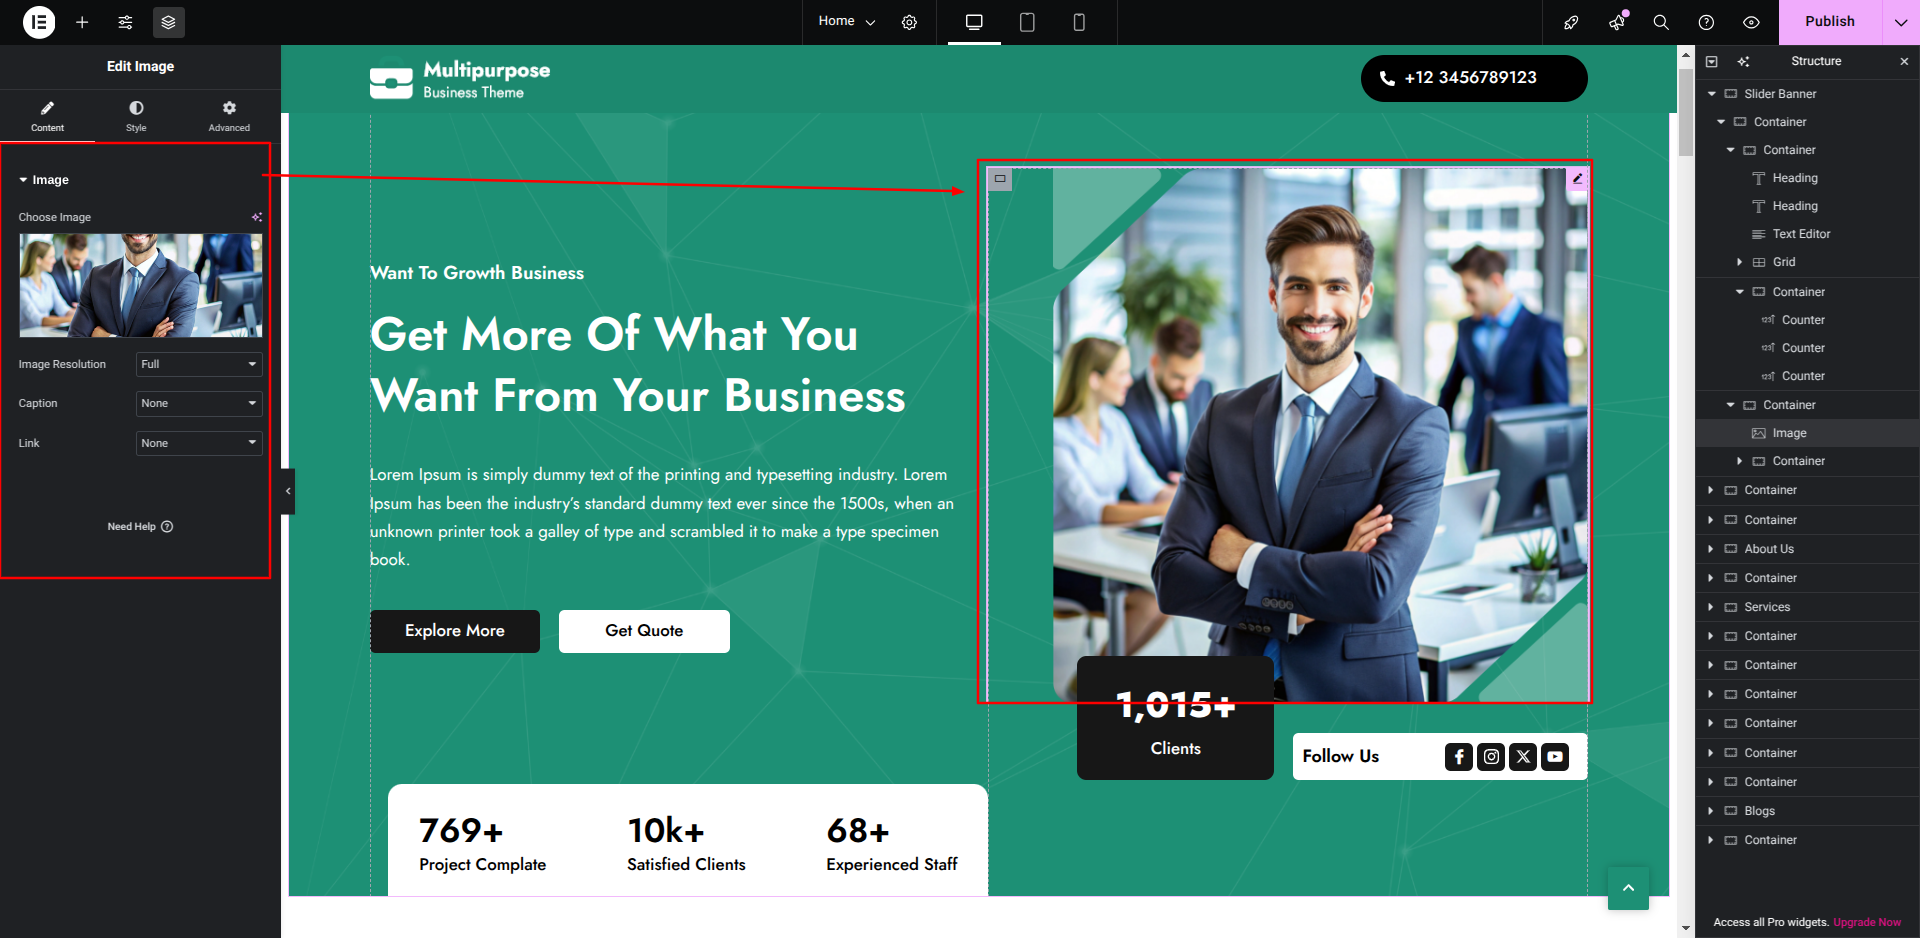
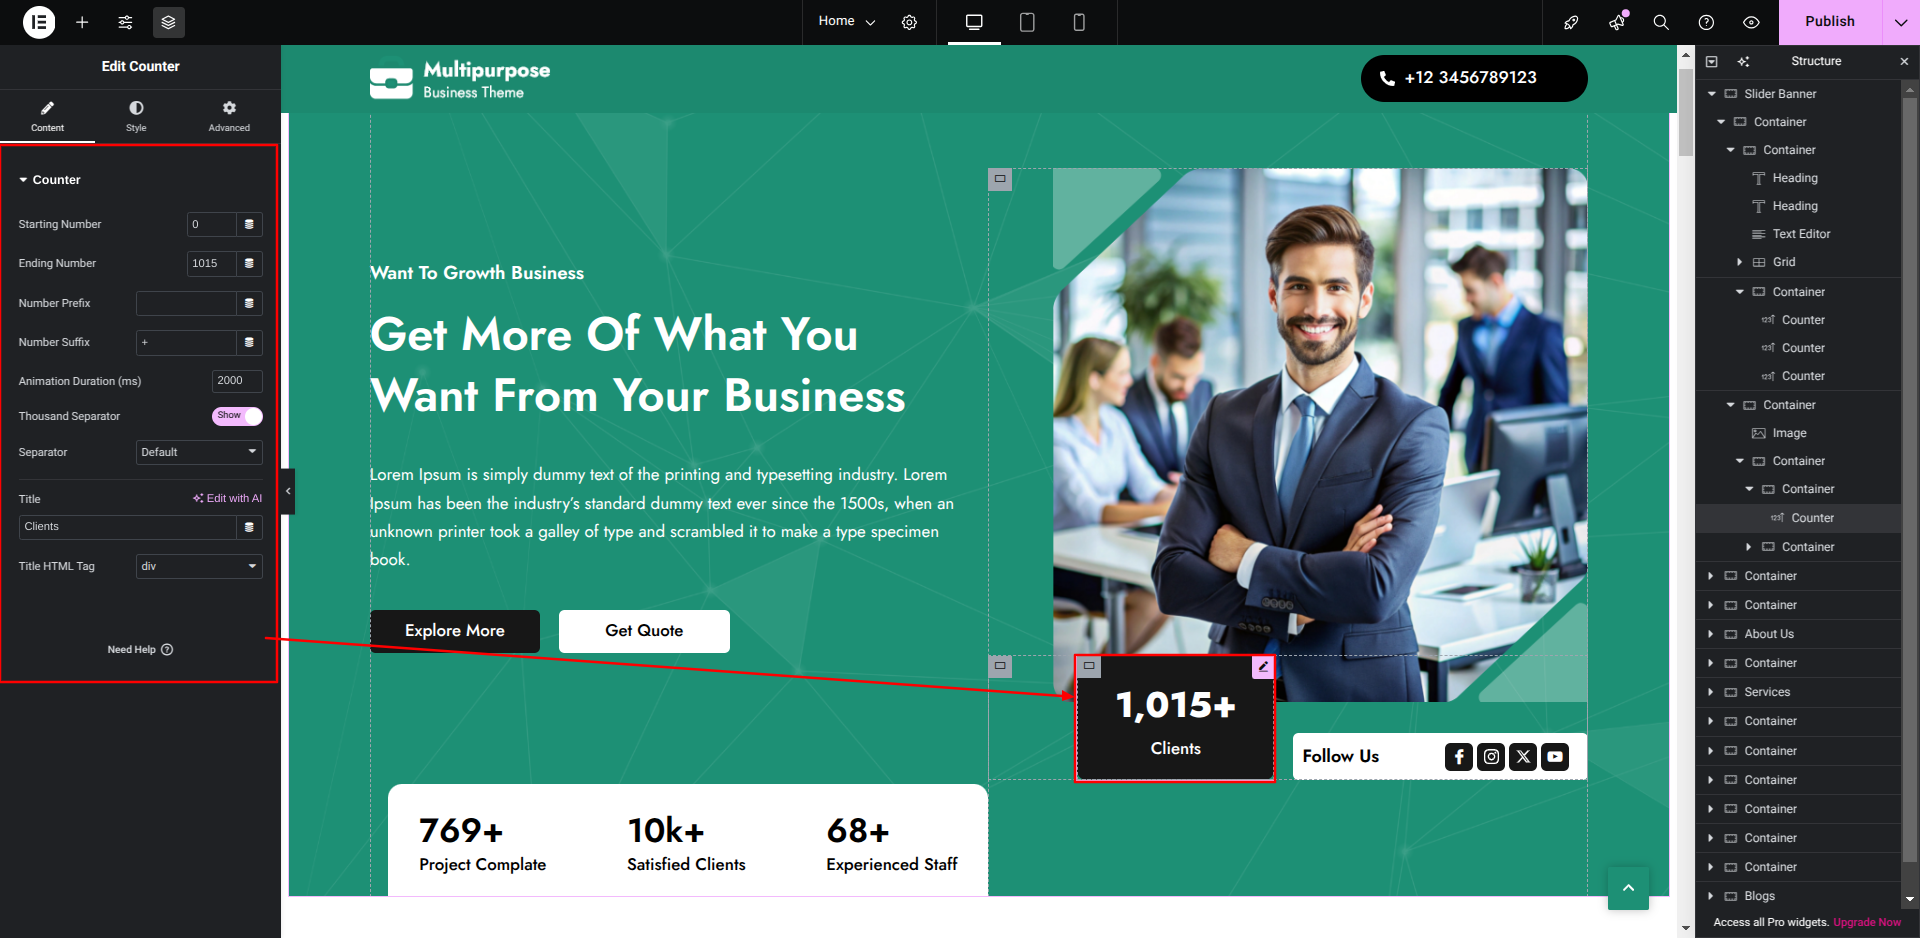
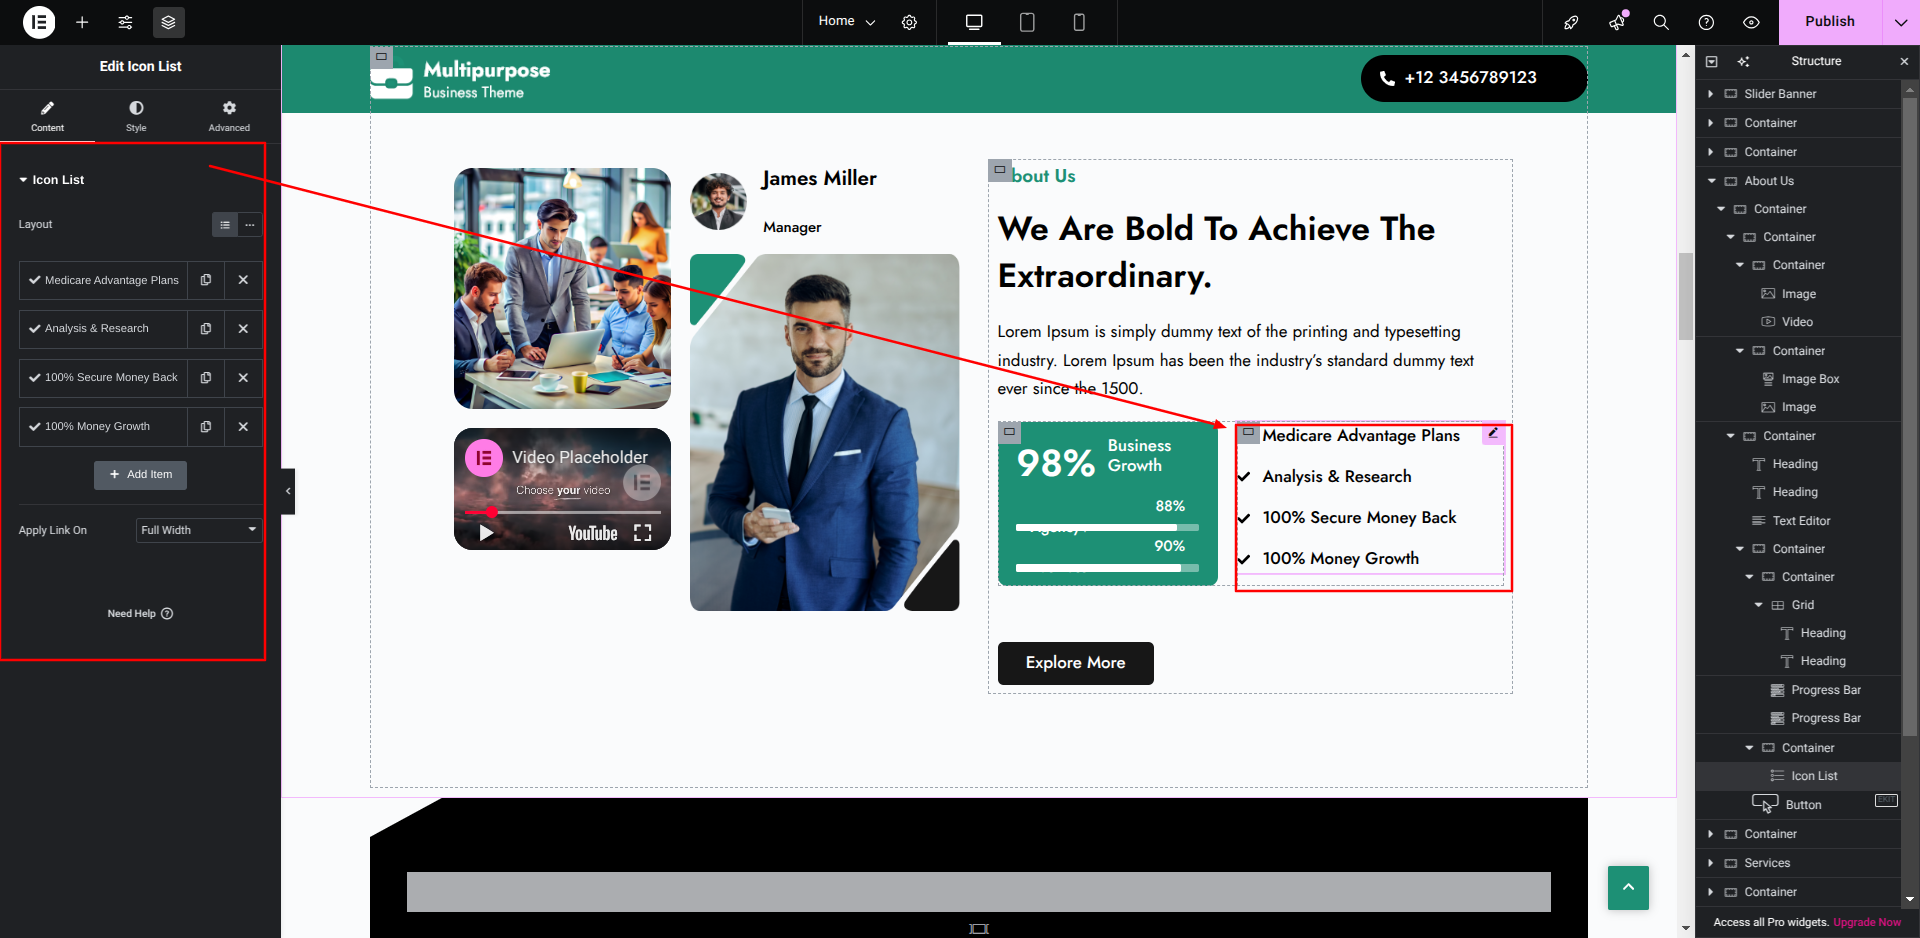
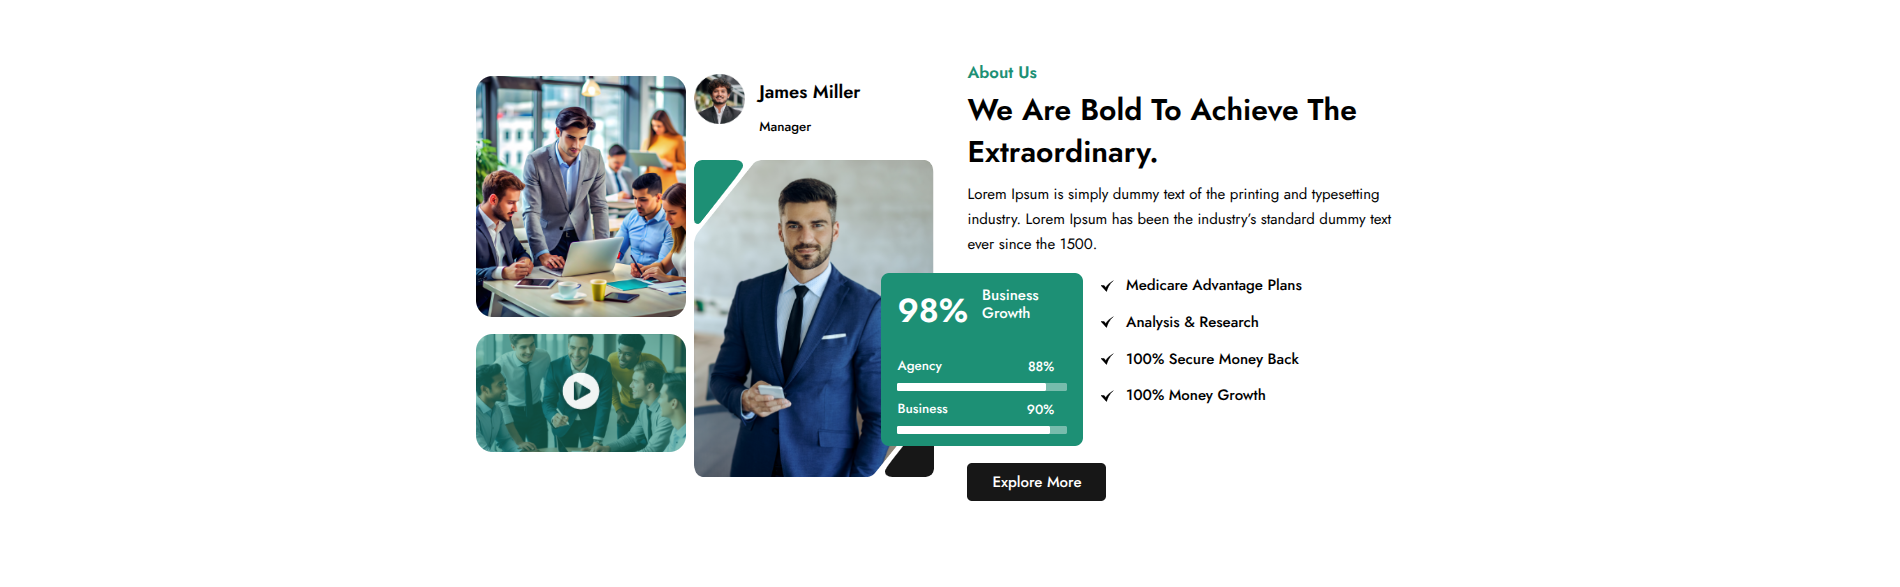
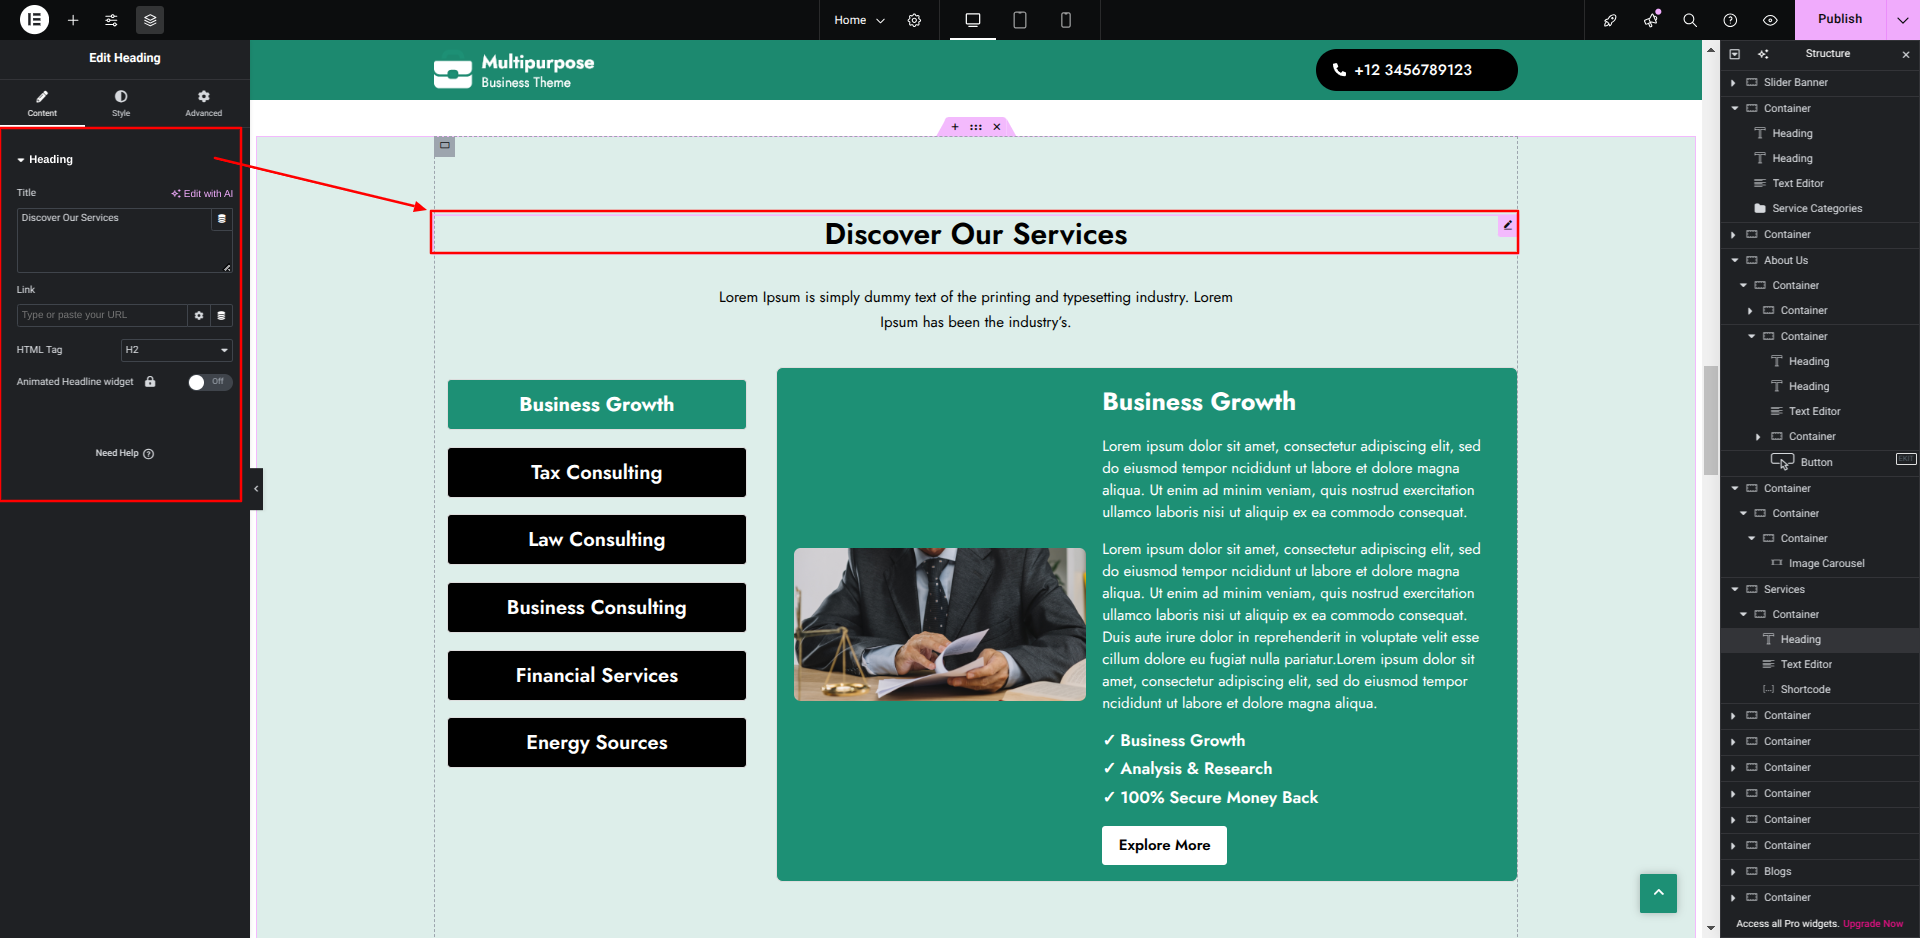
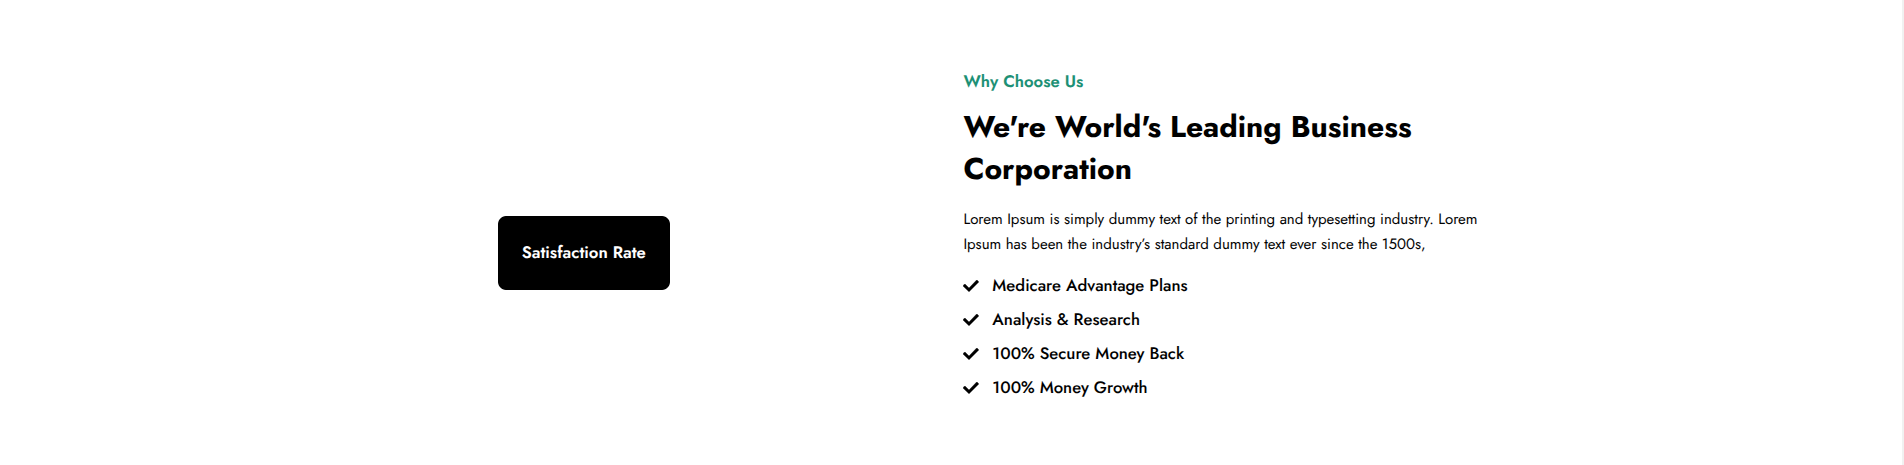
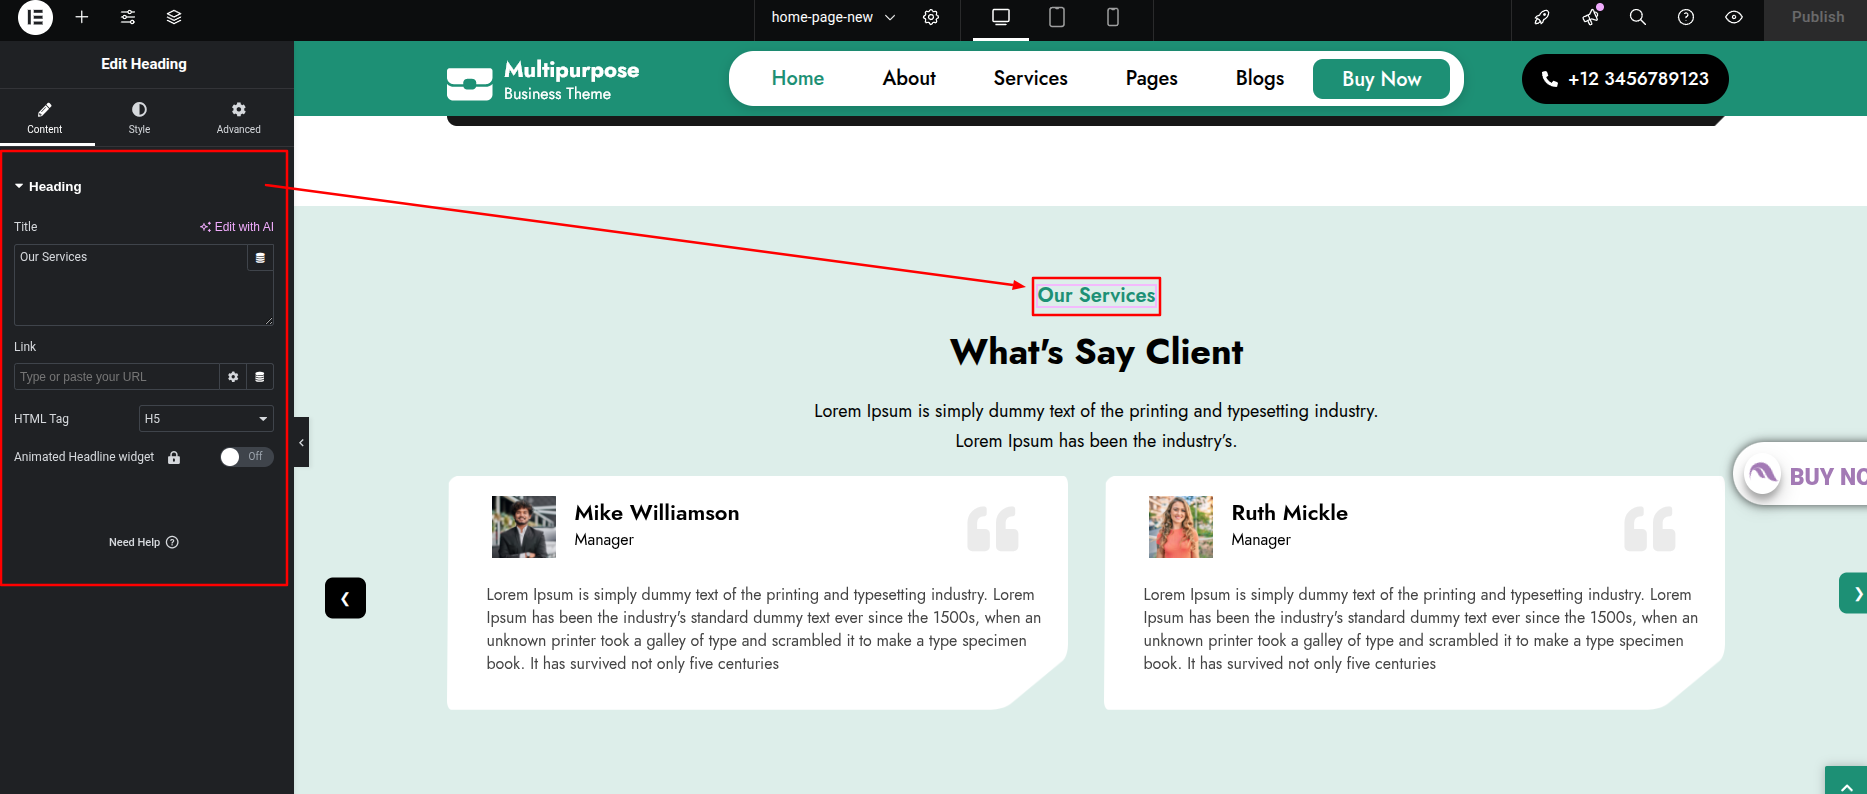
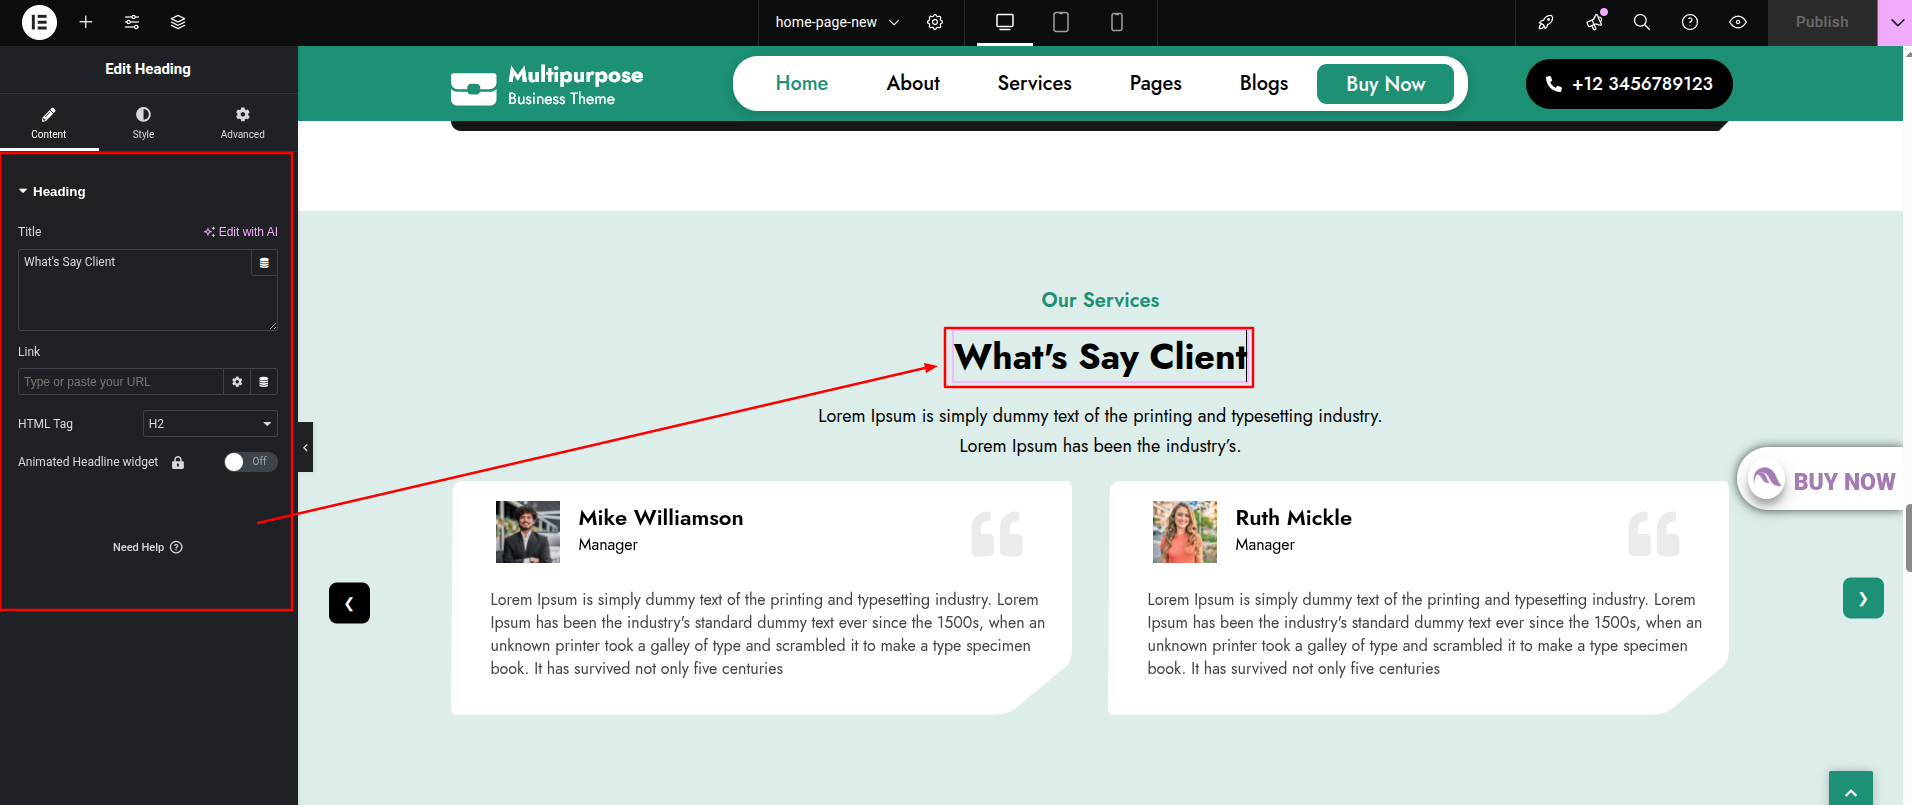
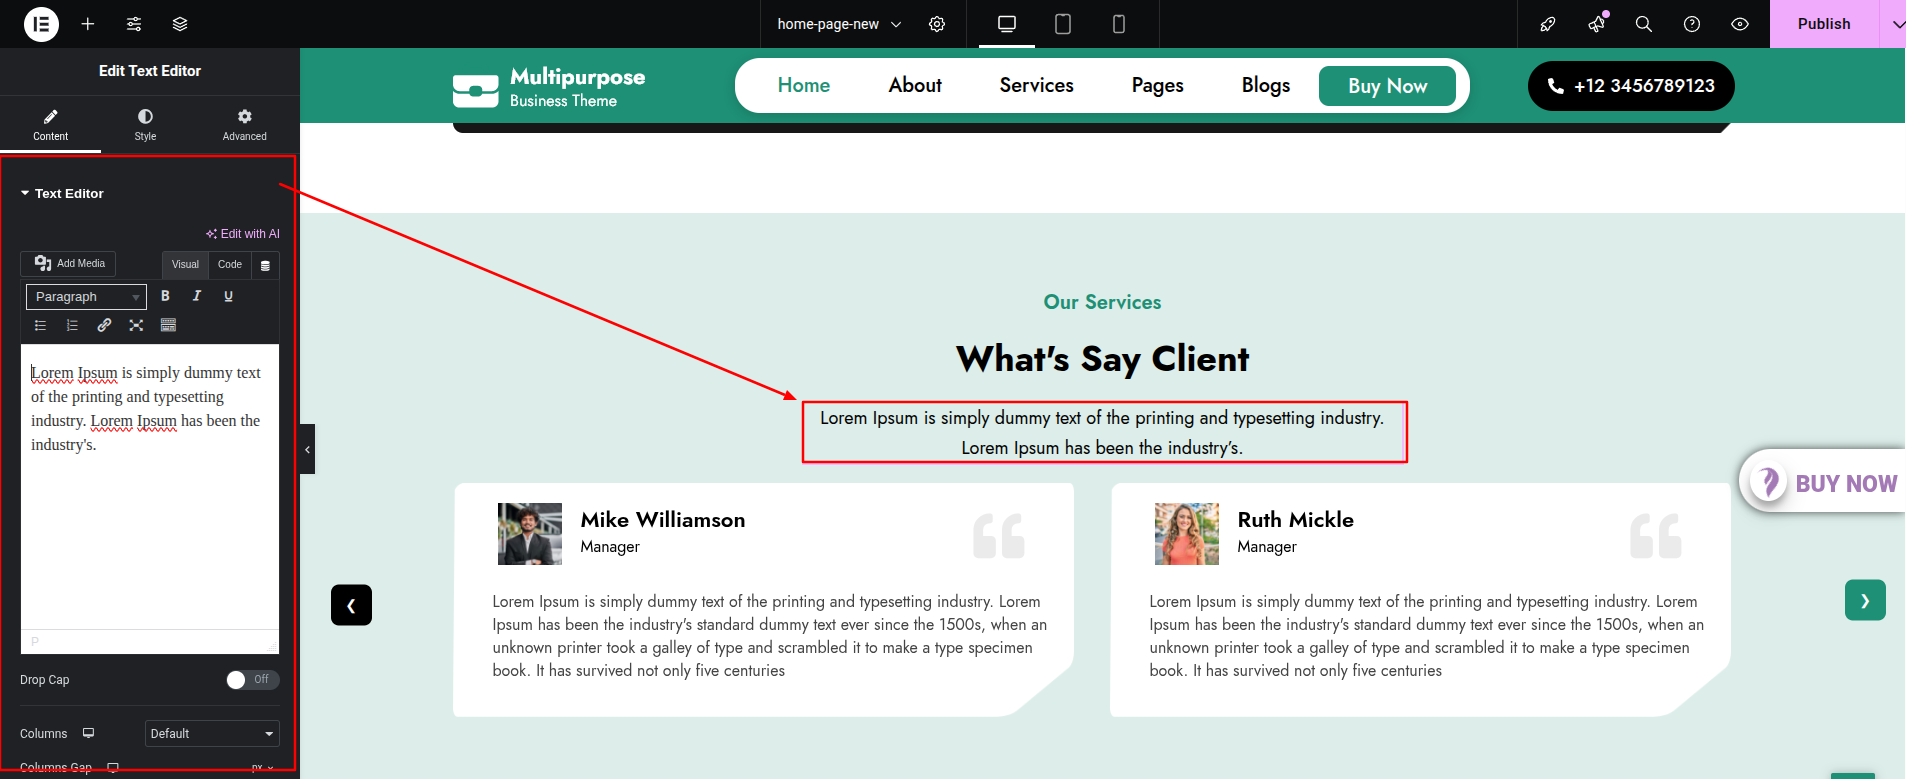
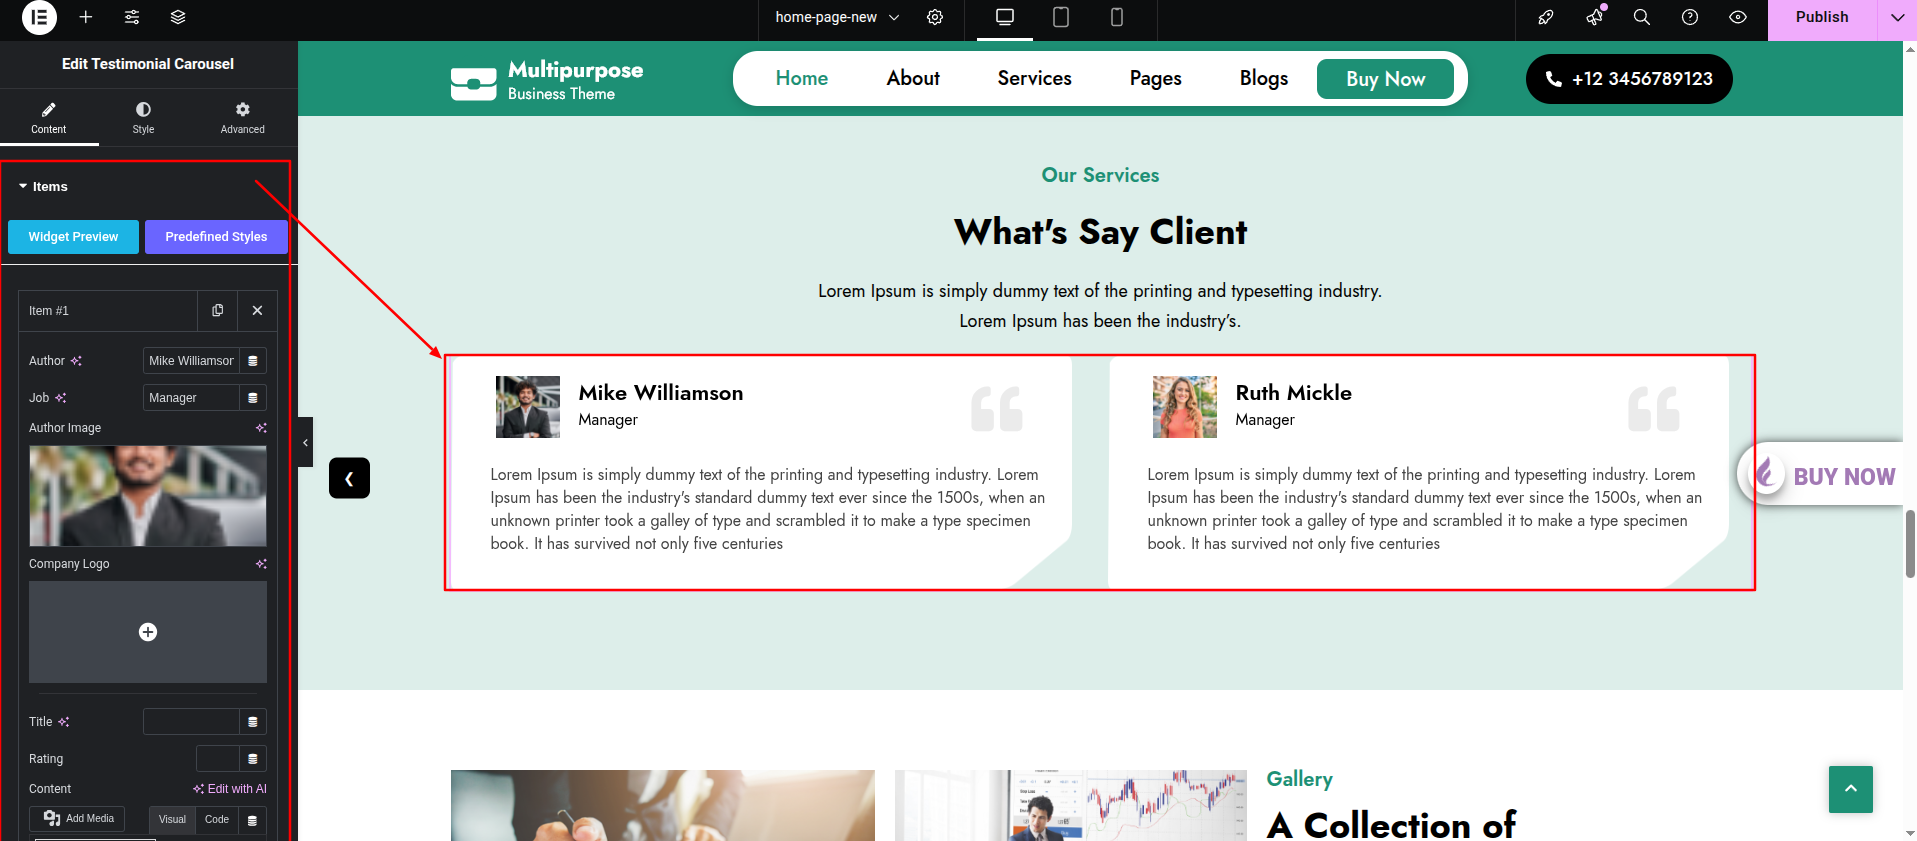
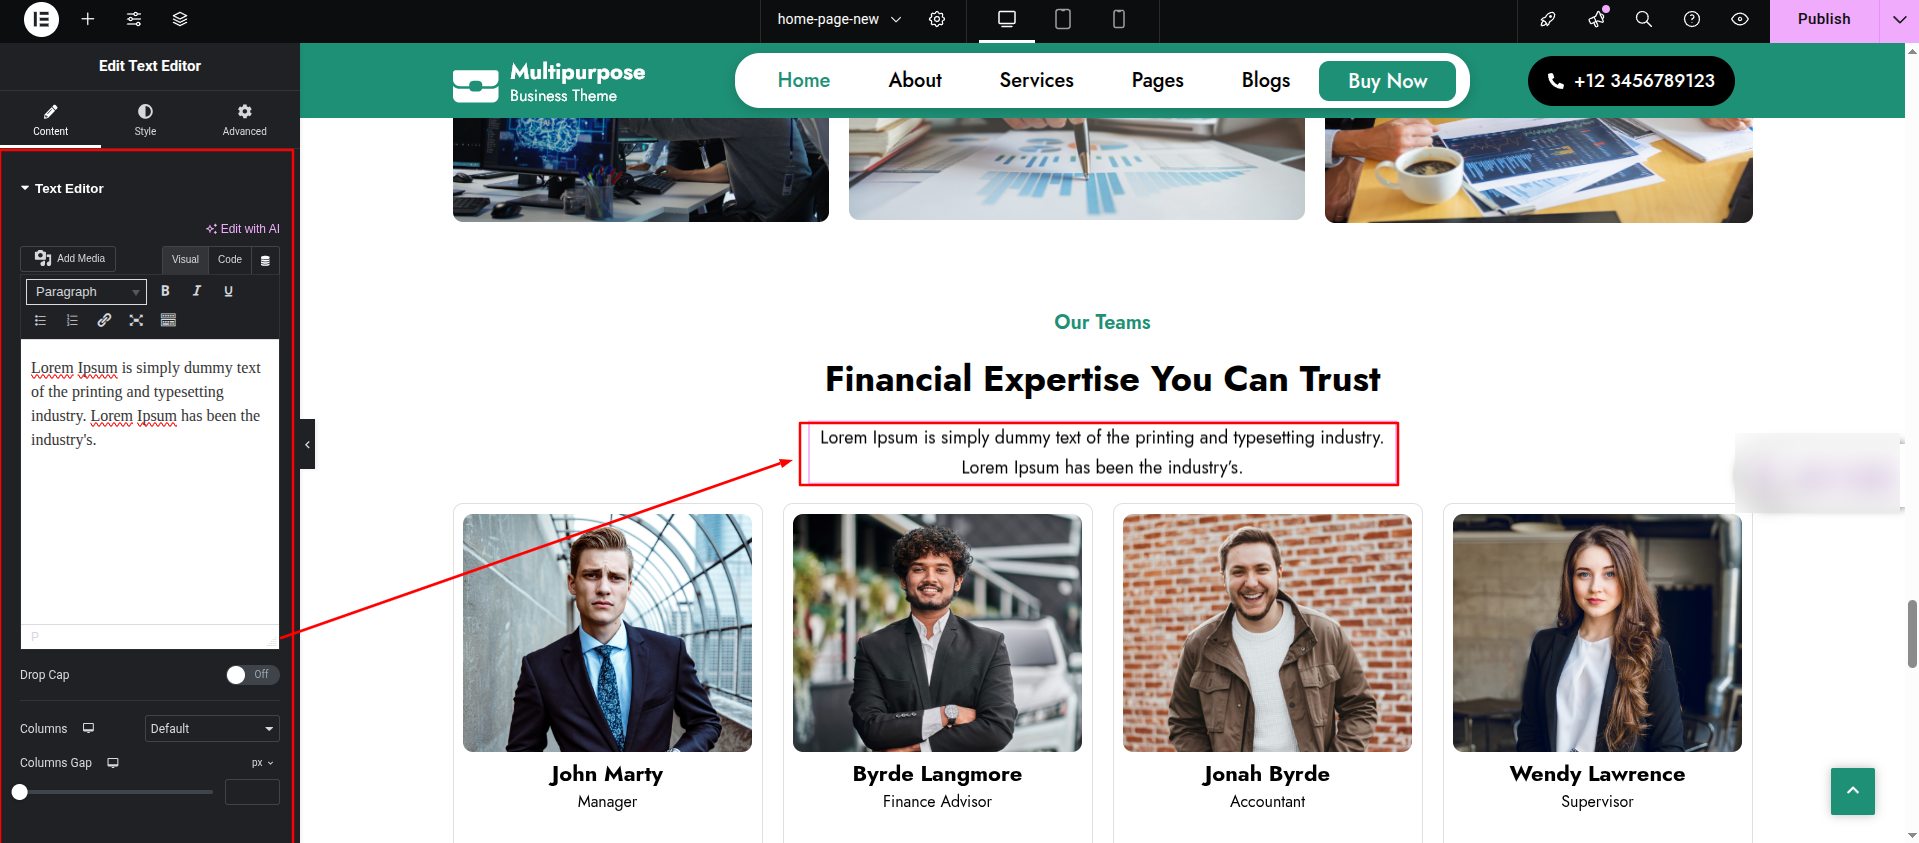
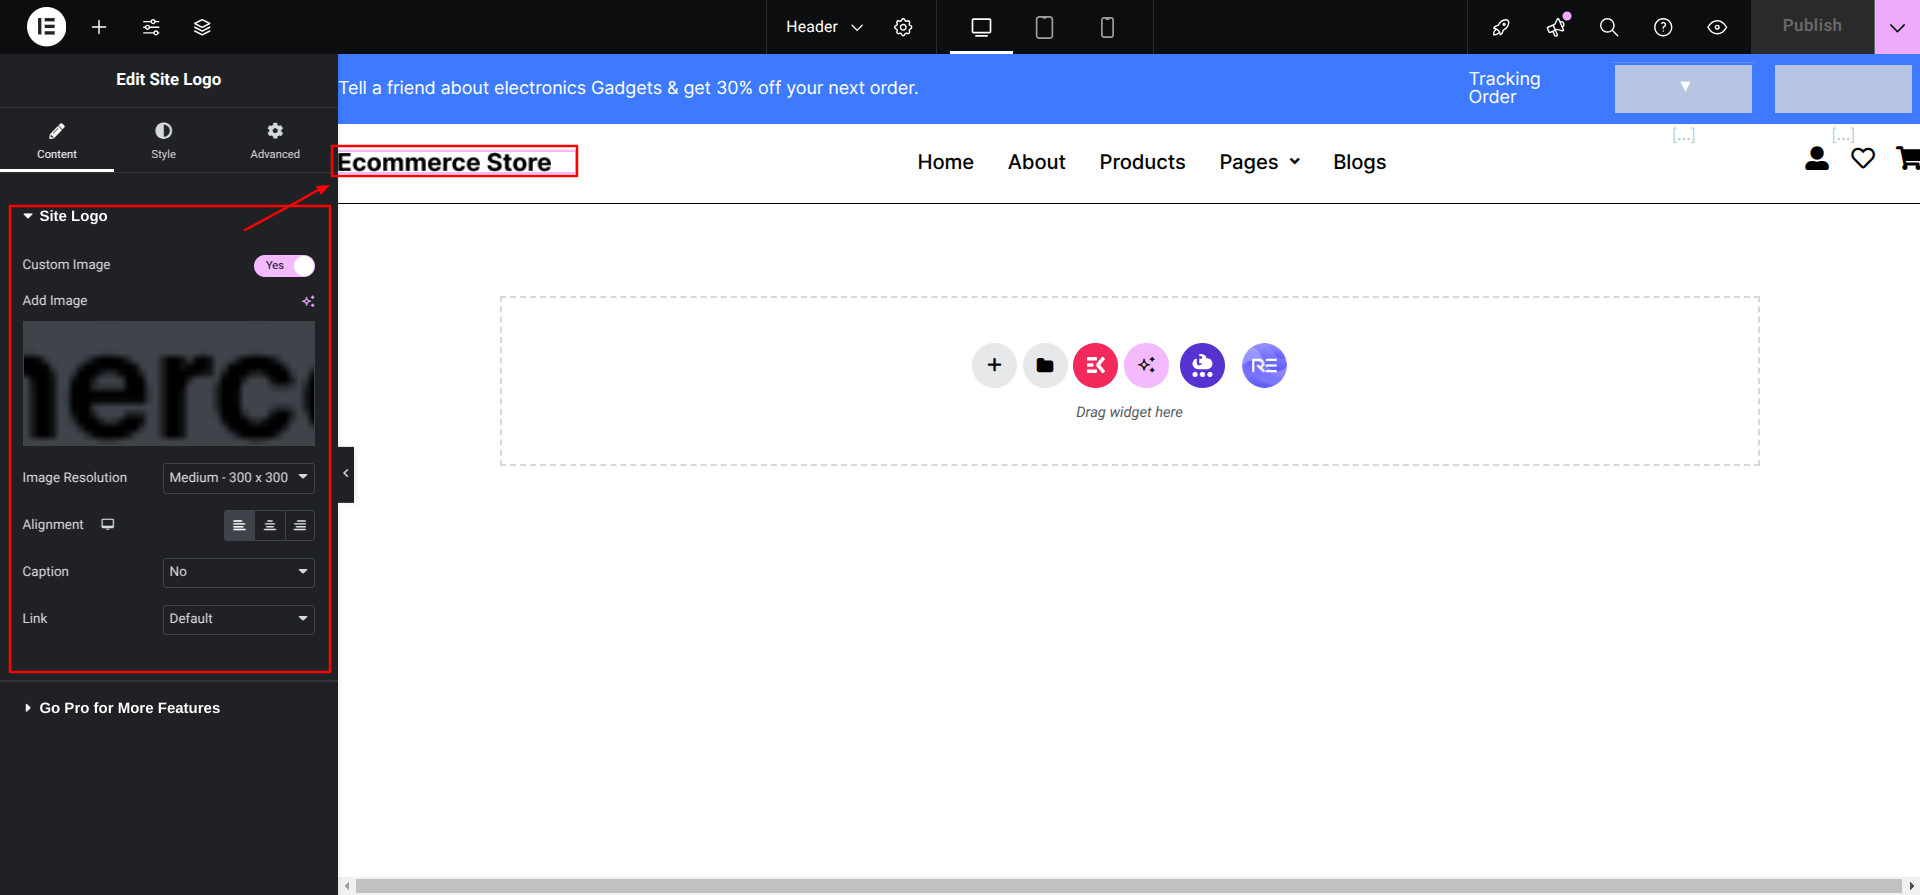
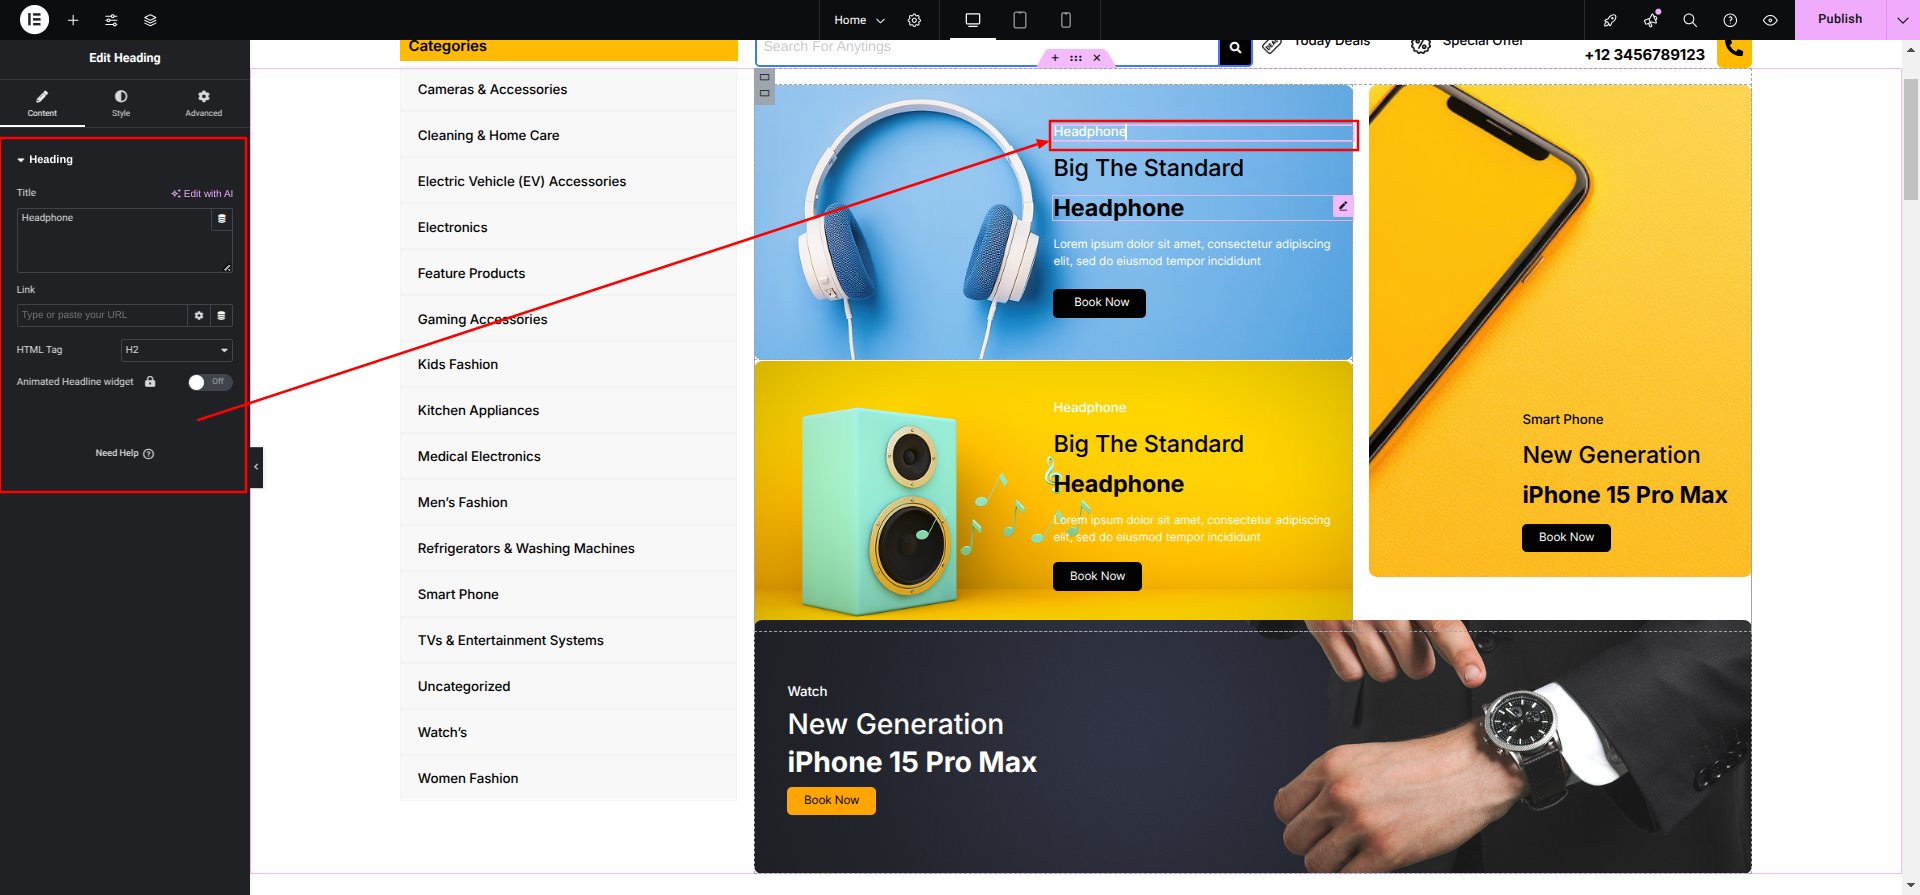
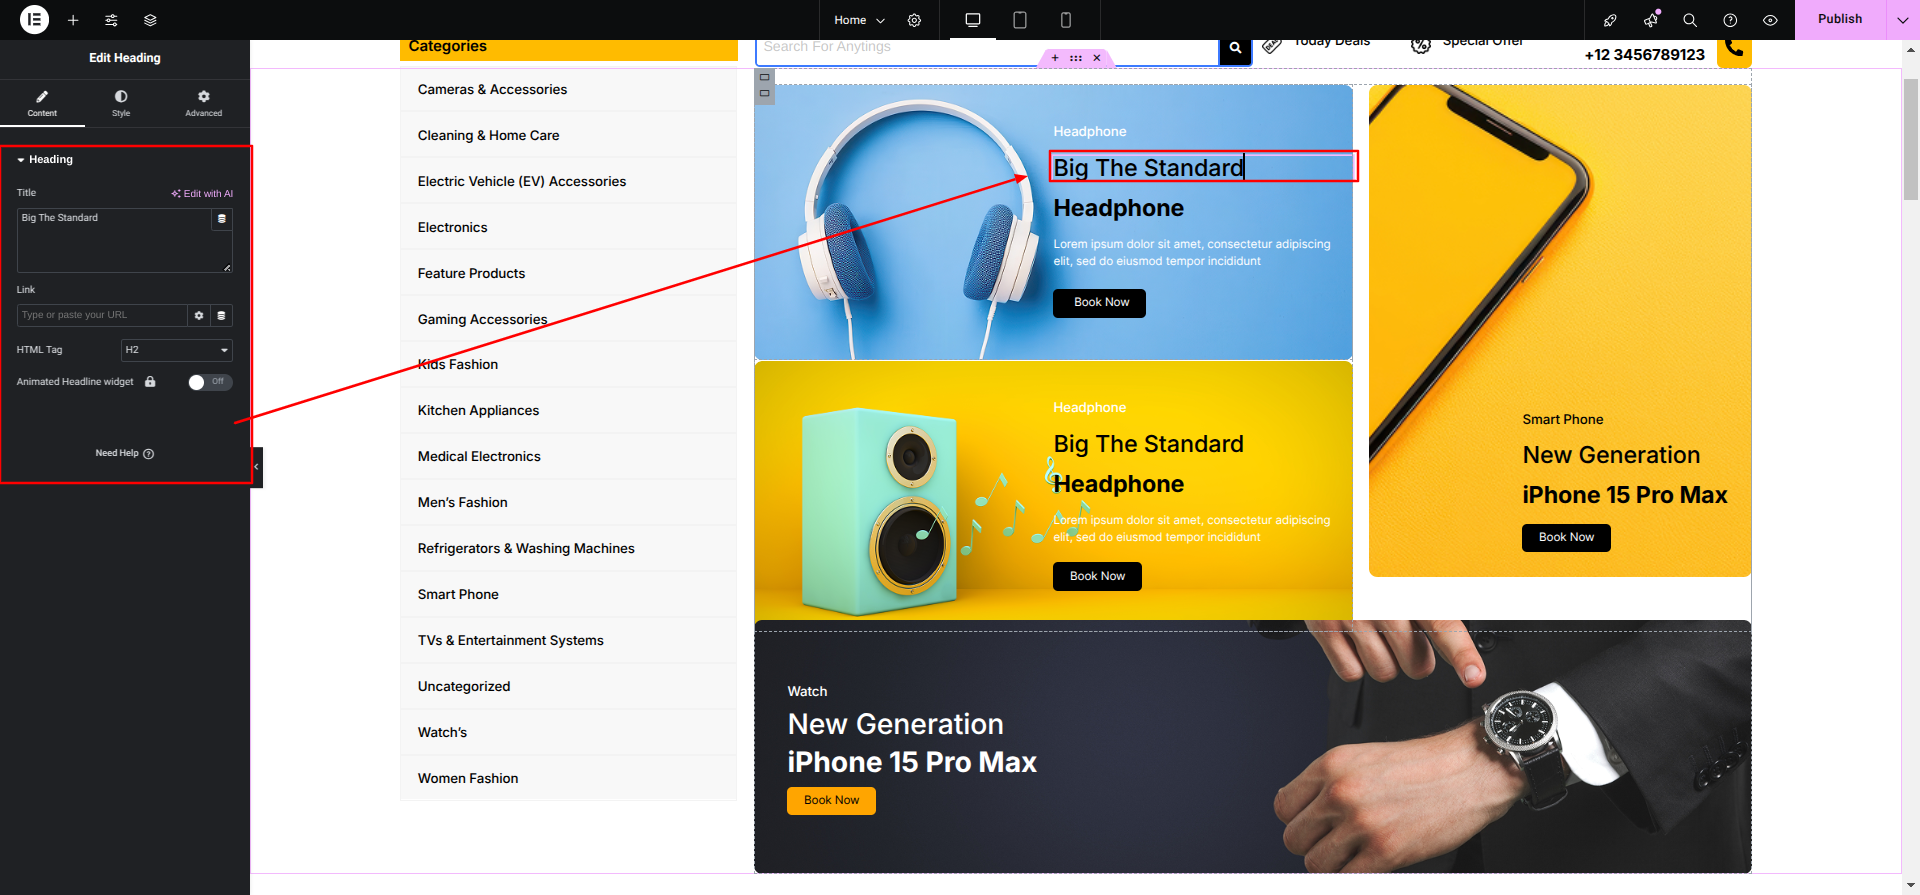
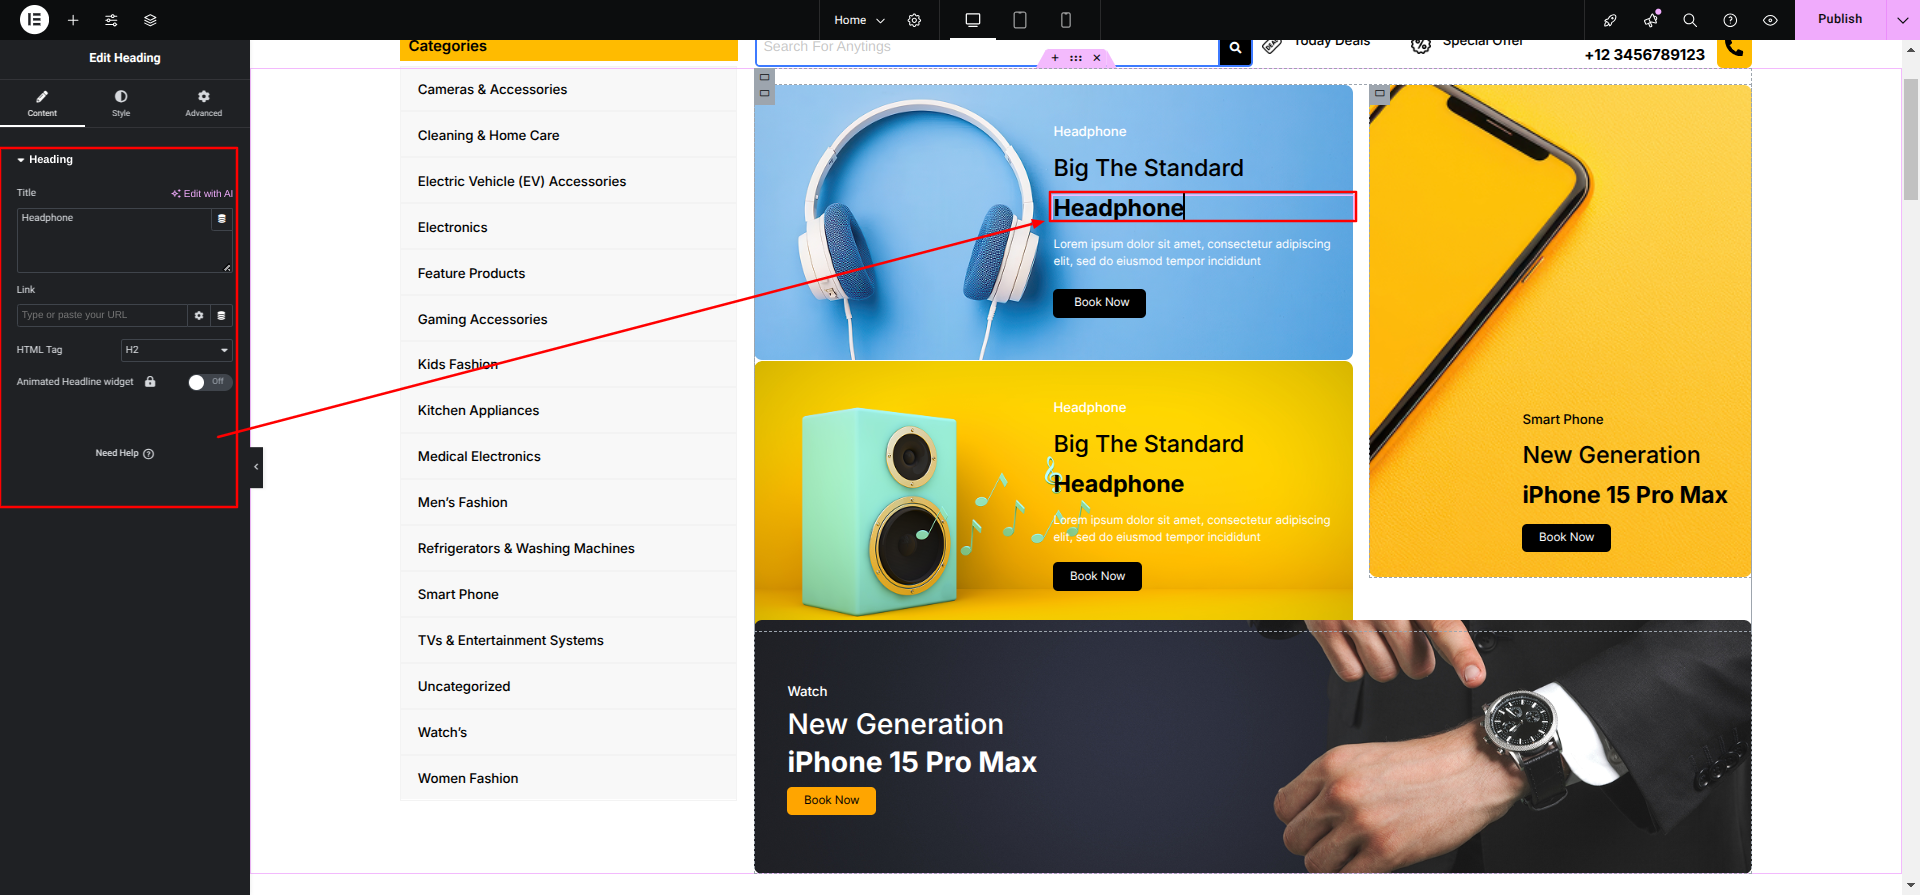
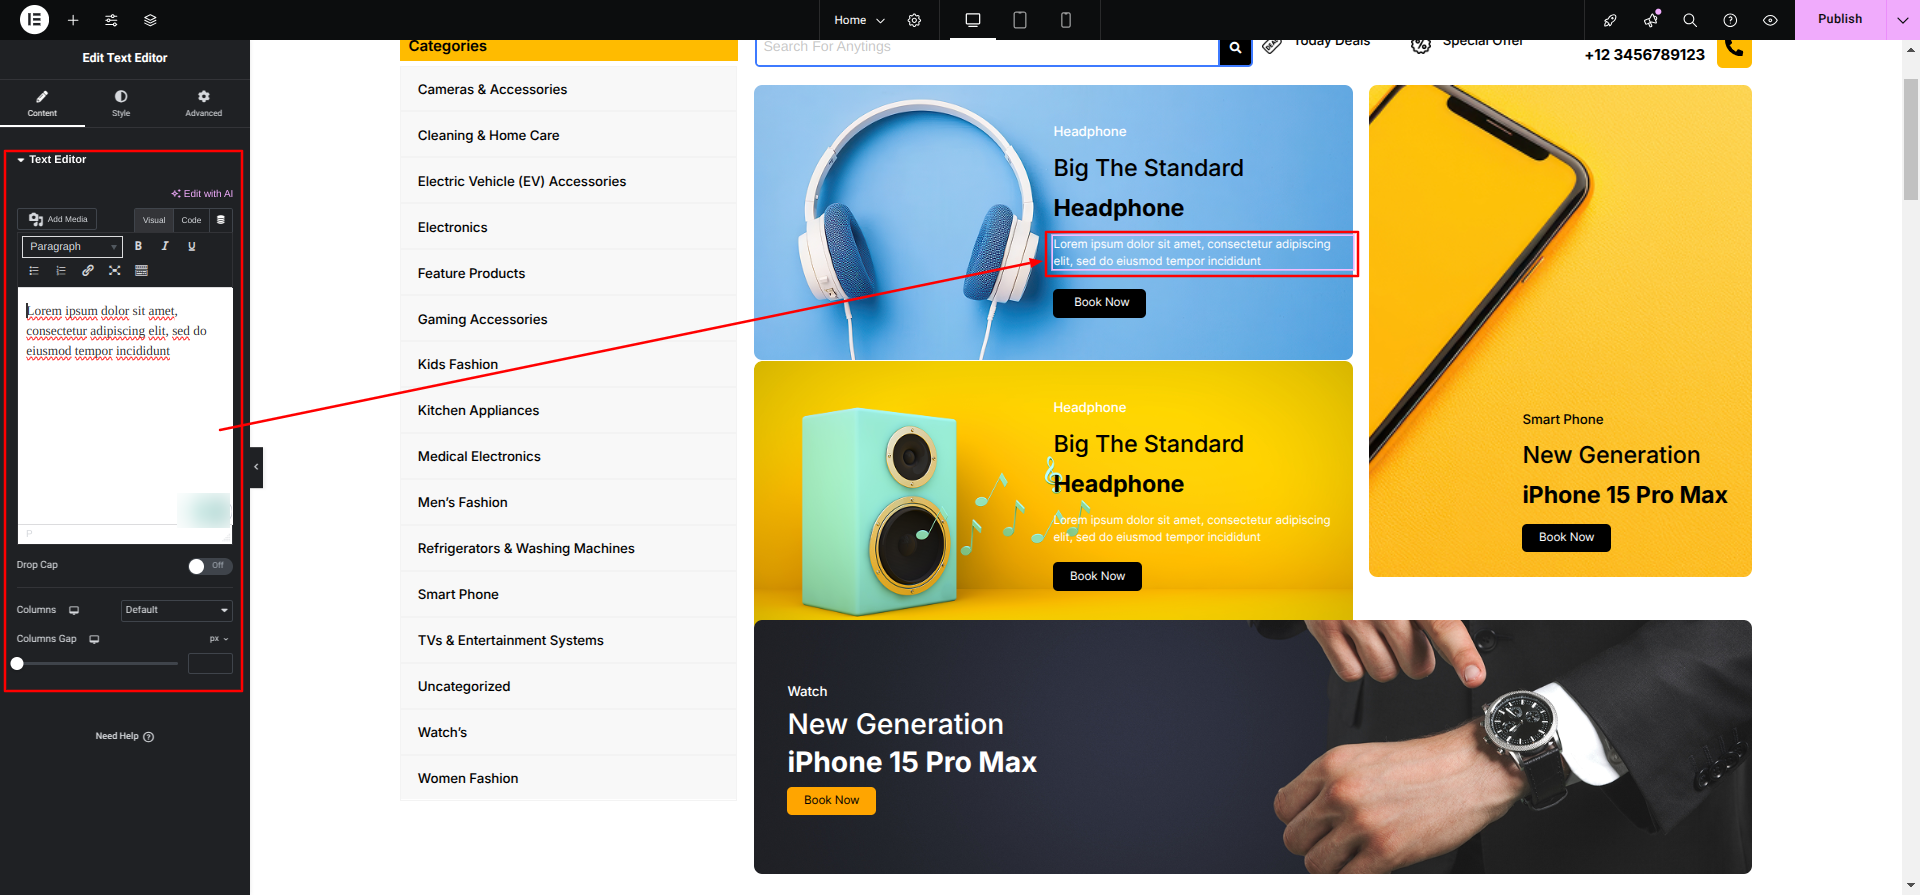
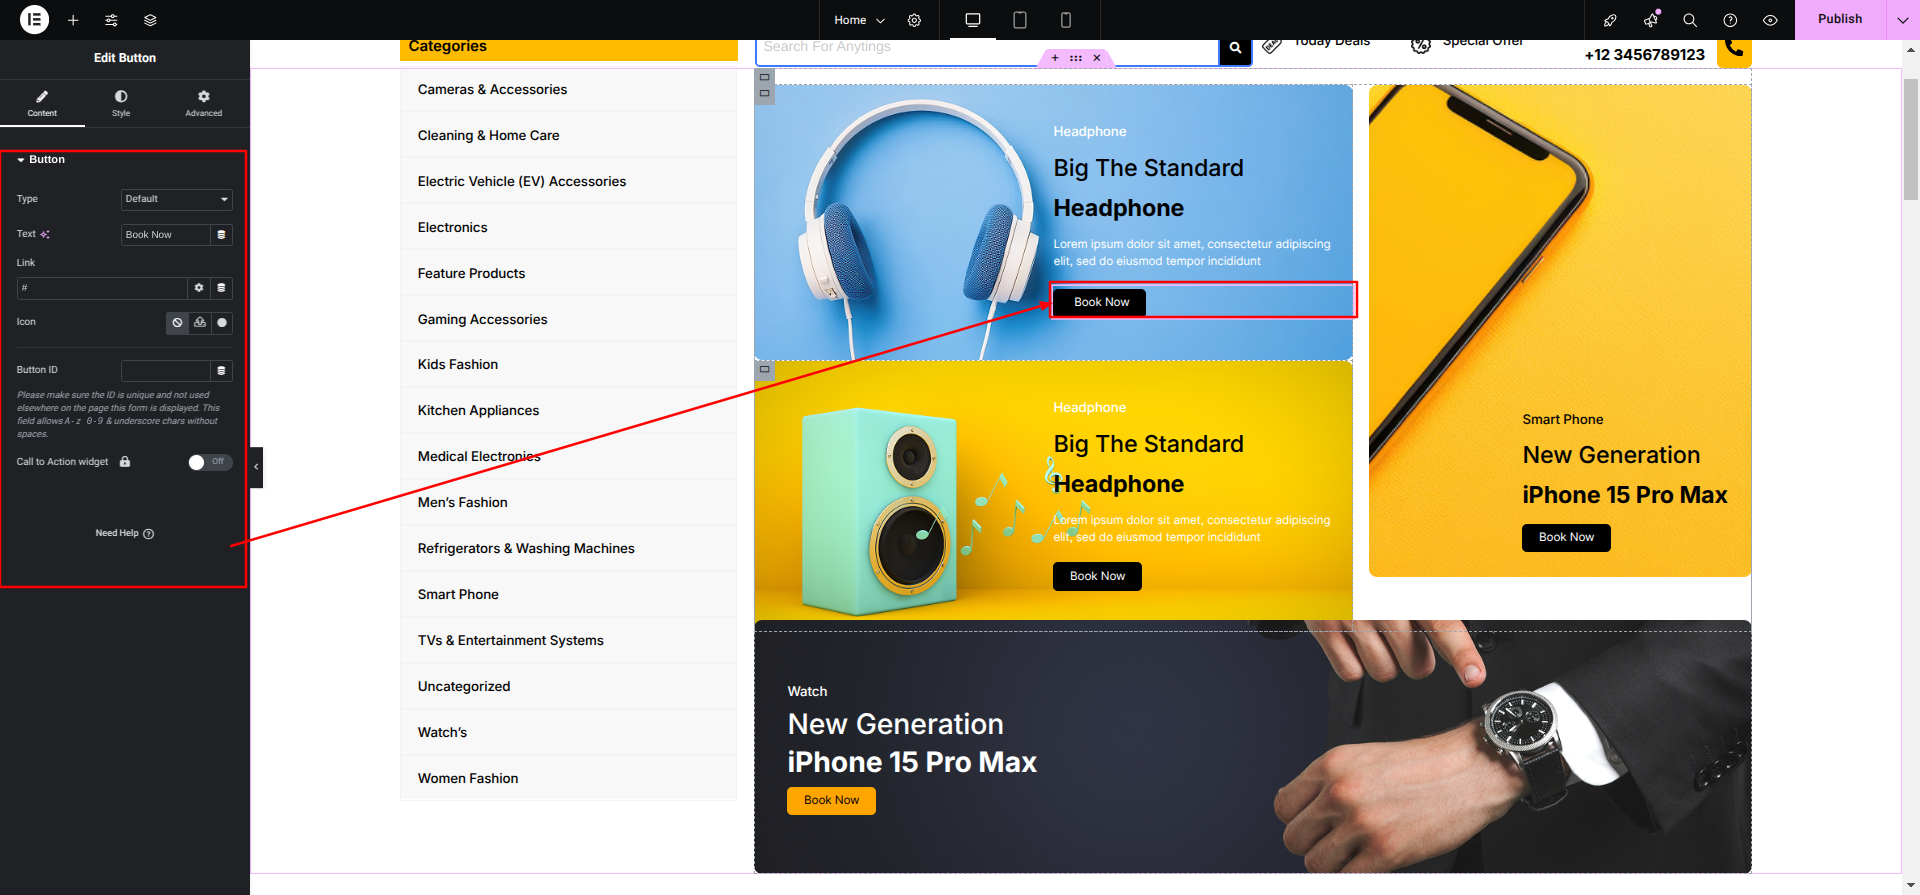
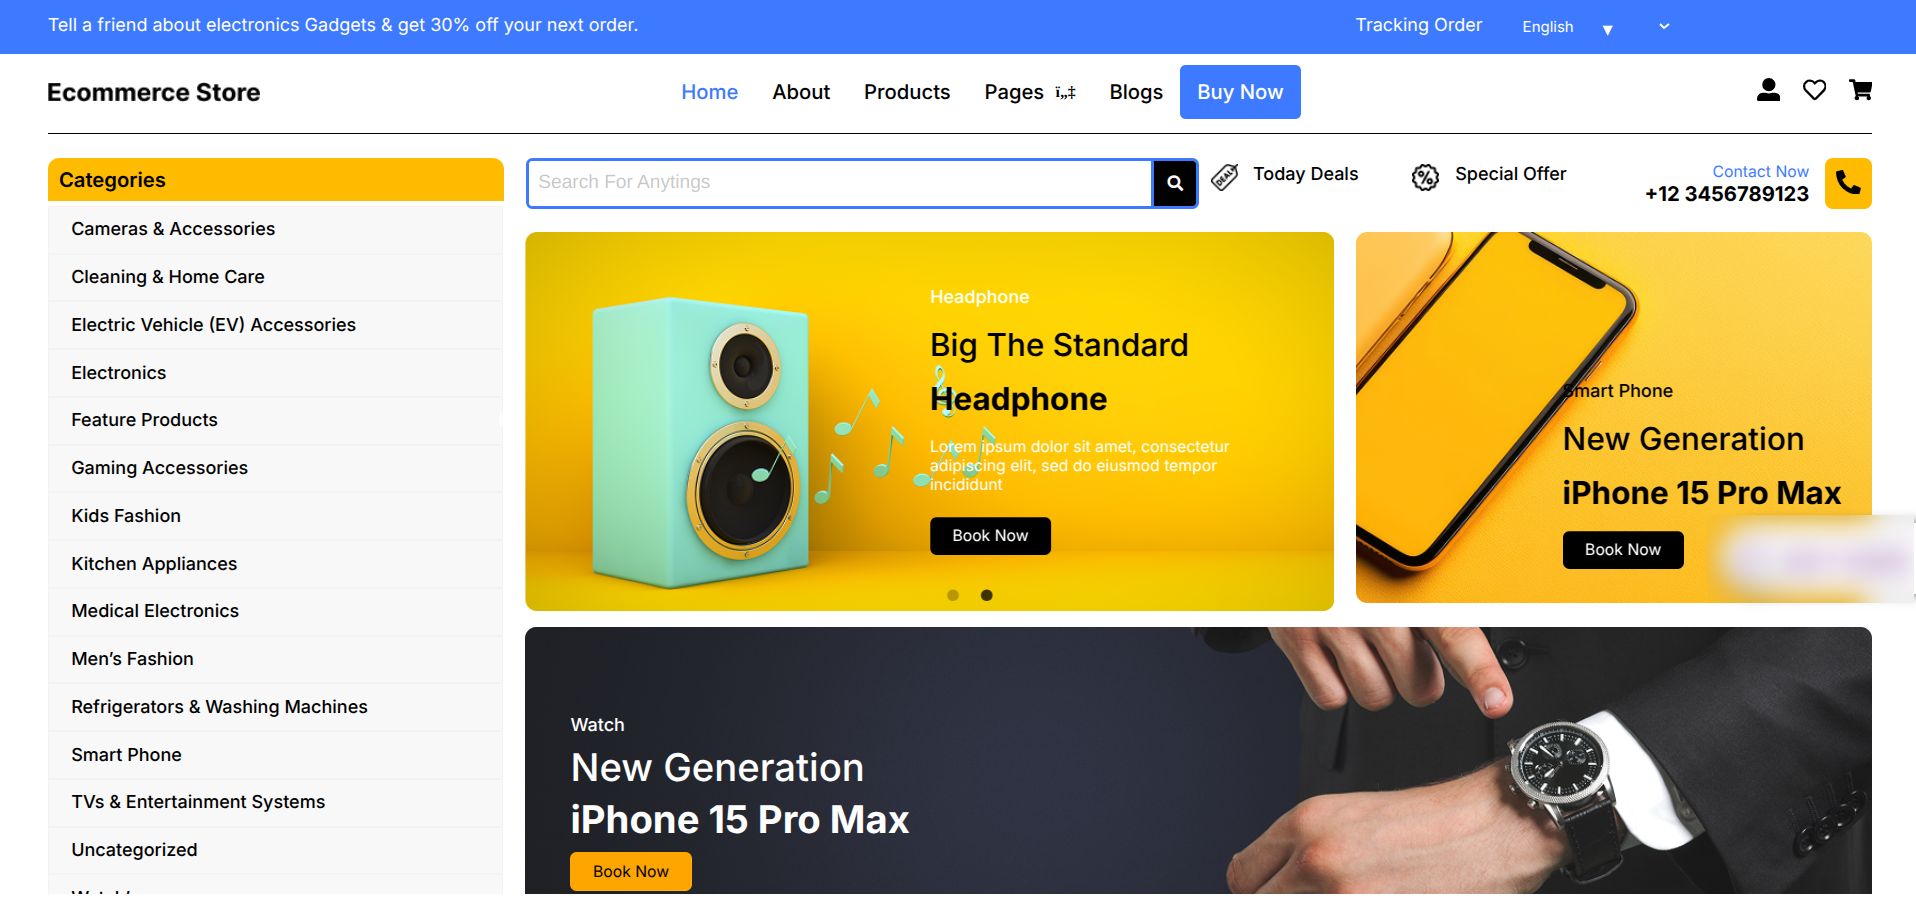
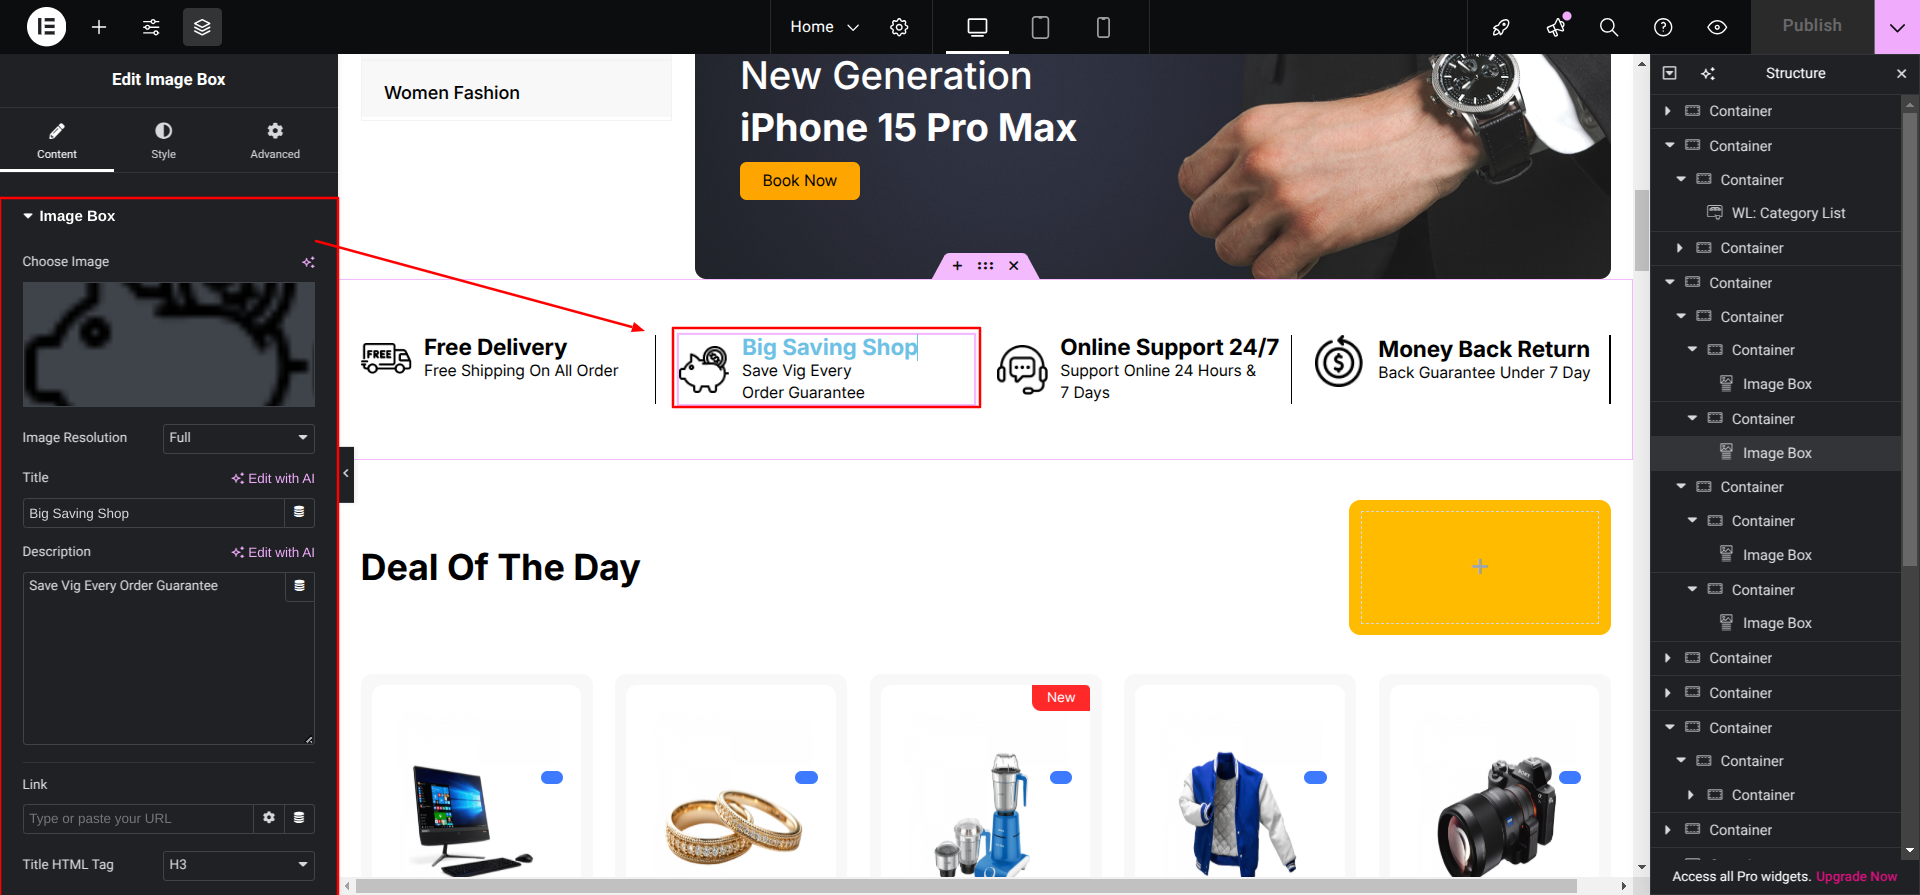
Setup Banner Section
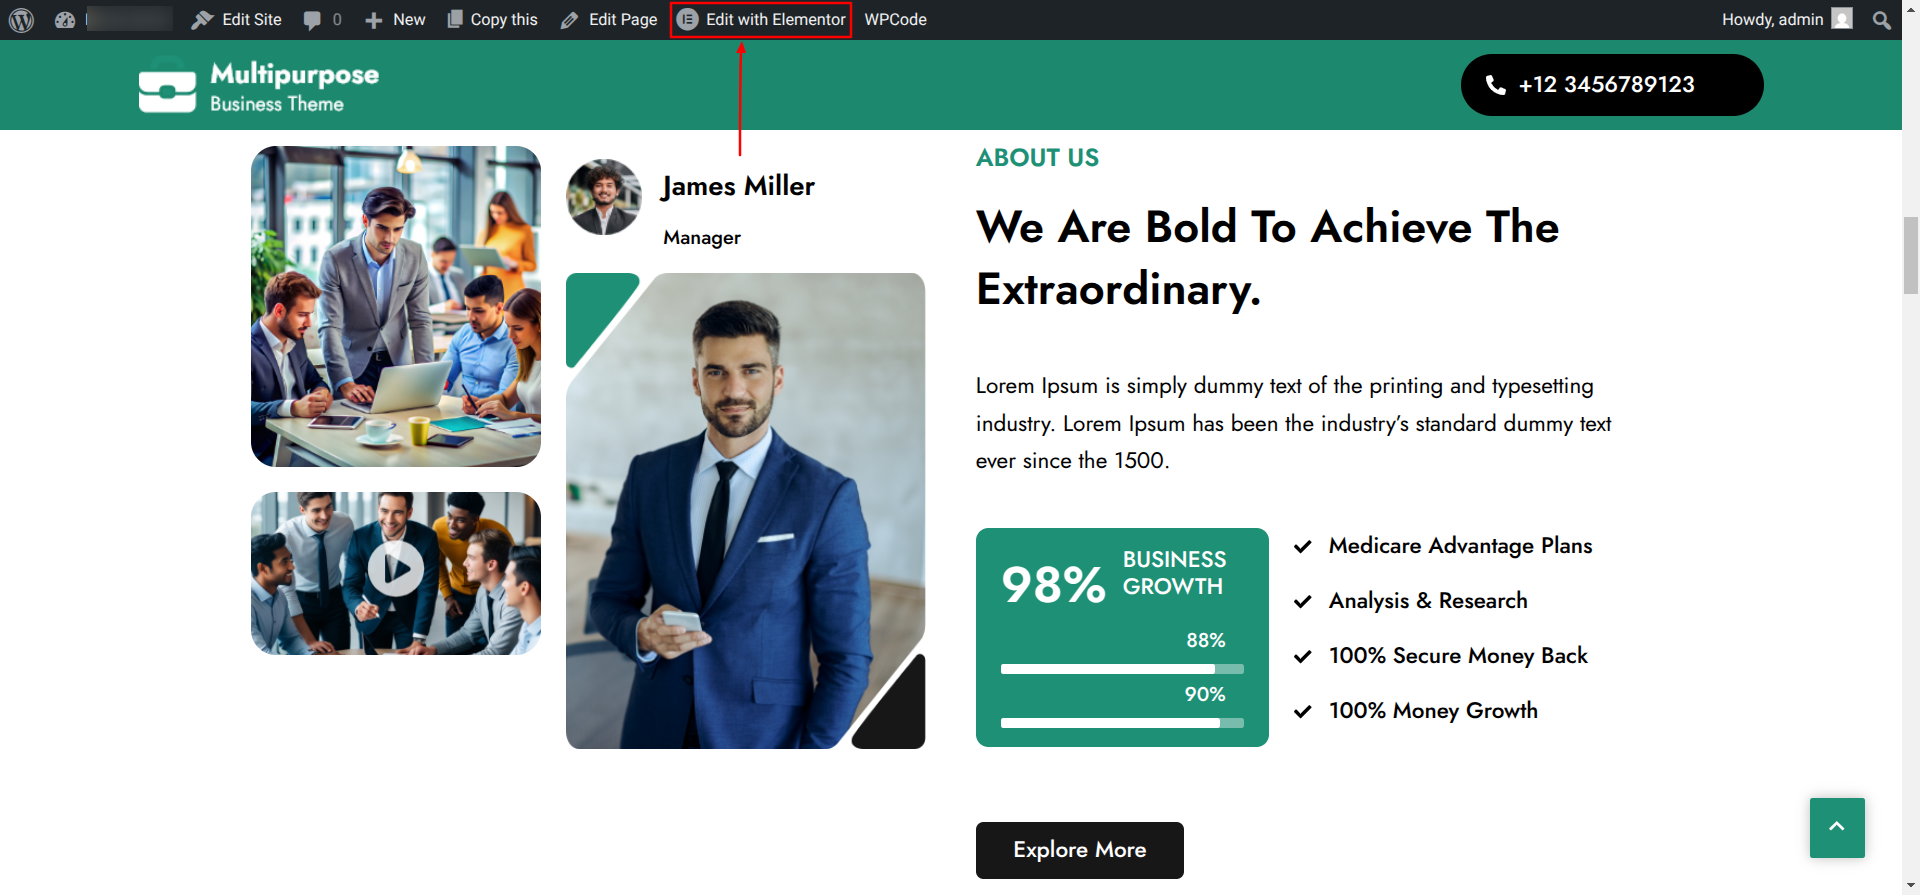
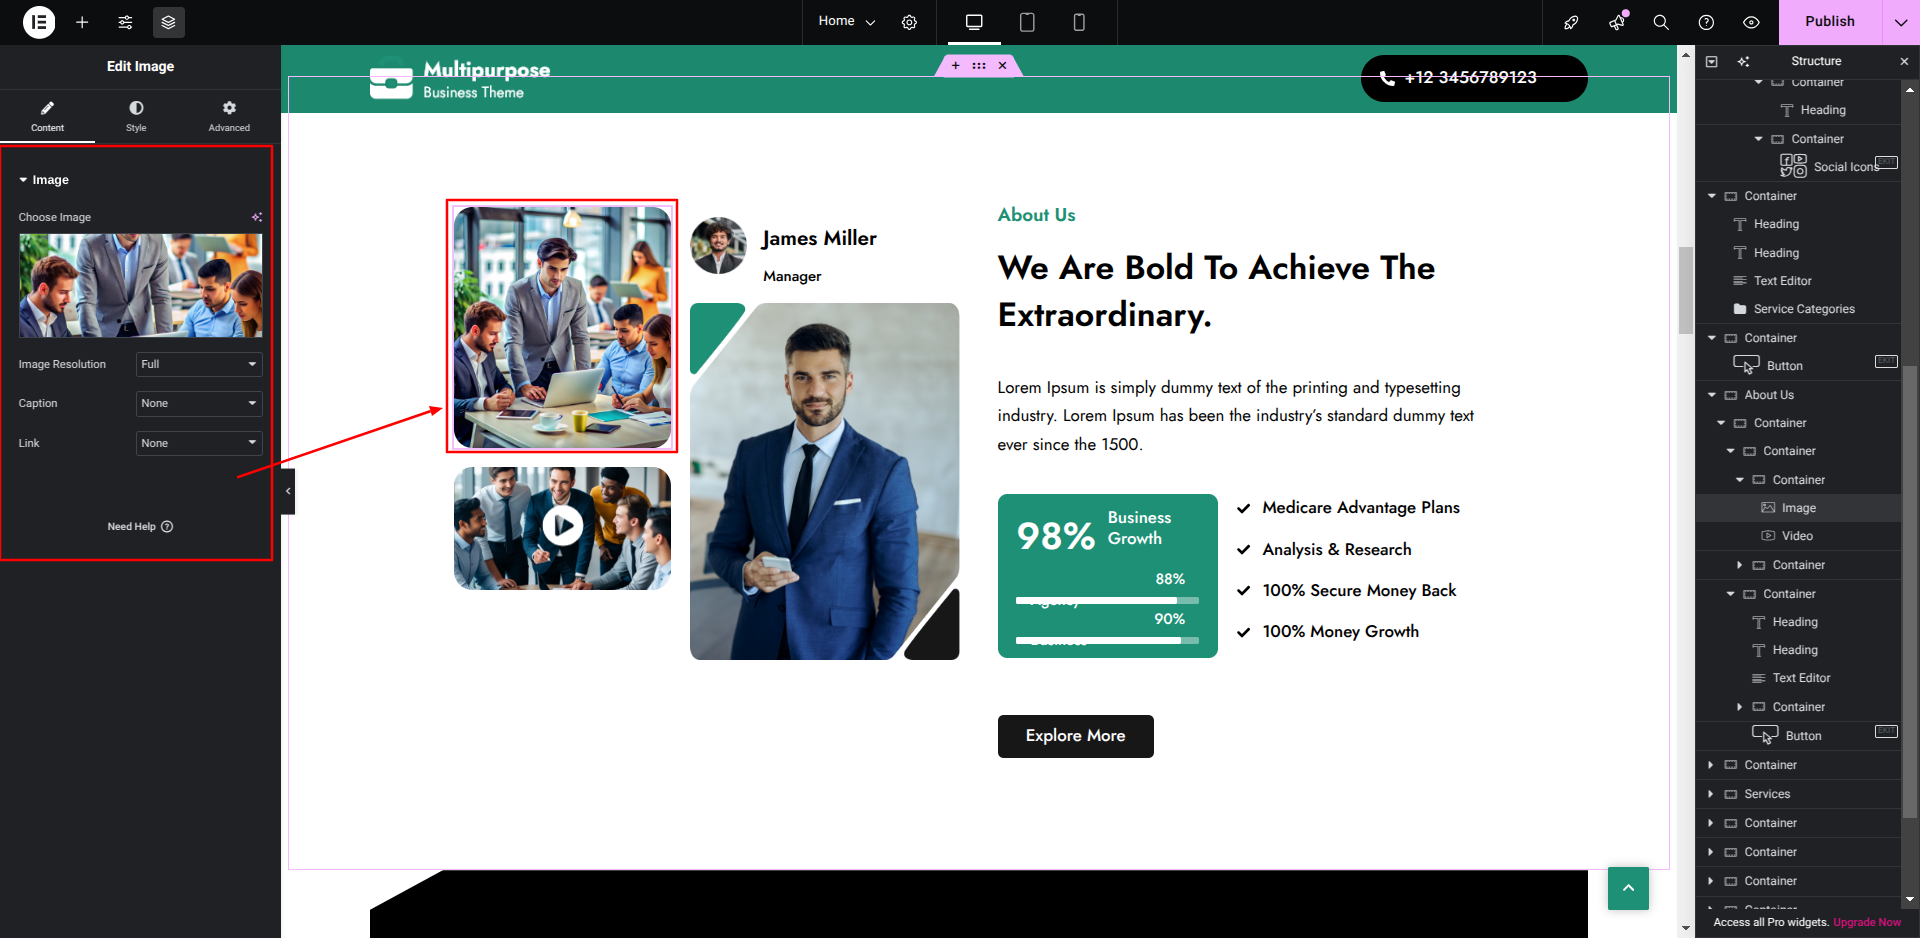
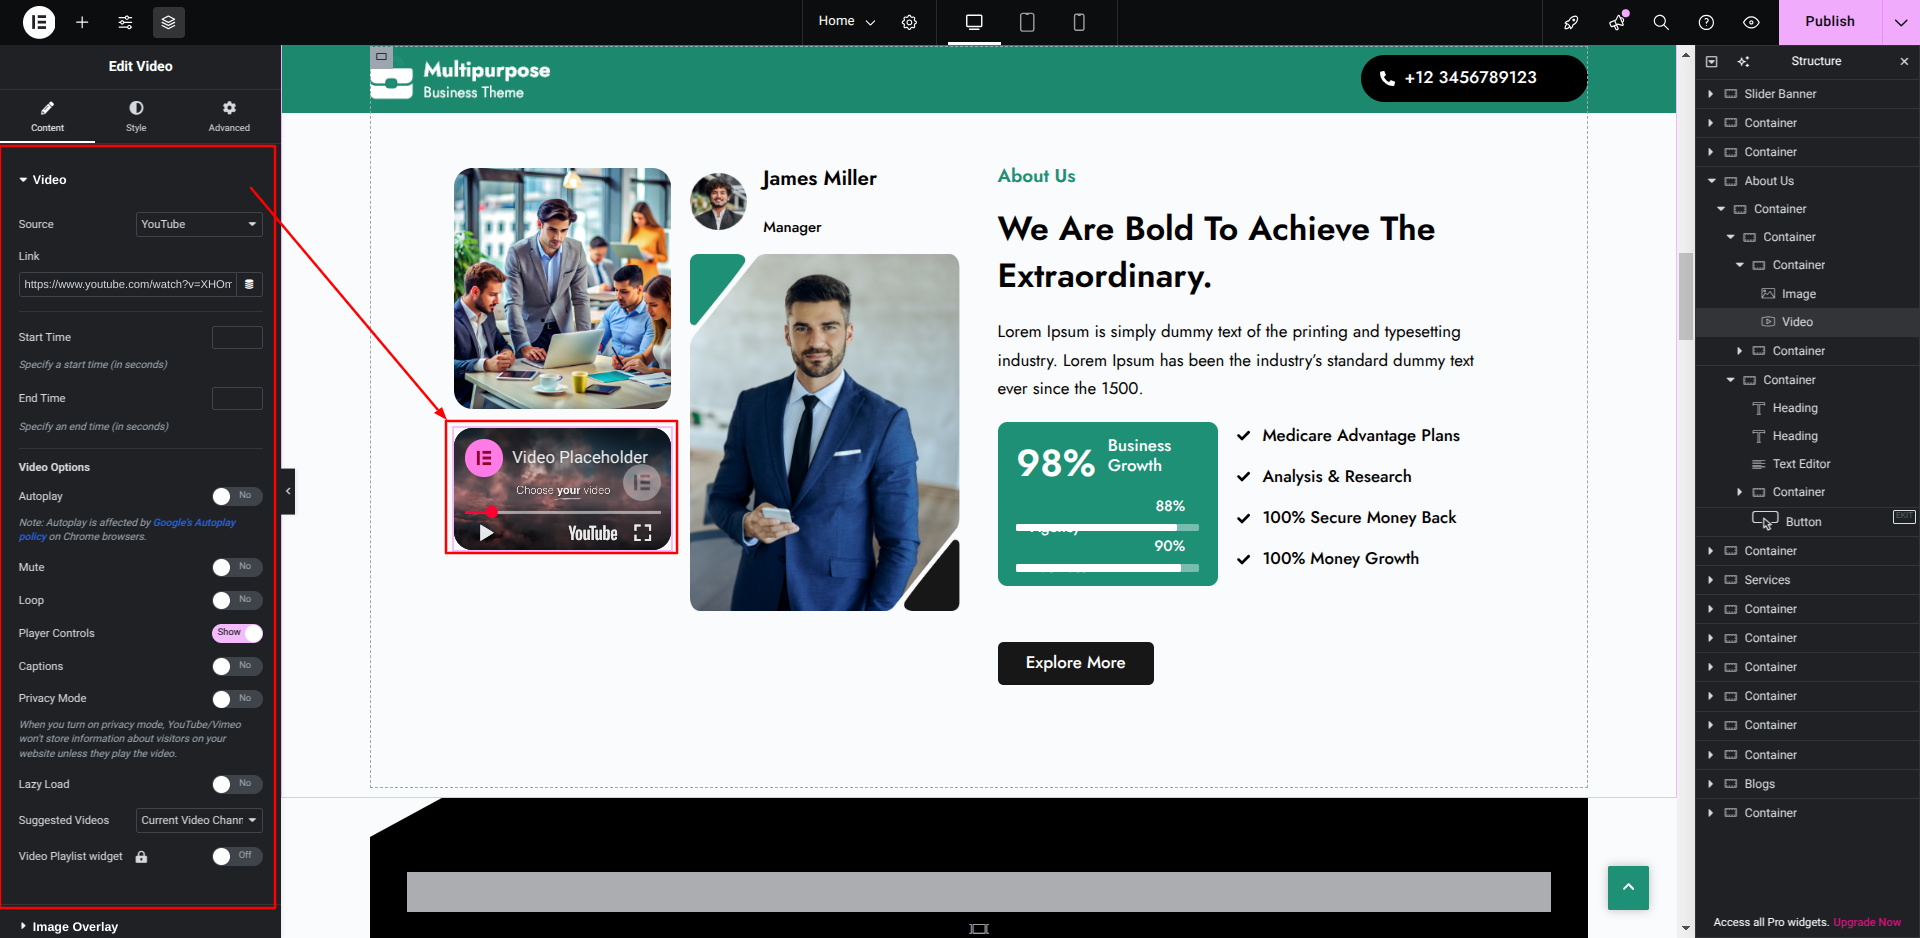
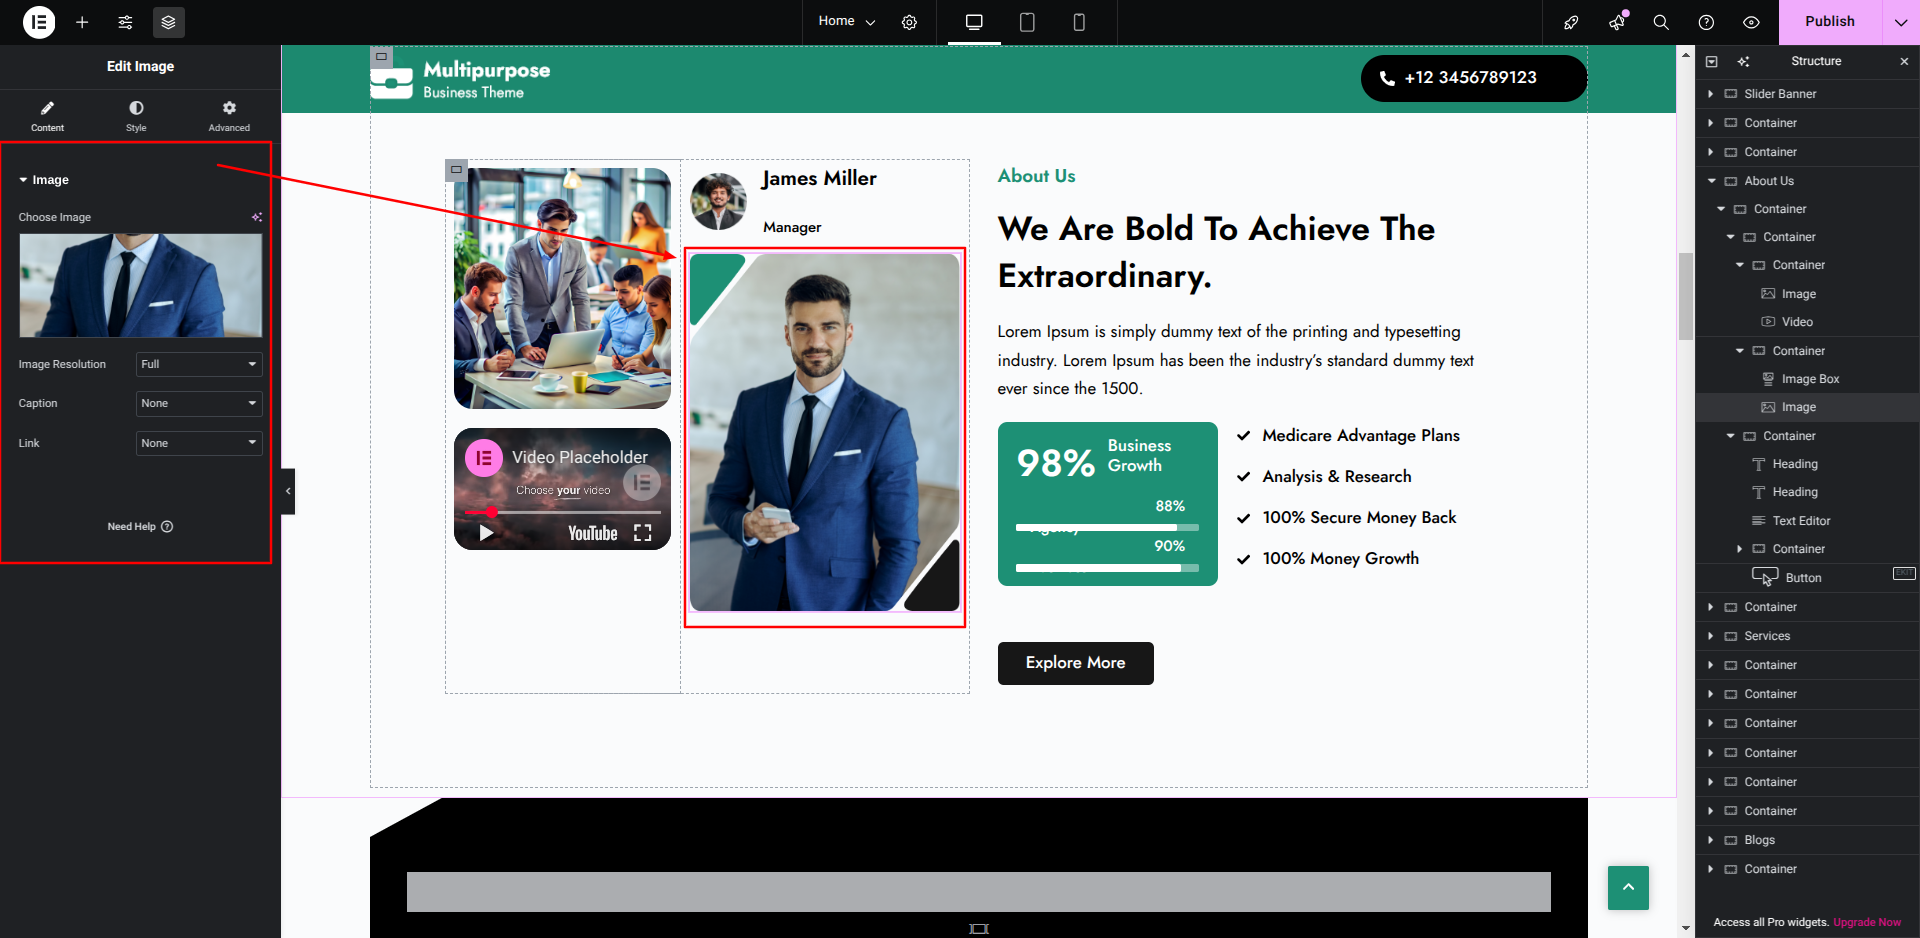
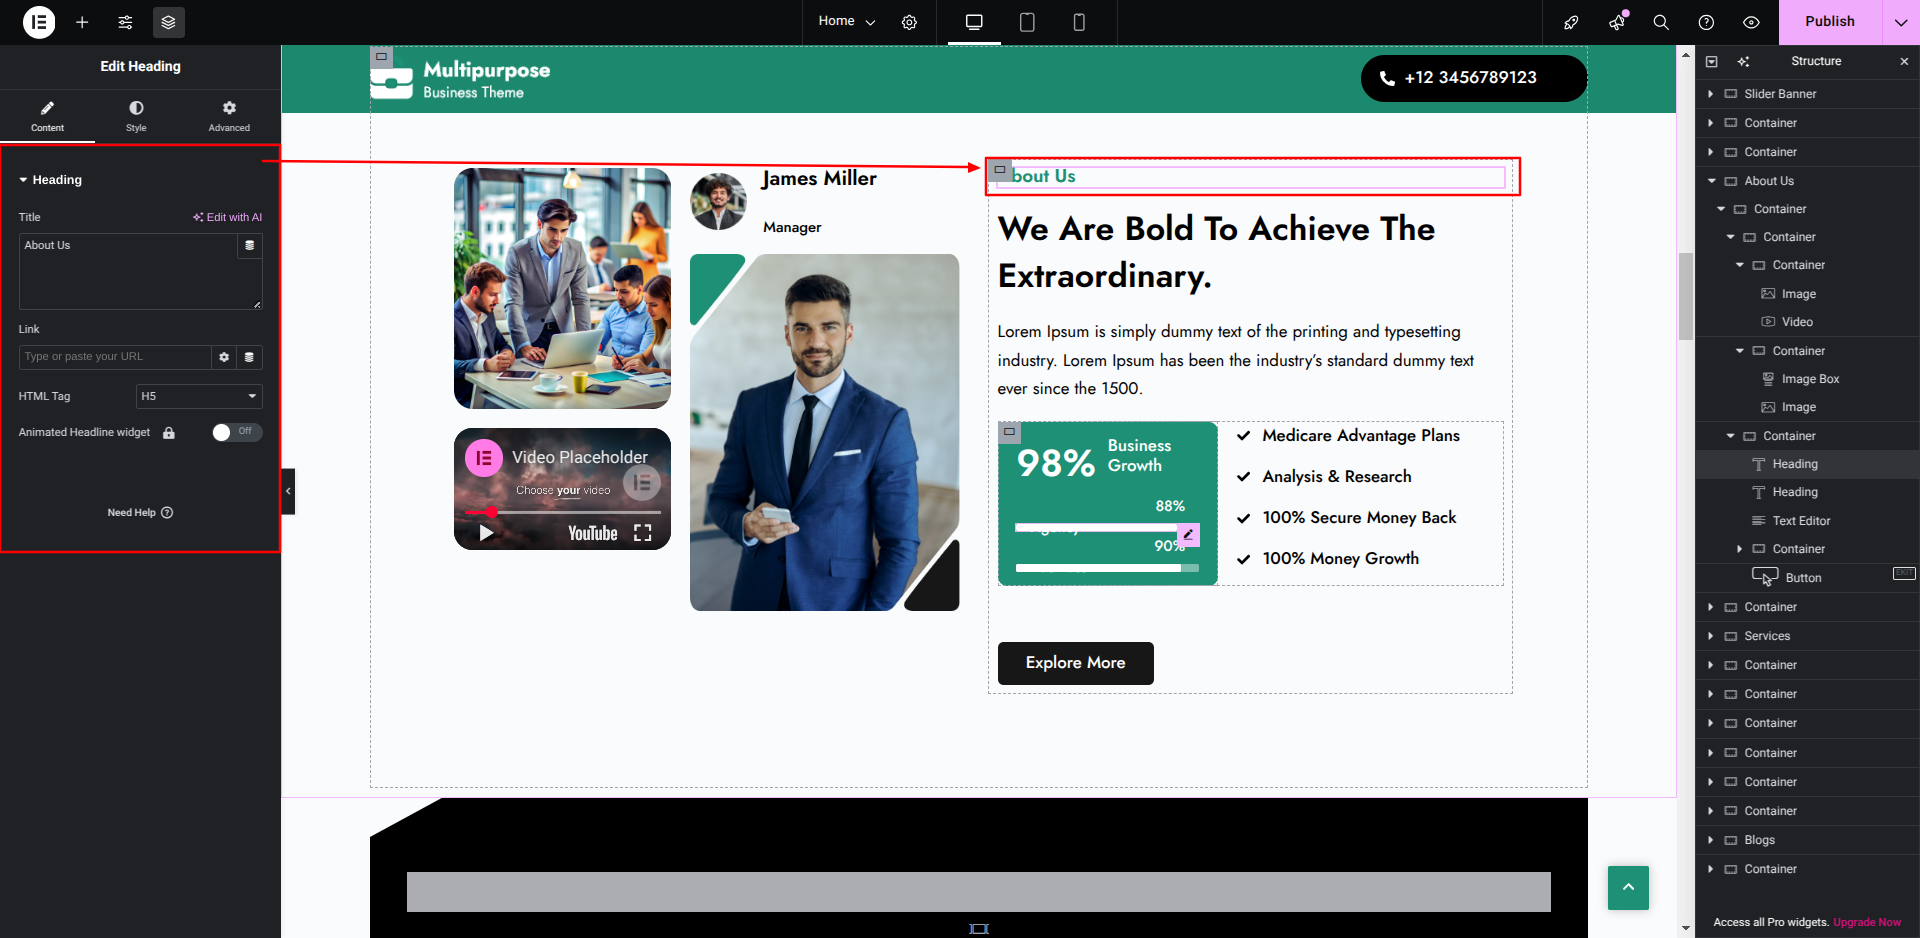
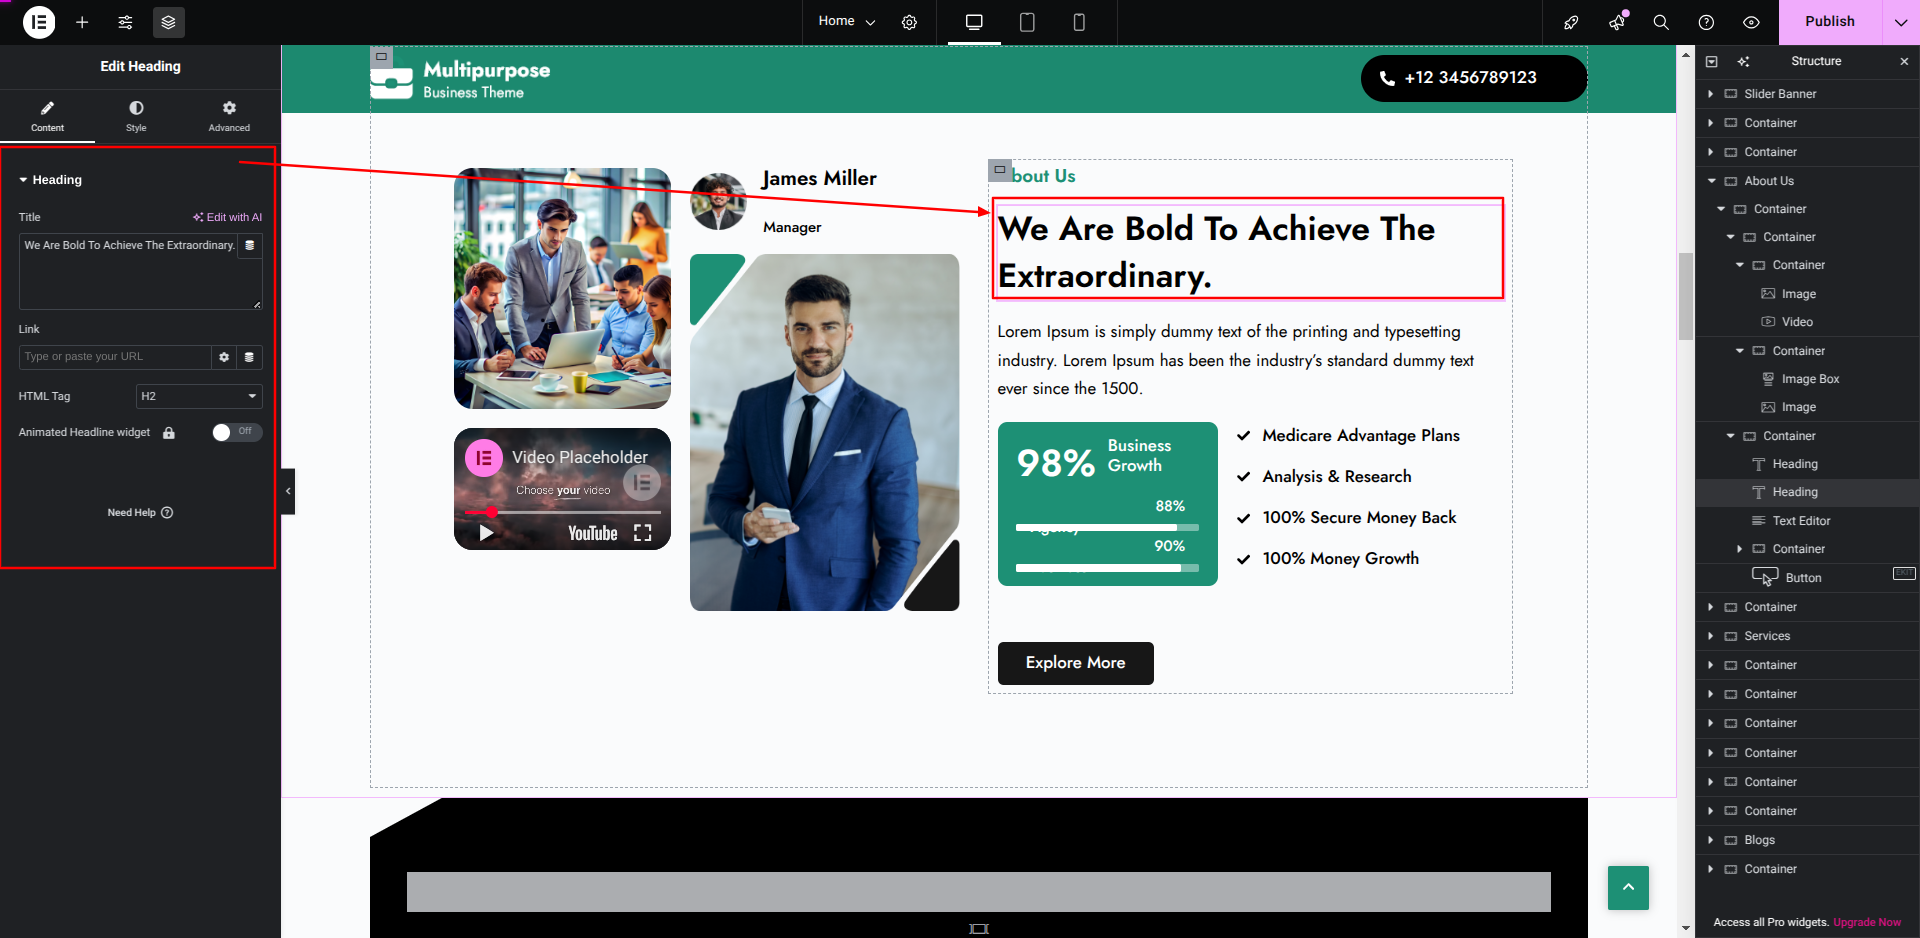
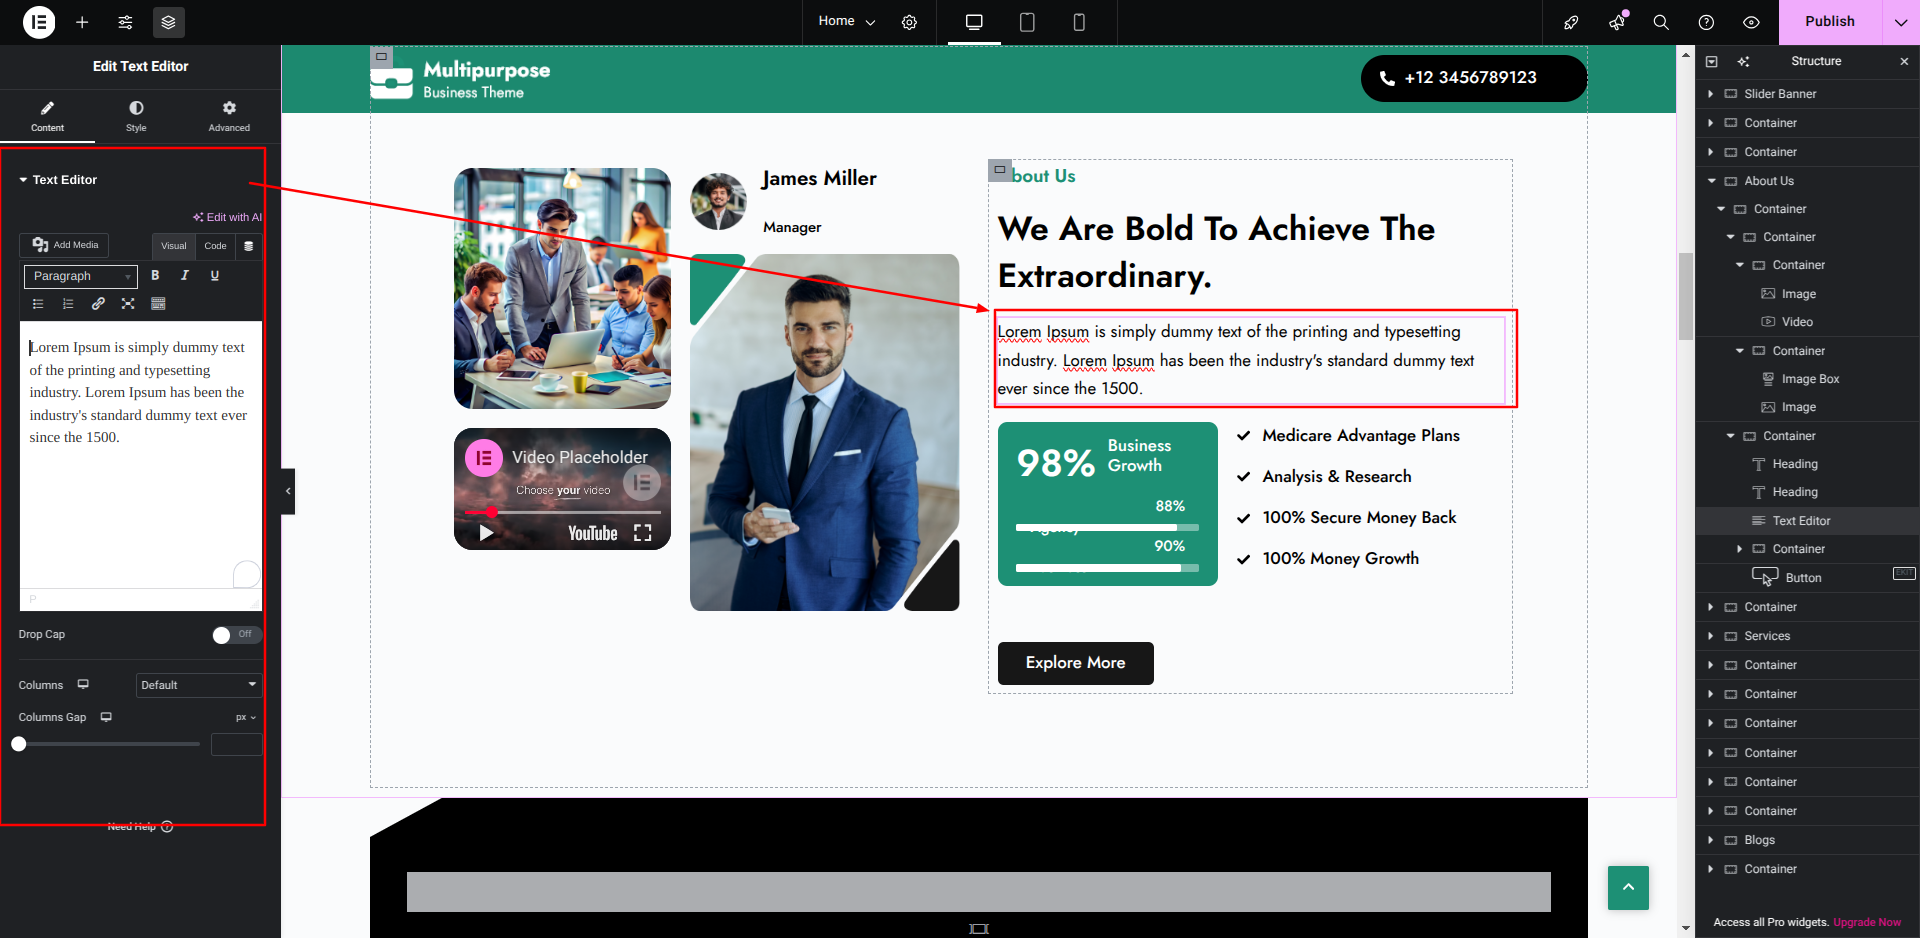
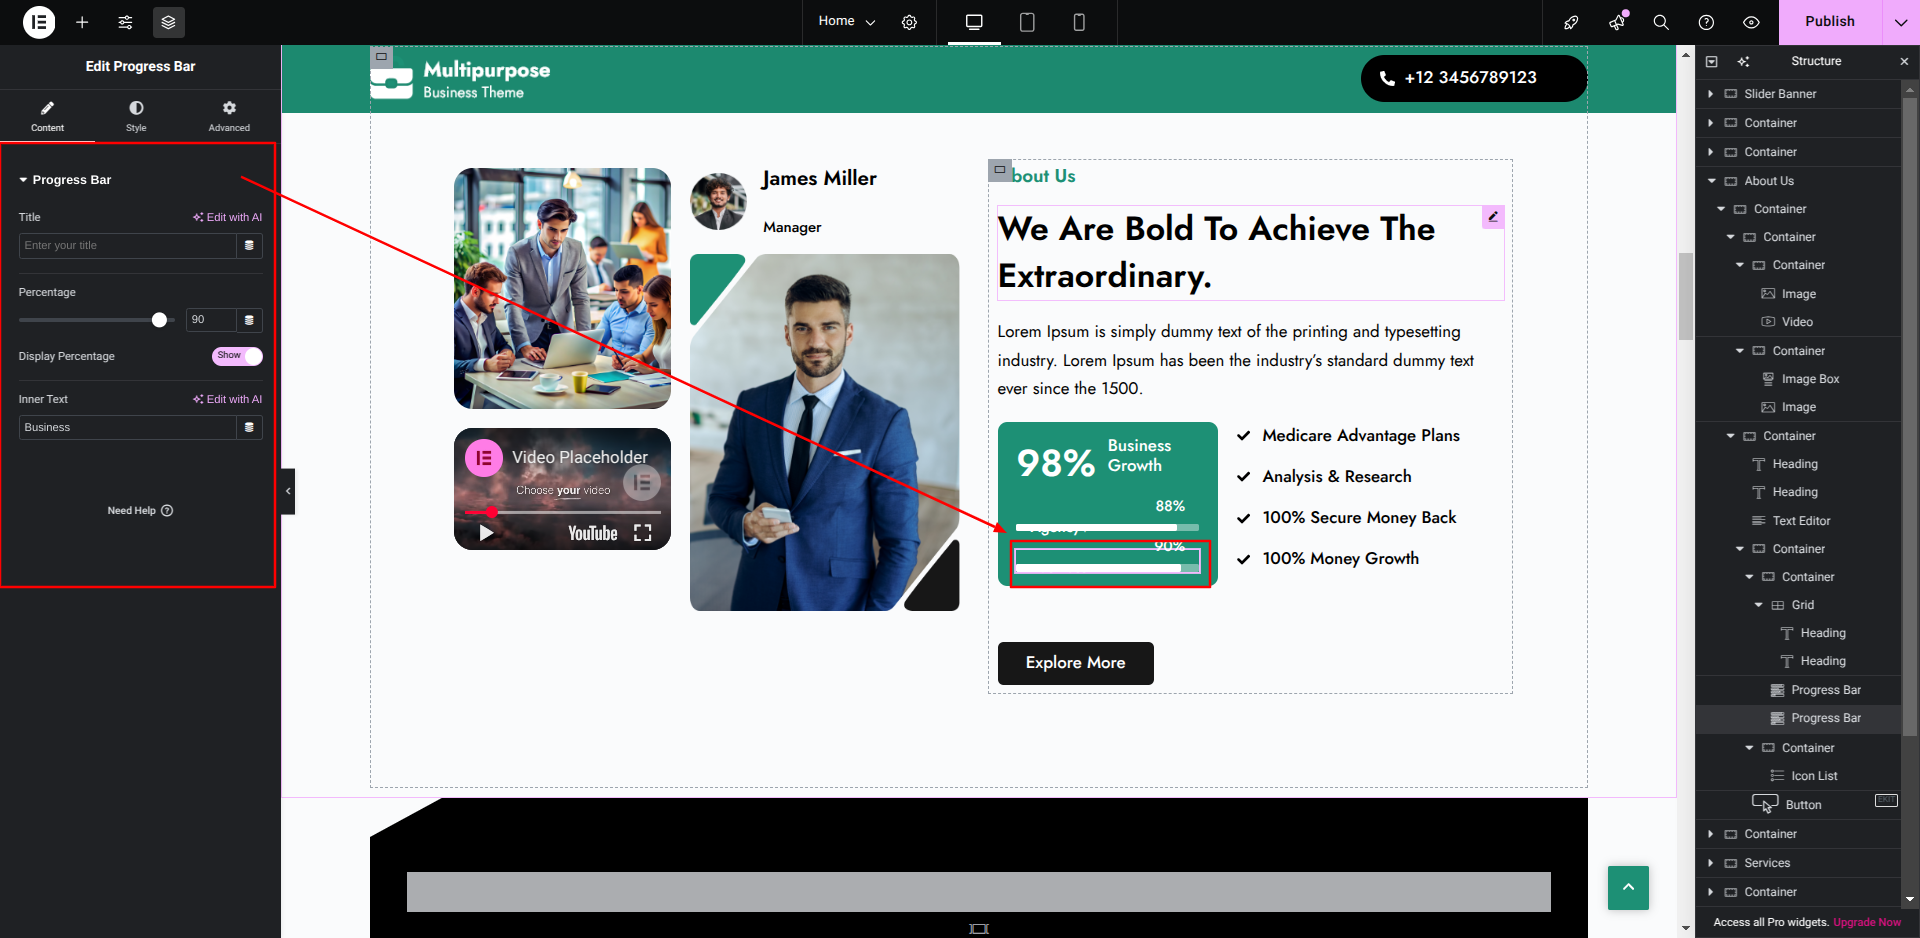
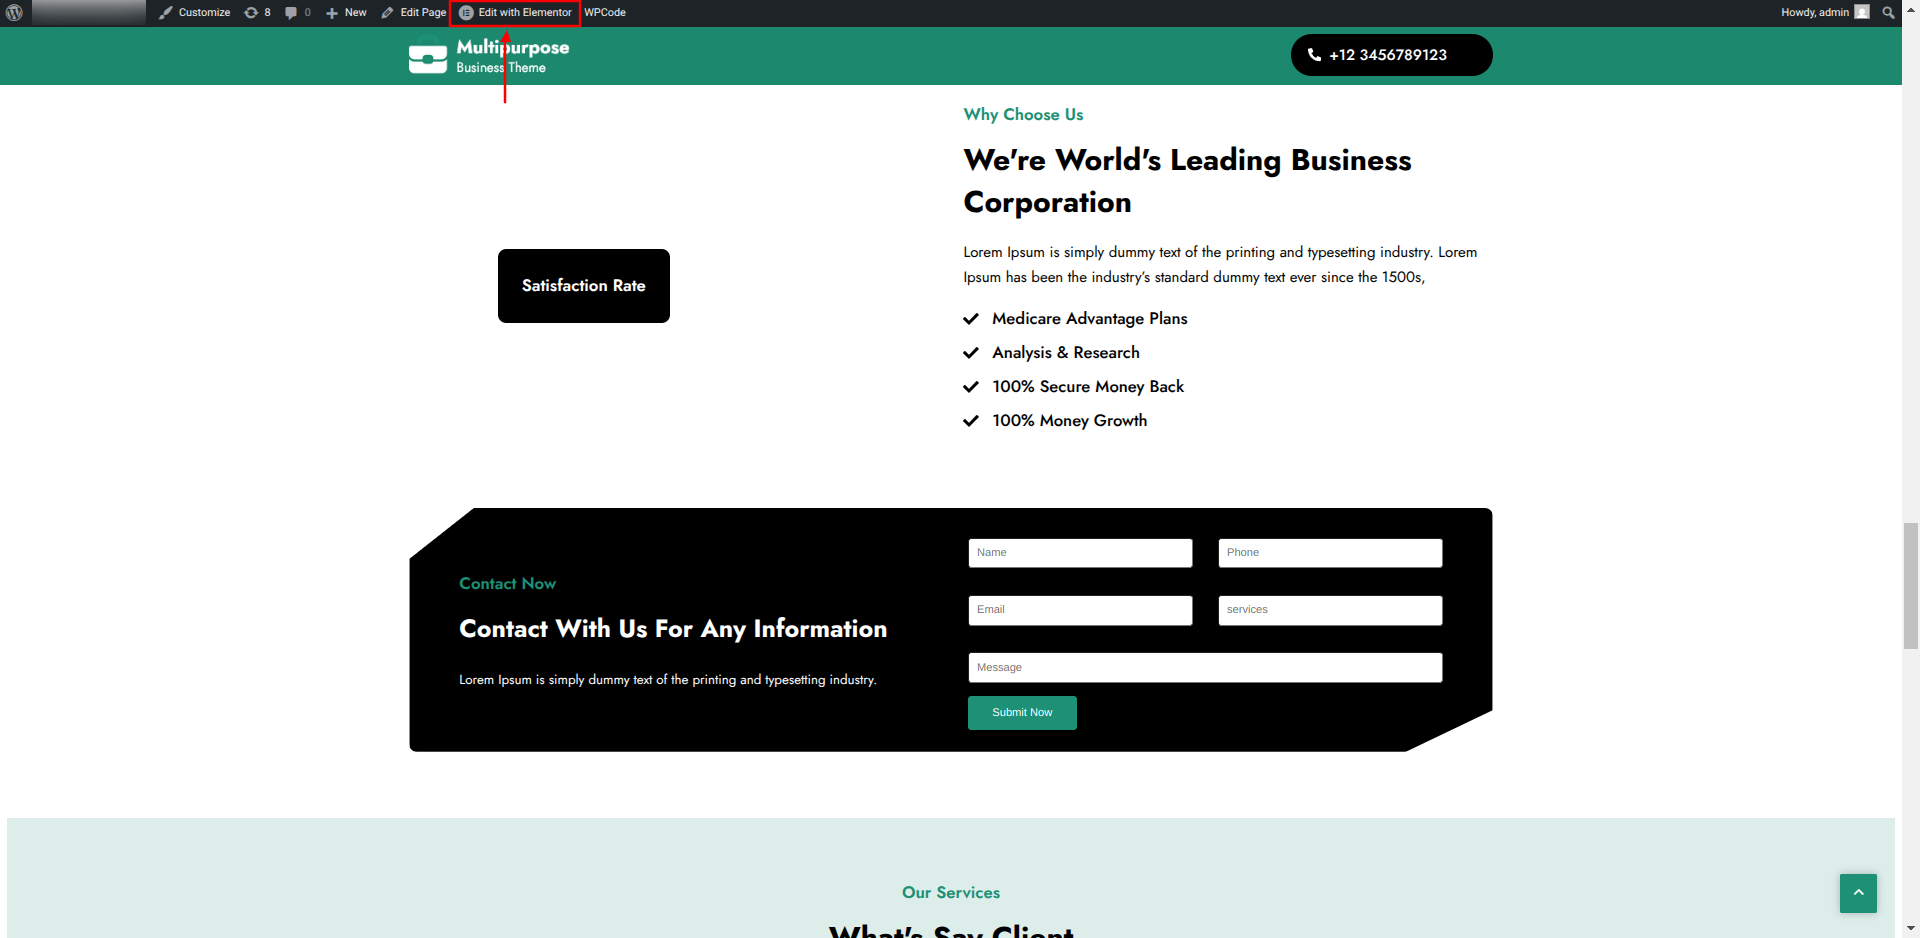
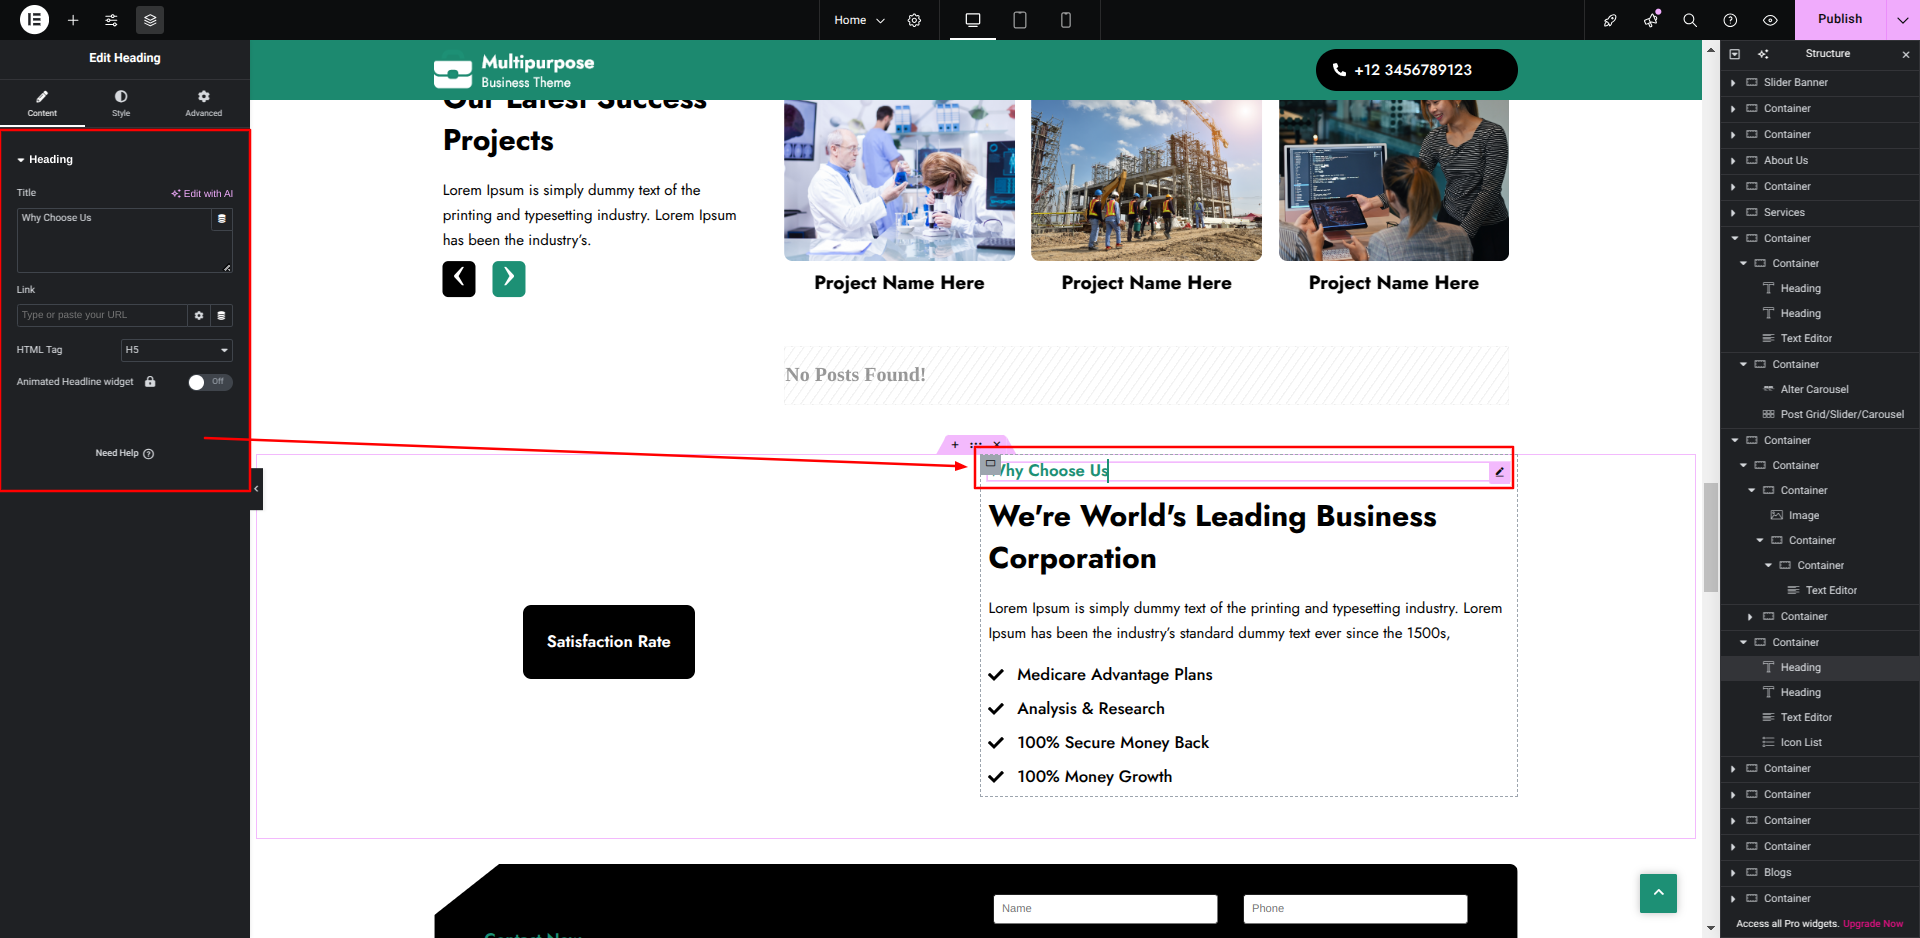
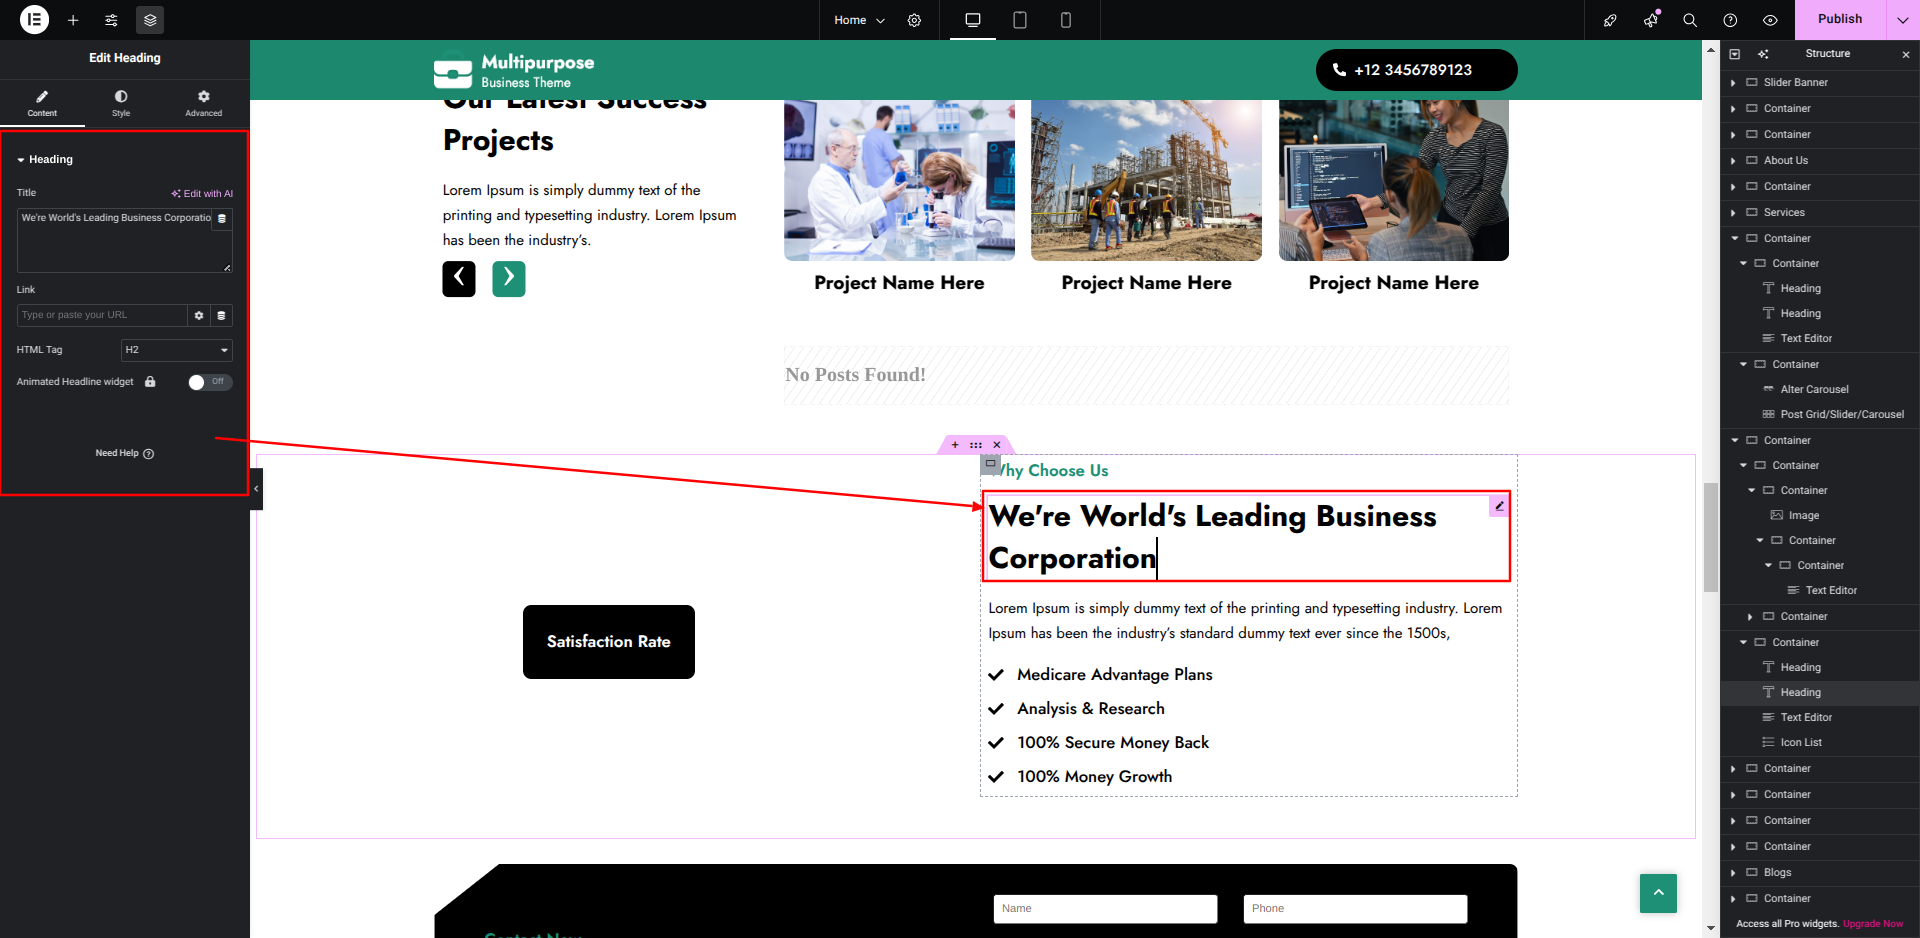
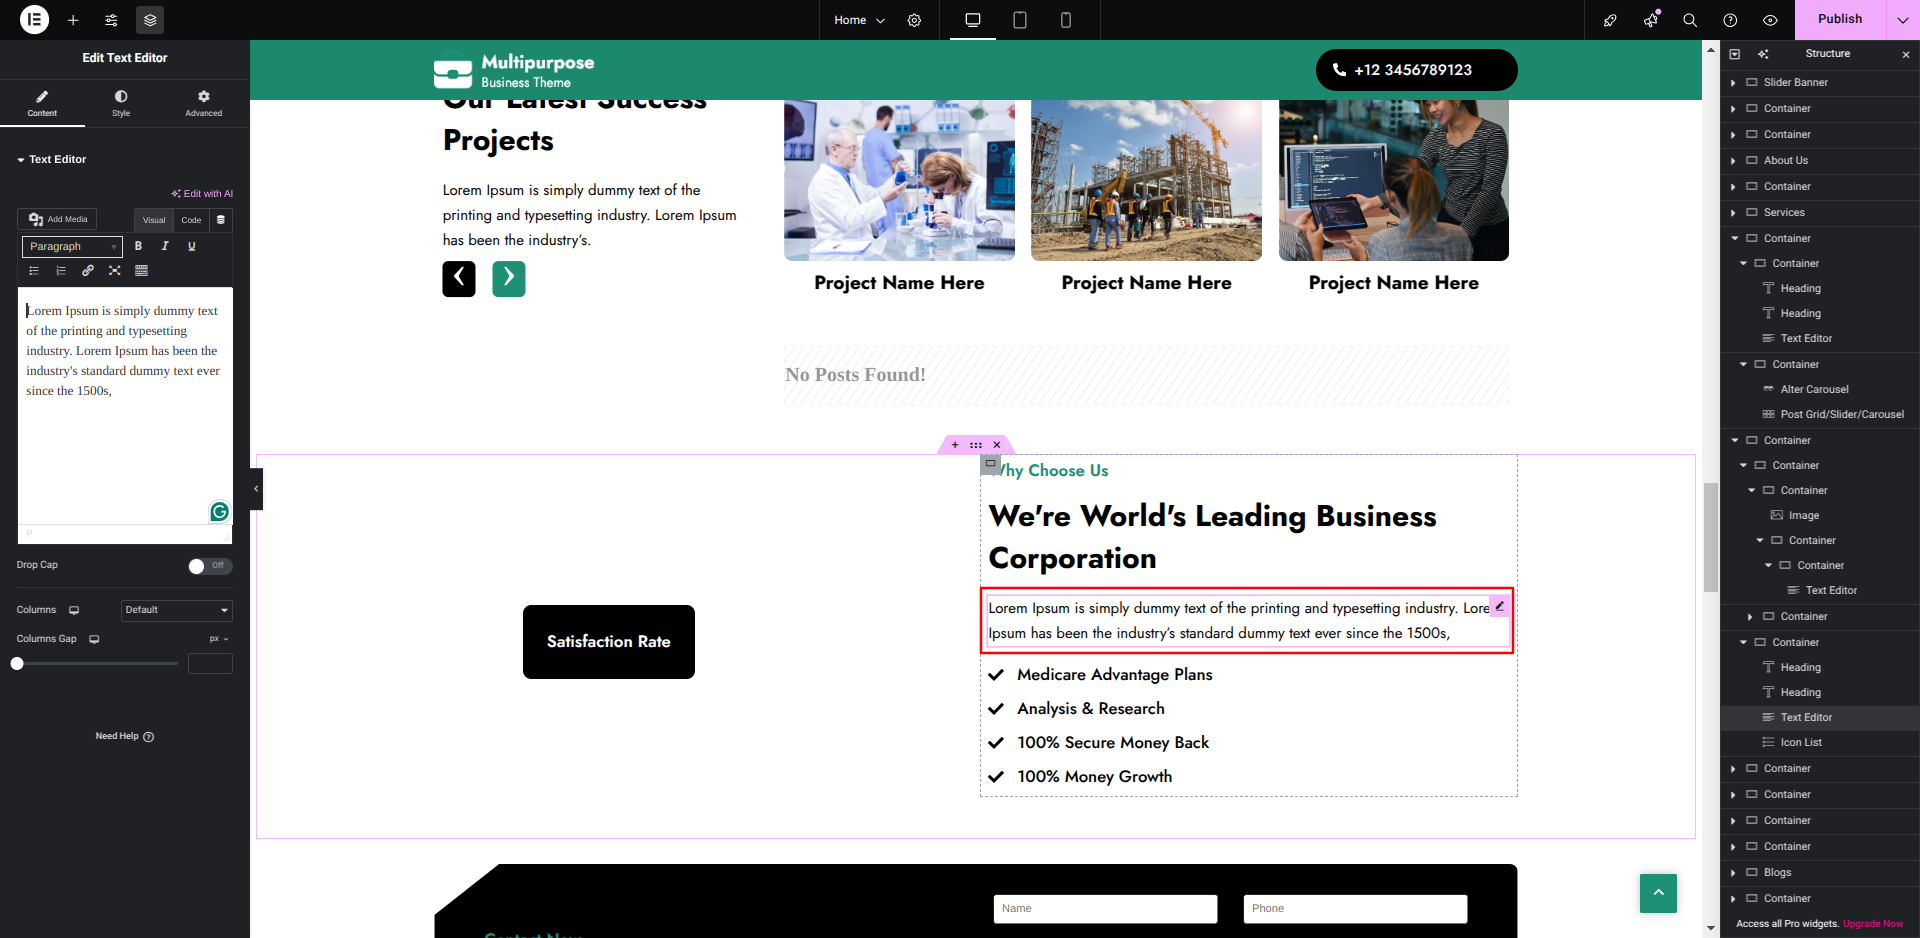
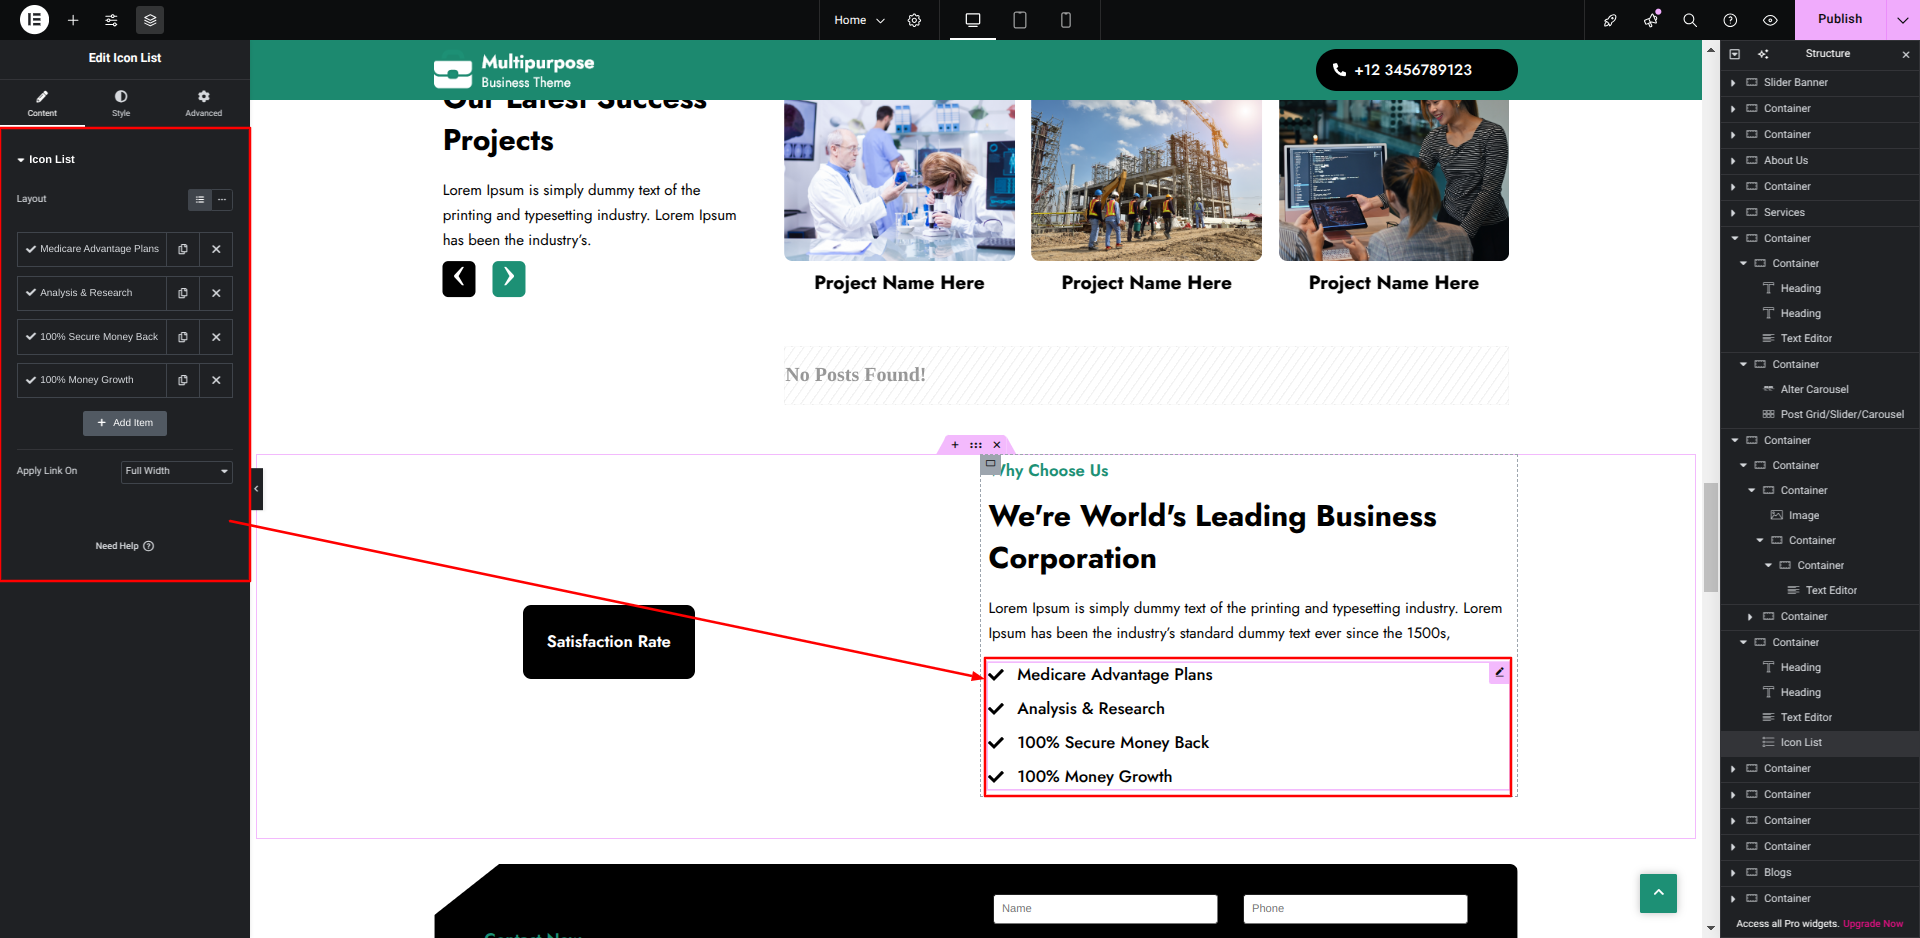
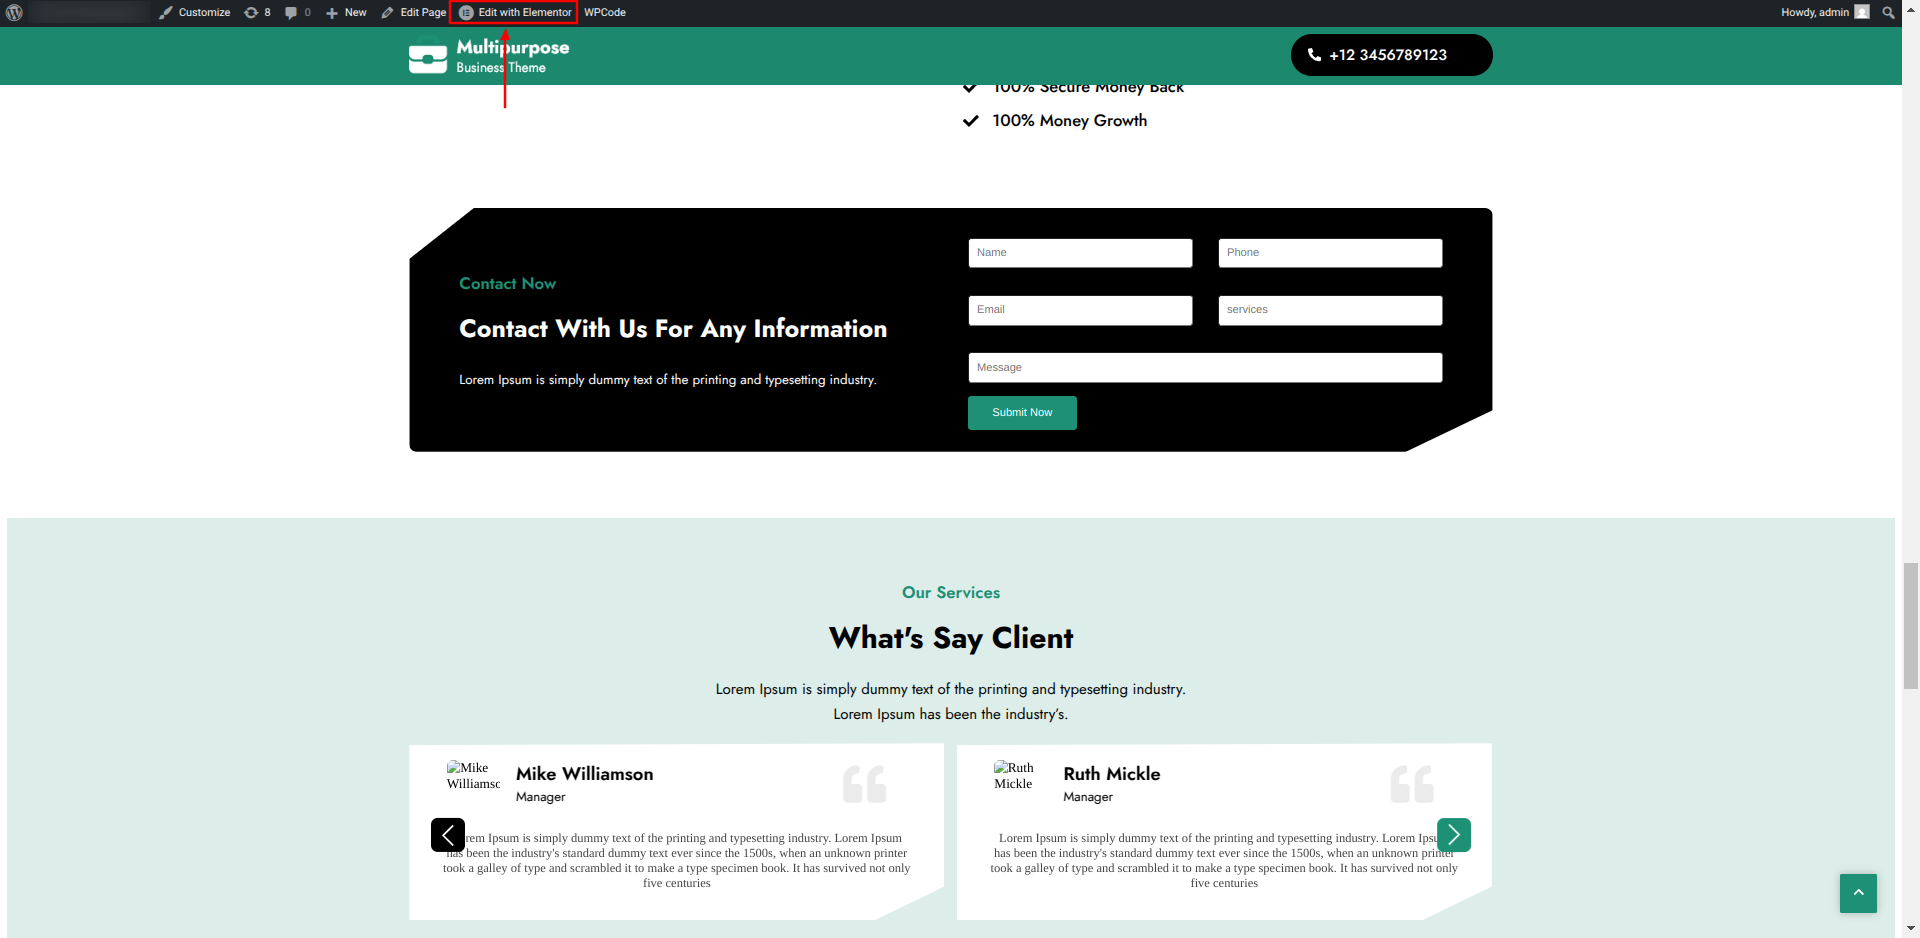
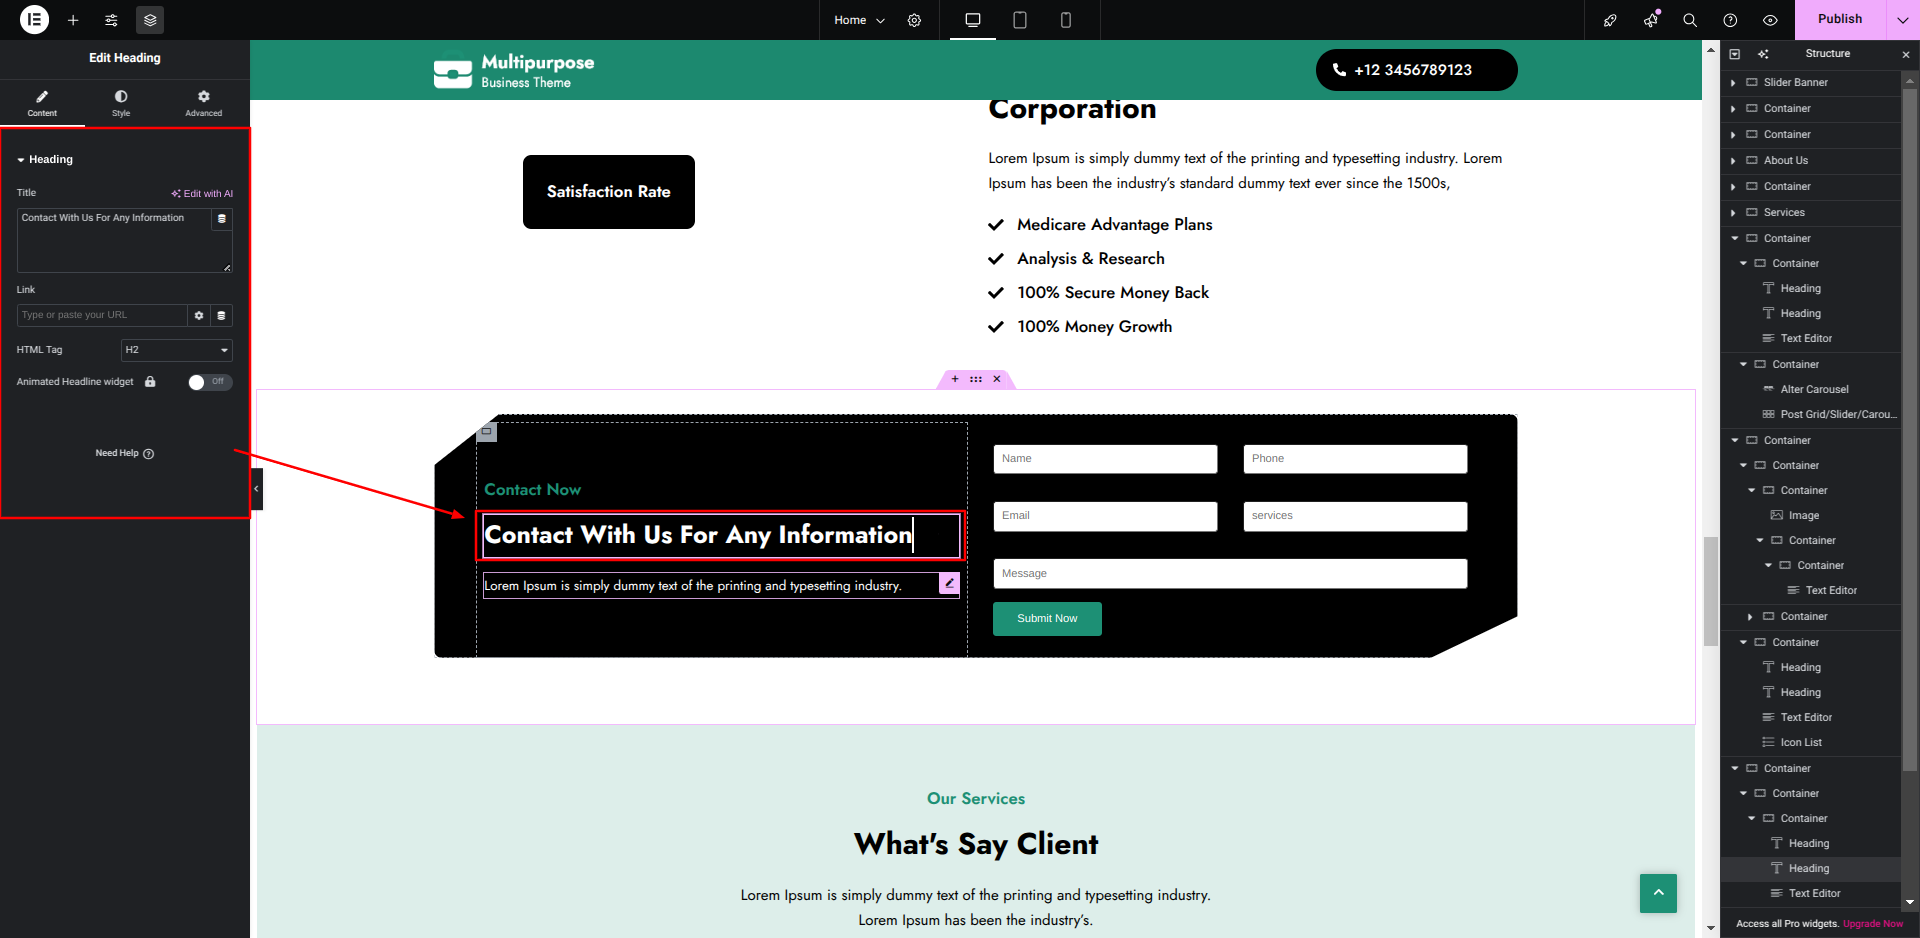
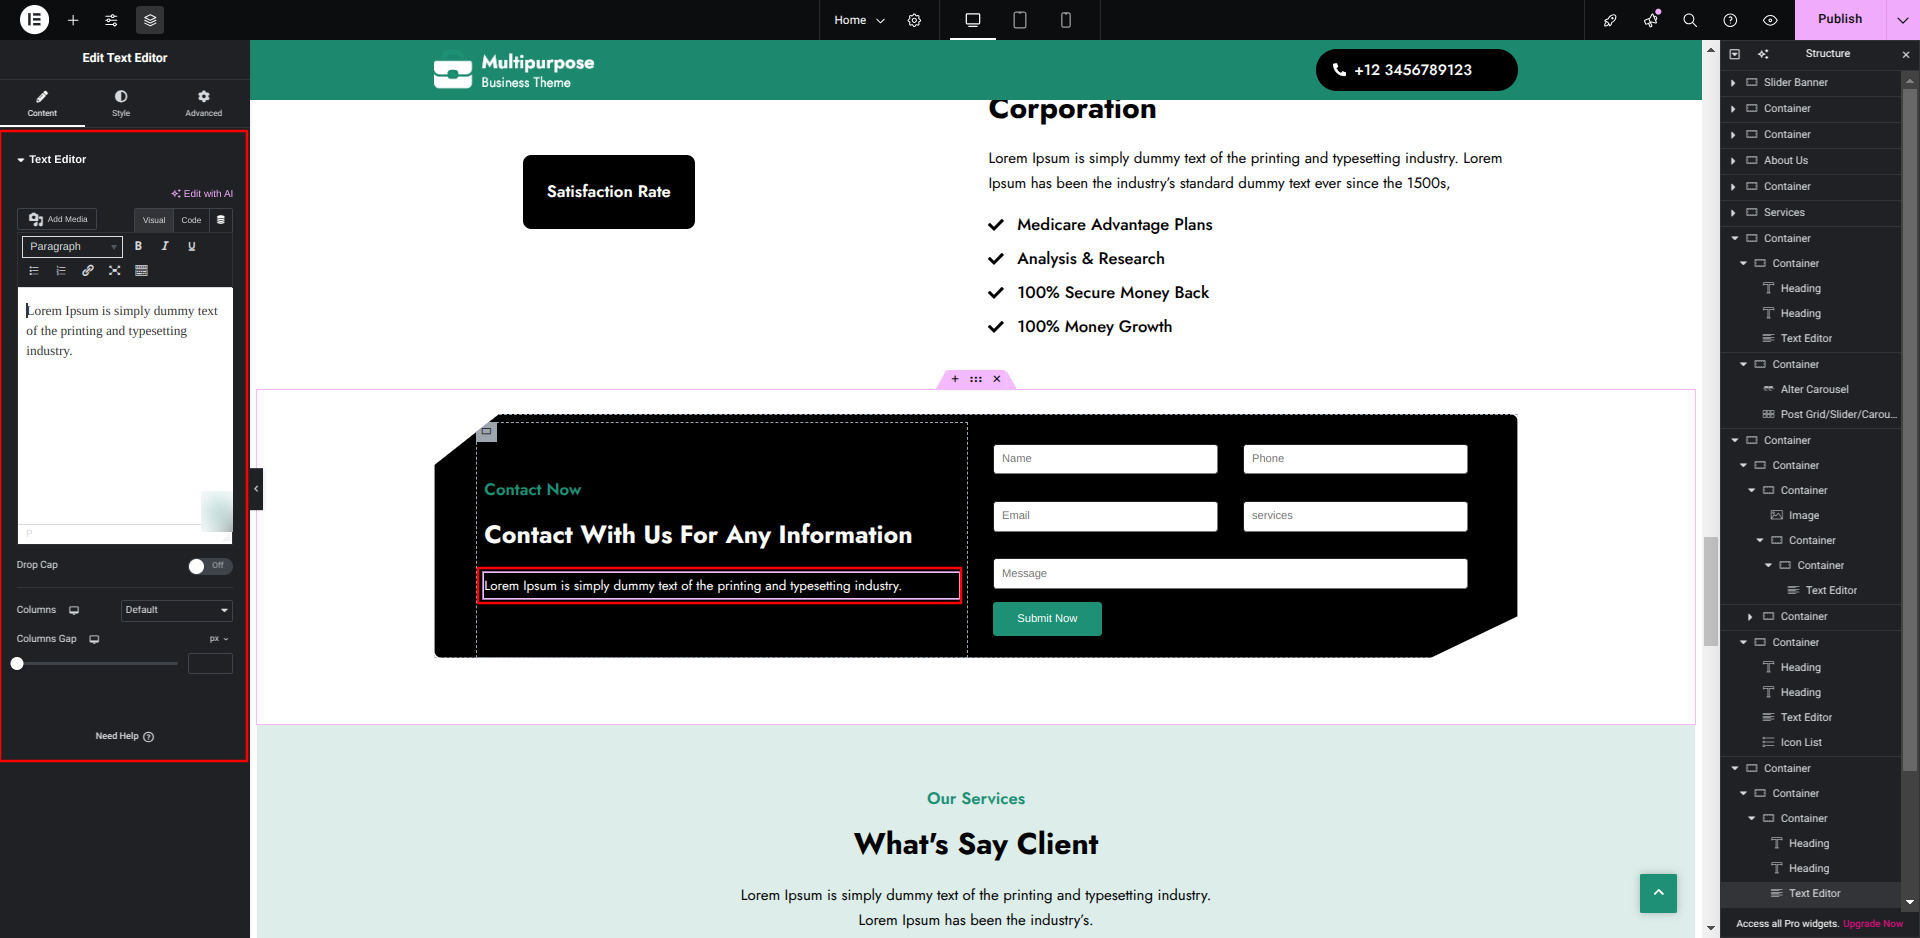
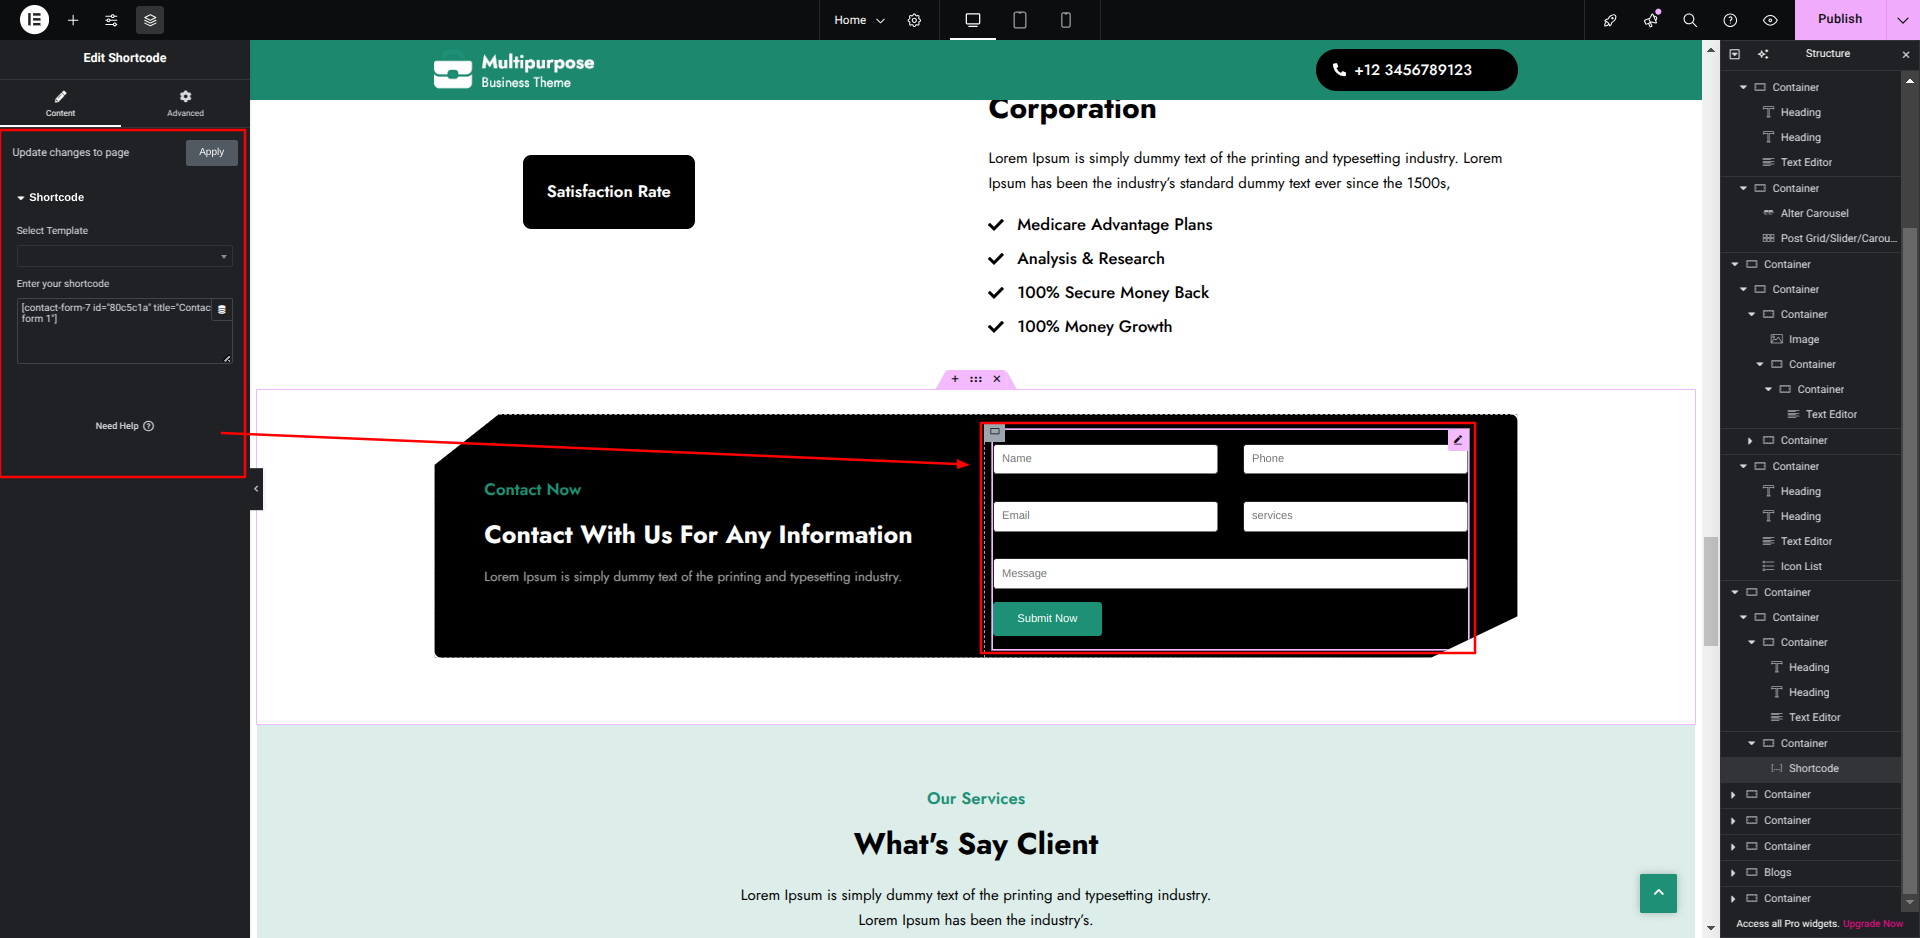
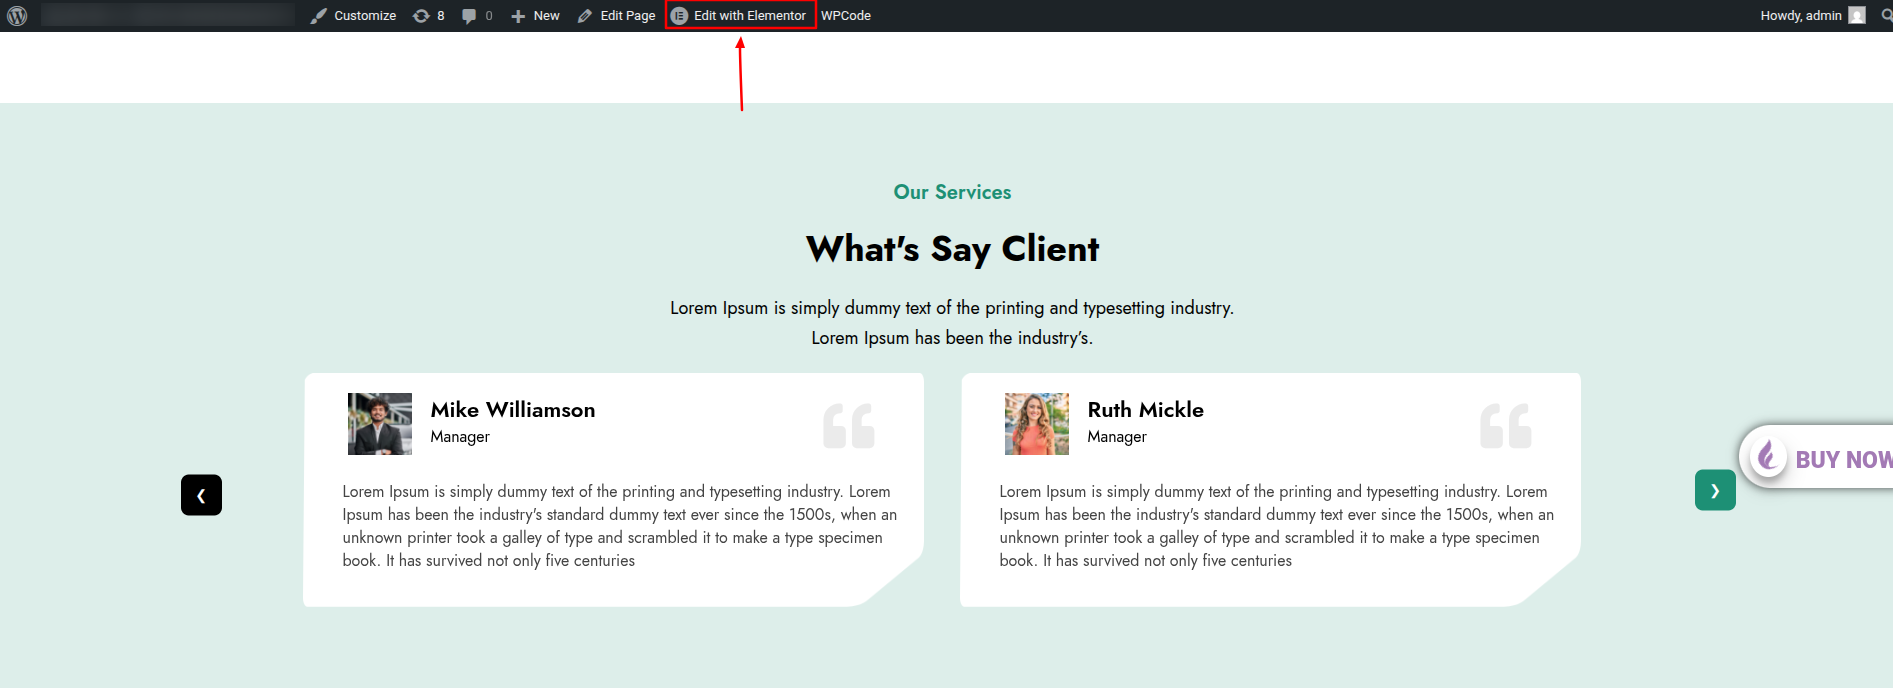
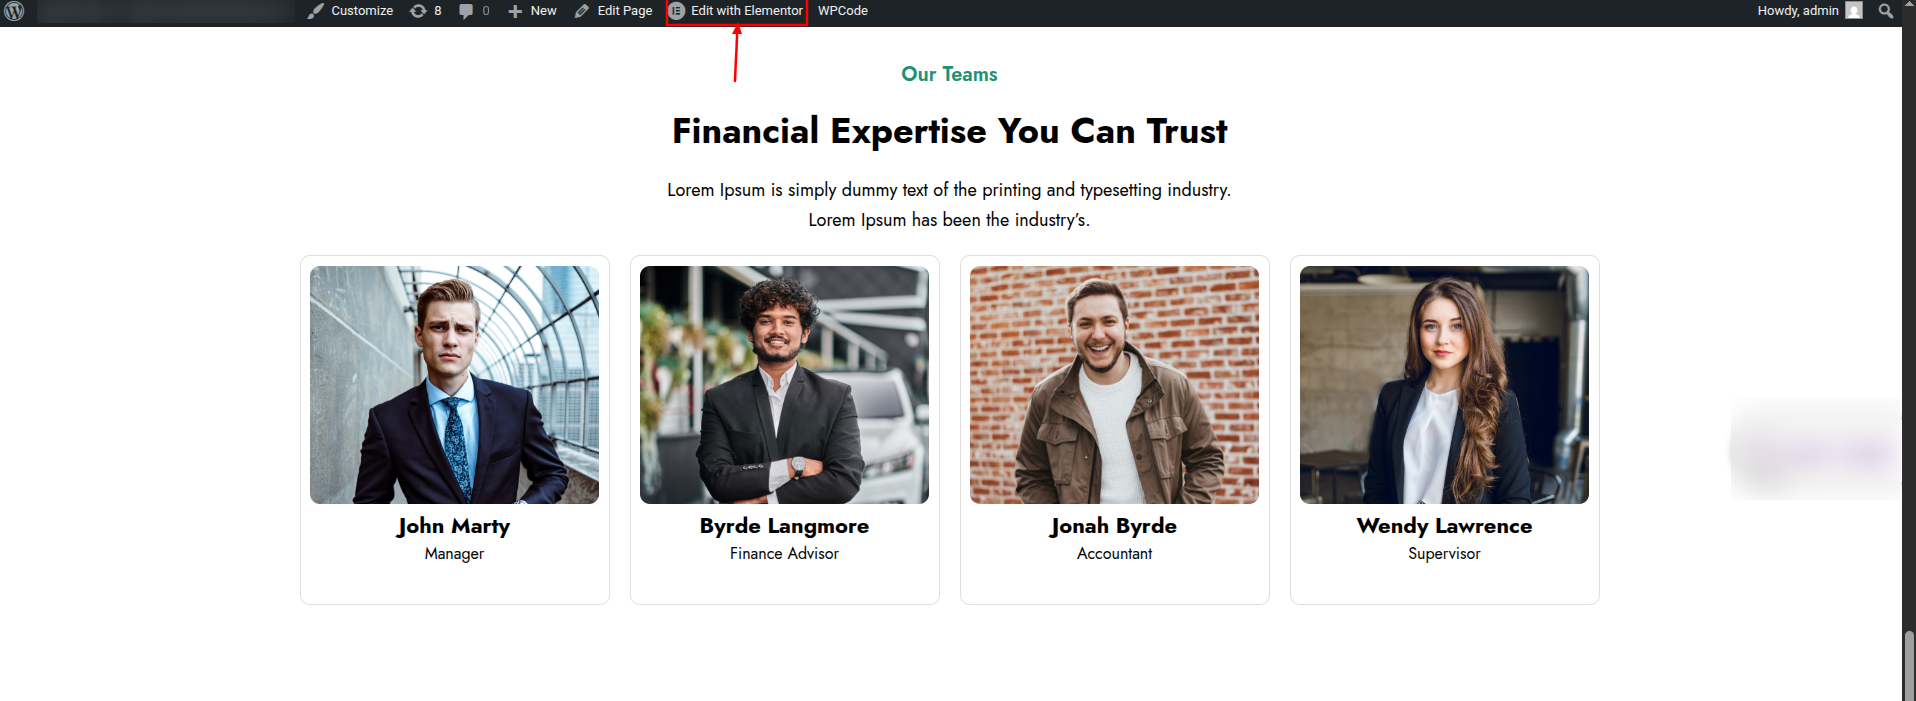
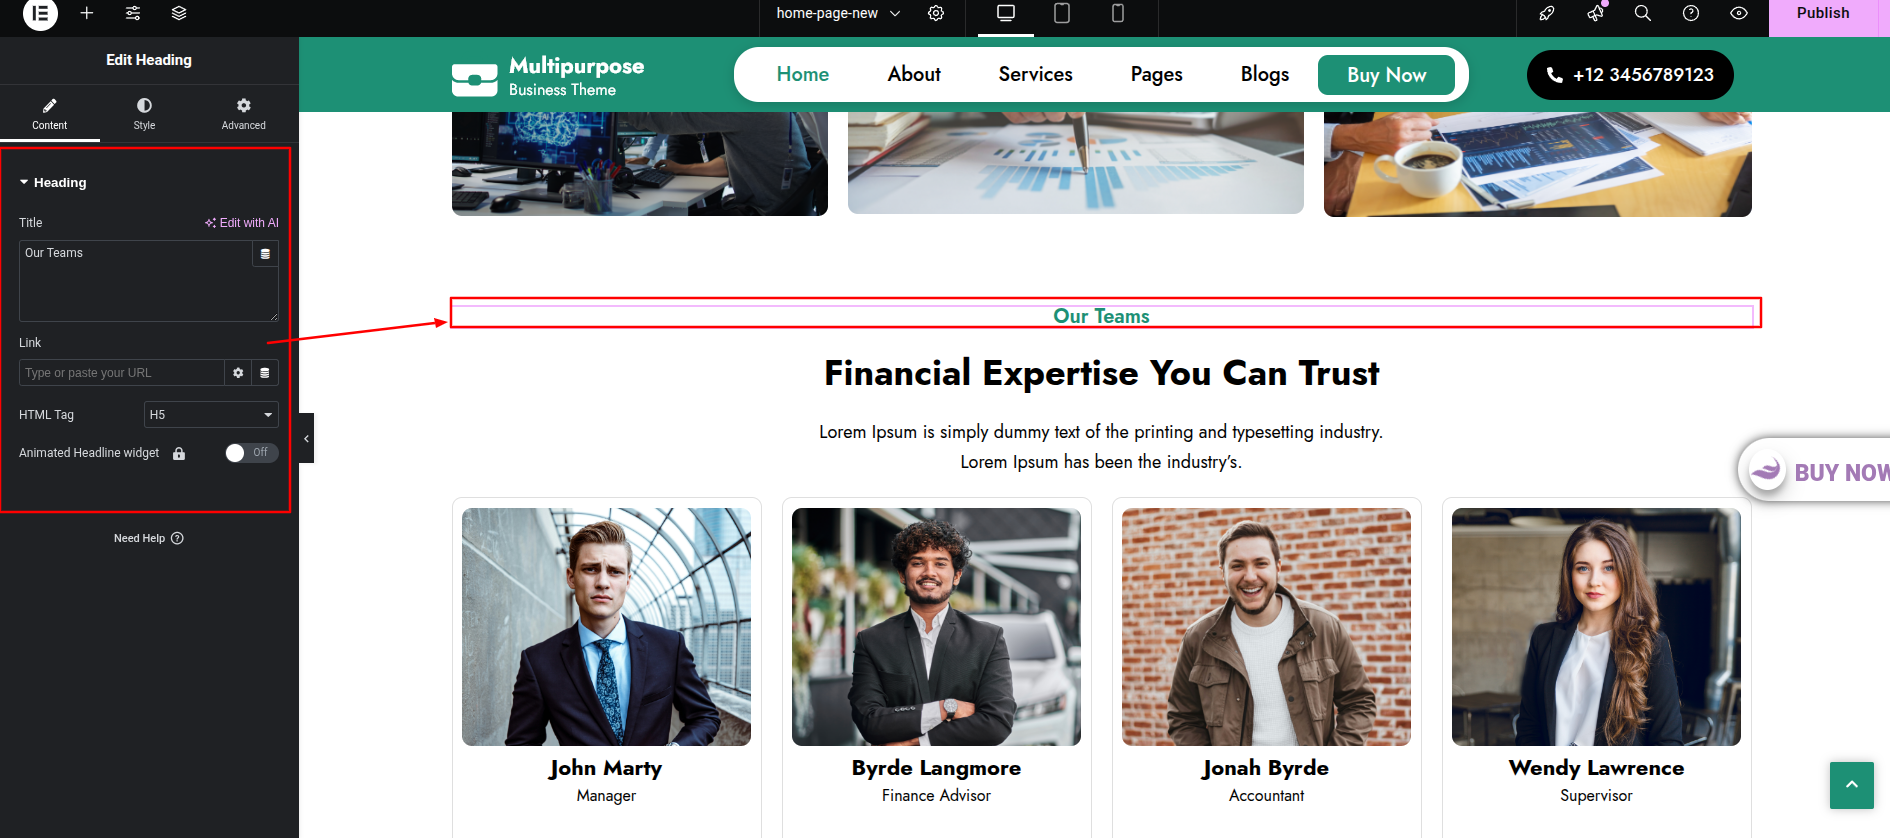
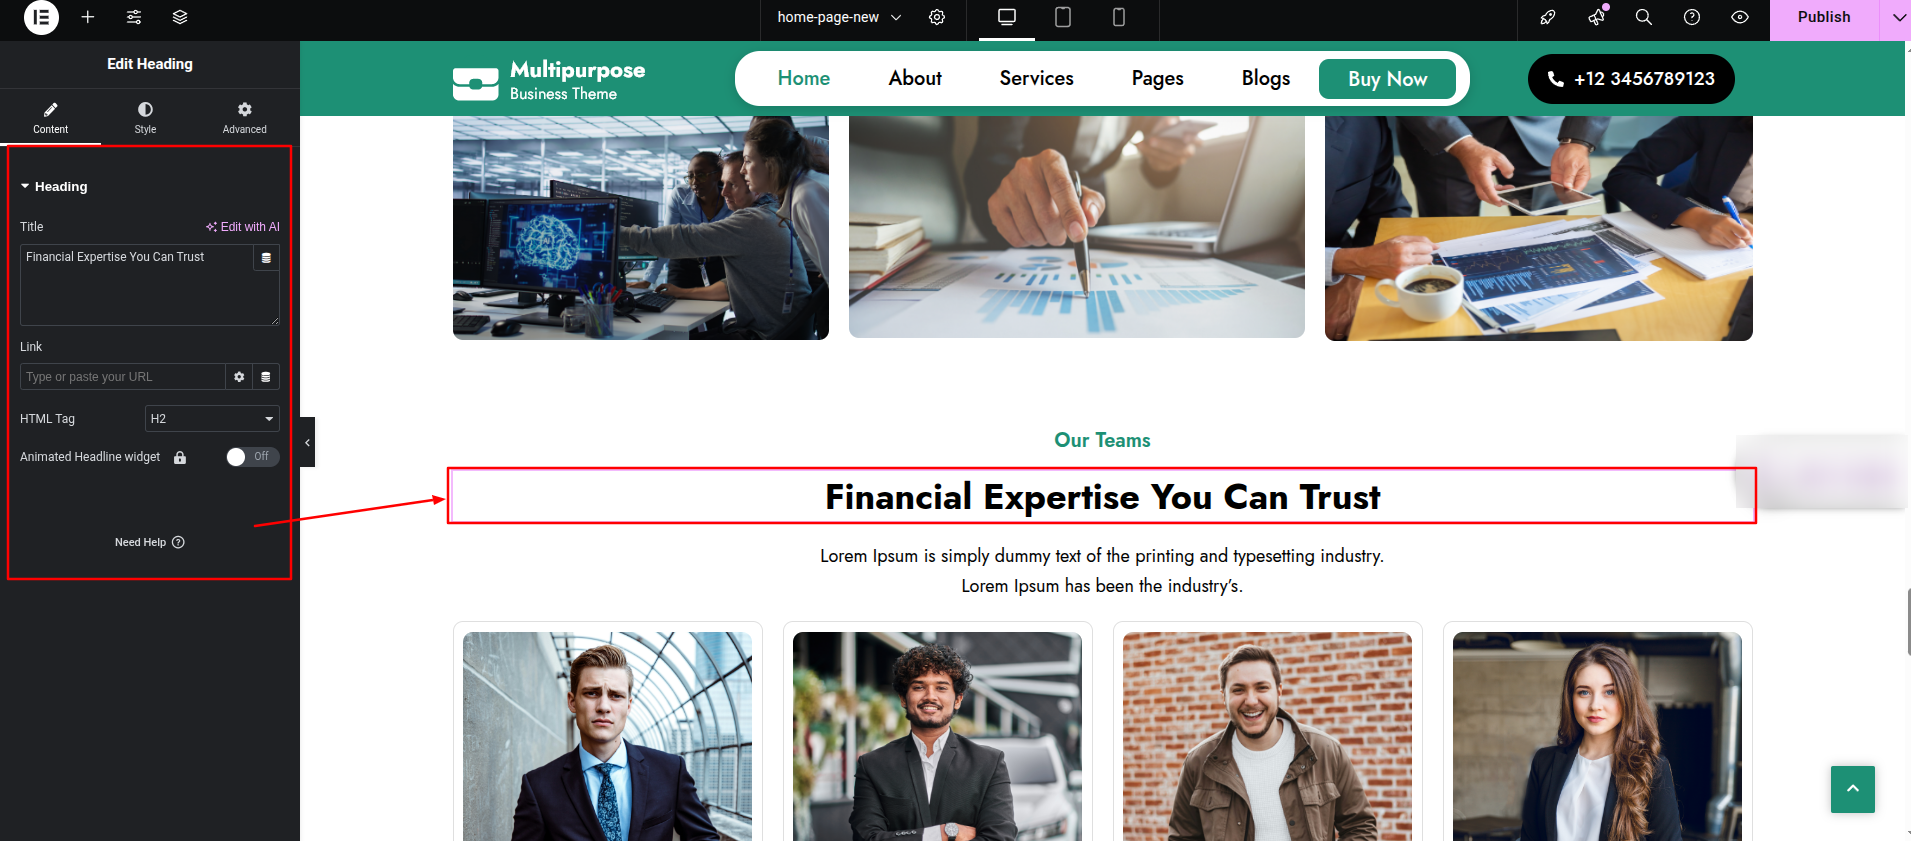
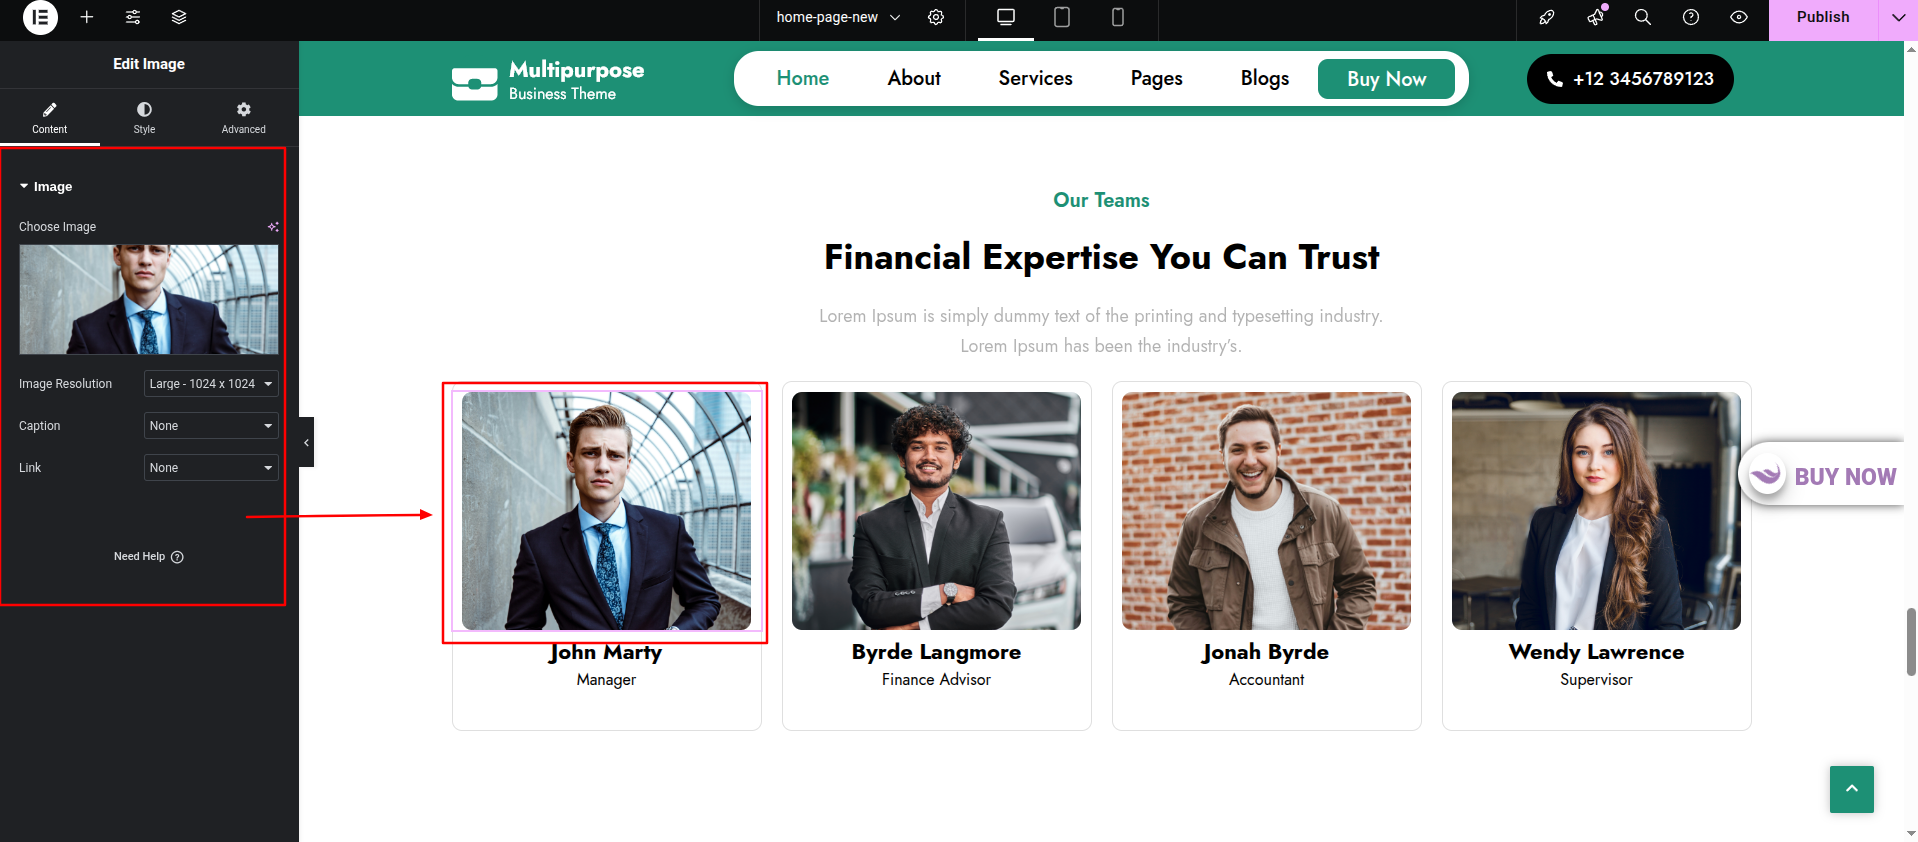
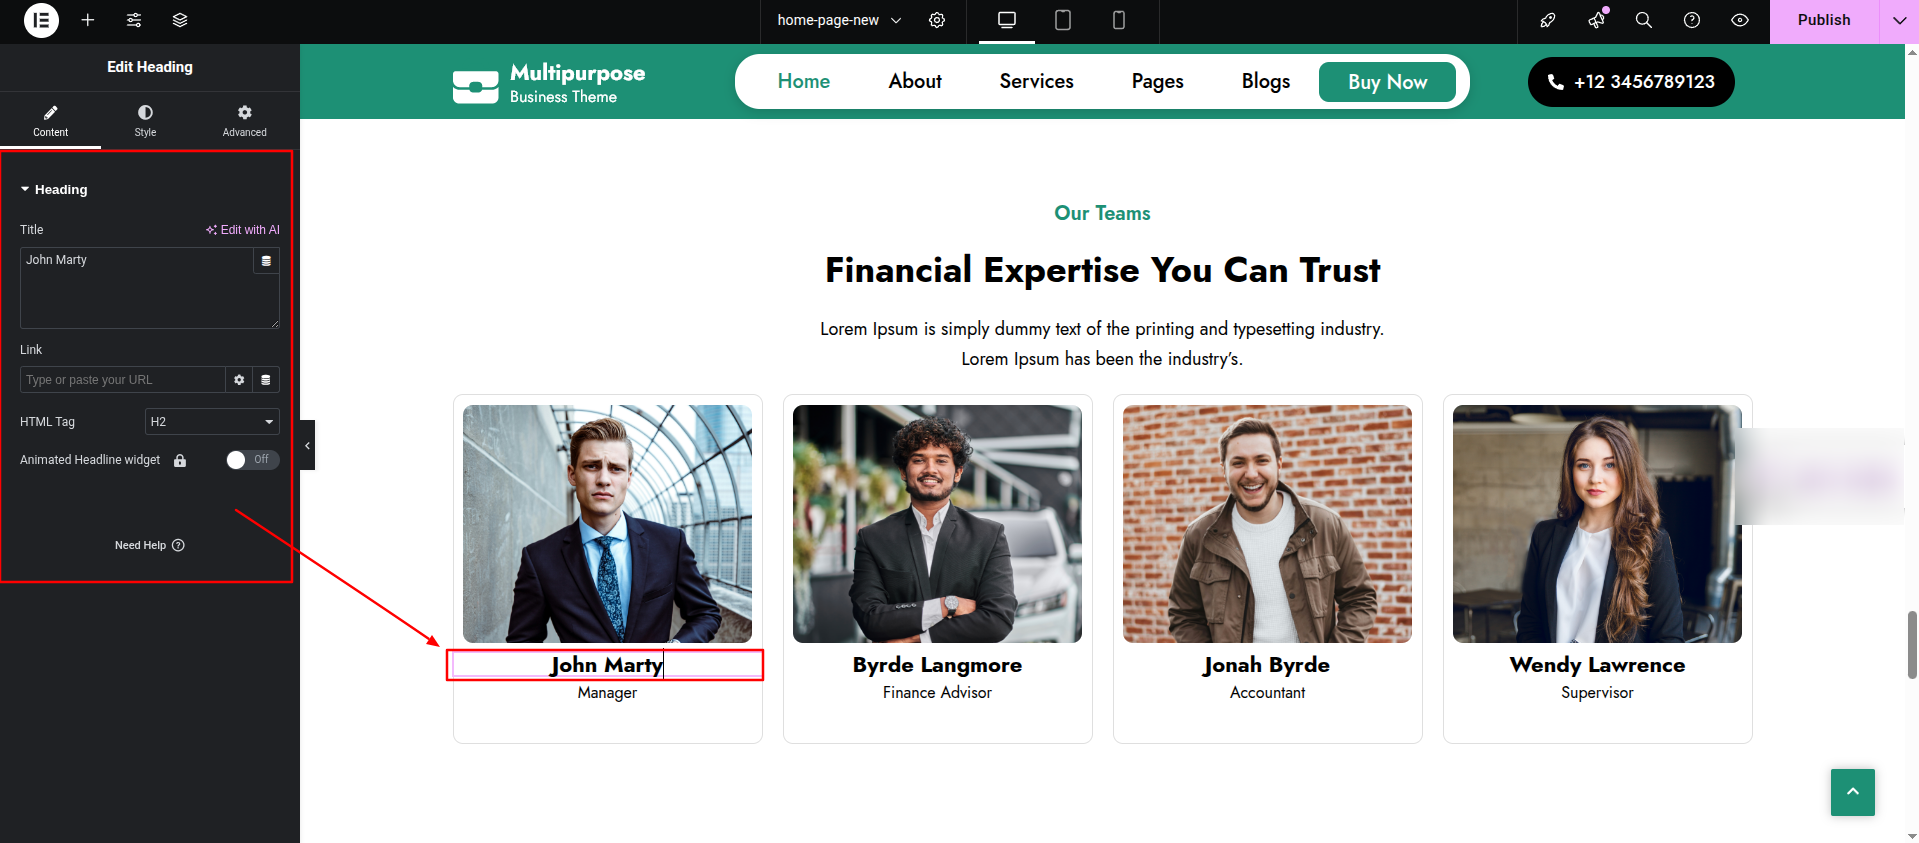
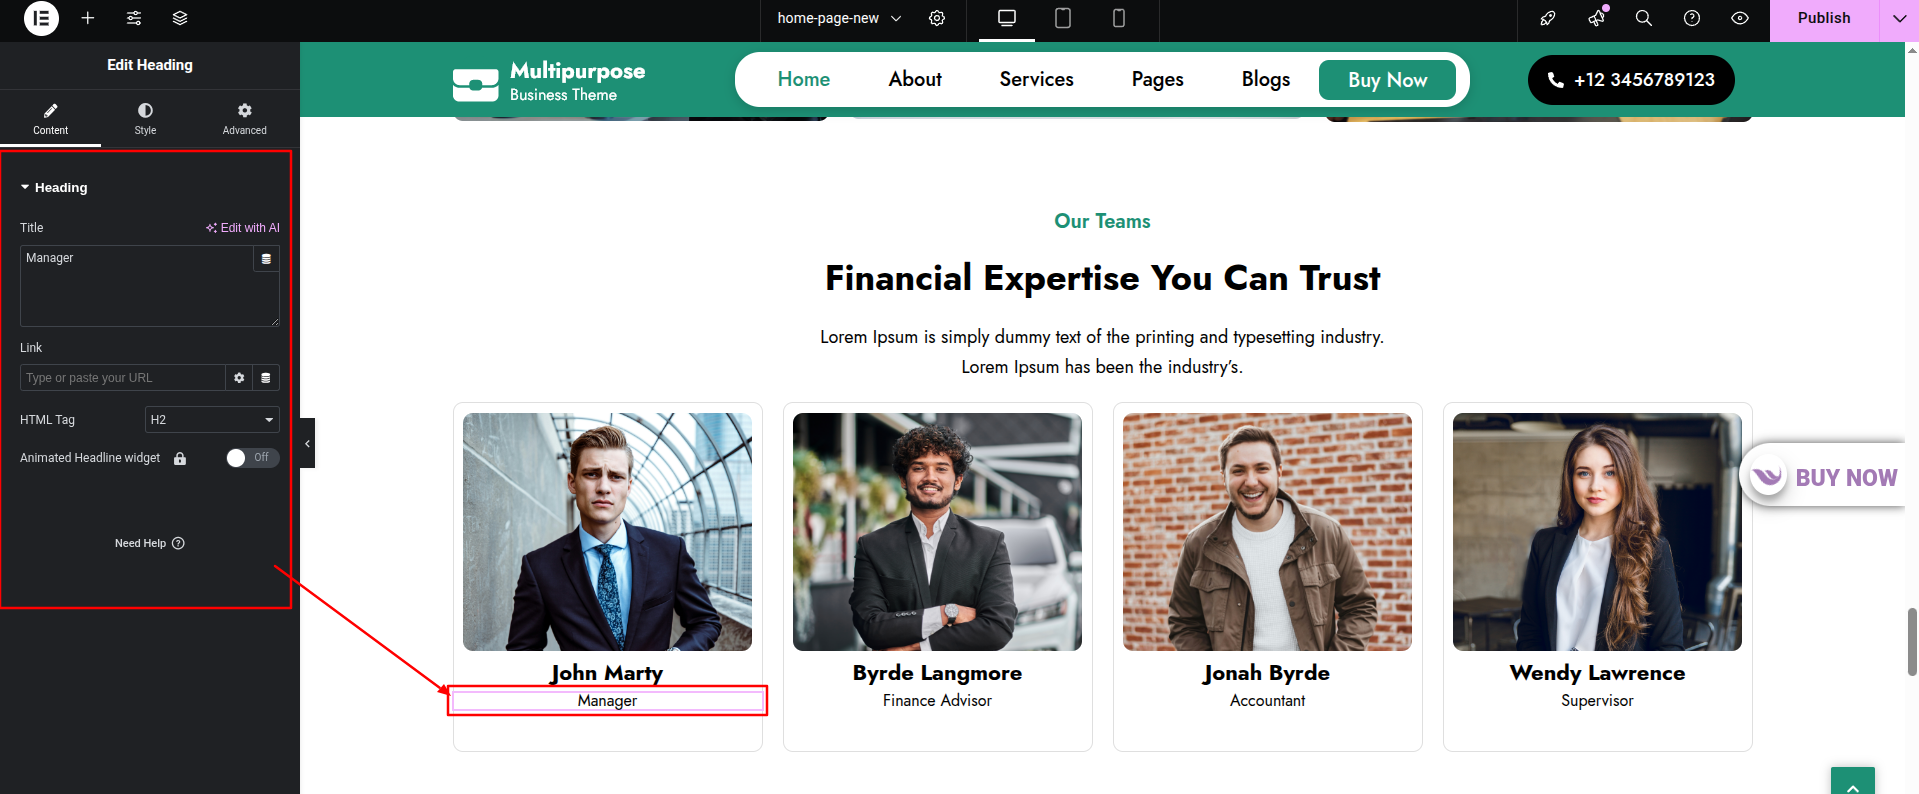
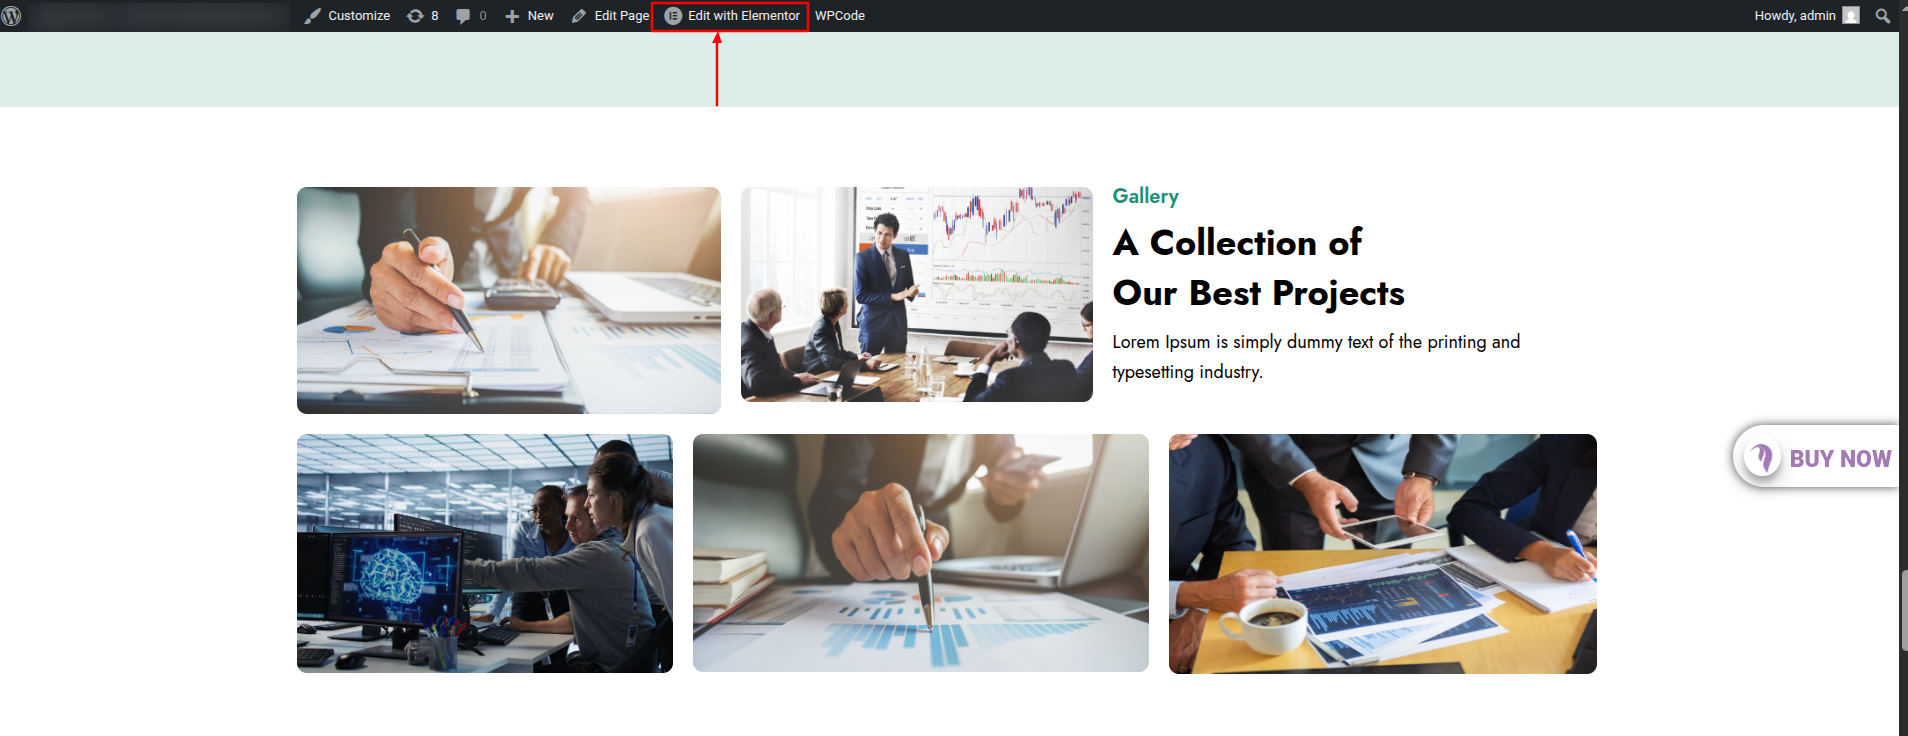
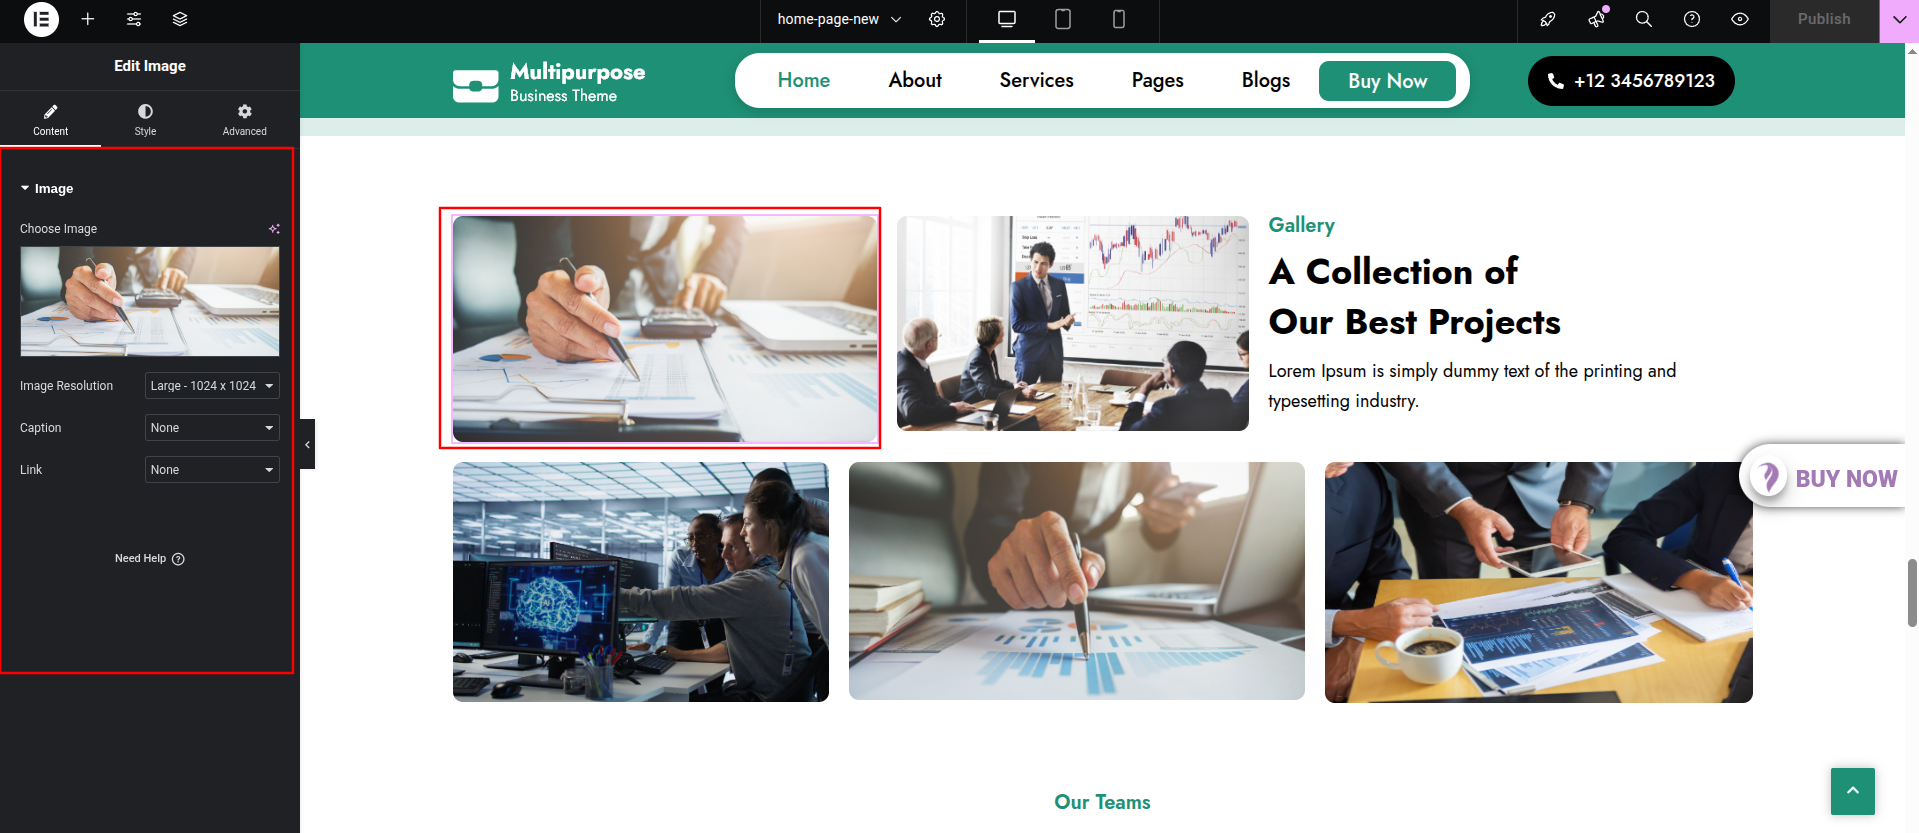
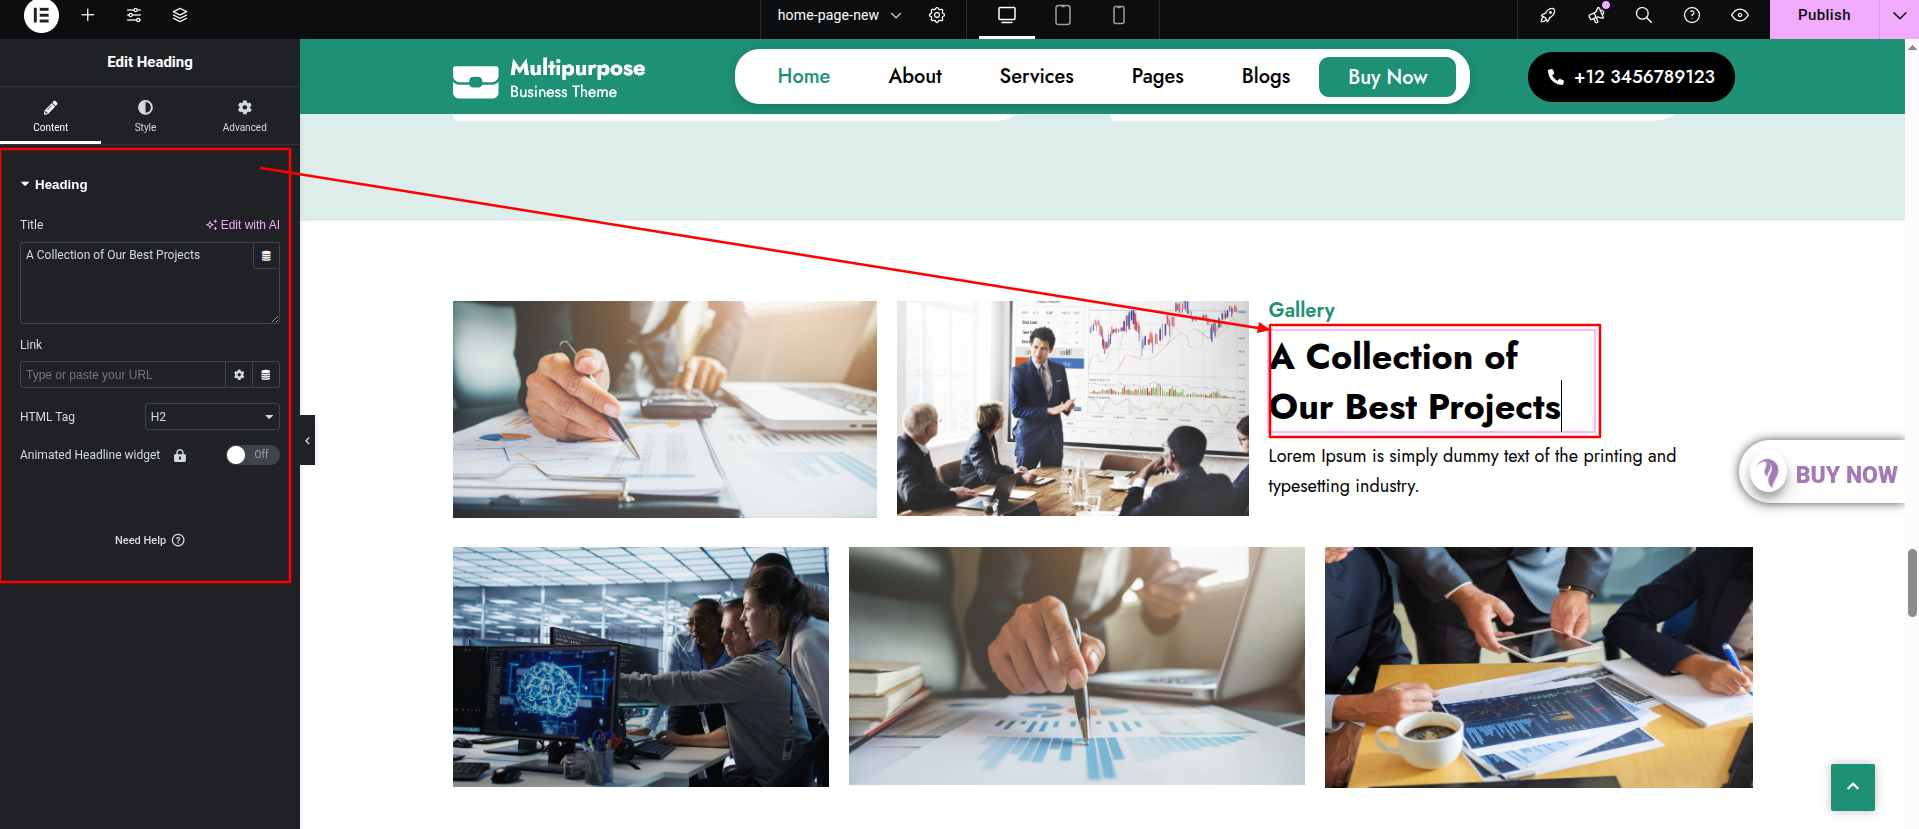
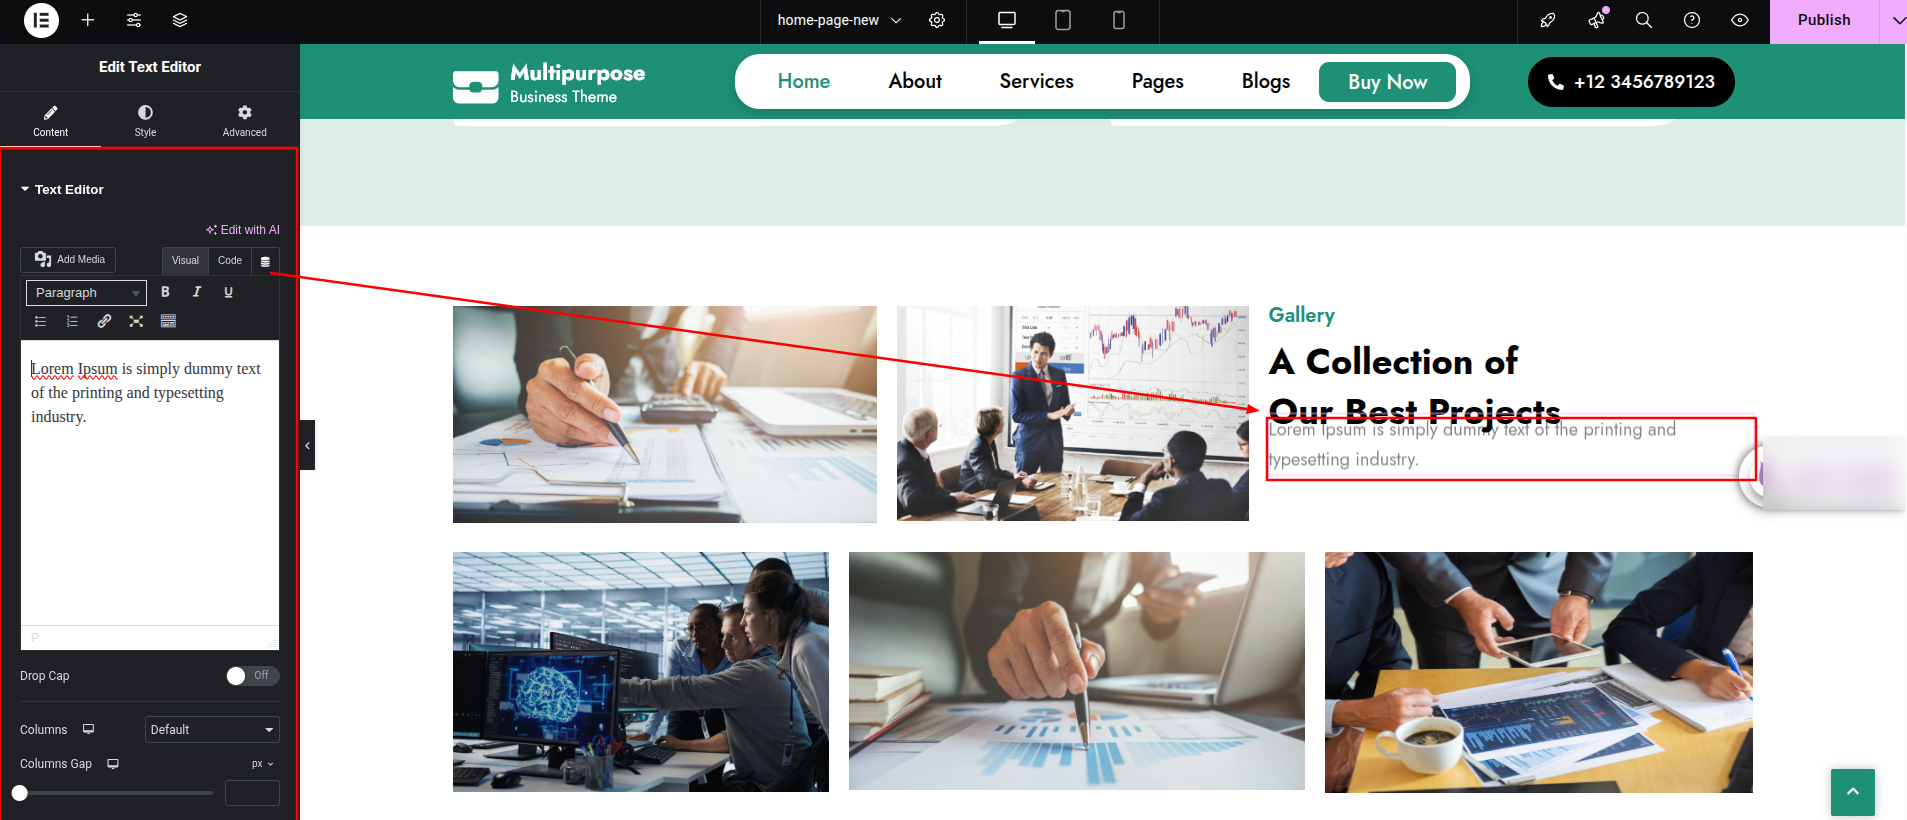
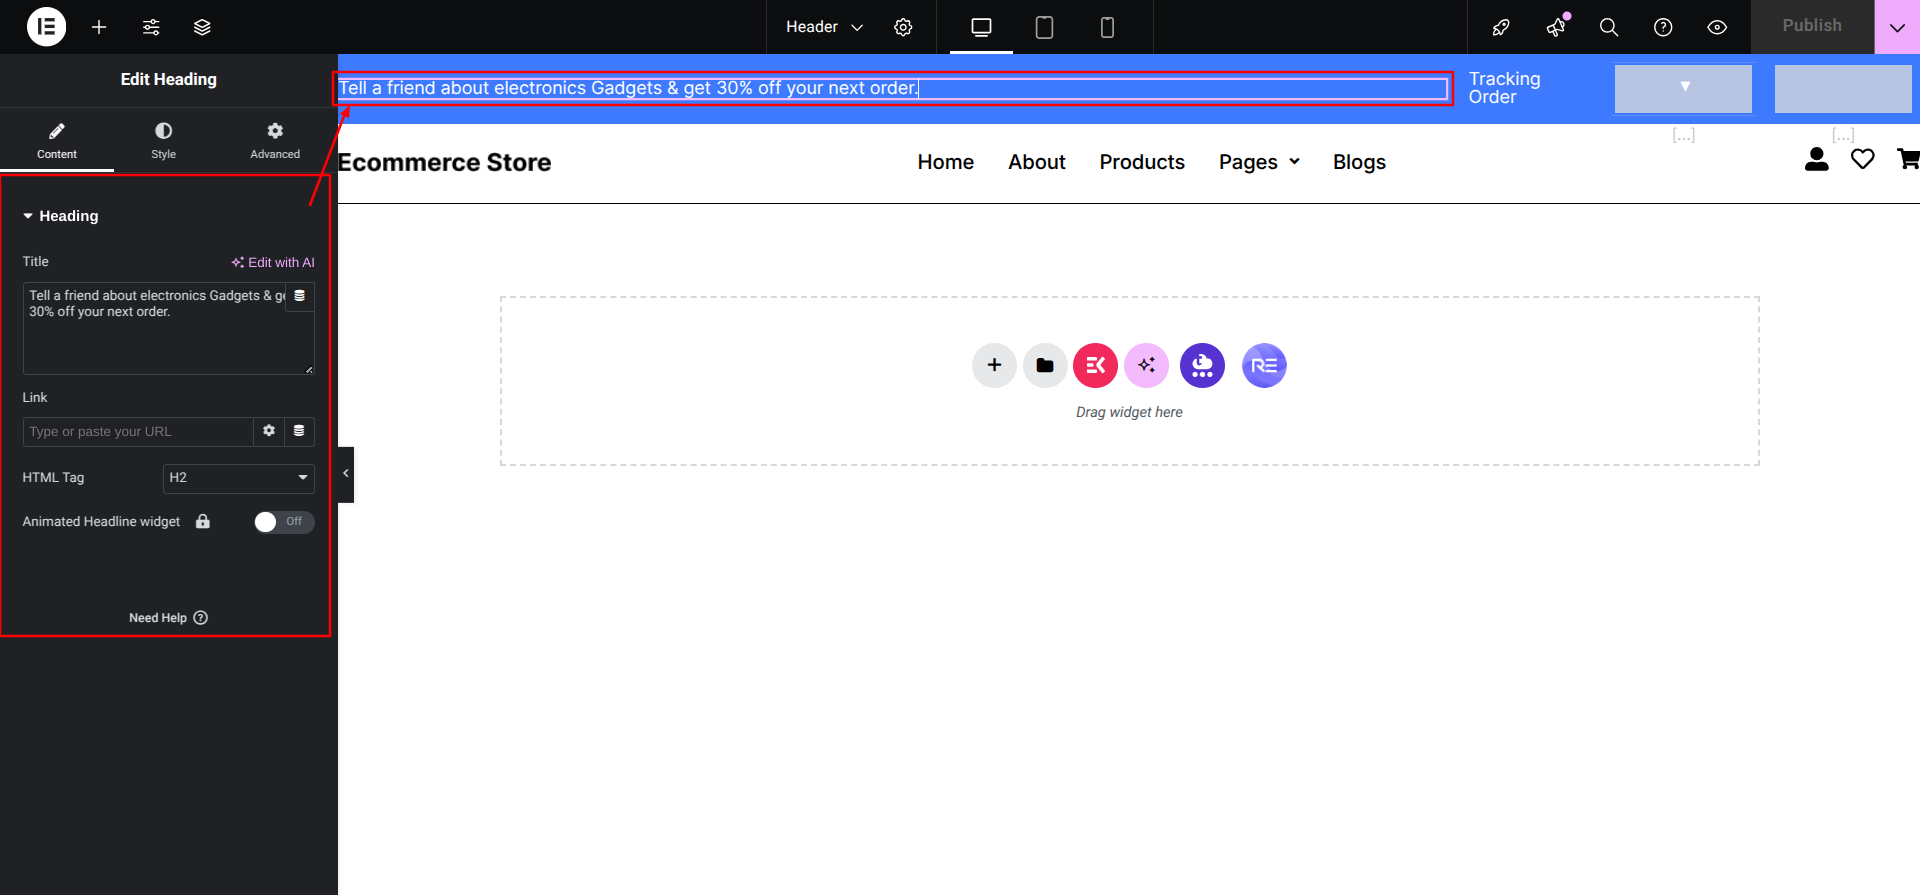
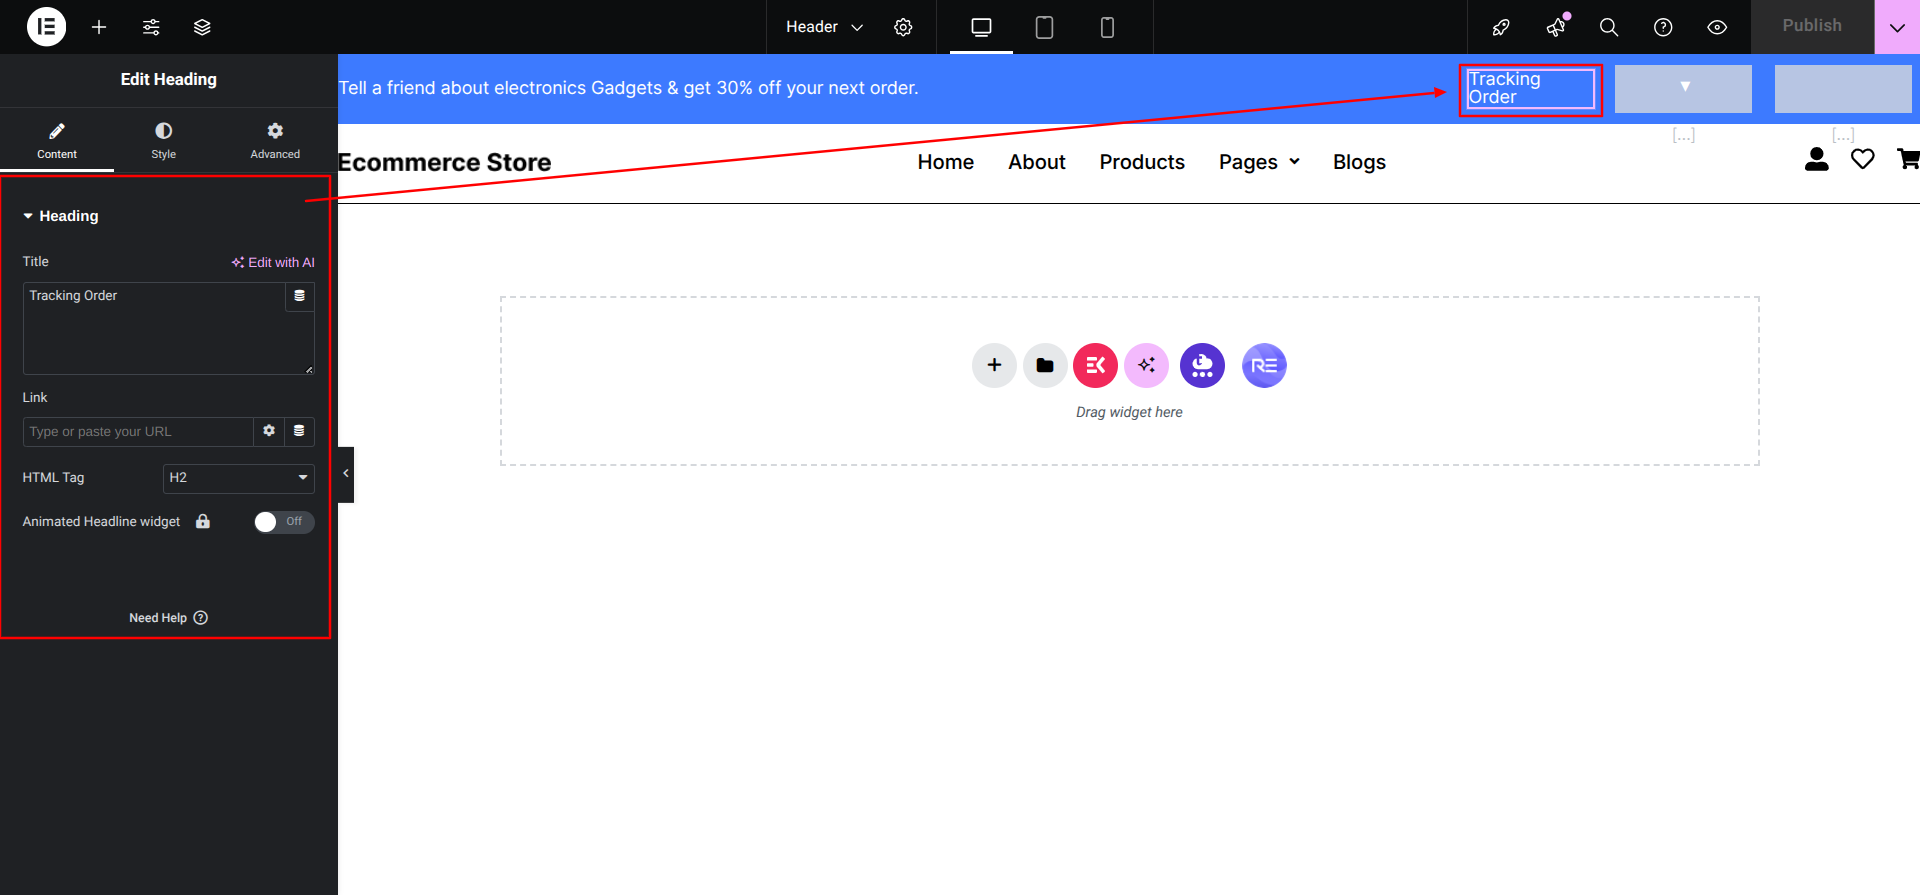
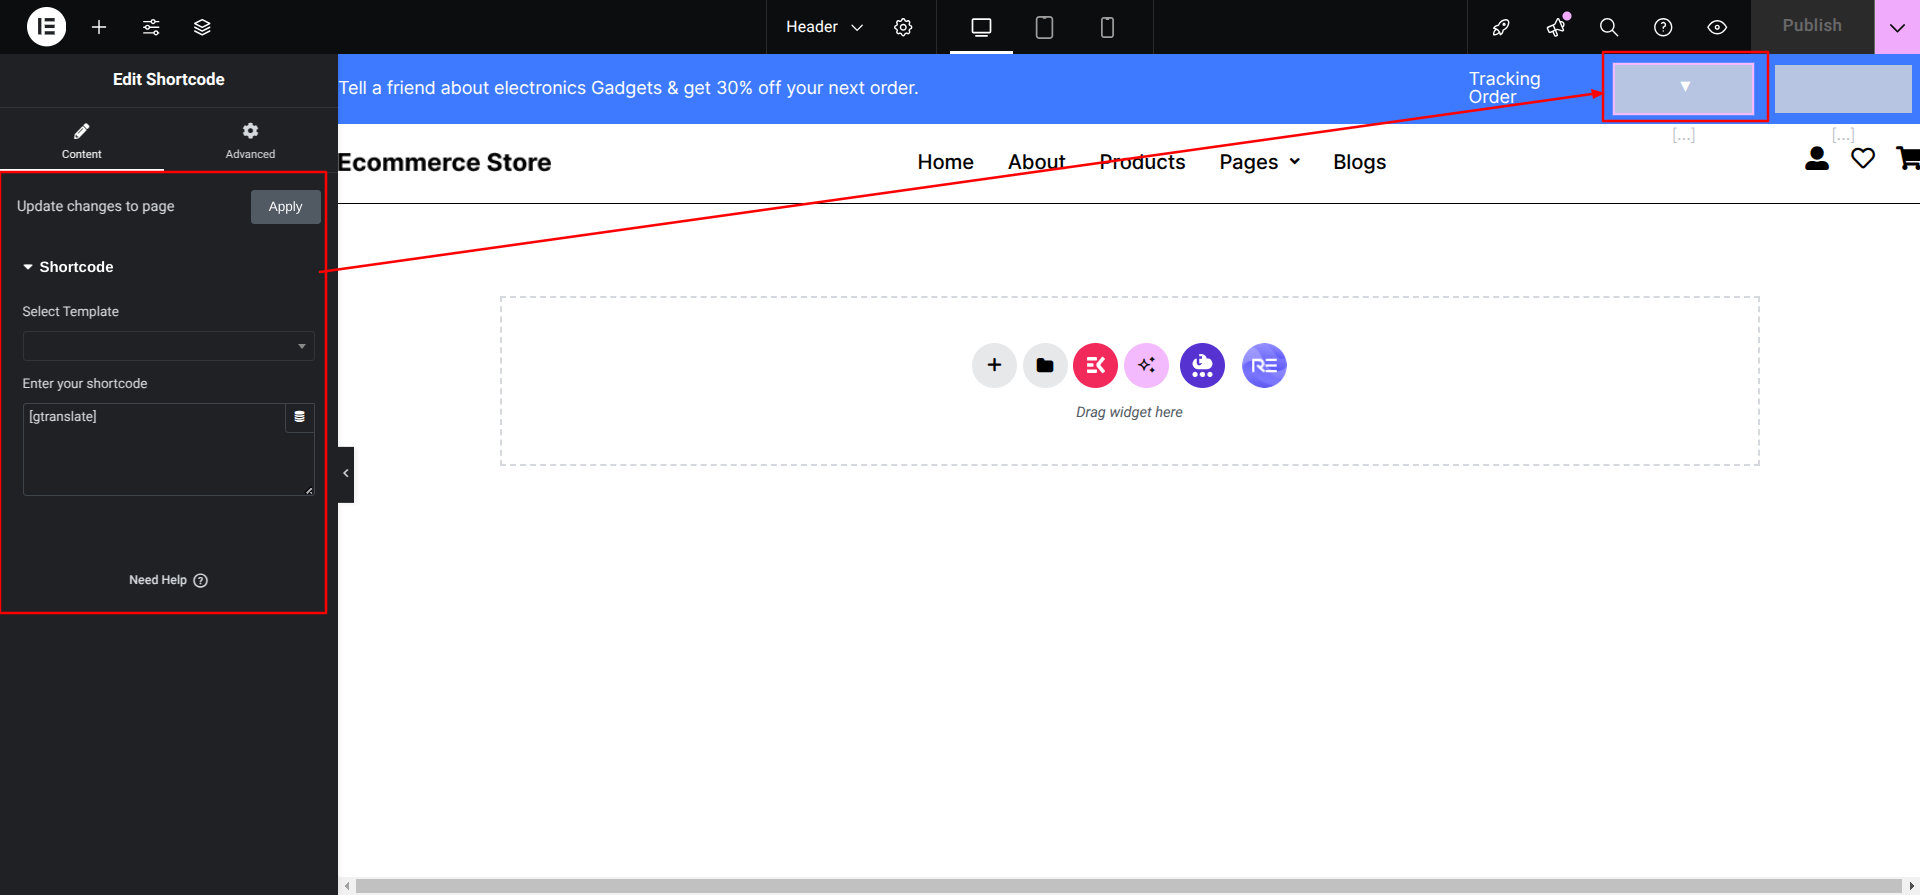
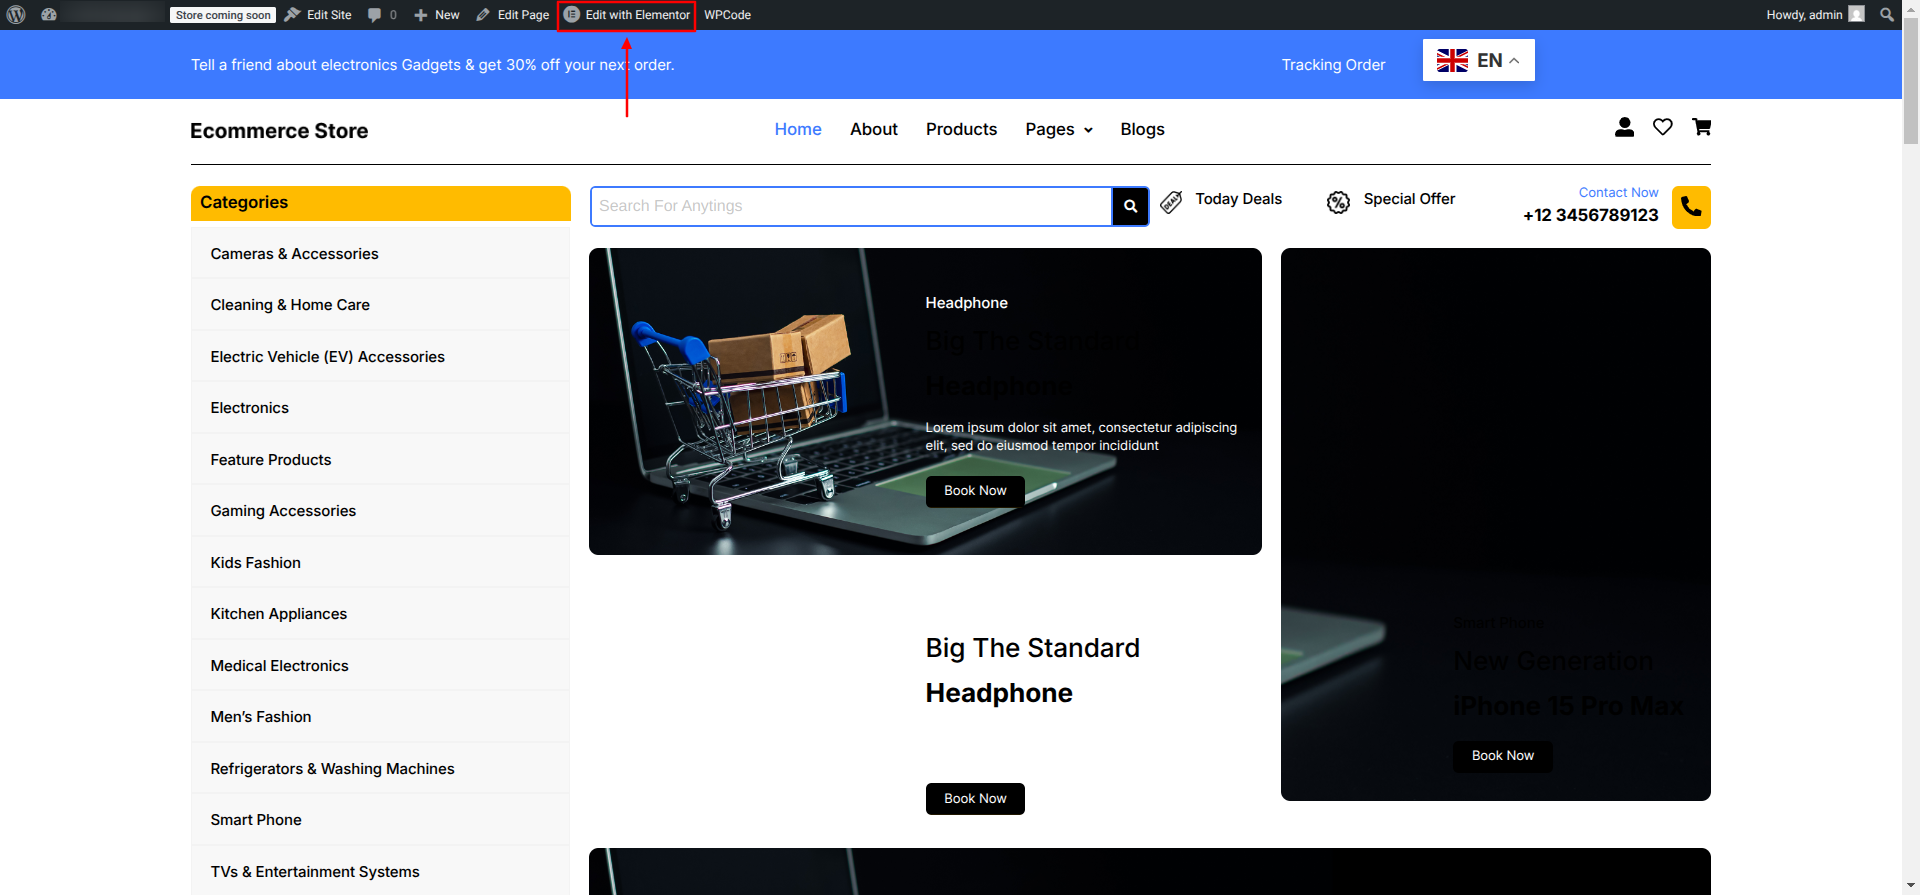
Edit this Section, Click On the "Edit With Elementor" Button which will
open the Elementor Widget editor.
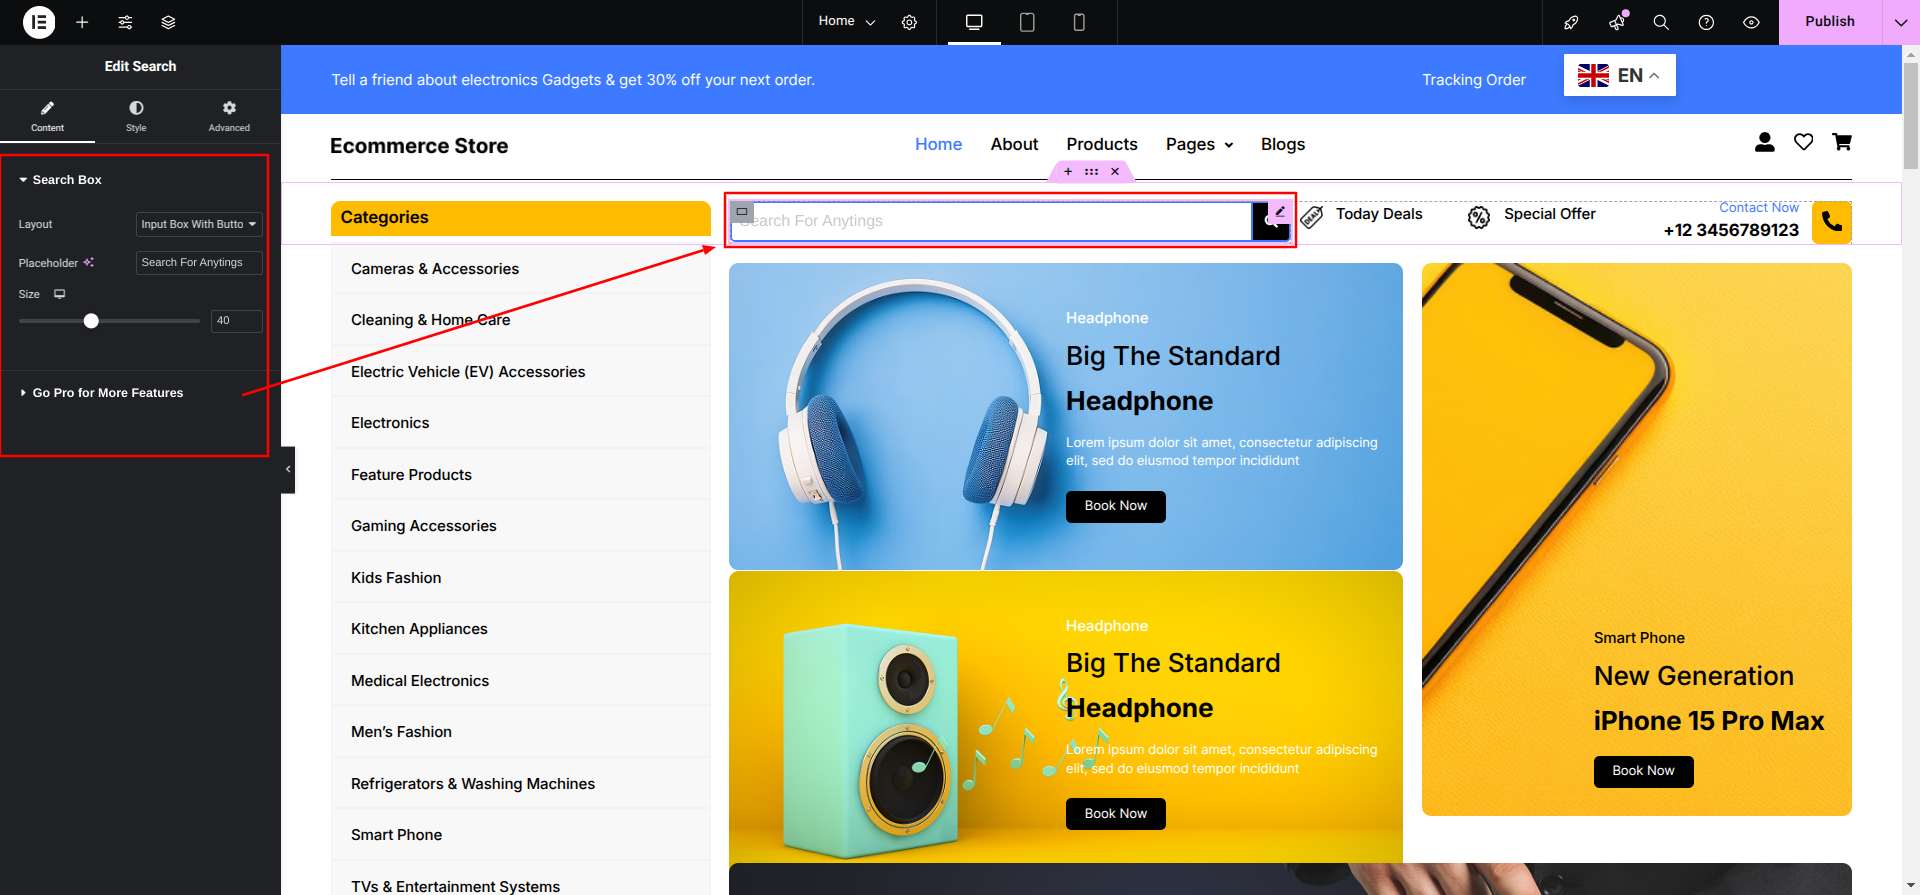
This is how you may set up and add the Slider Section.
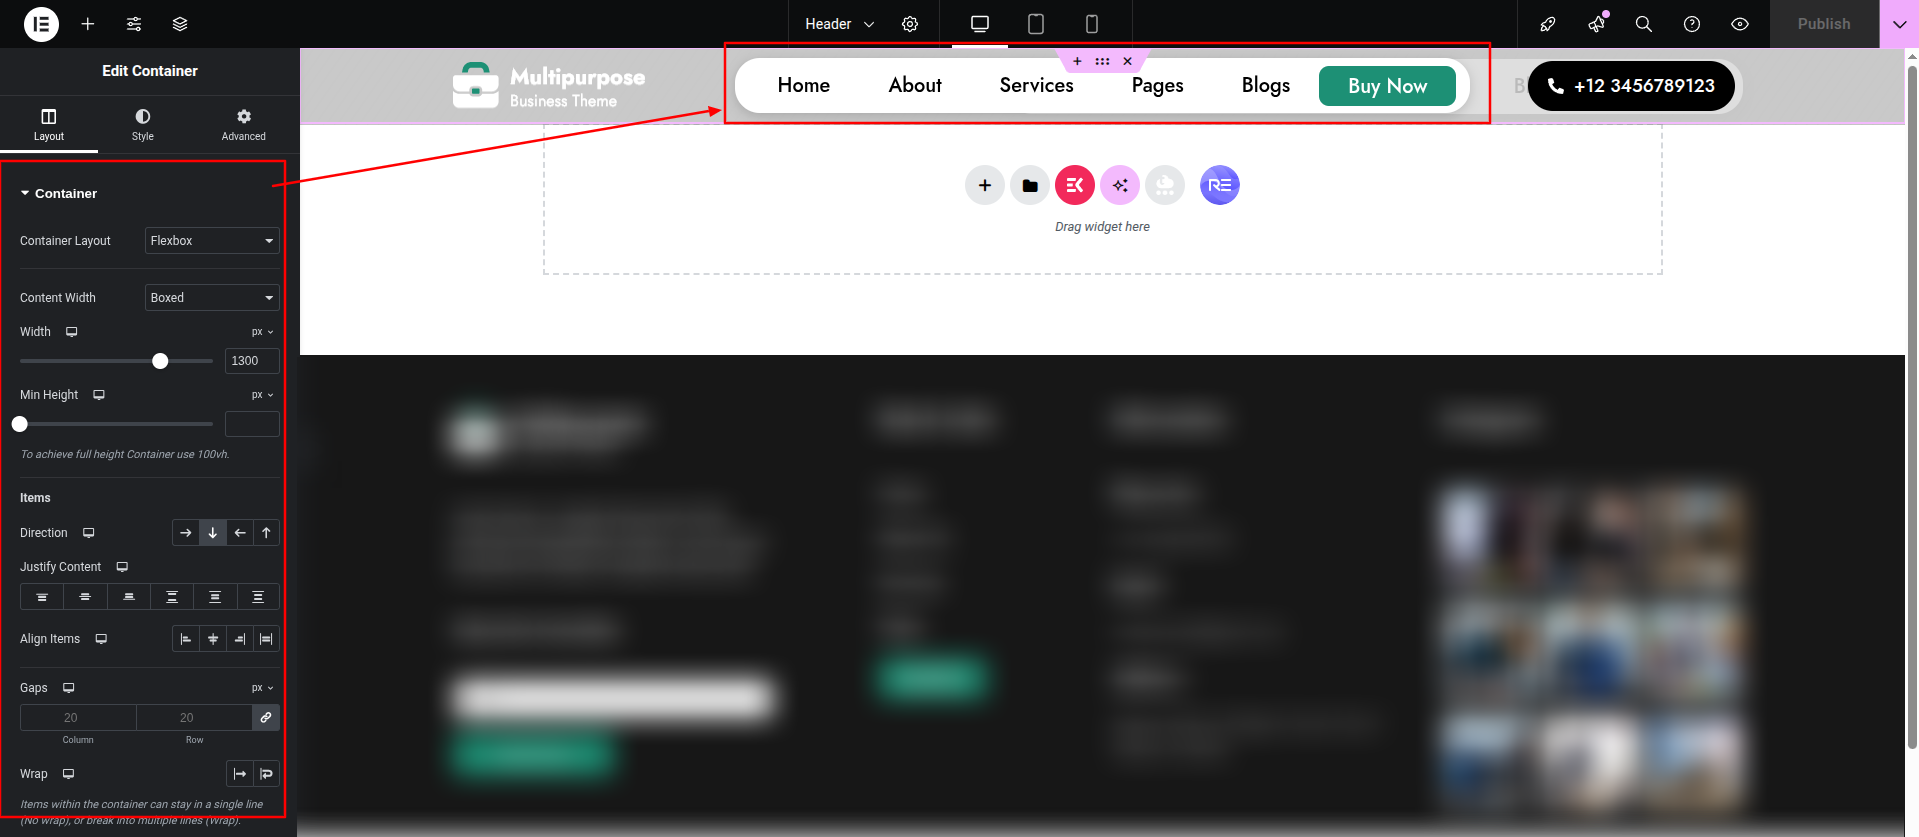
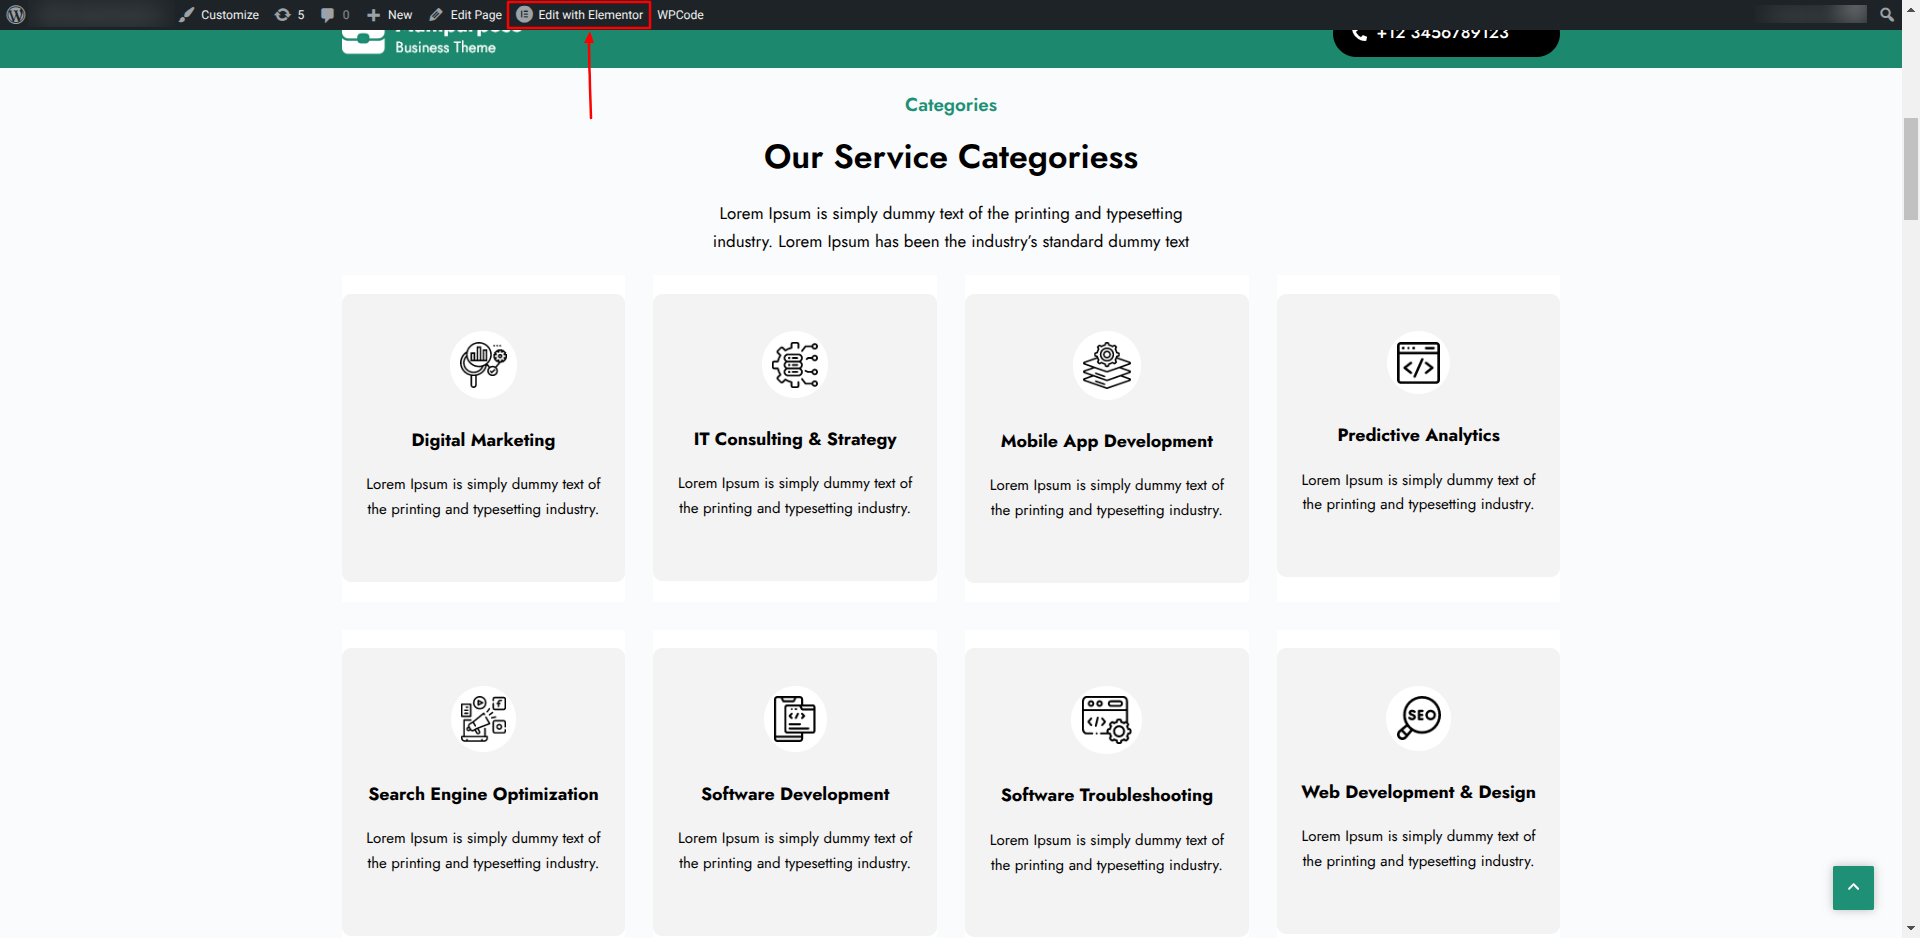
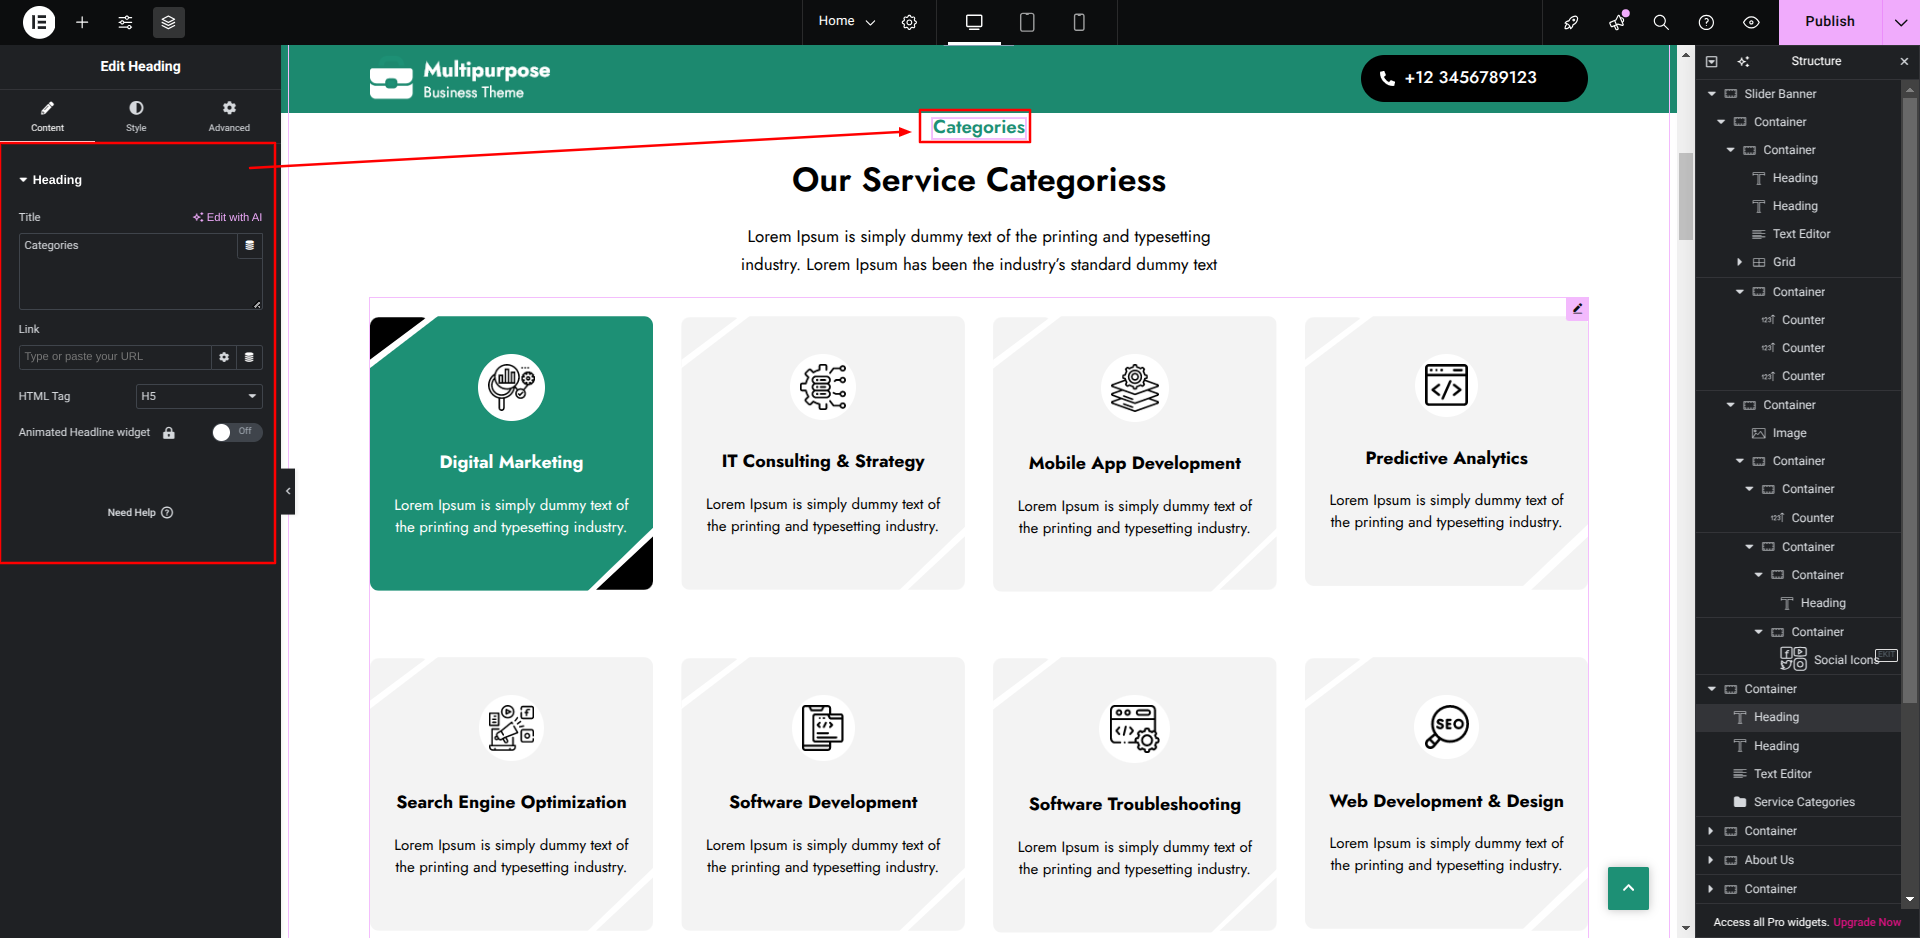
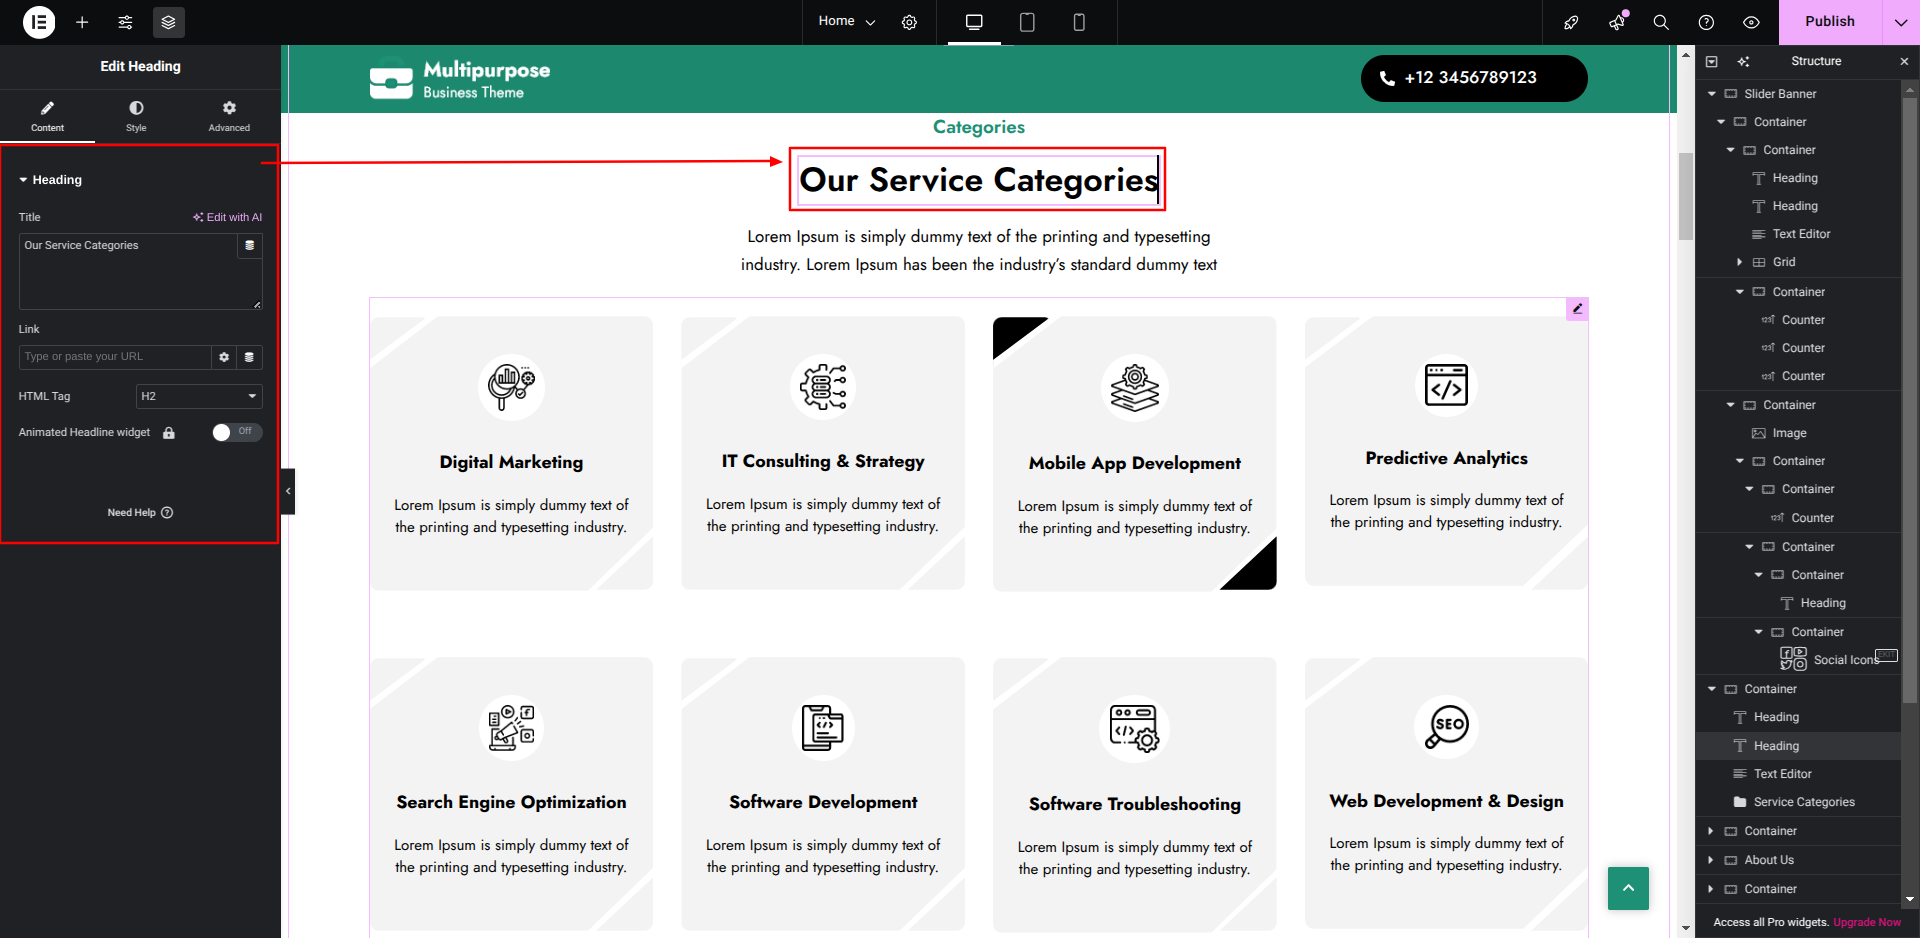
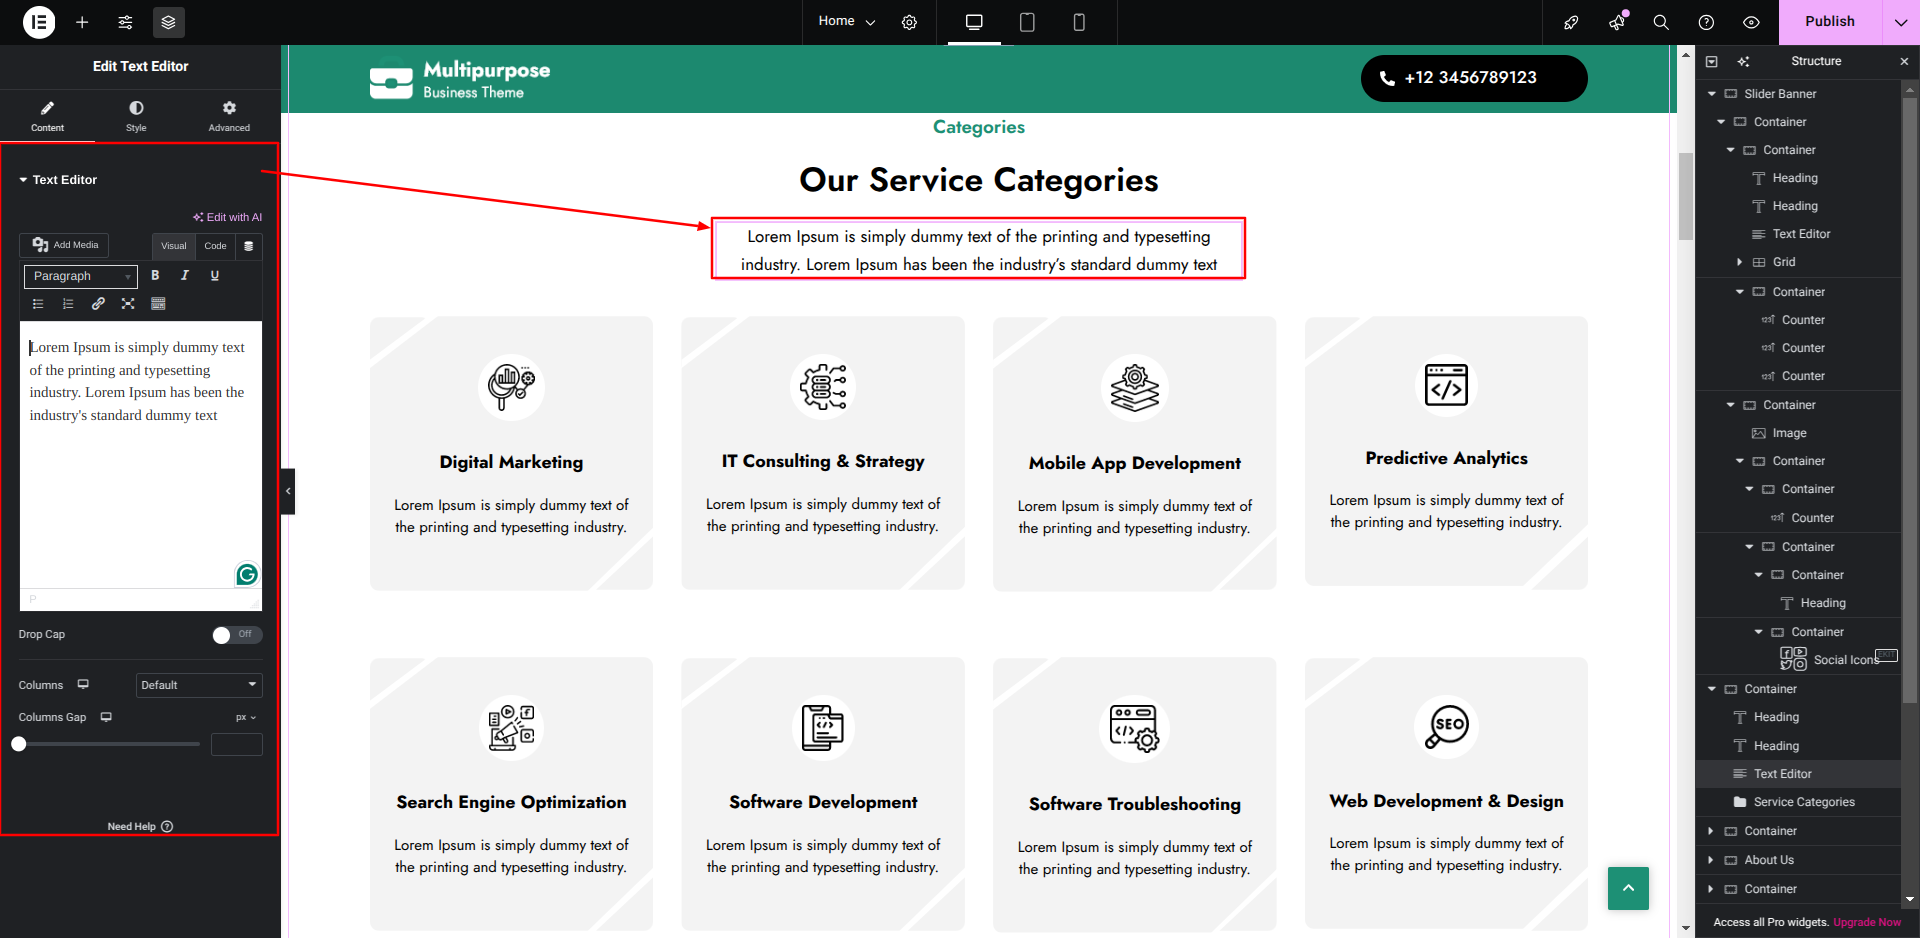
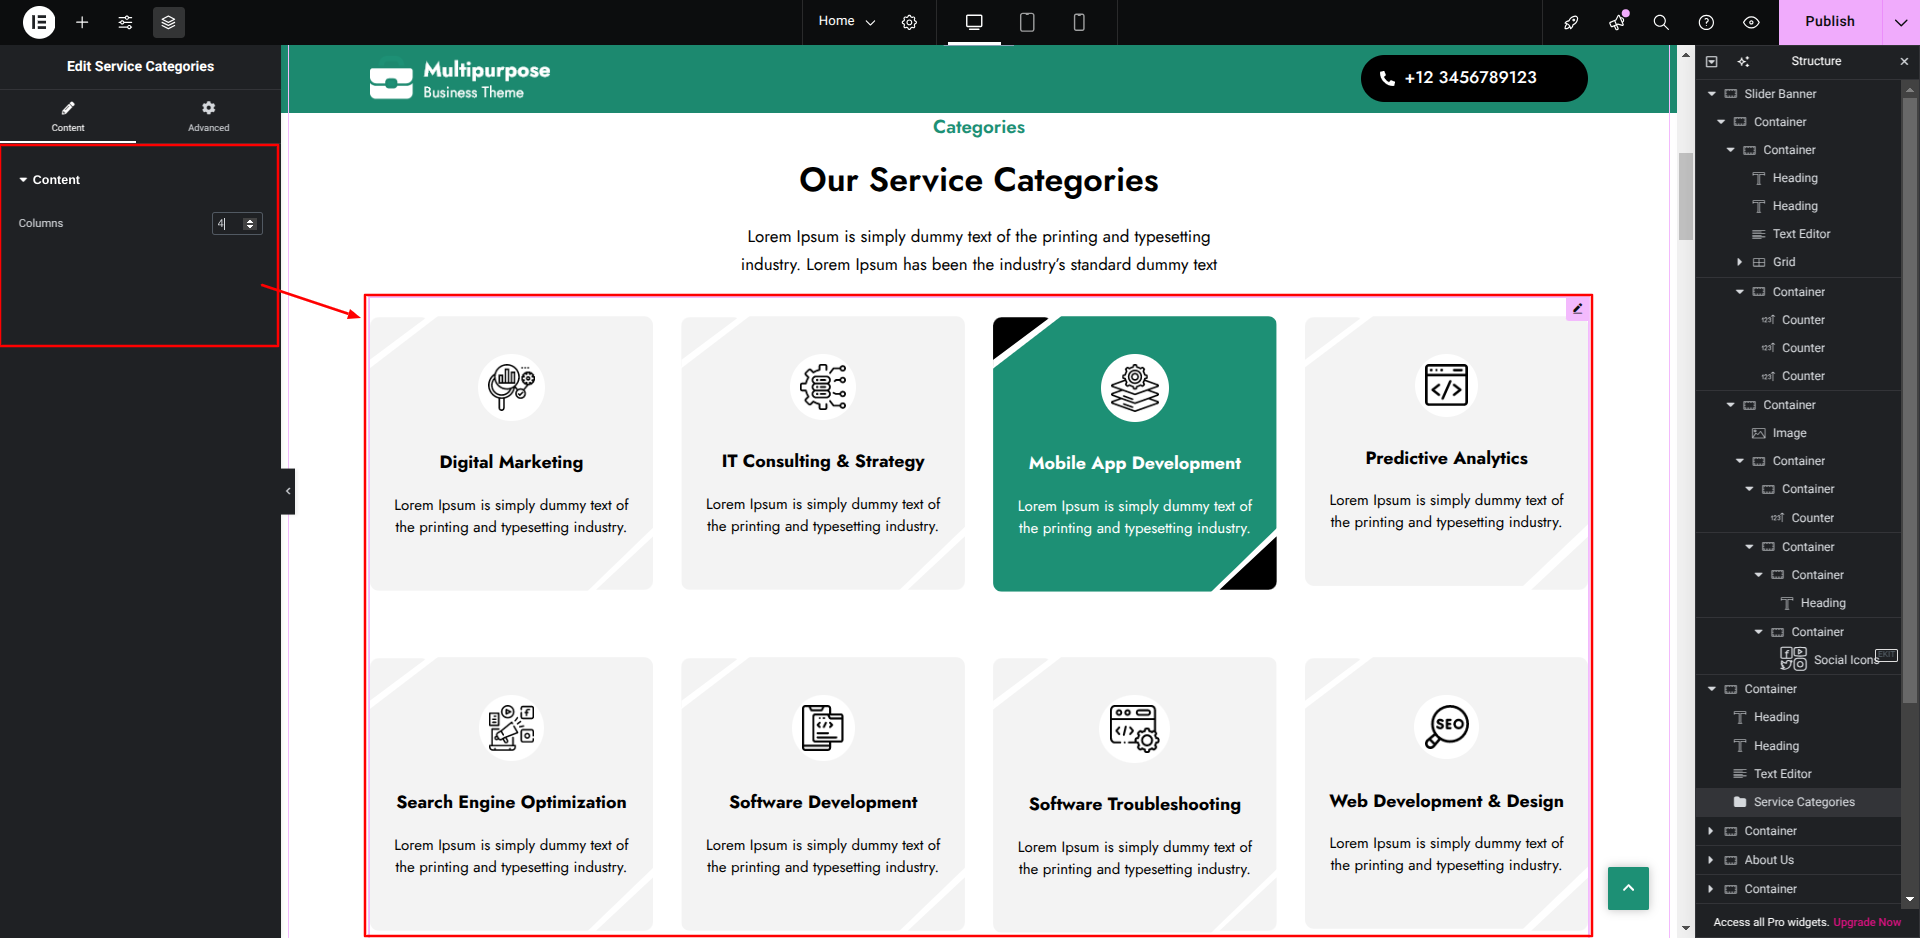
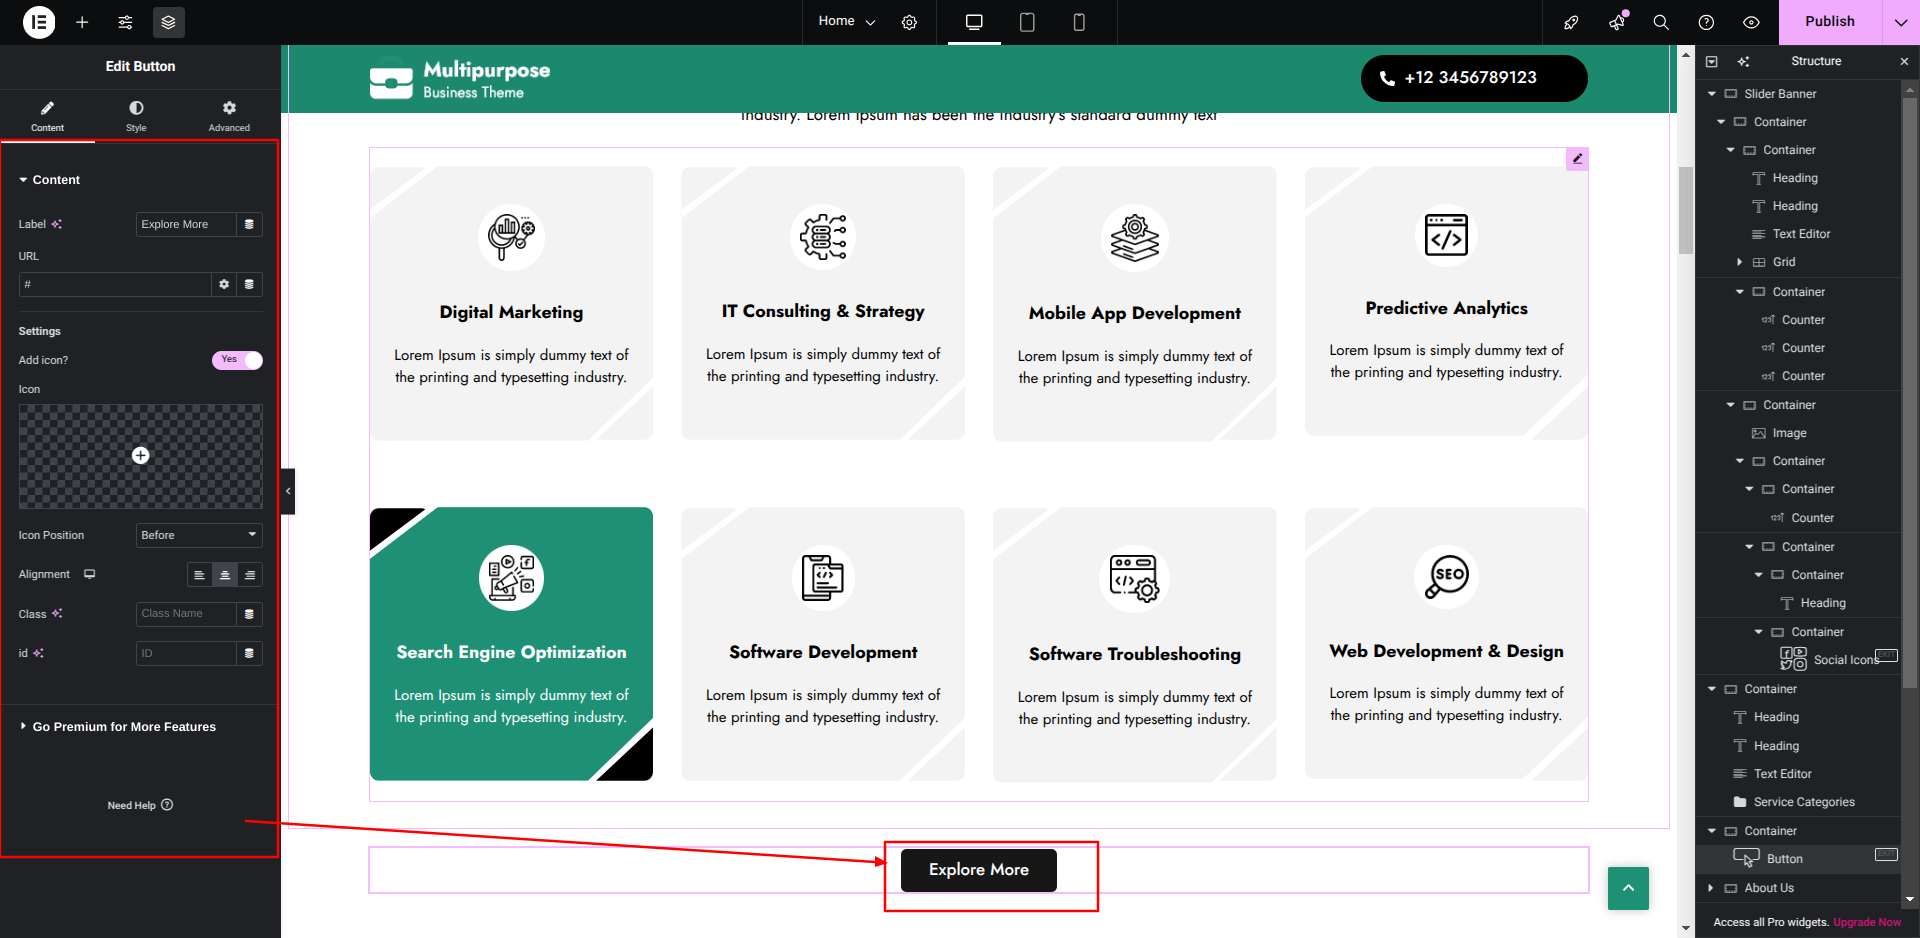
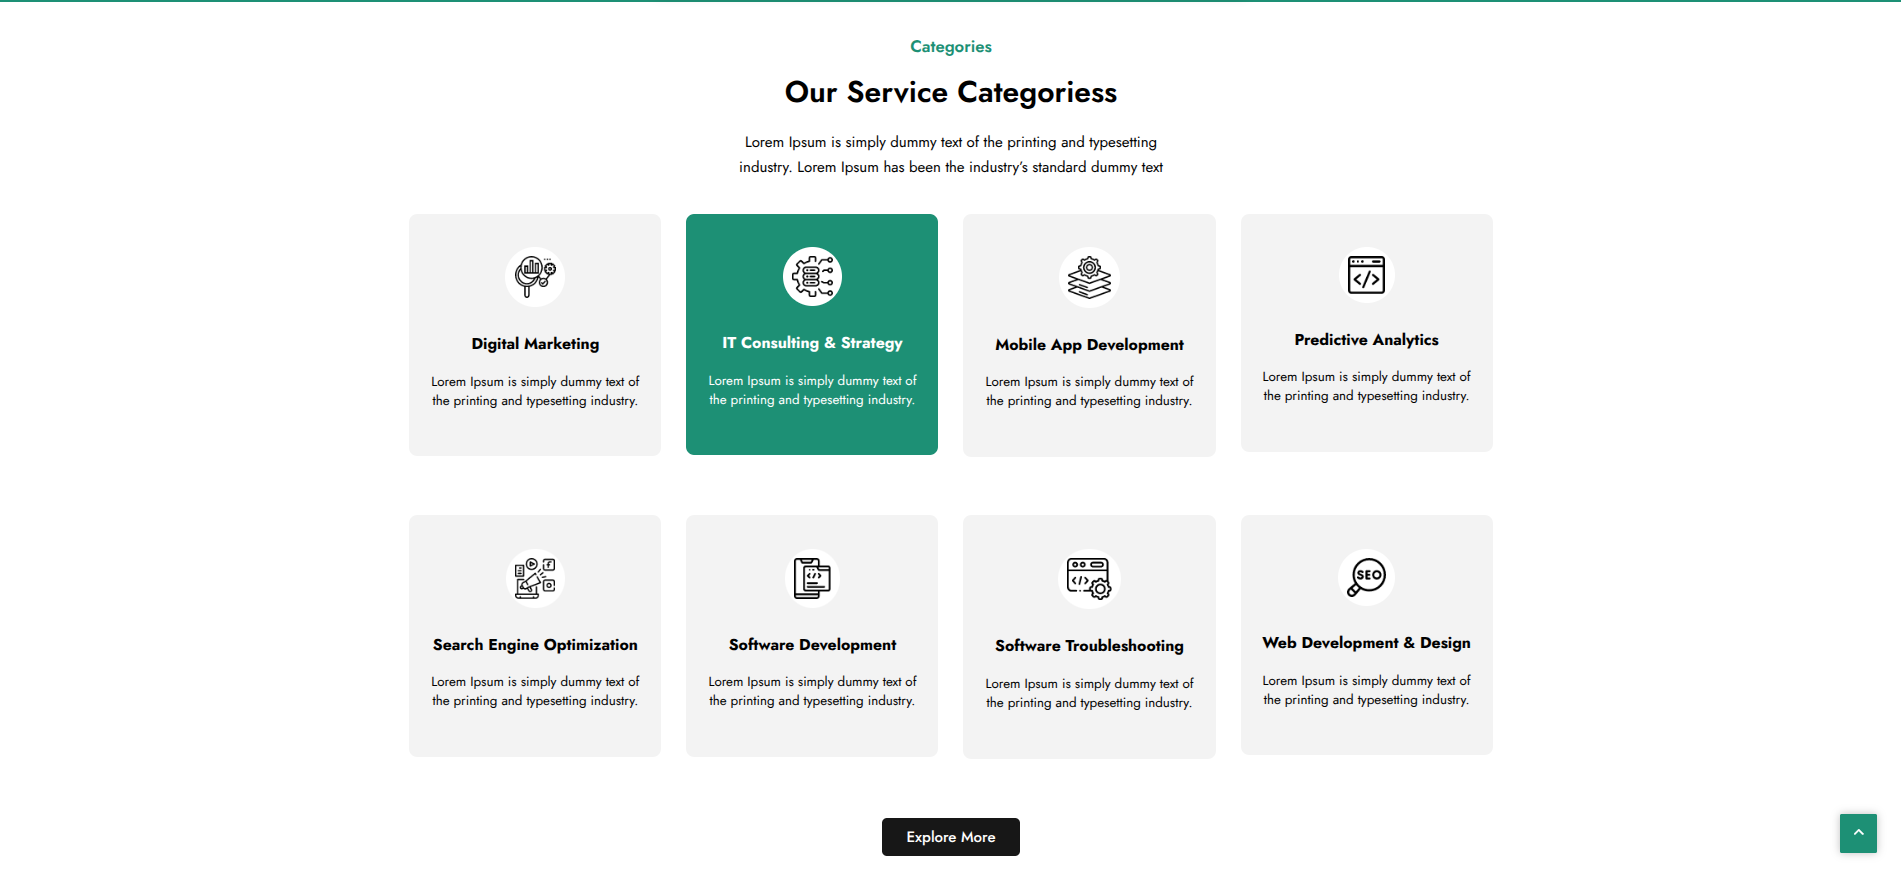
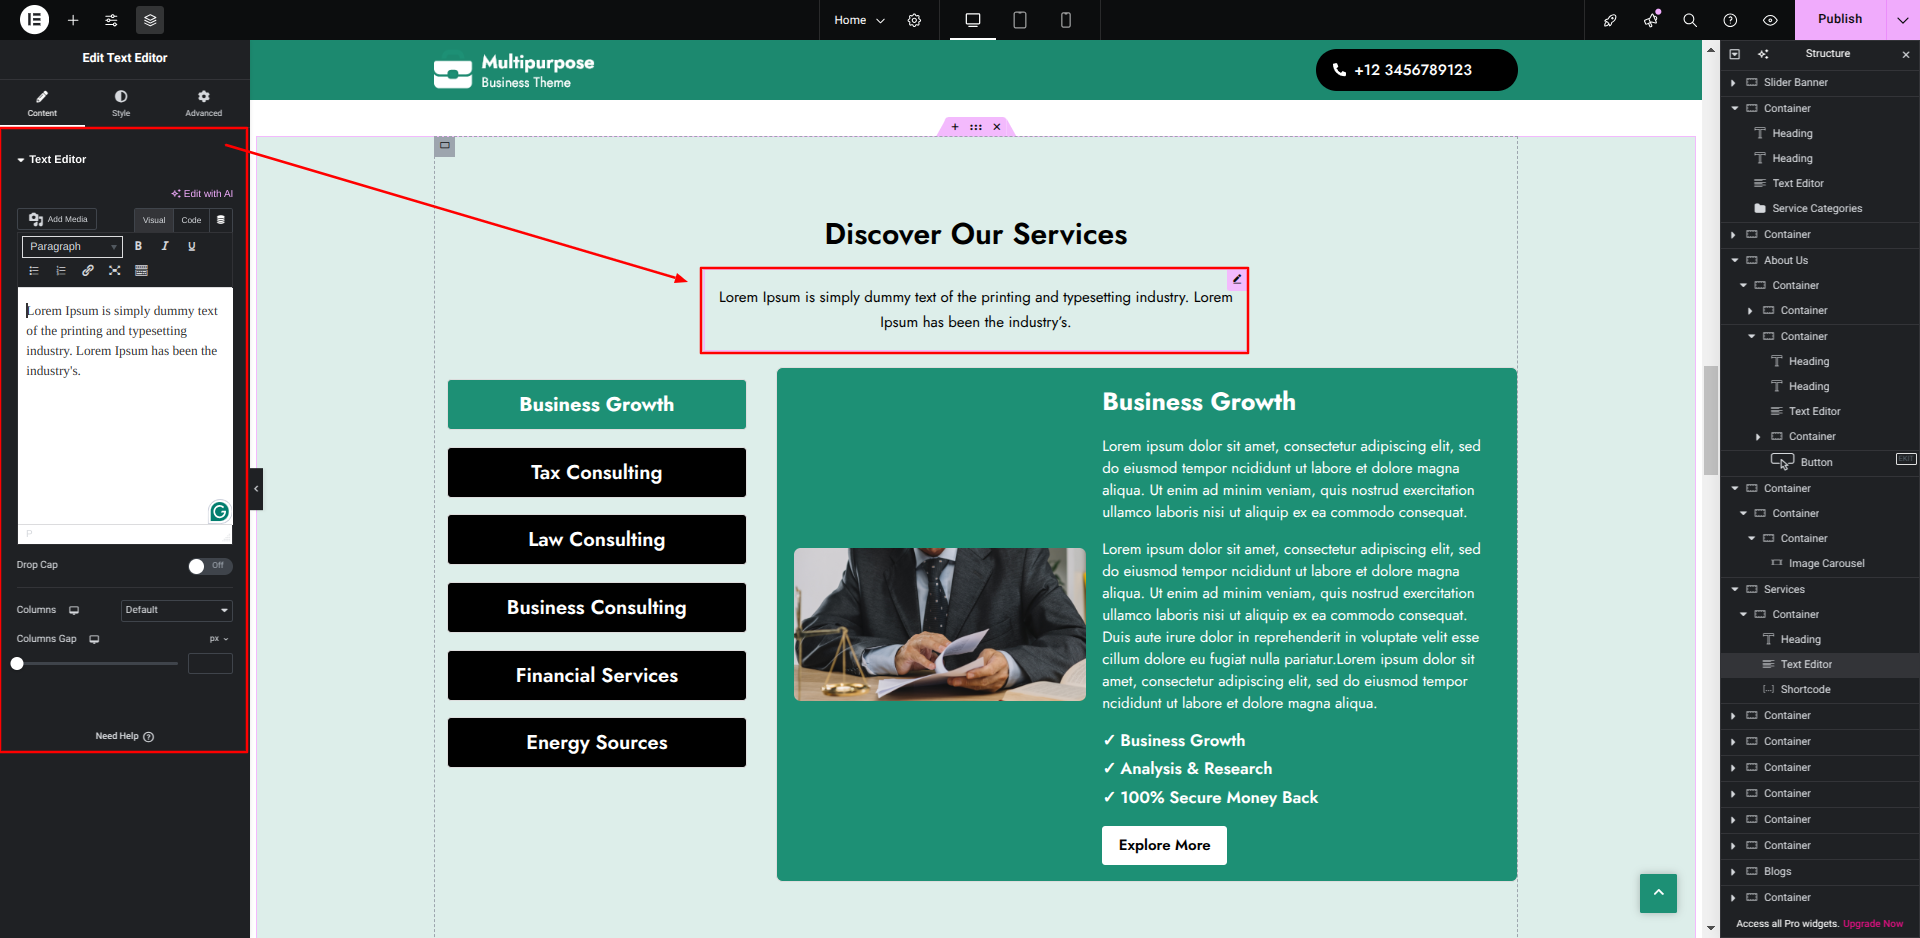
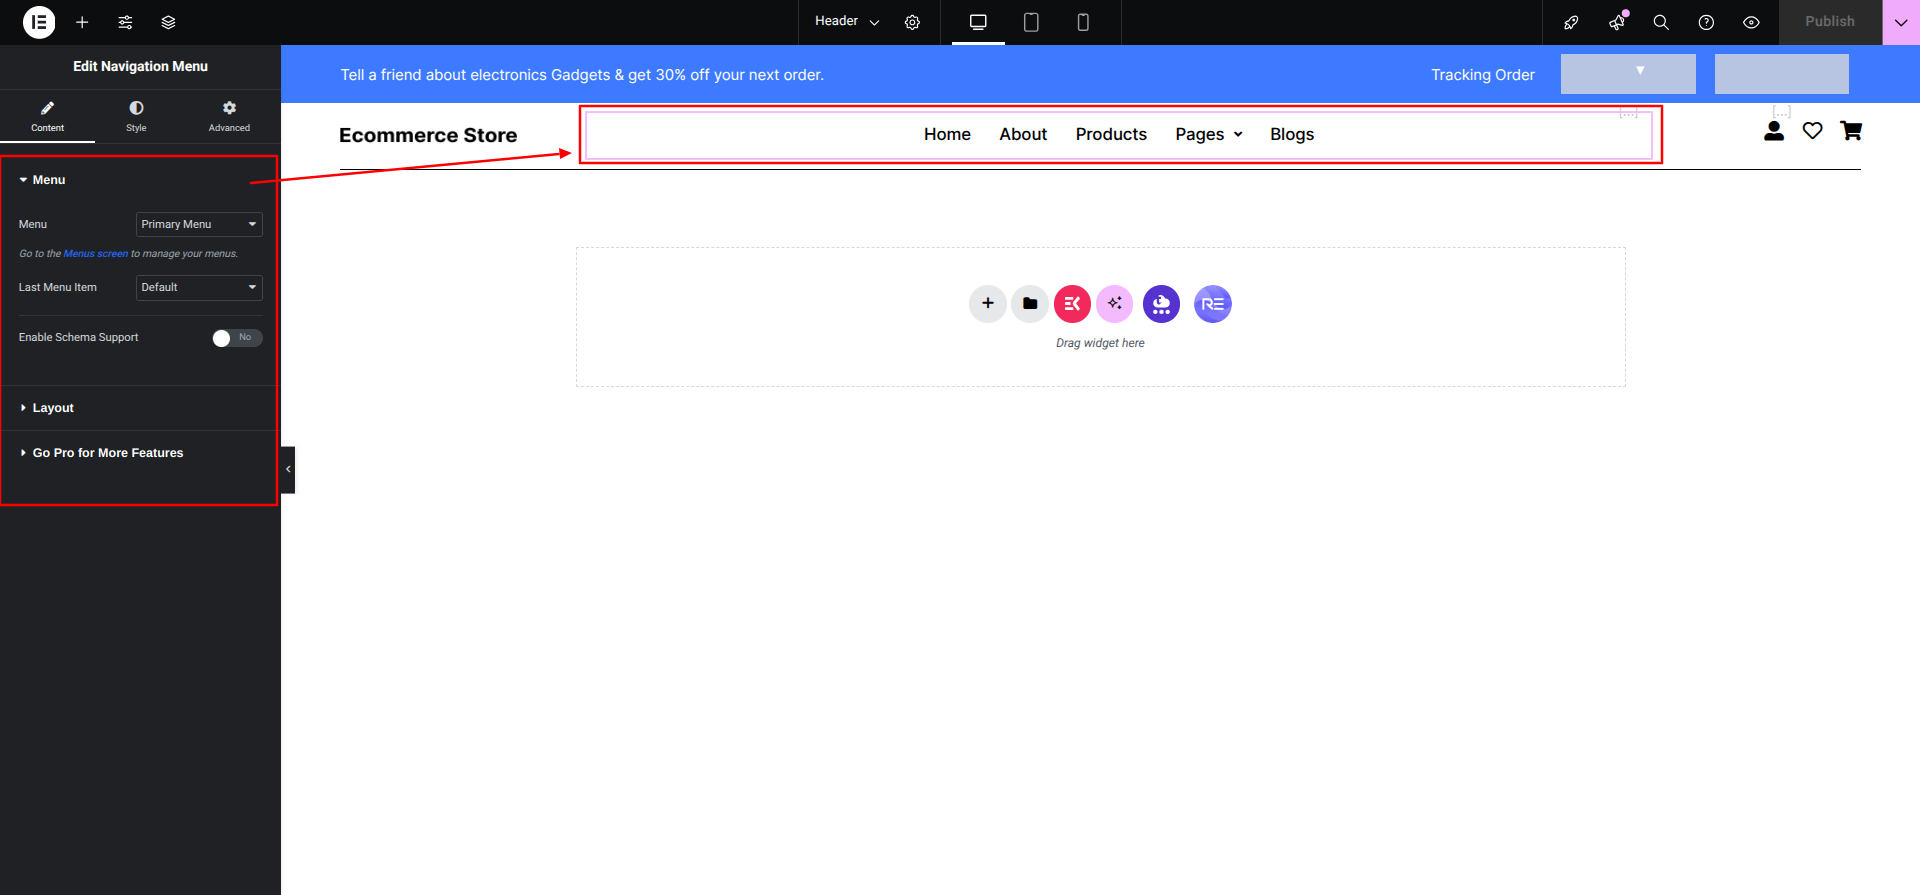
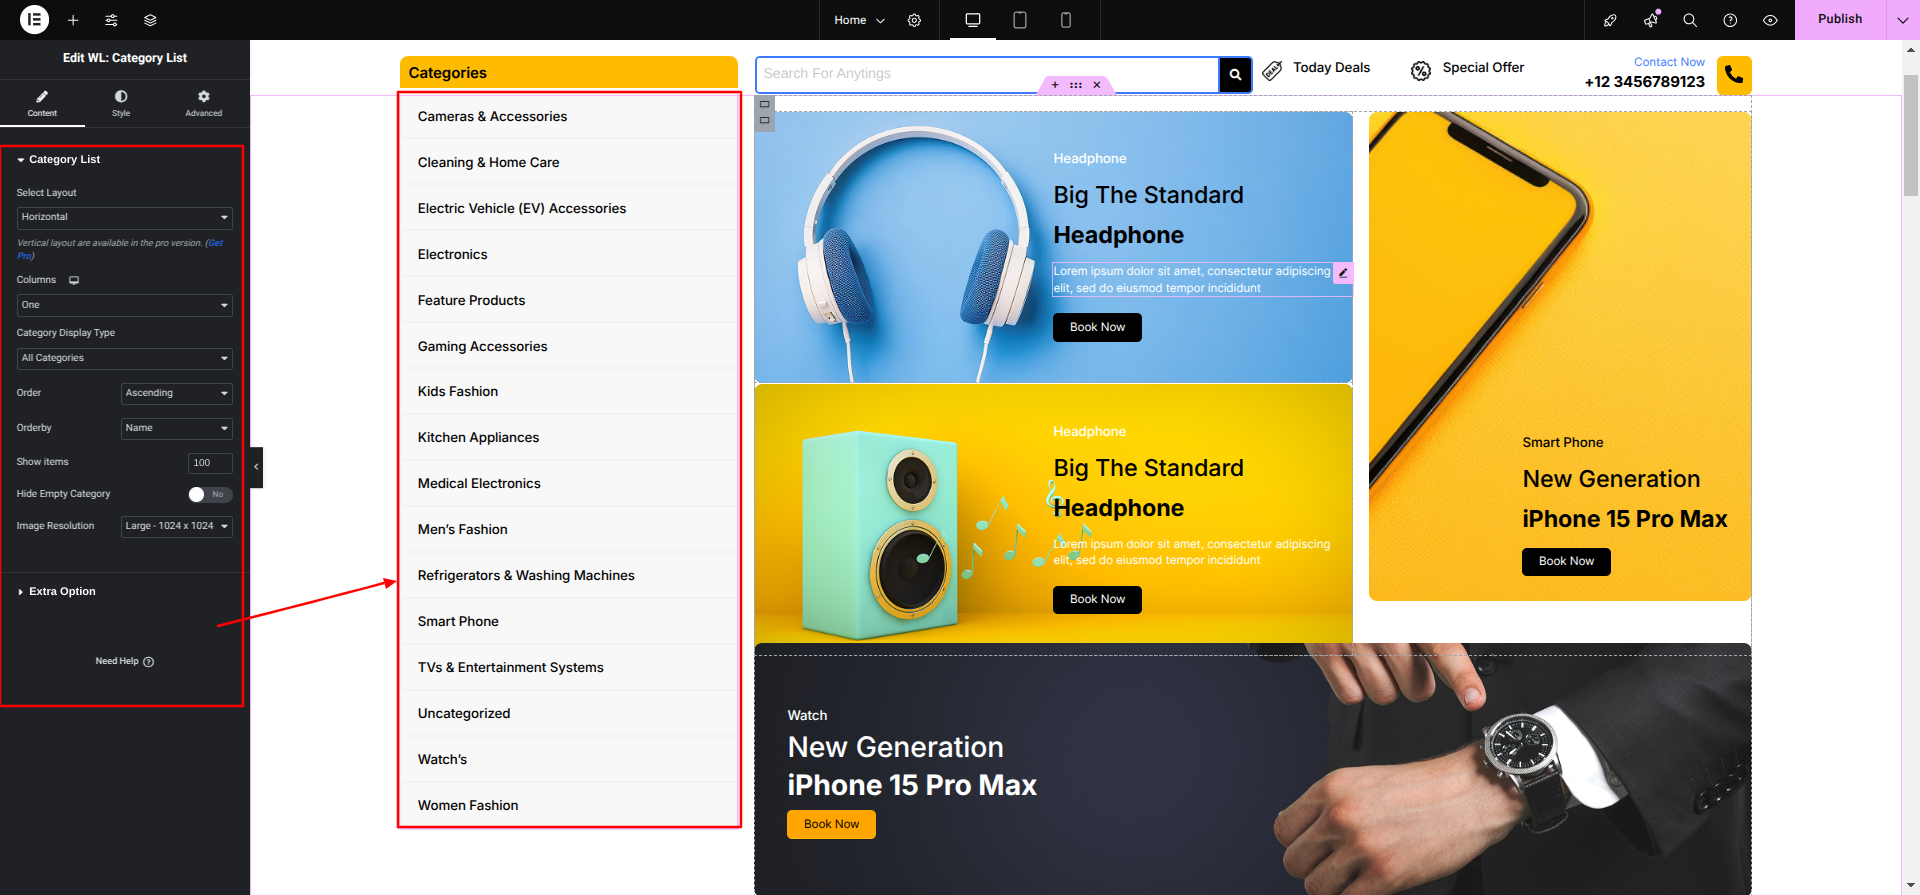
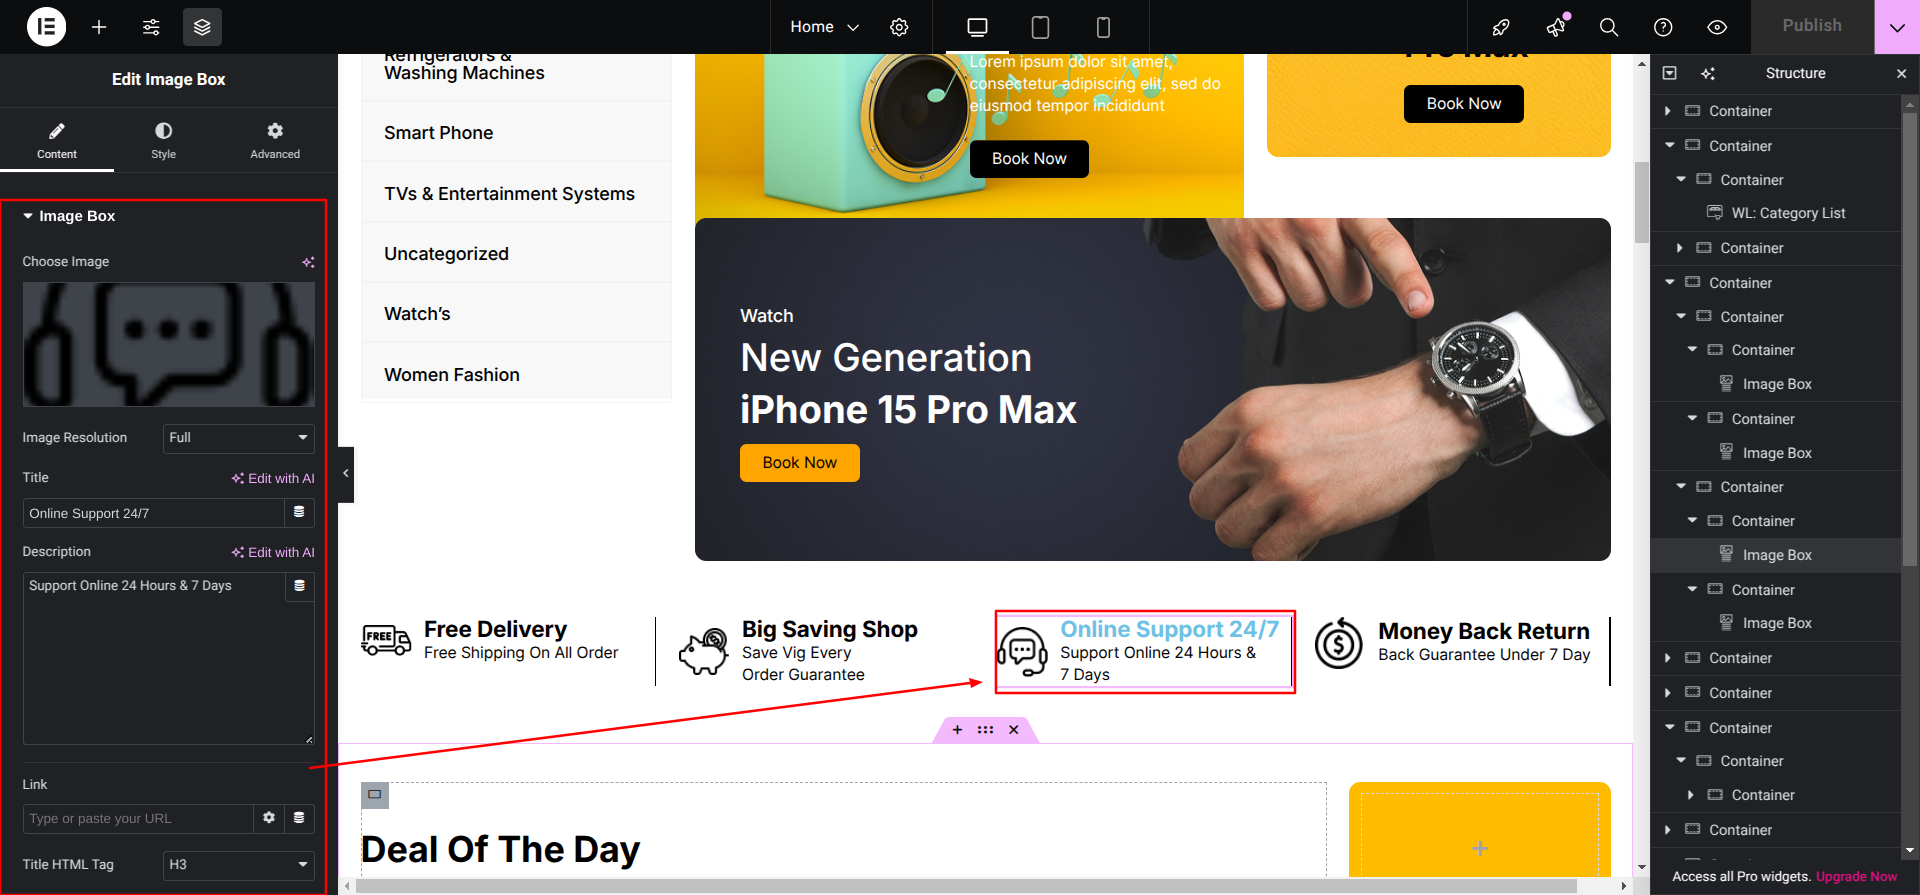
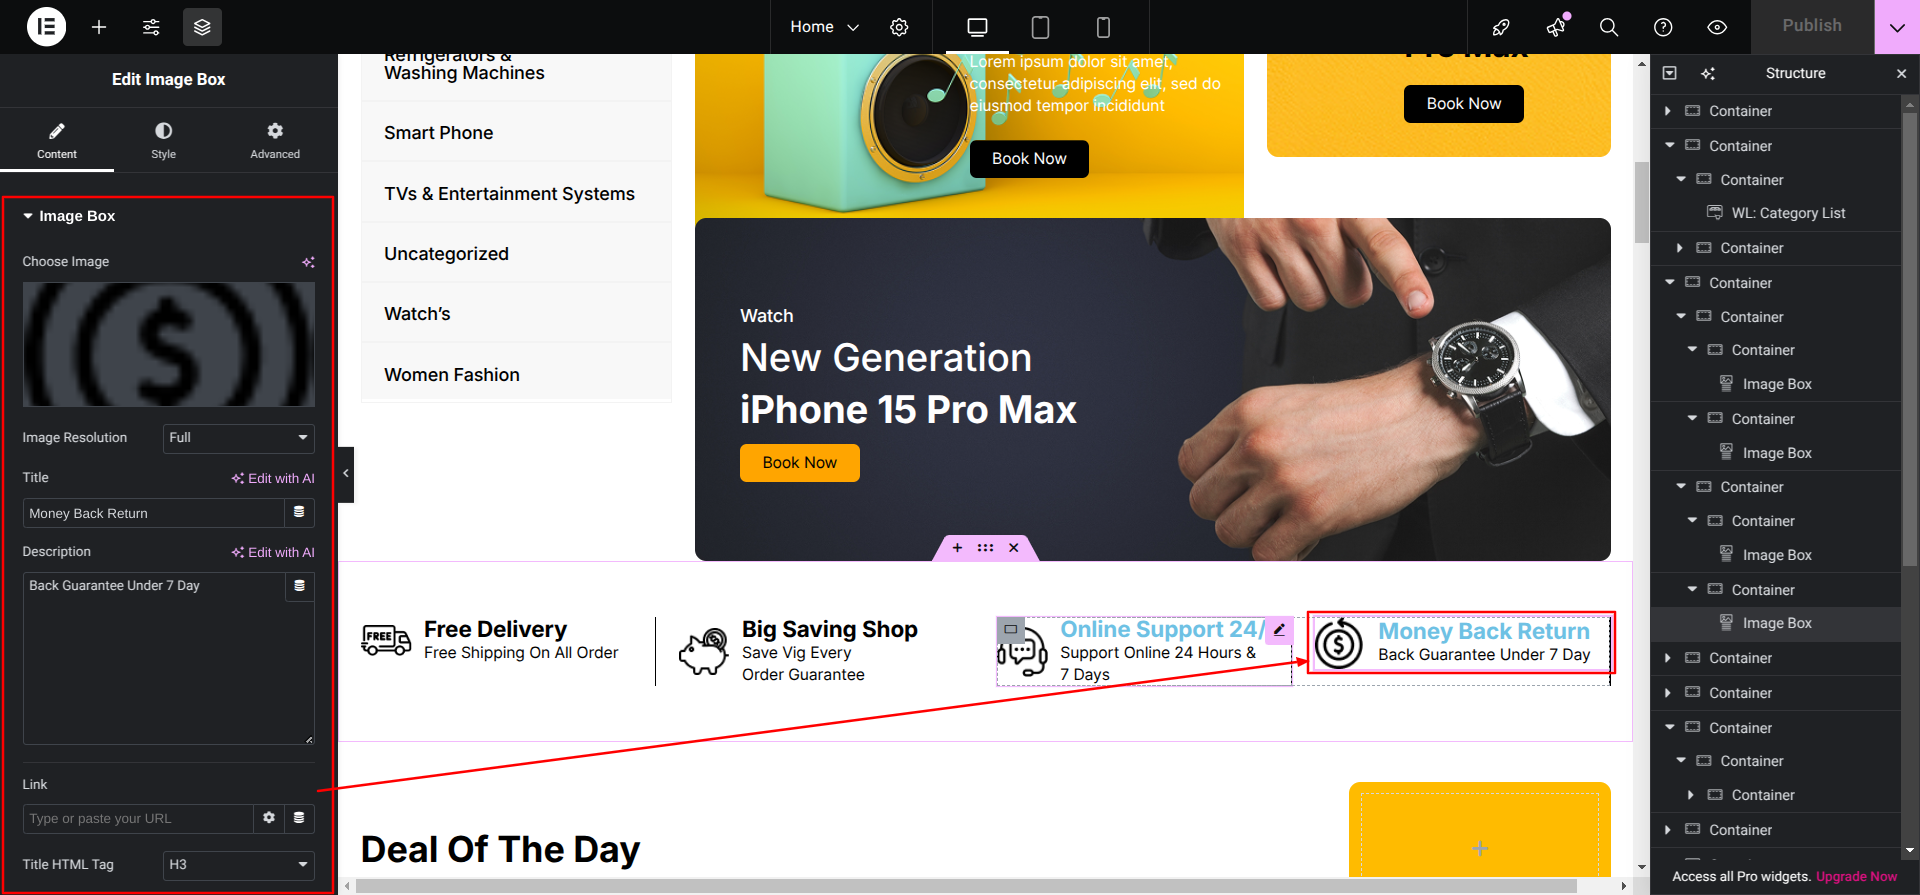
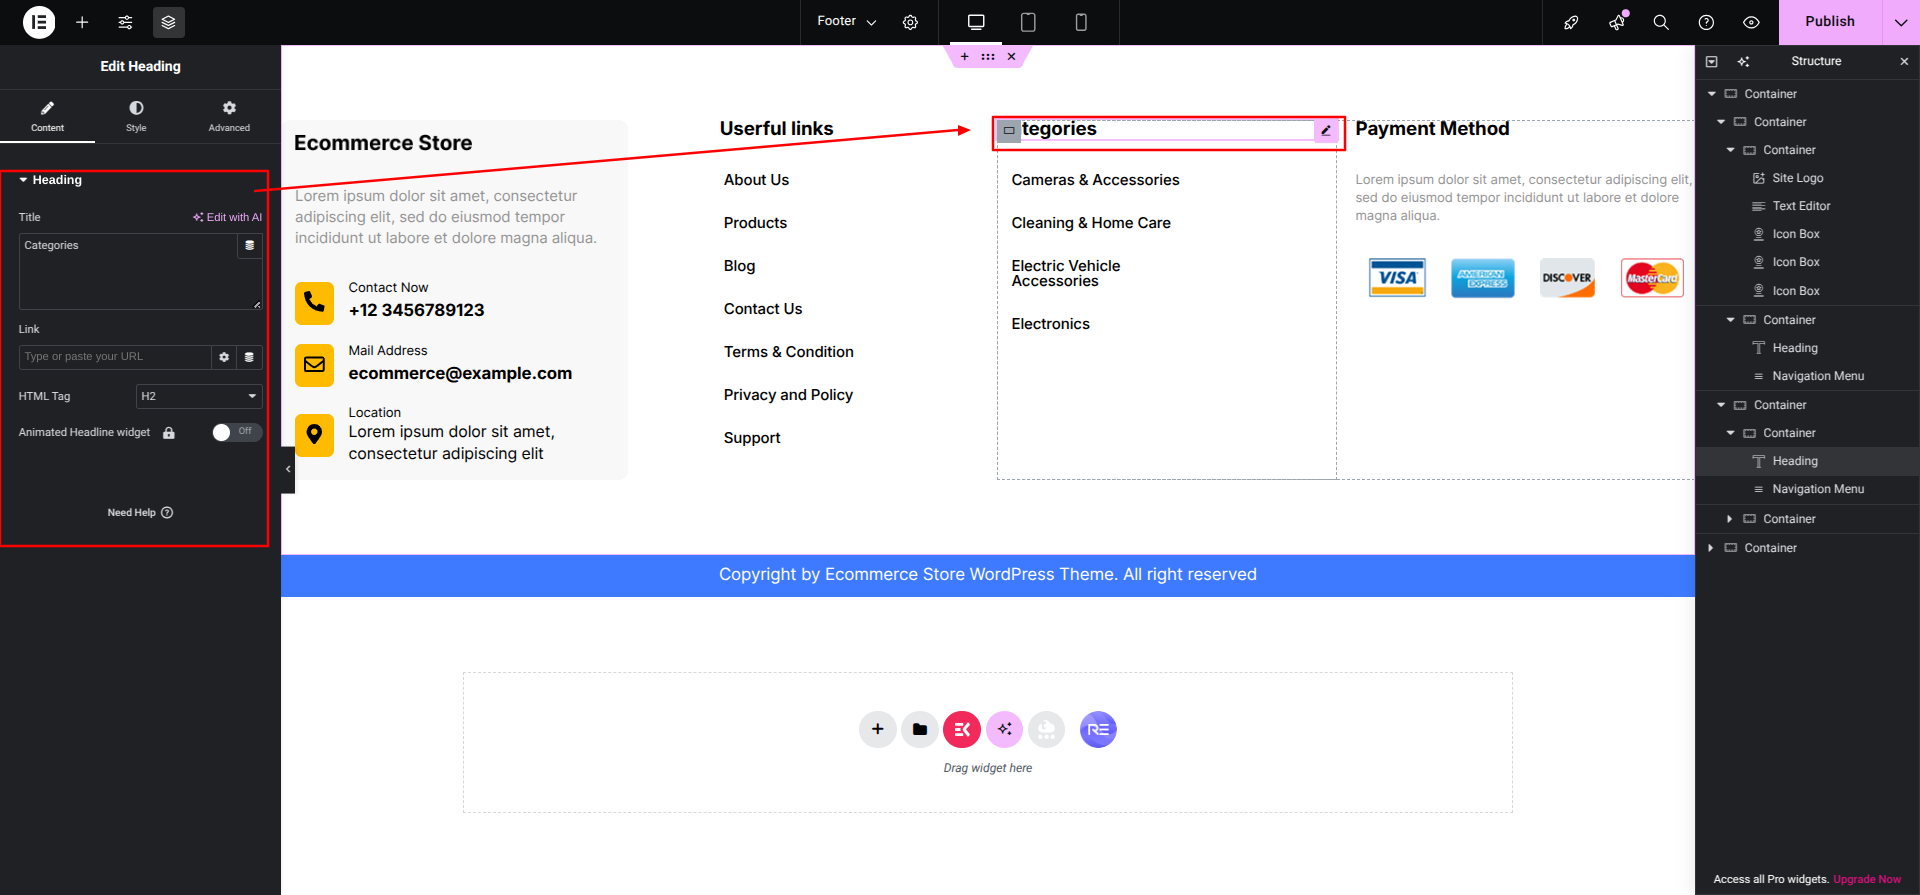
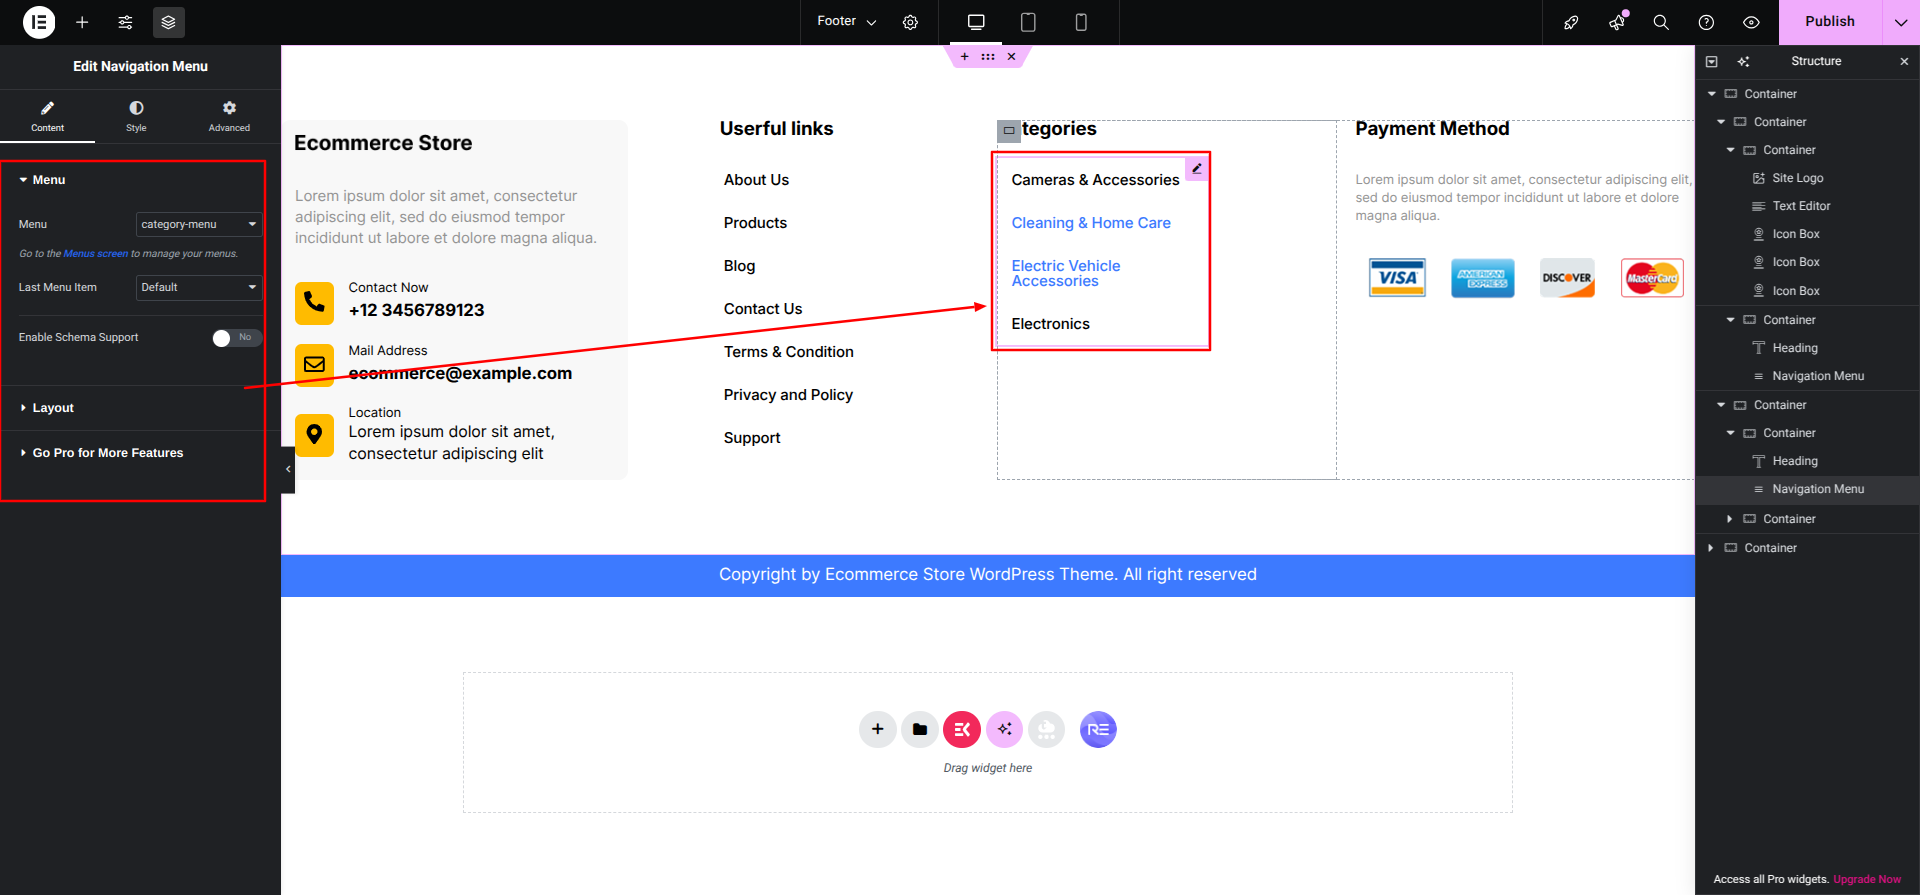
Categories Section
Set up the Categories Section according to the instructions below.
To Edit this Section, Click On the "Edit With Elementor" Button which
will open the Elementor Widget editor.
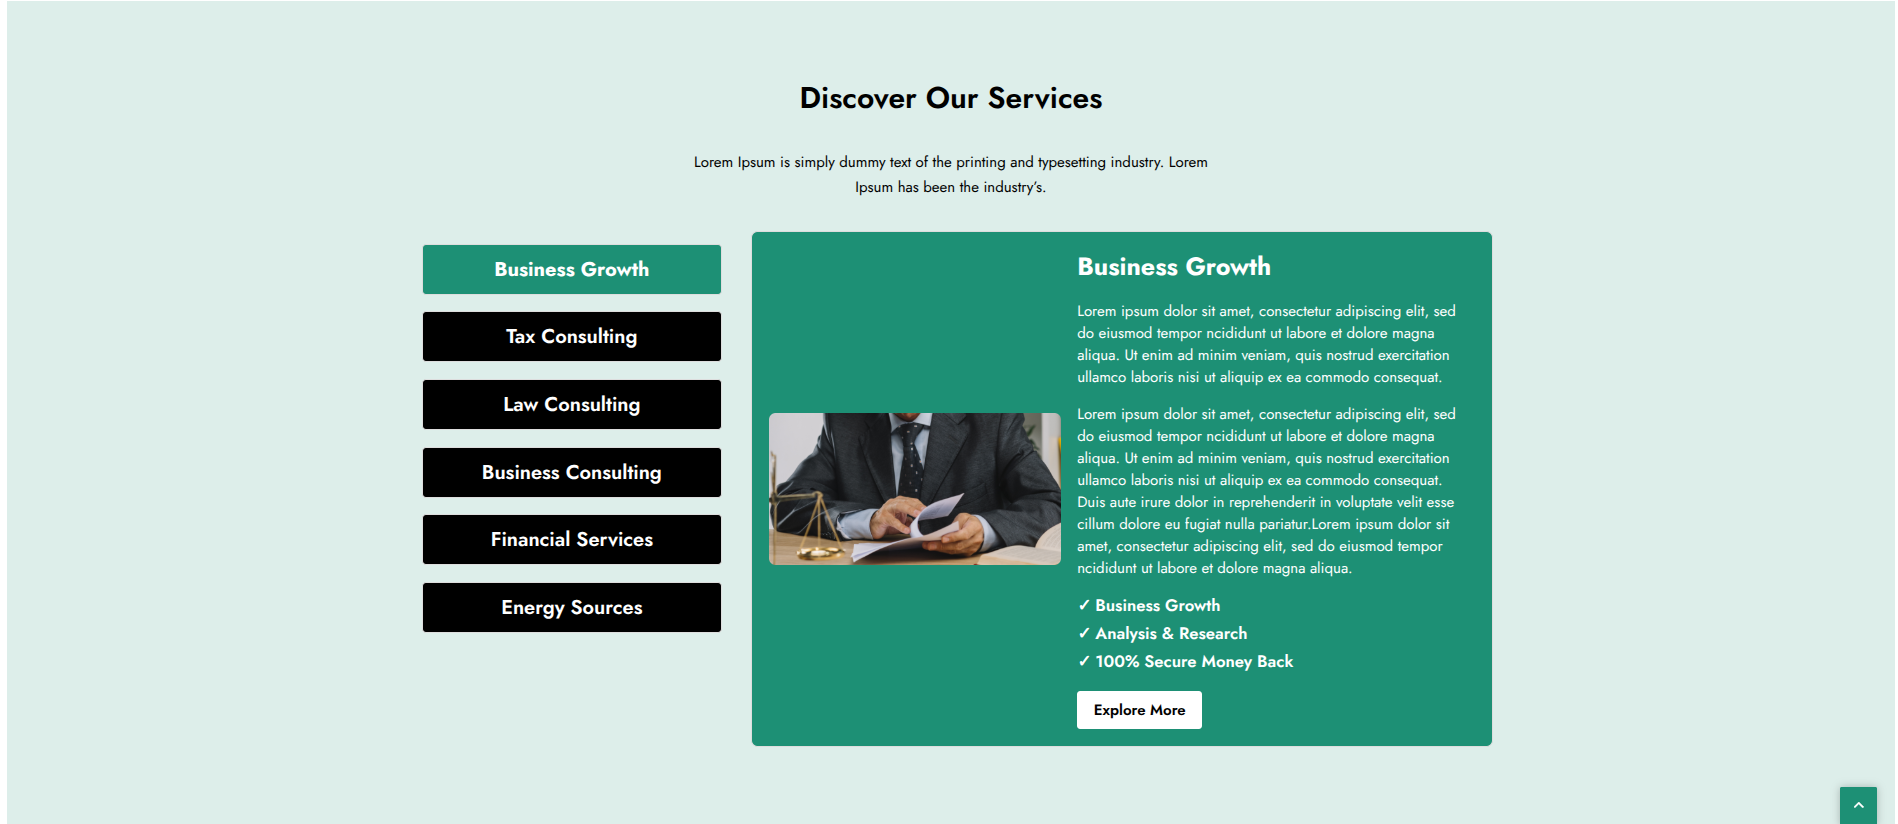
Then the Categories's Section would Look like This
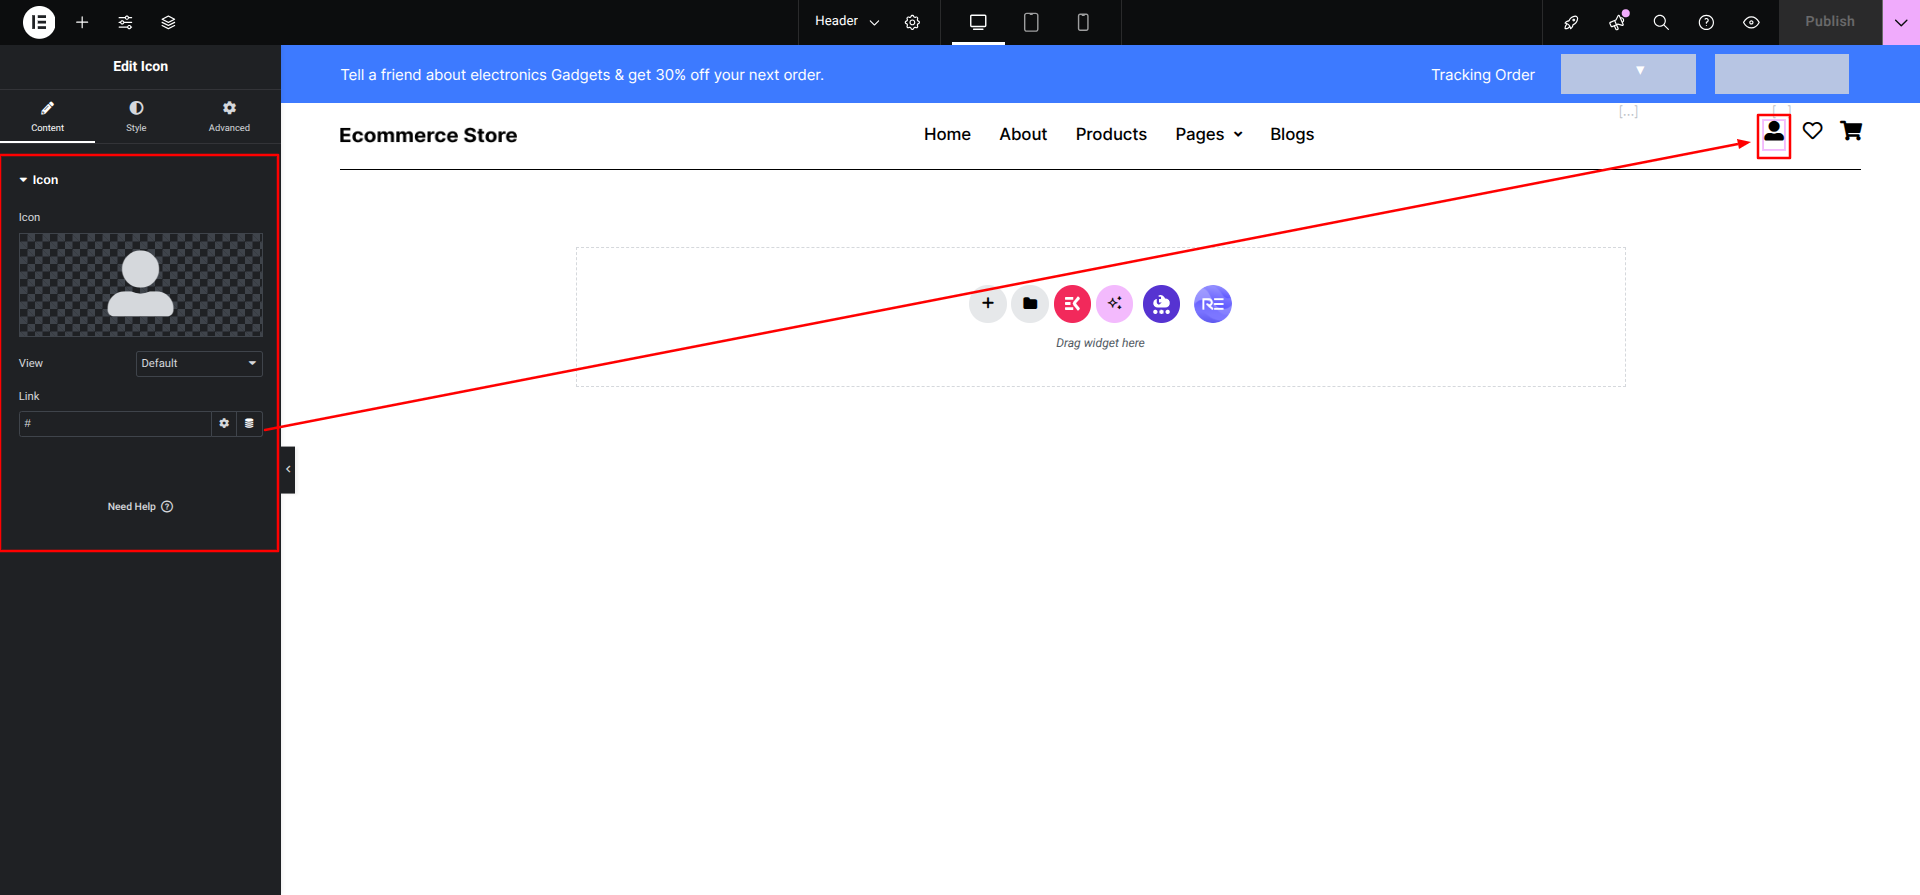
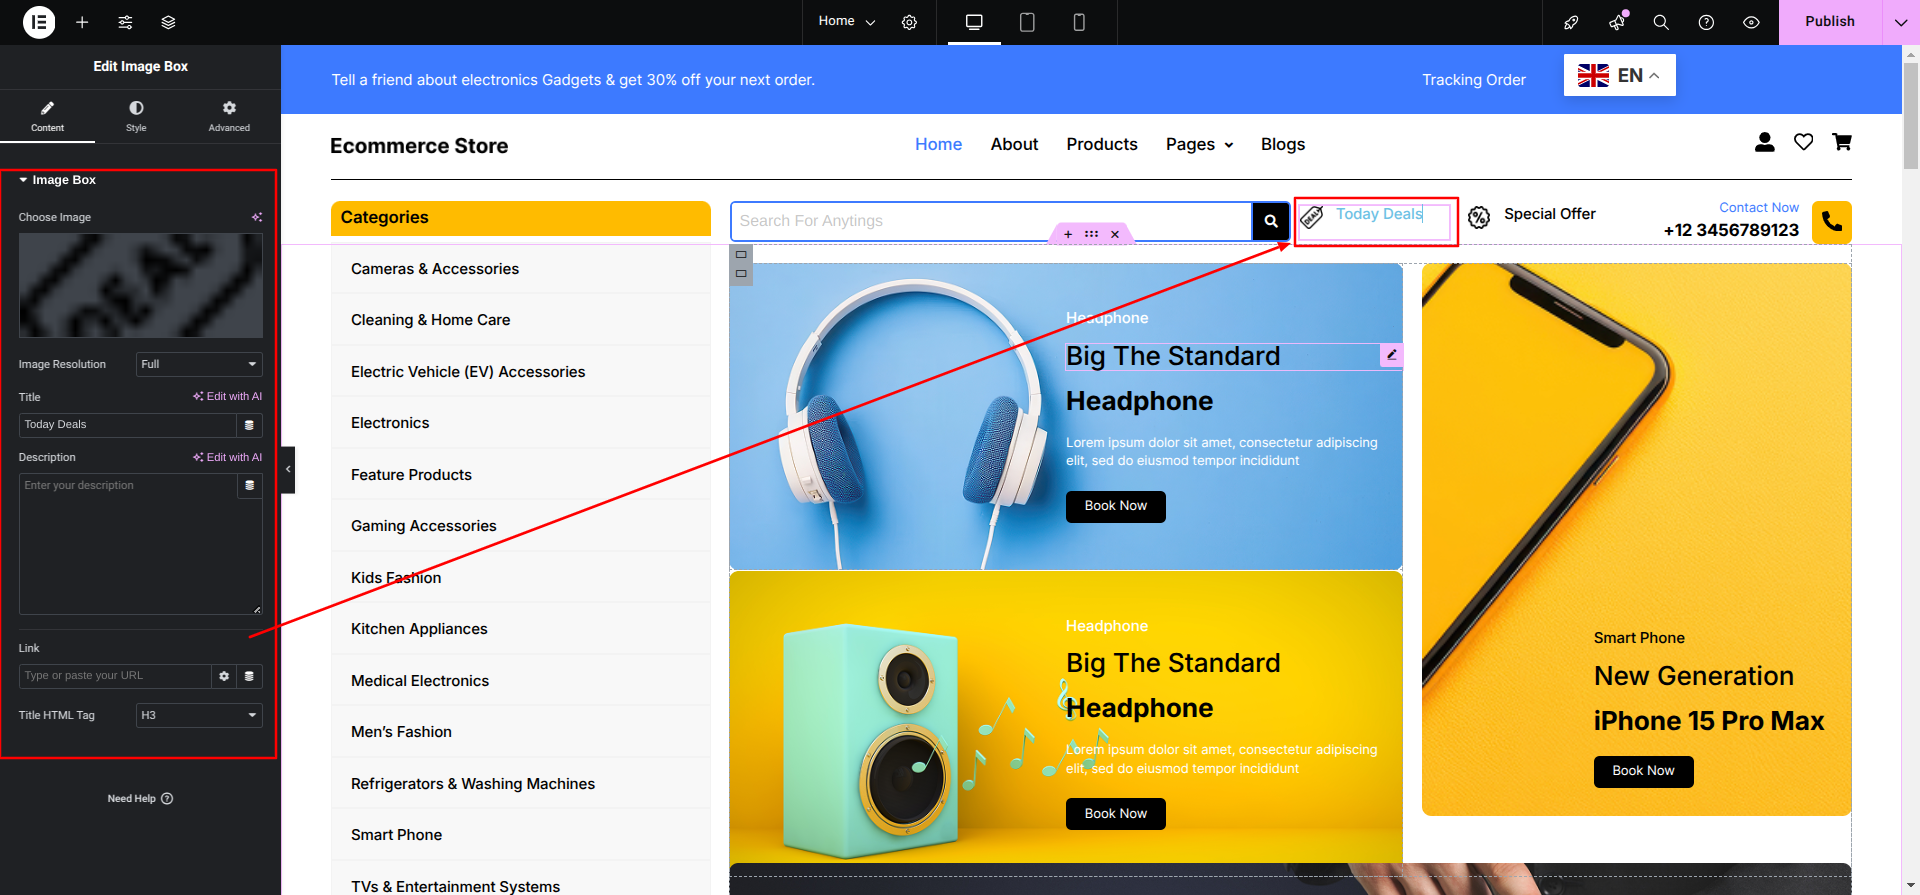
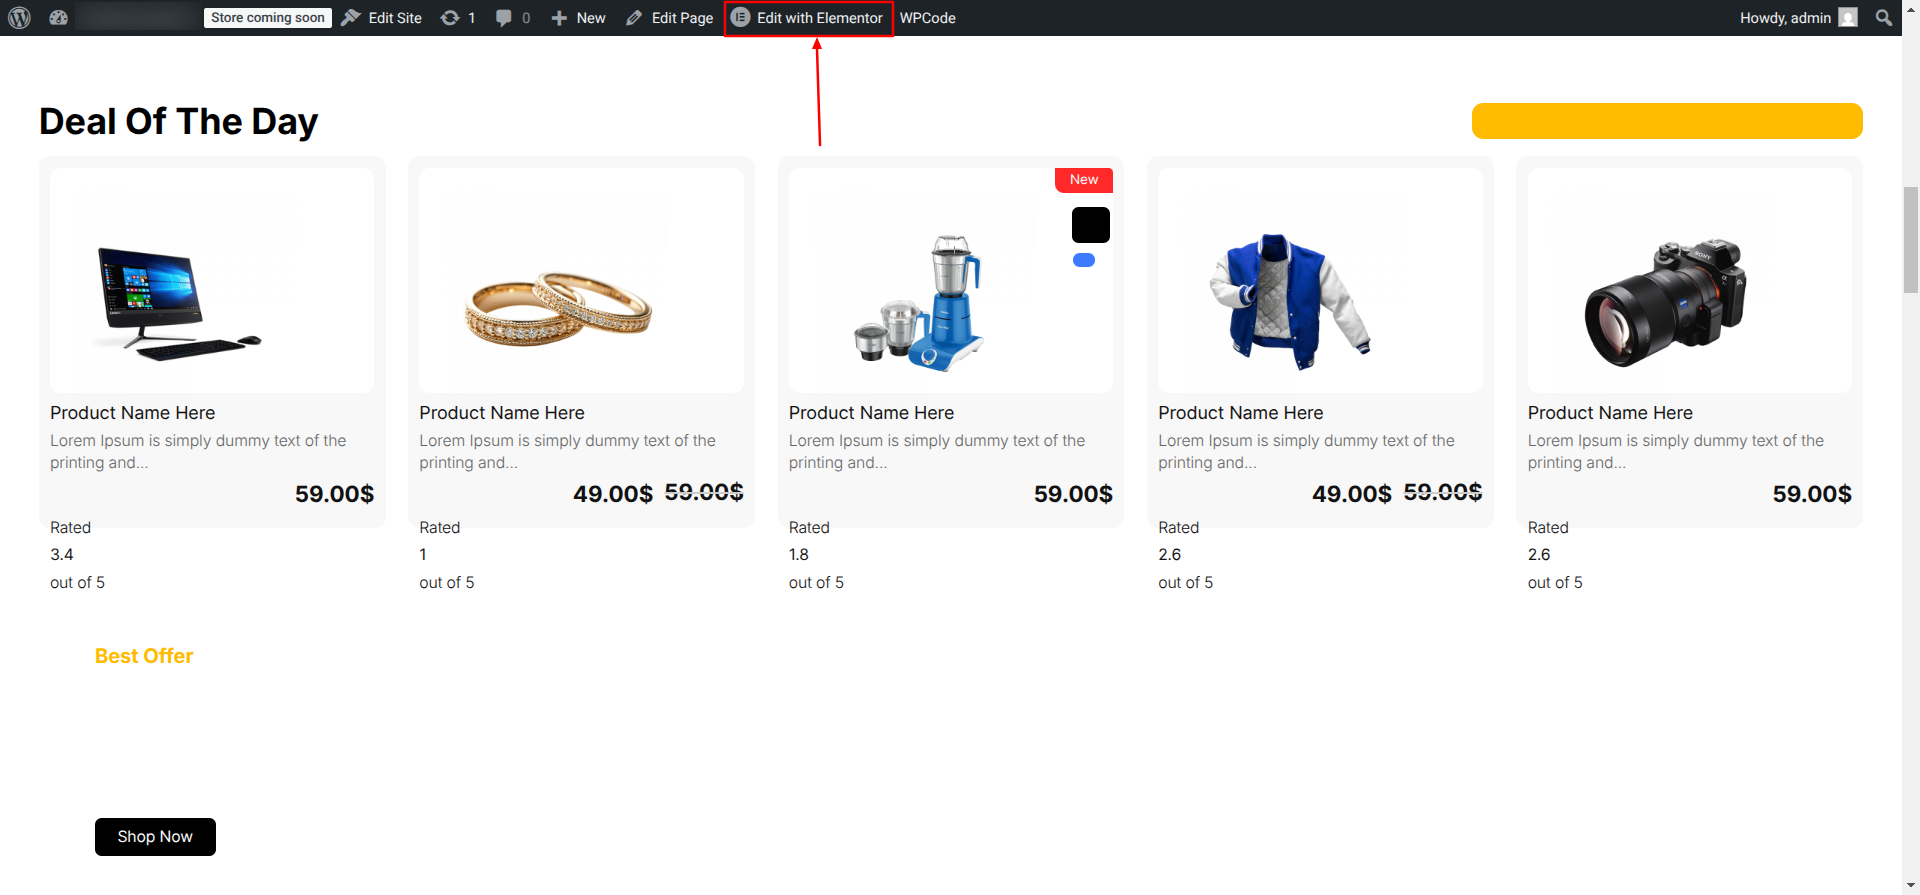
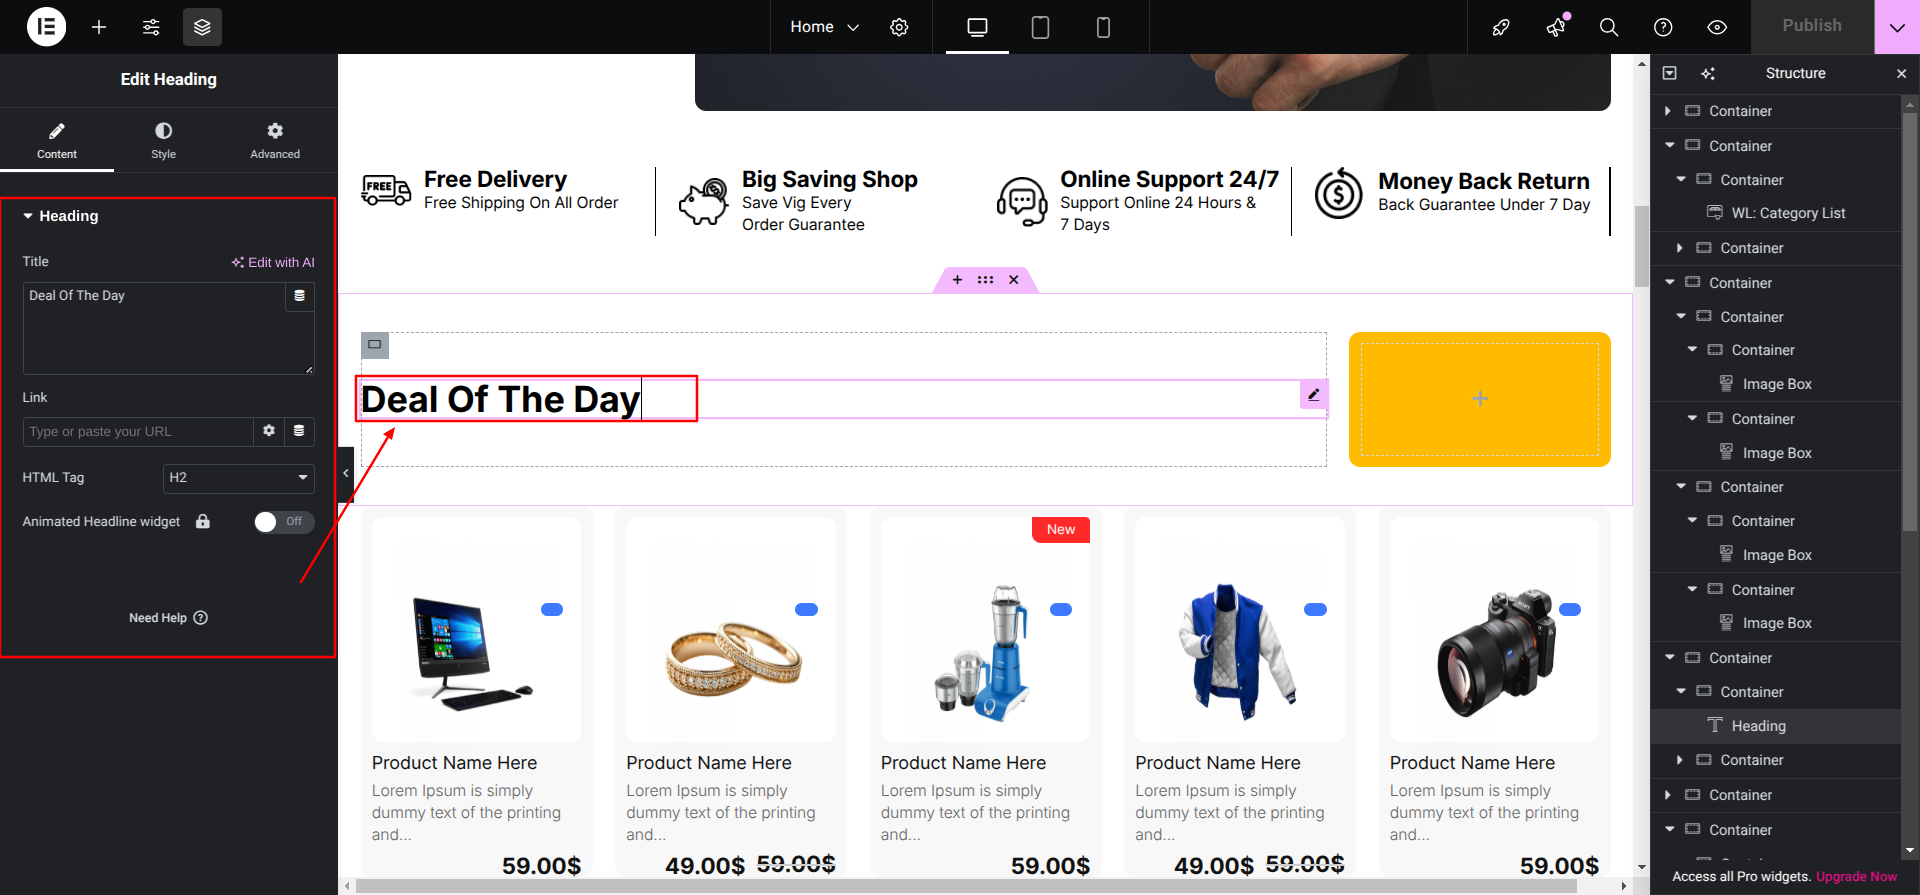
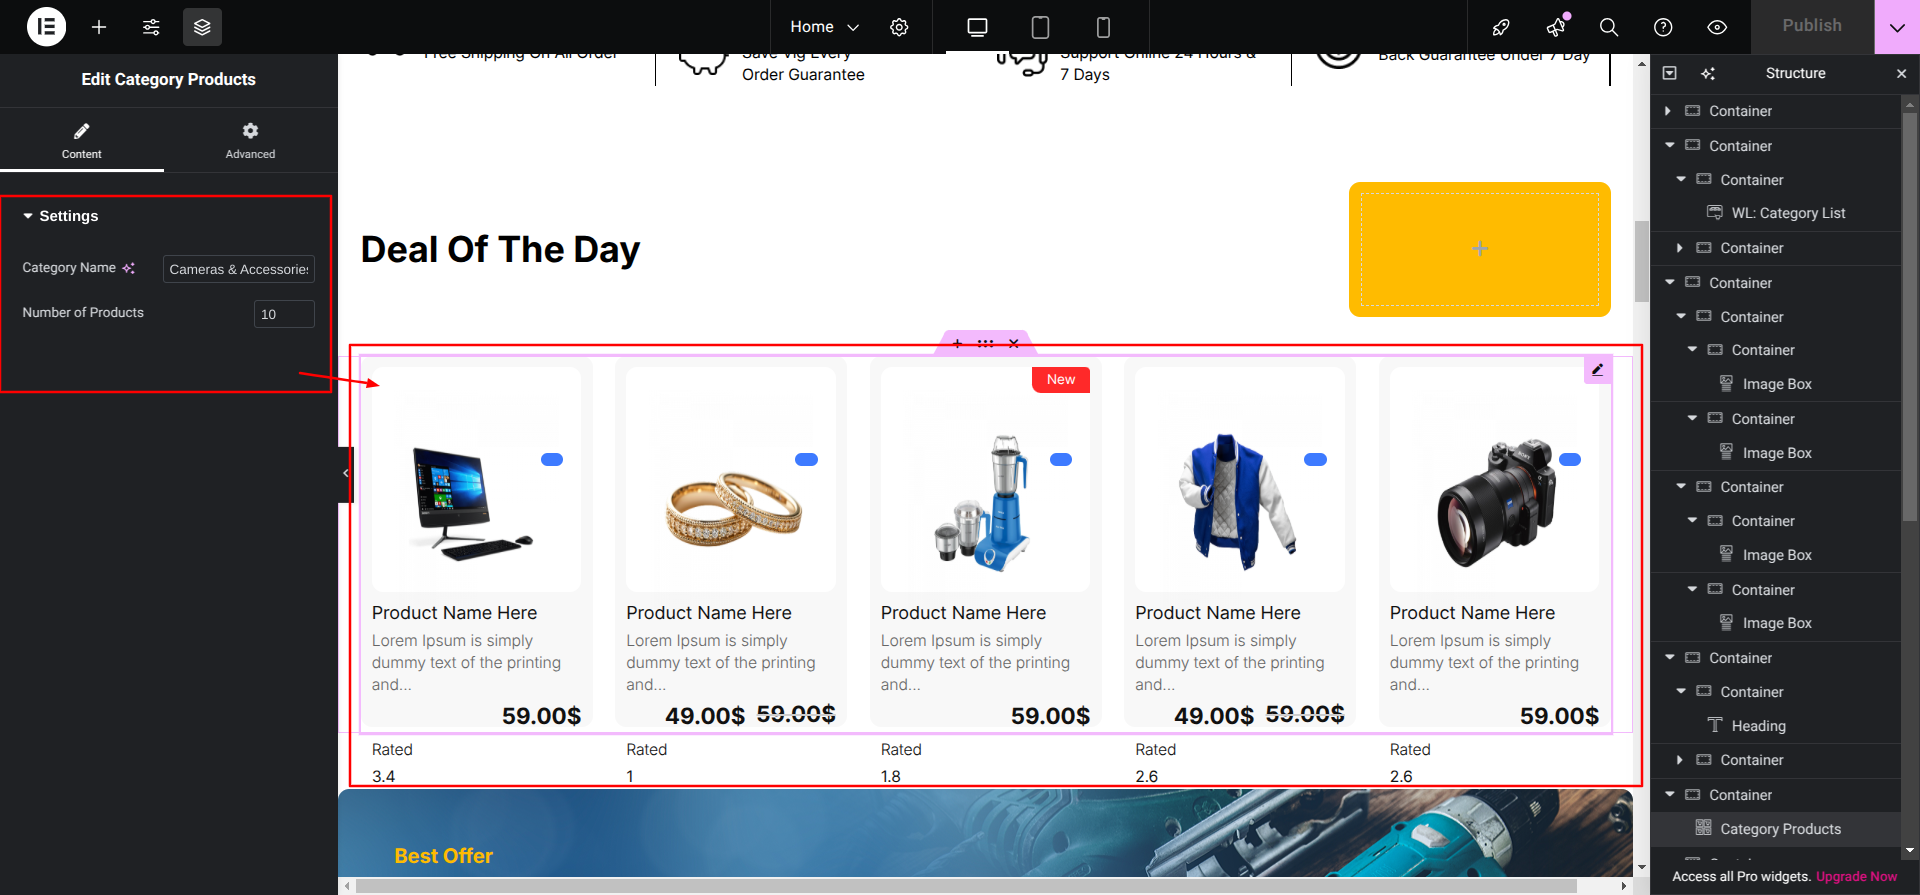
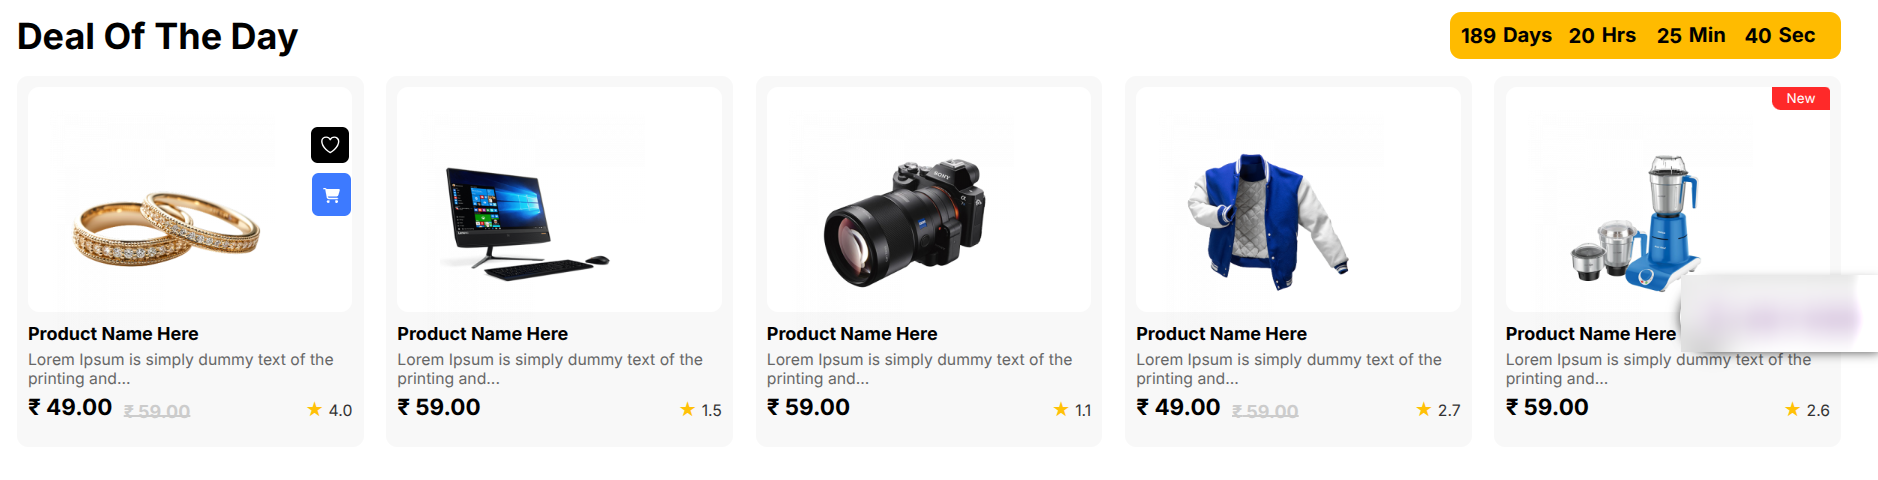
Setup Deal Of The Day Section
Setup Deal Of The Day Section according to the instructions below.
To Edit this Section, Click On the "Edit With Elementor" Button which
will open the Elementor Widget editor.
This is how you may set up and add the From Deal Of The Day
Section.
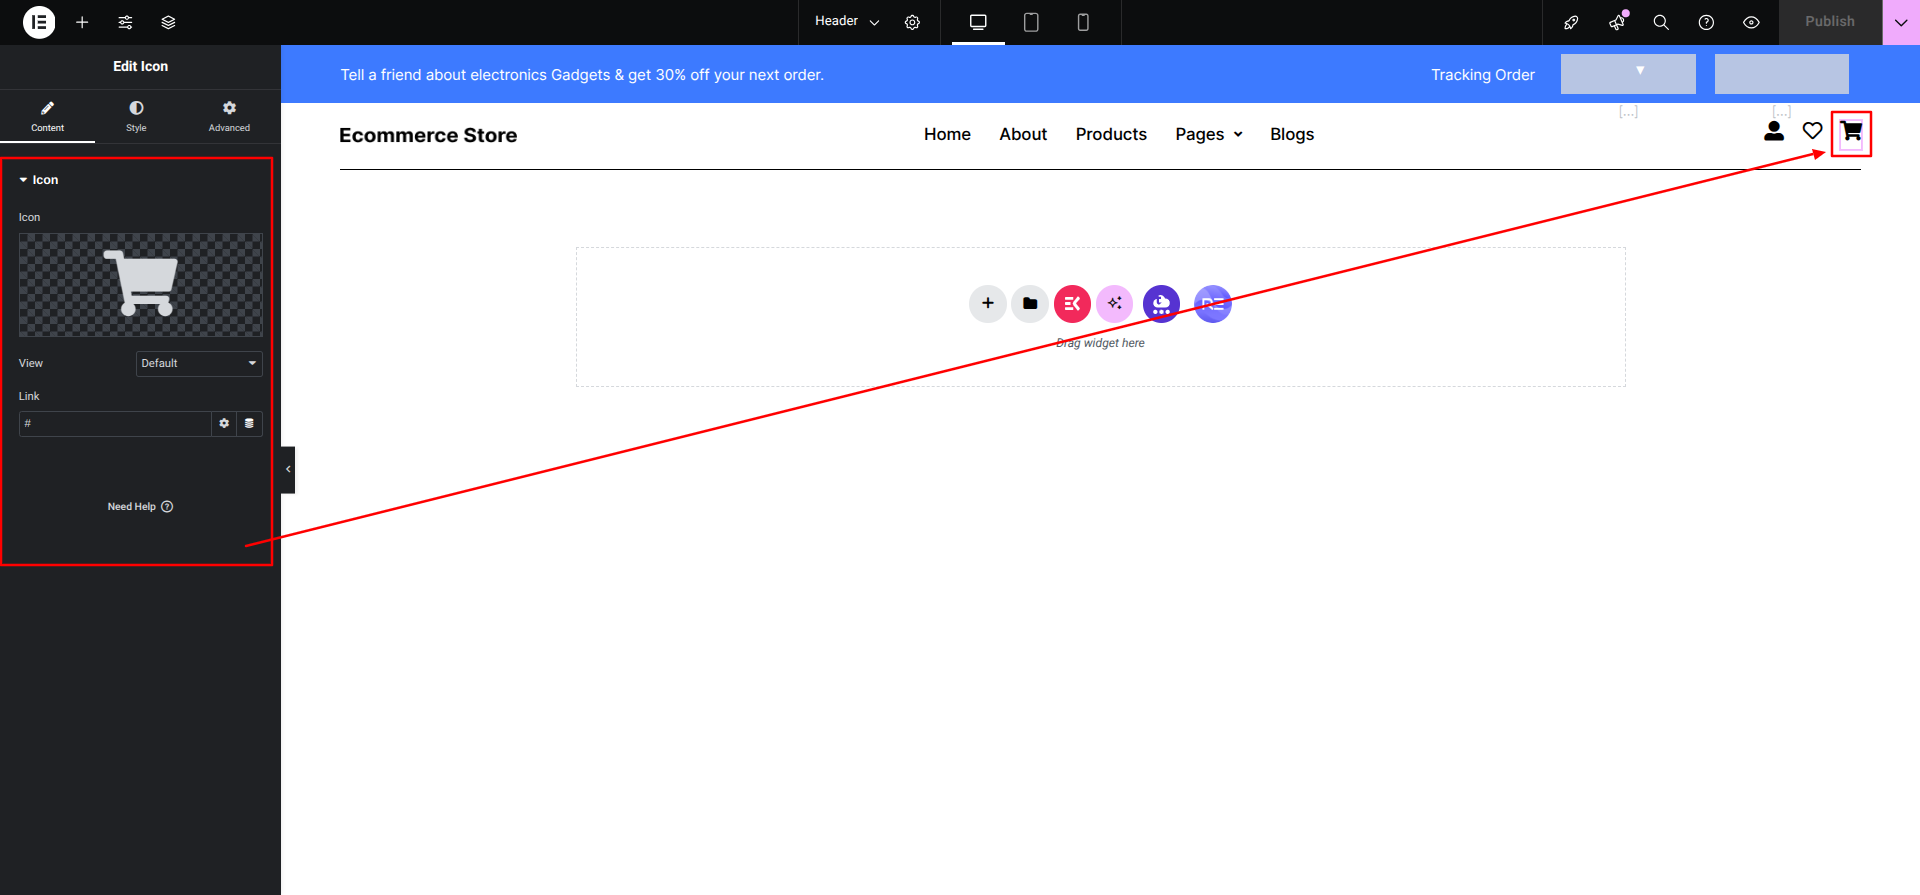
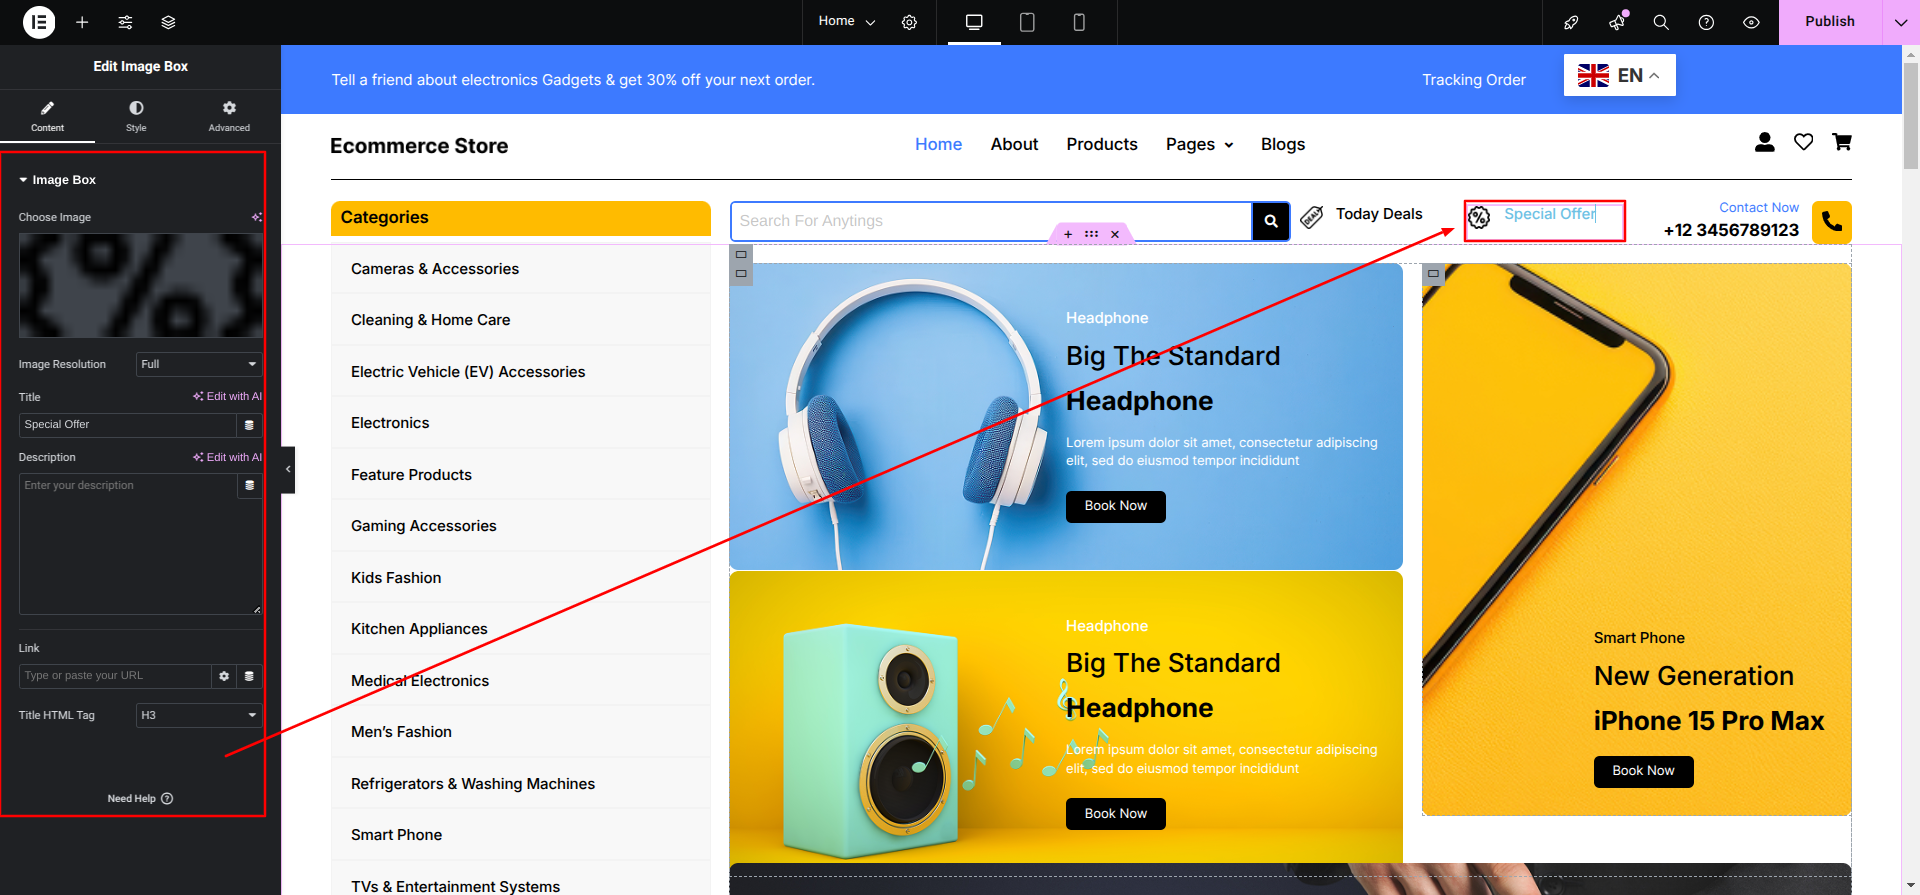
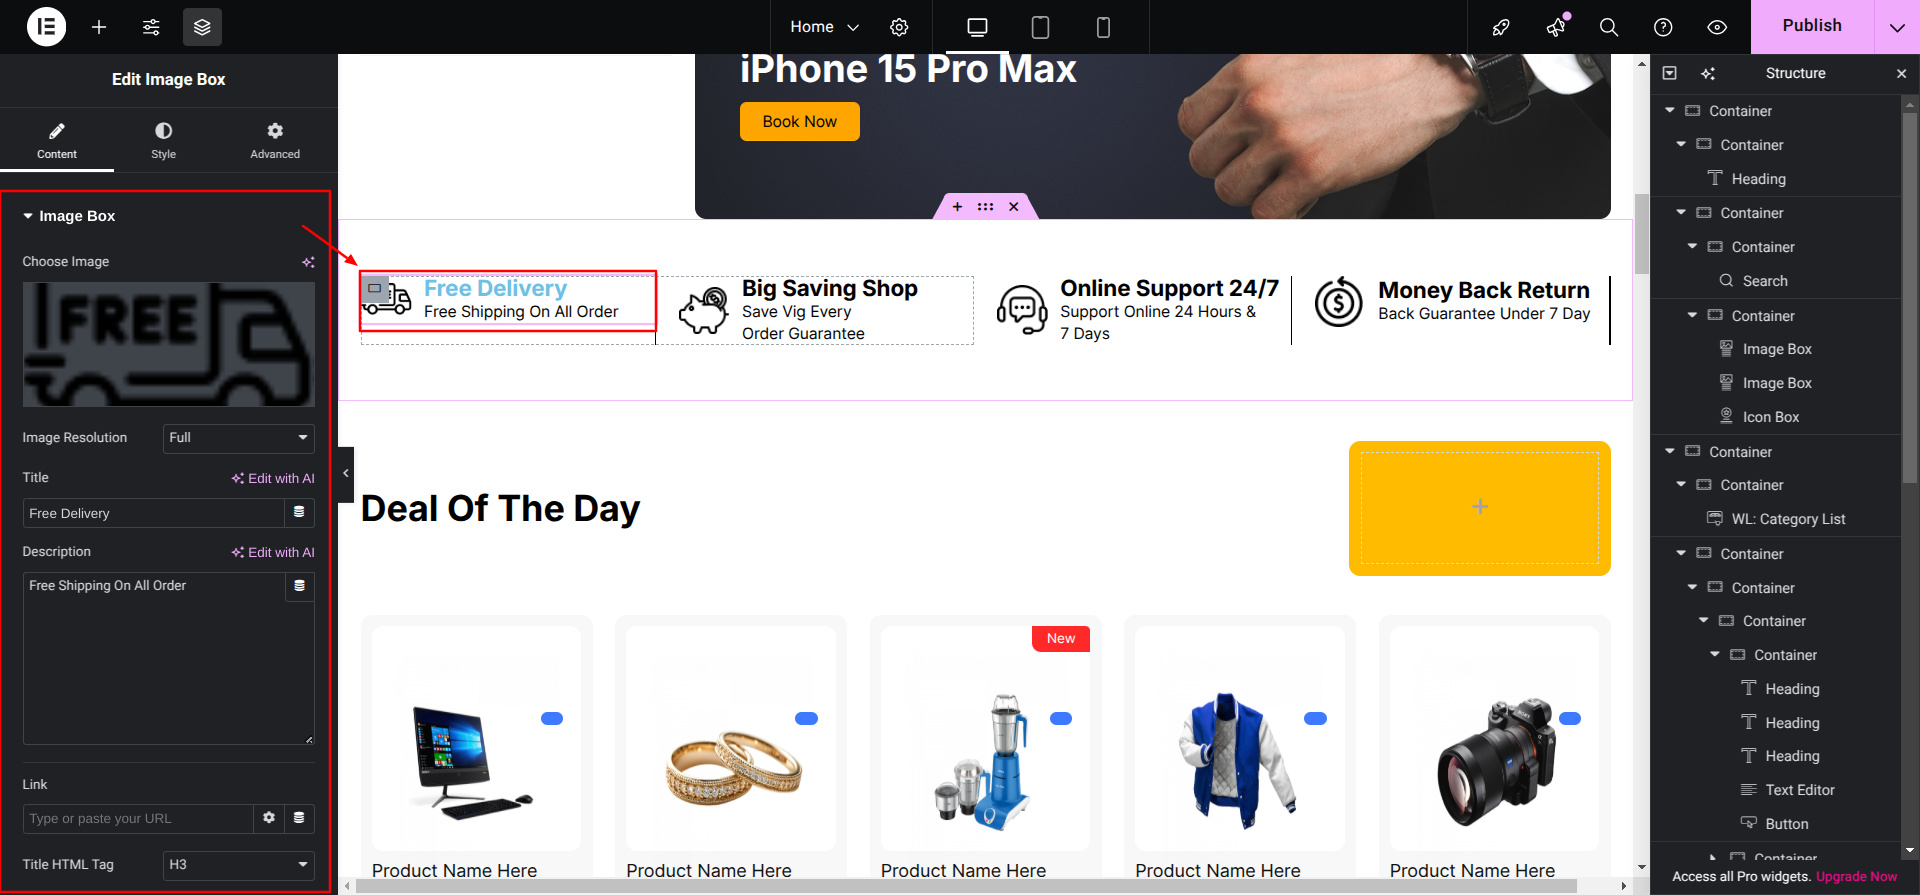
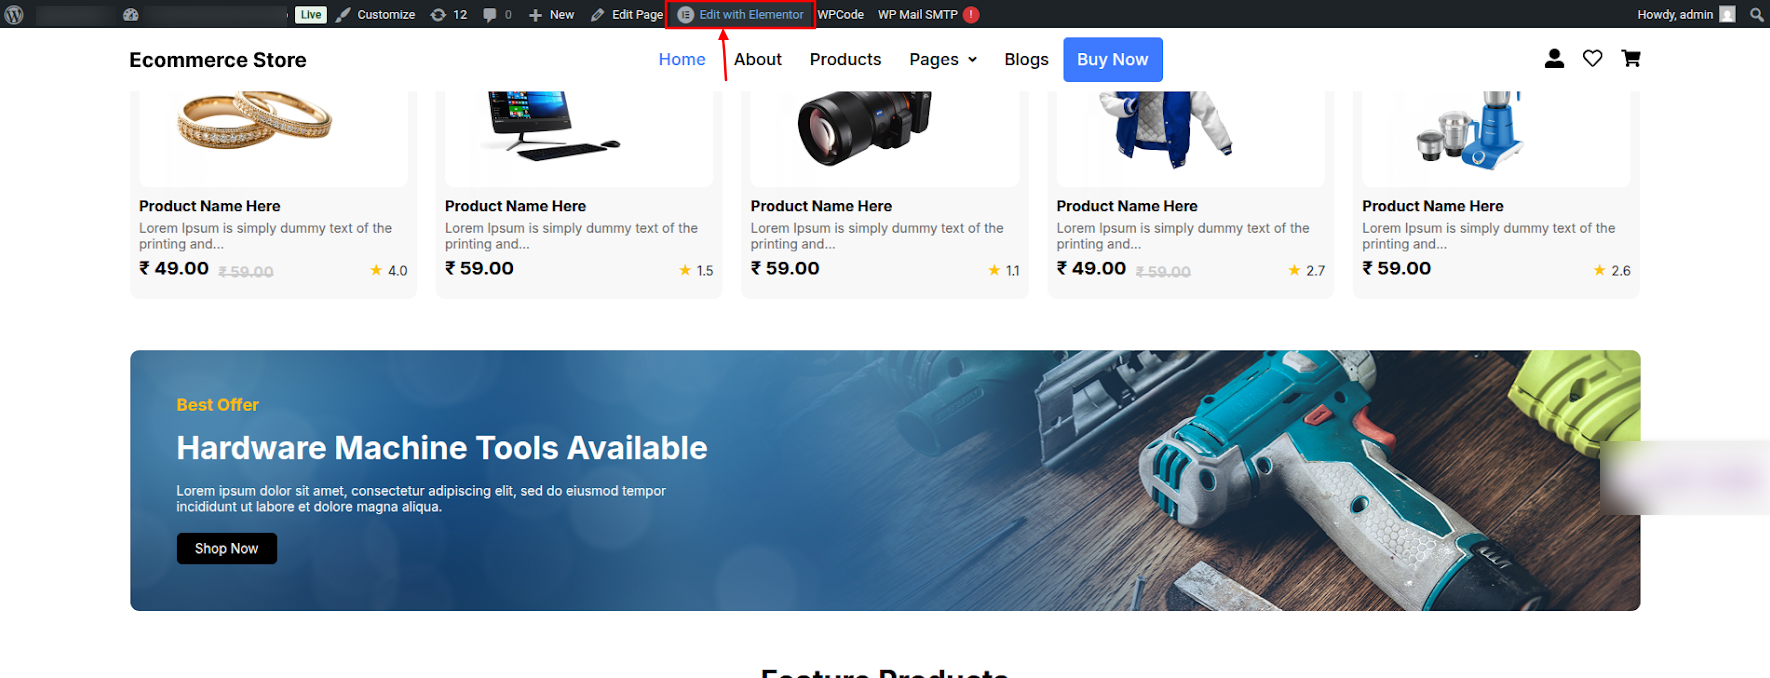
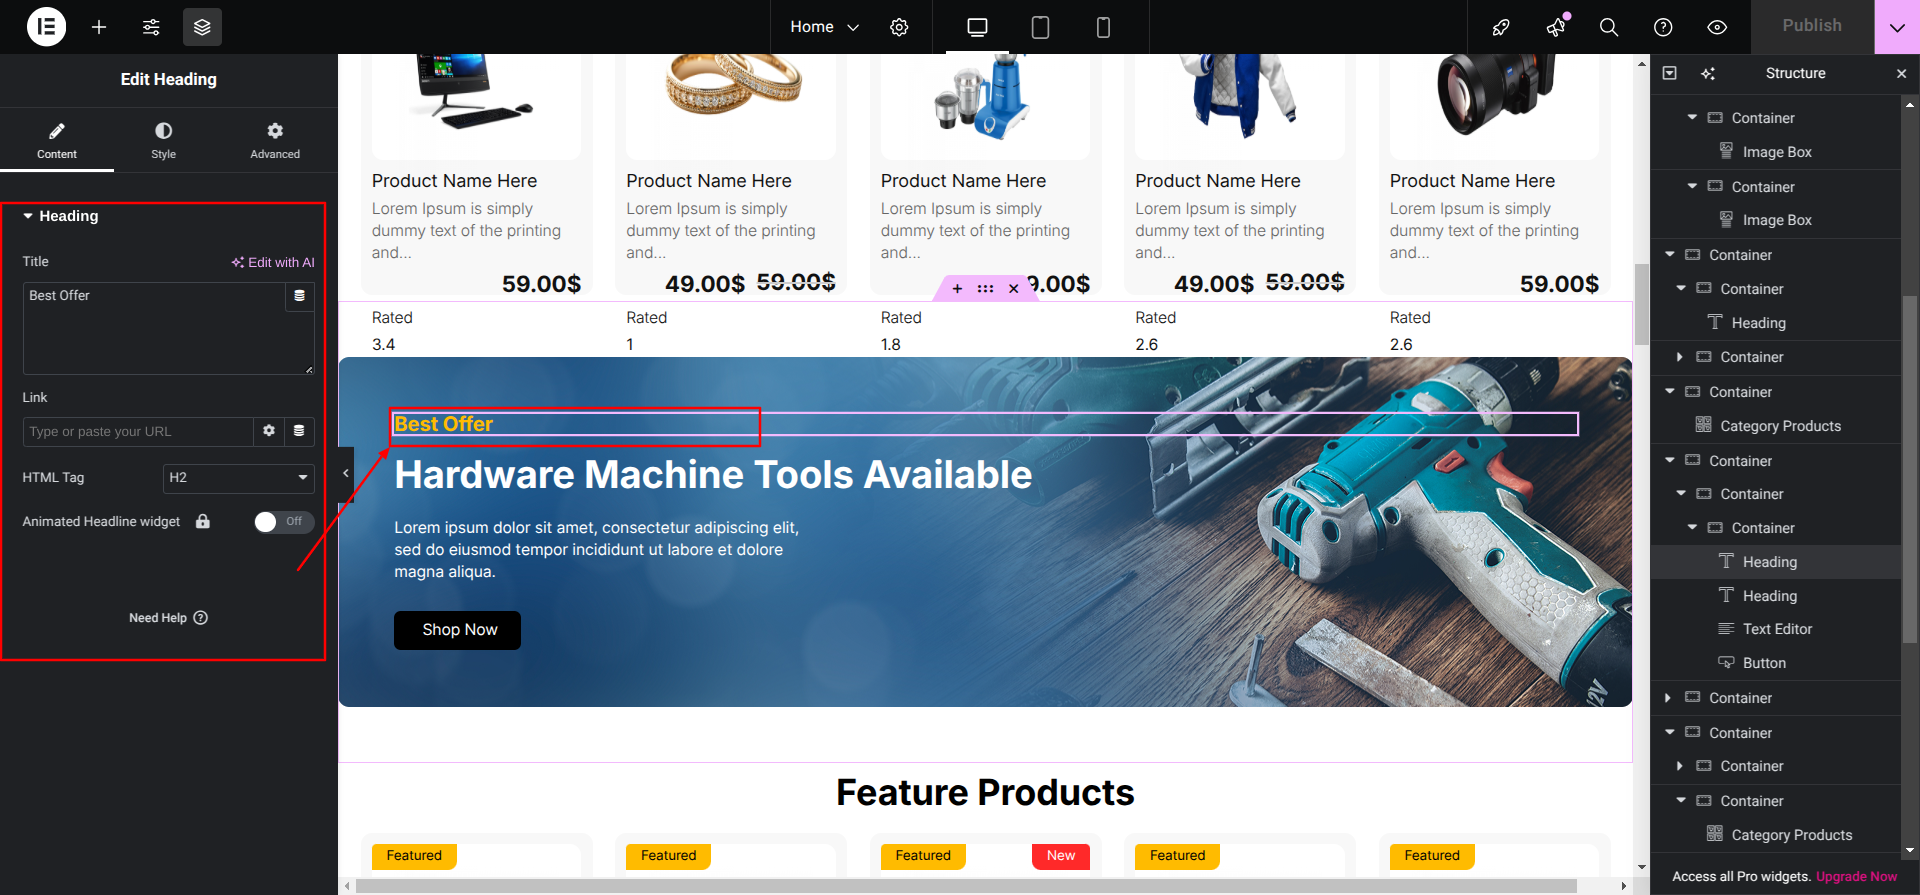
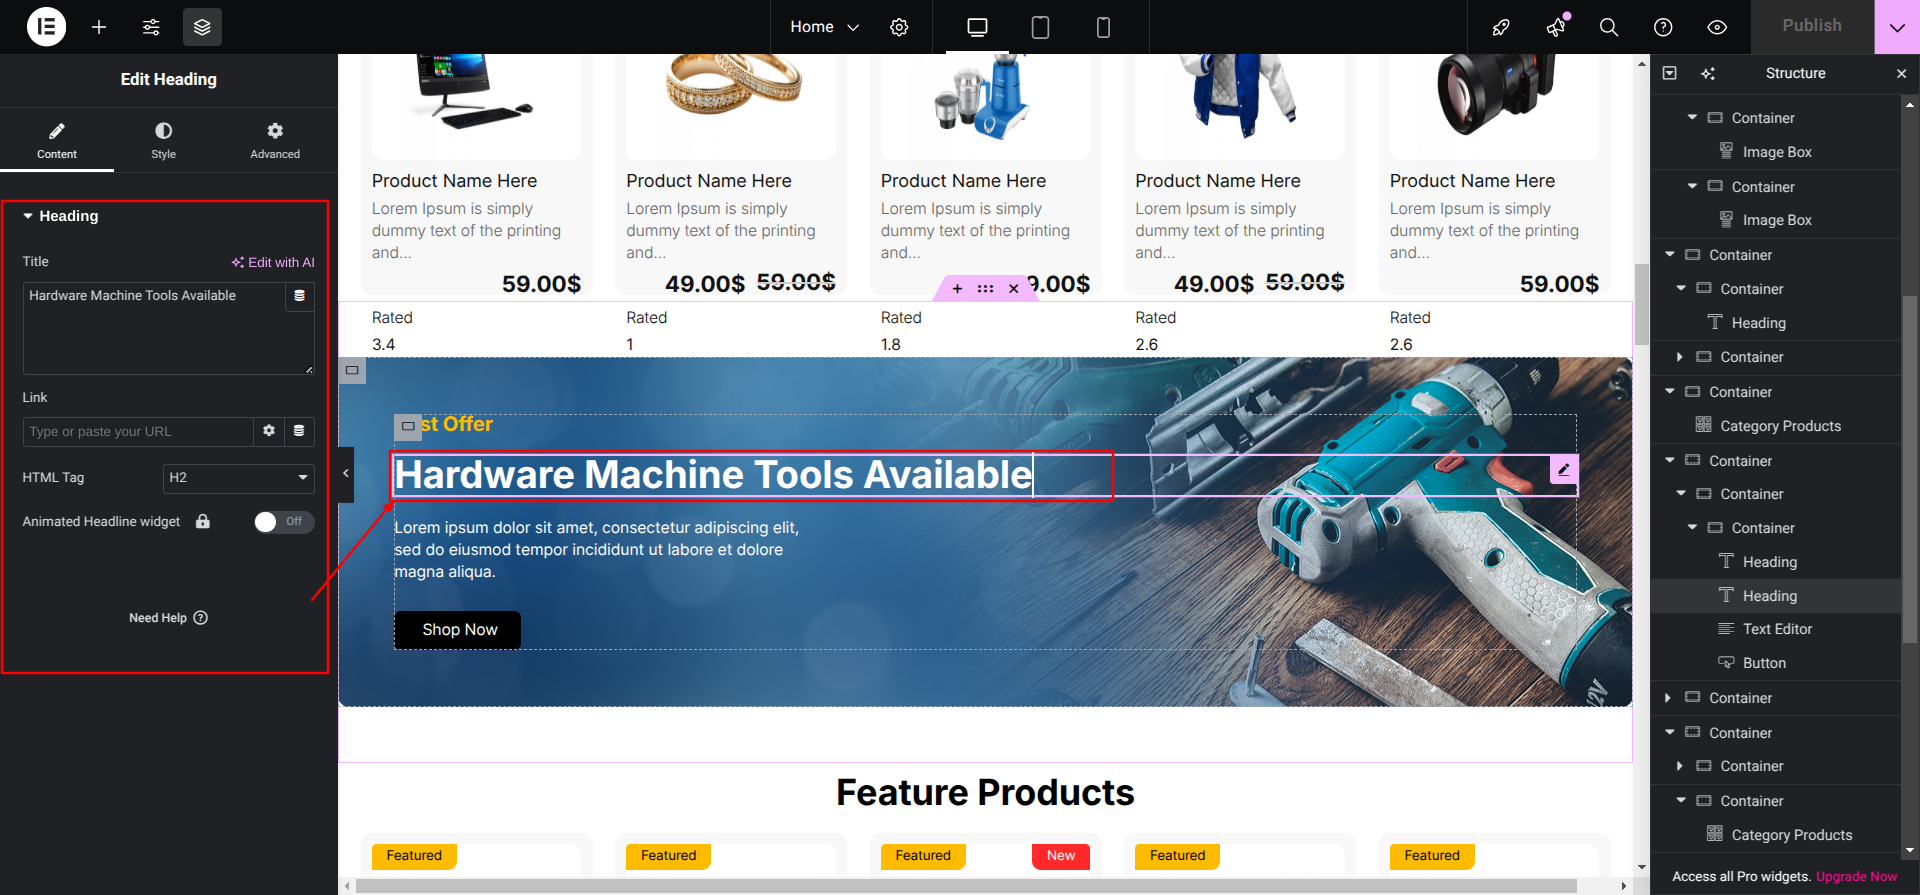
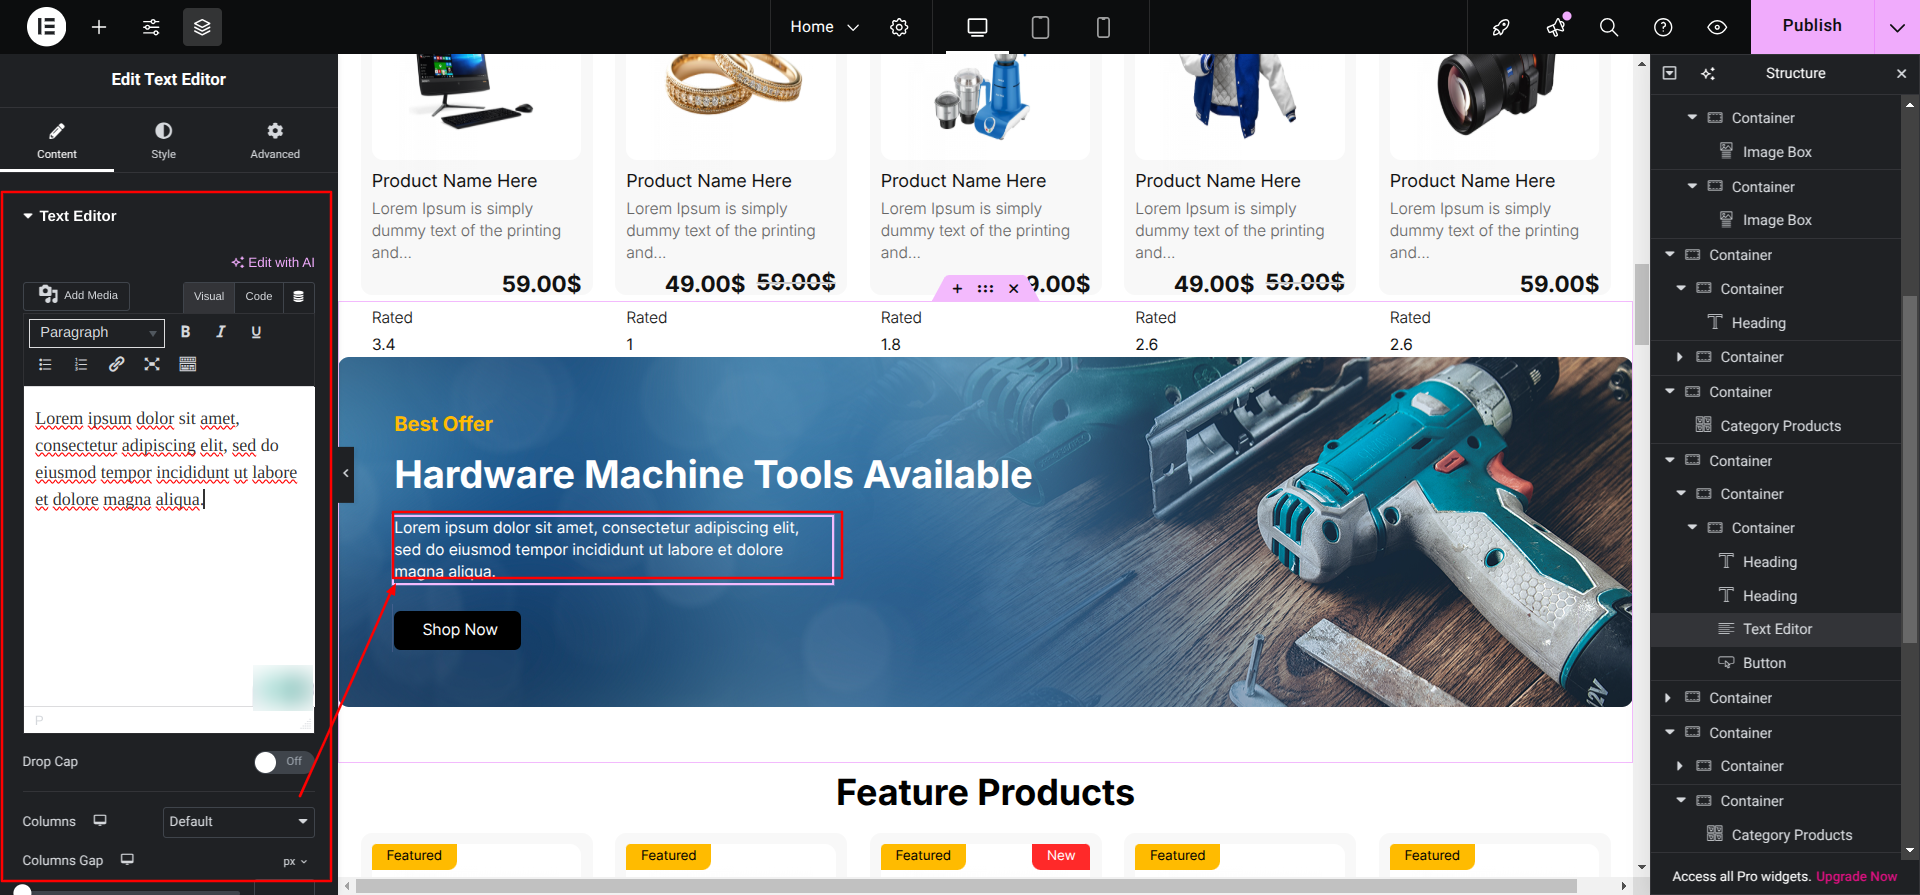
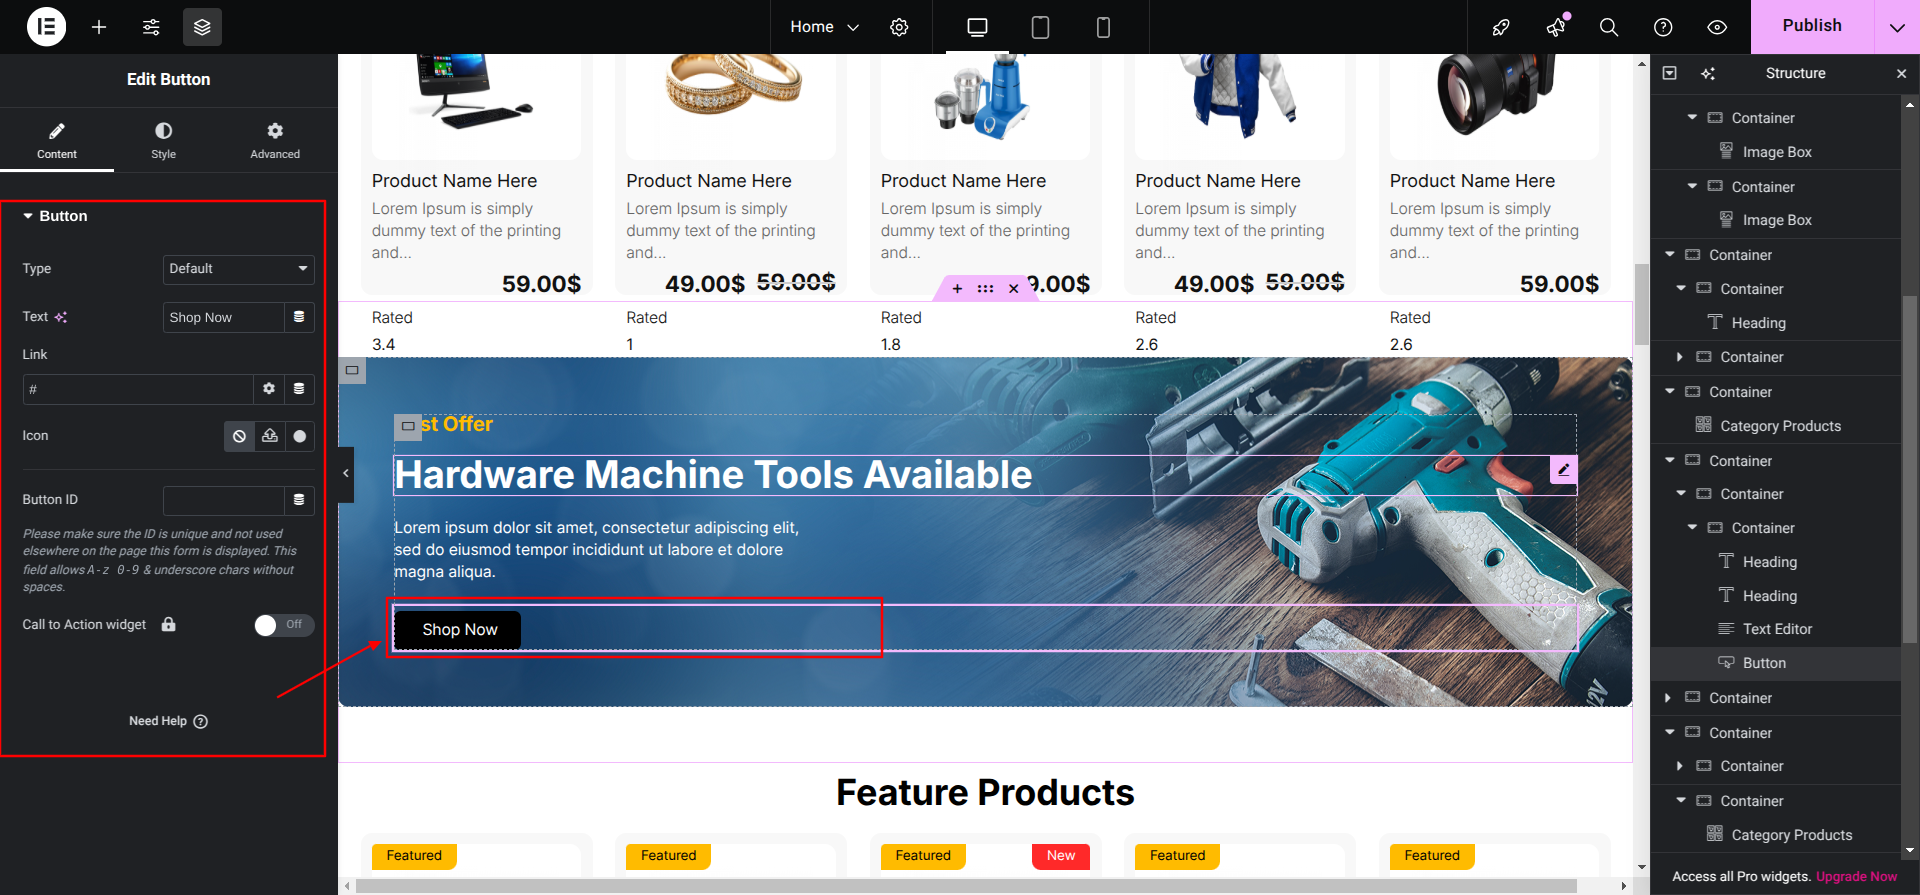
Setup Best Offer Section
To Edit this Section, Click On the "Edit With Elementor" Button which will open the
Elementor Widget editor.
This is how you may set up and add the Best Offer Section.
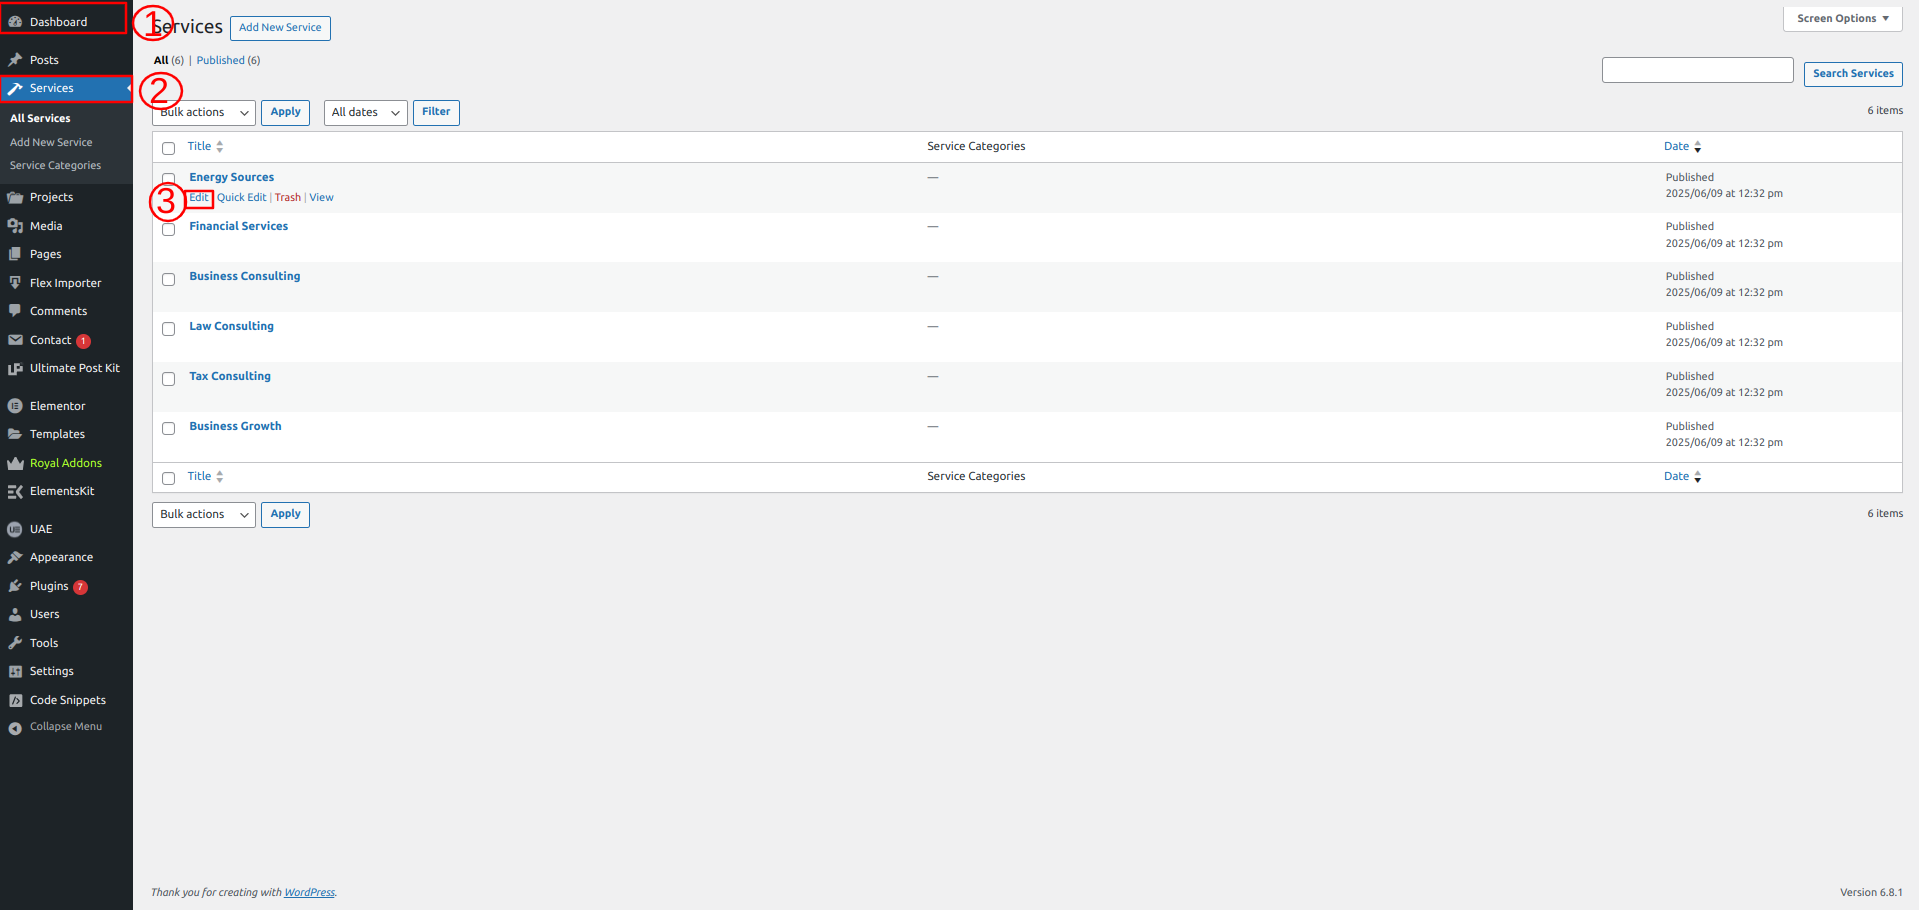
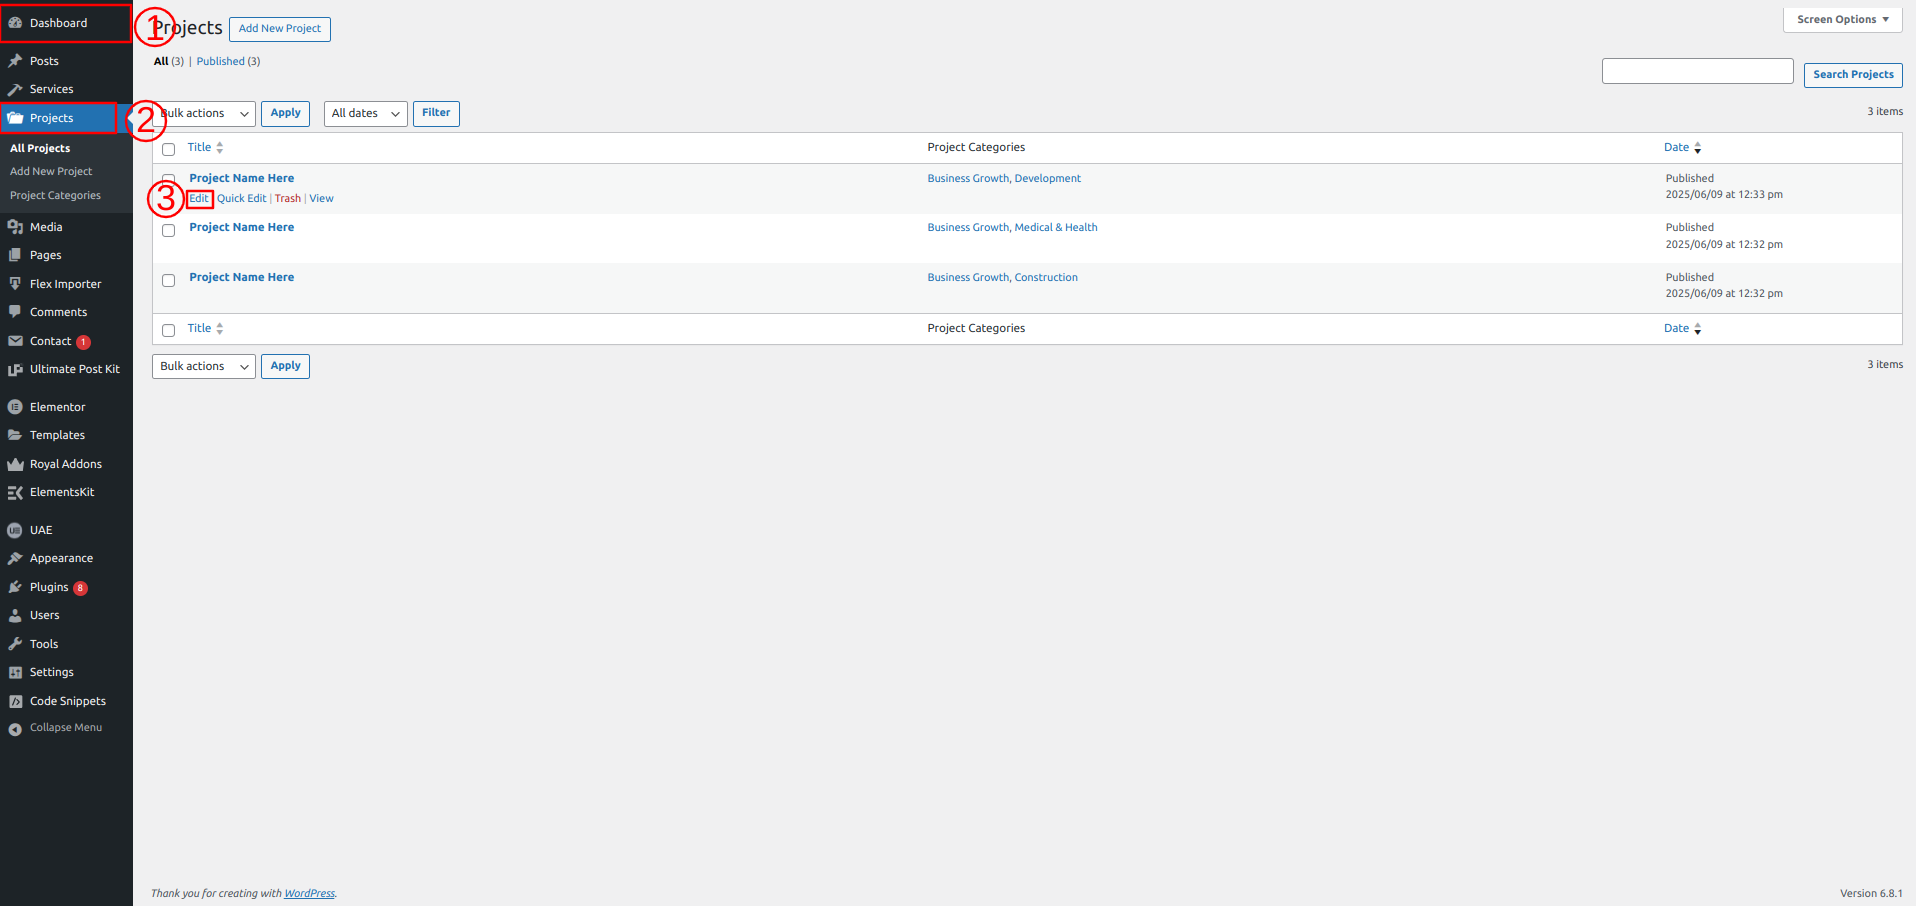
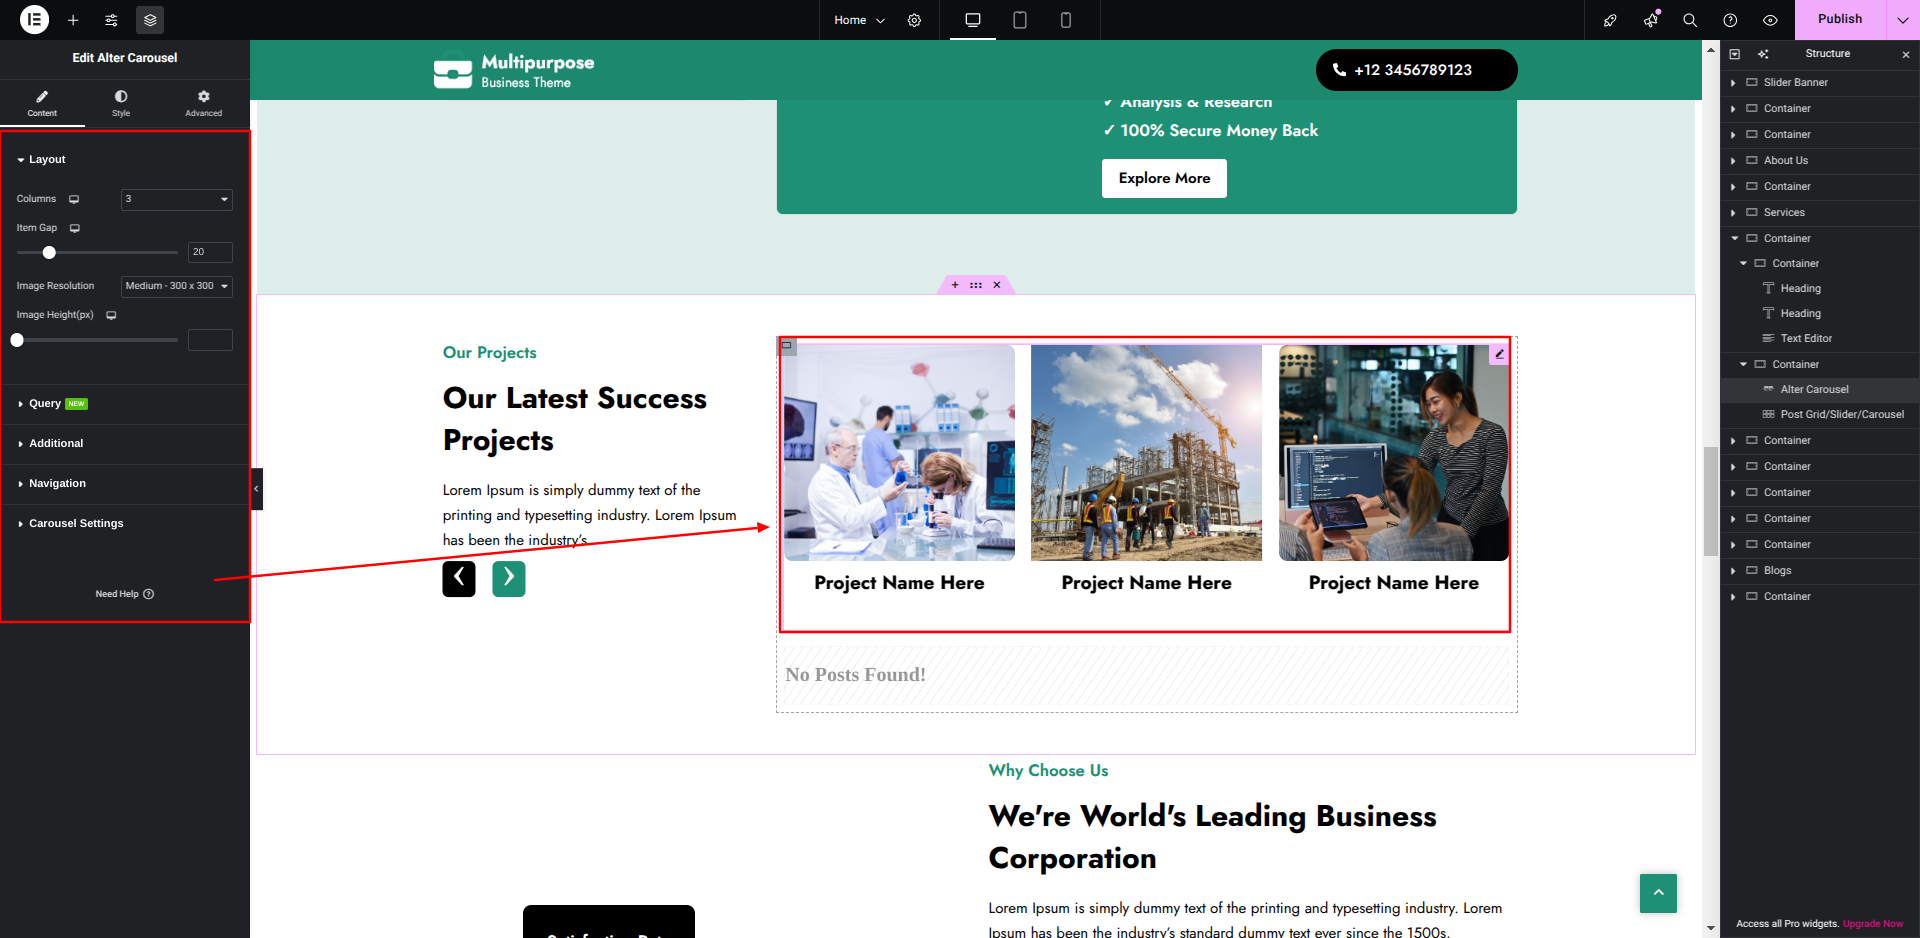
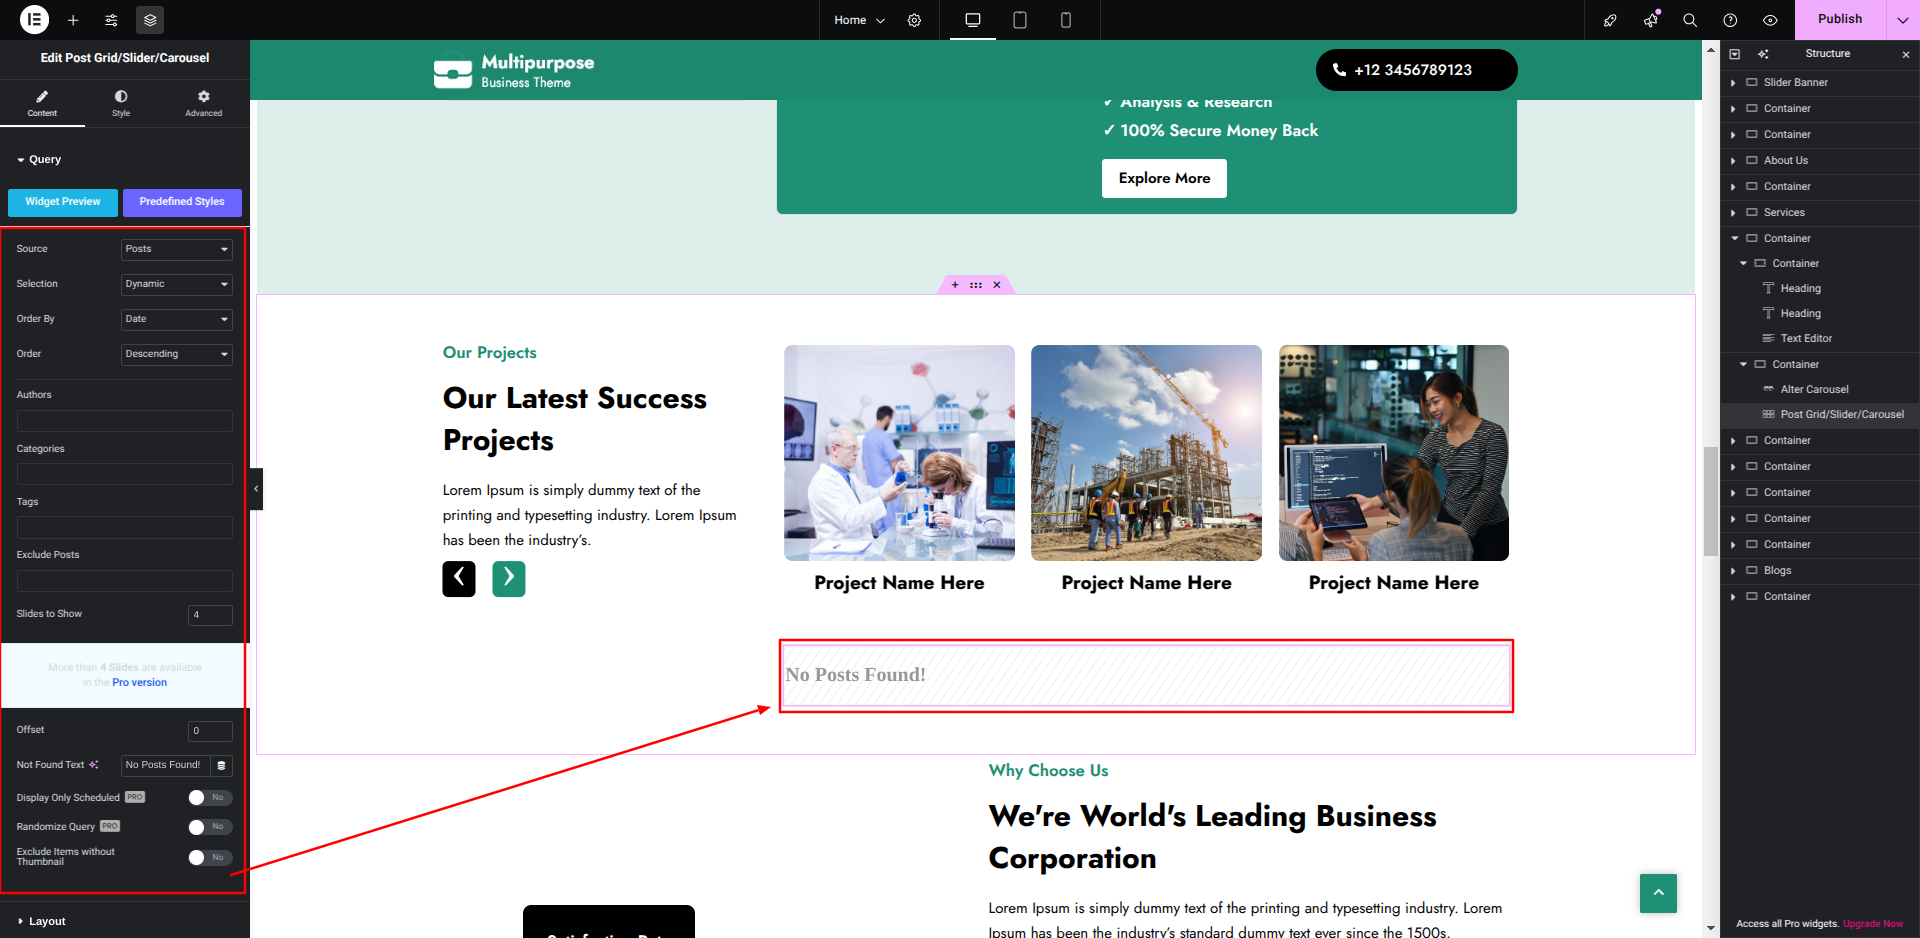
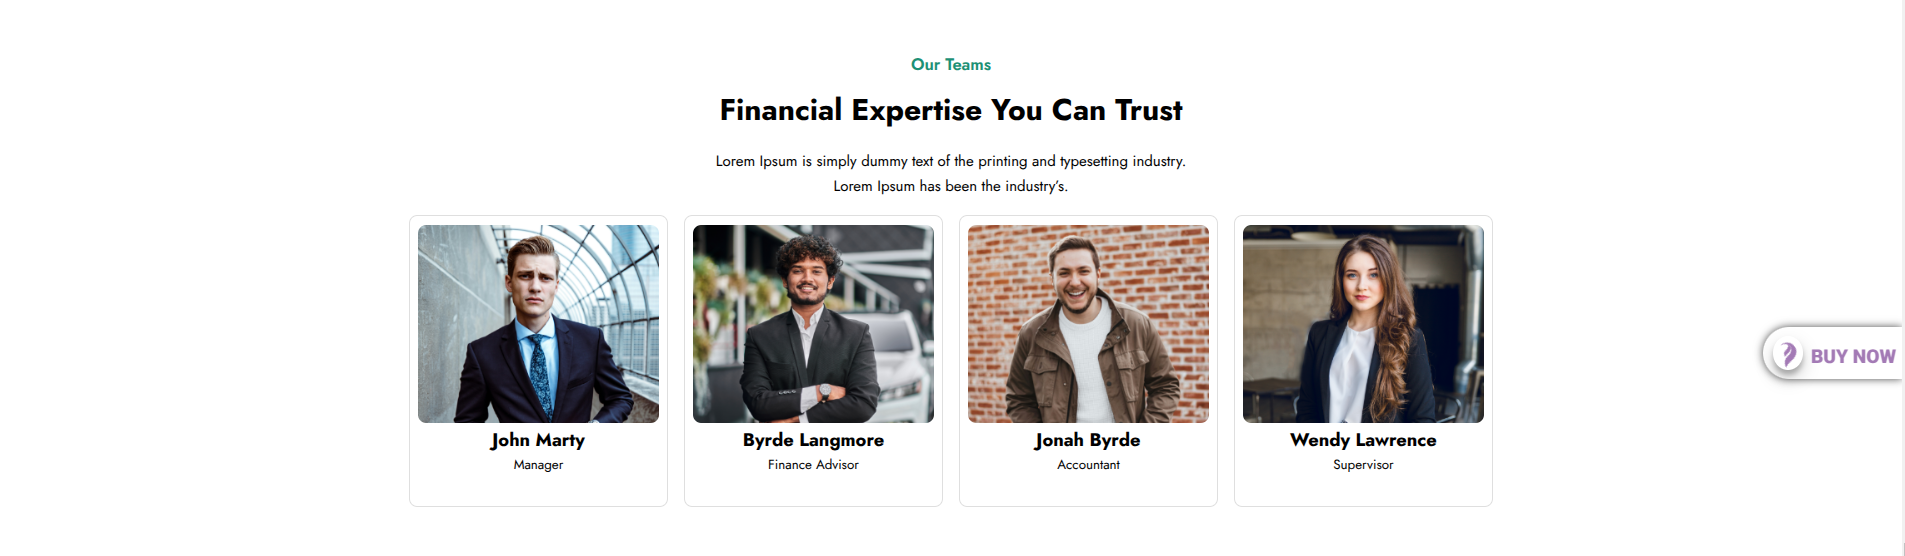
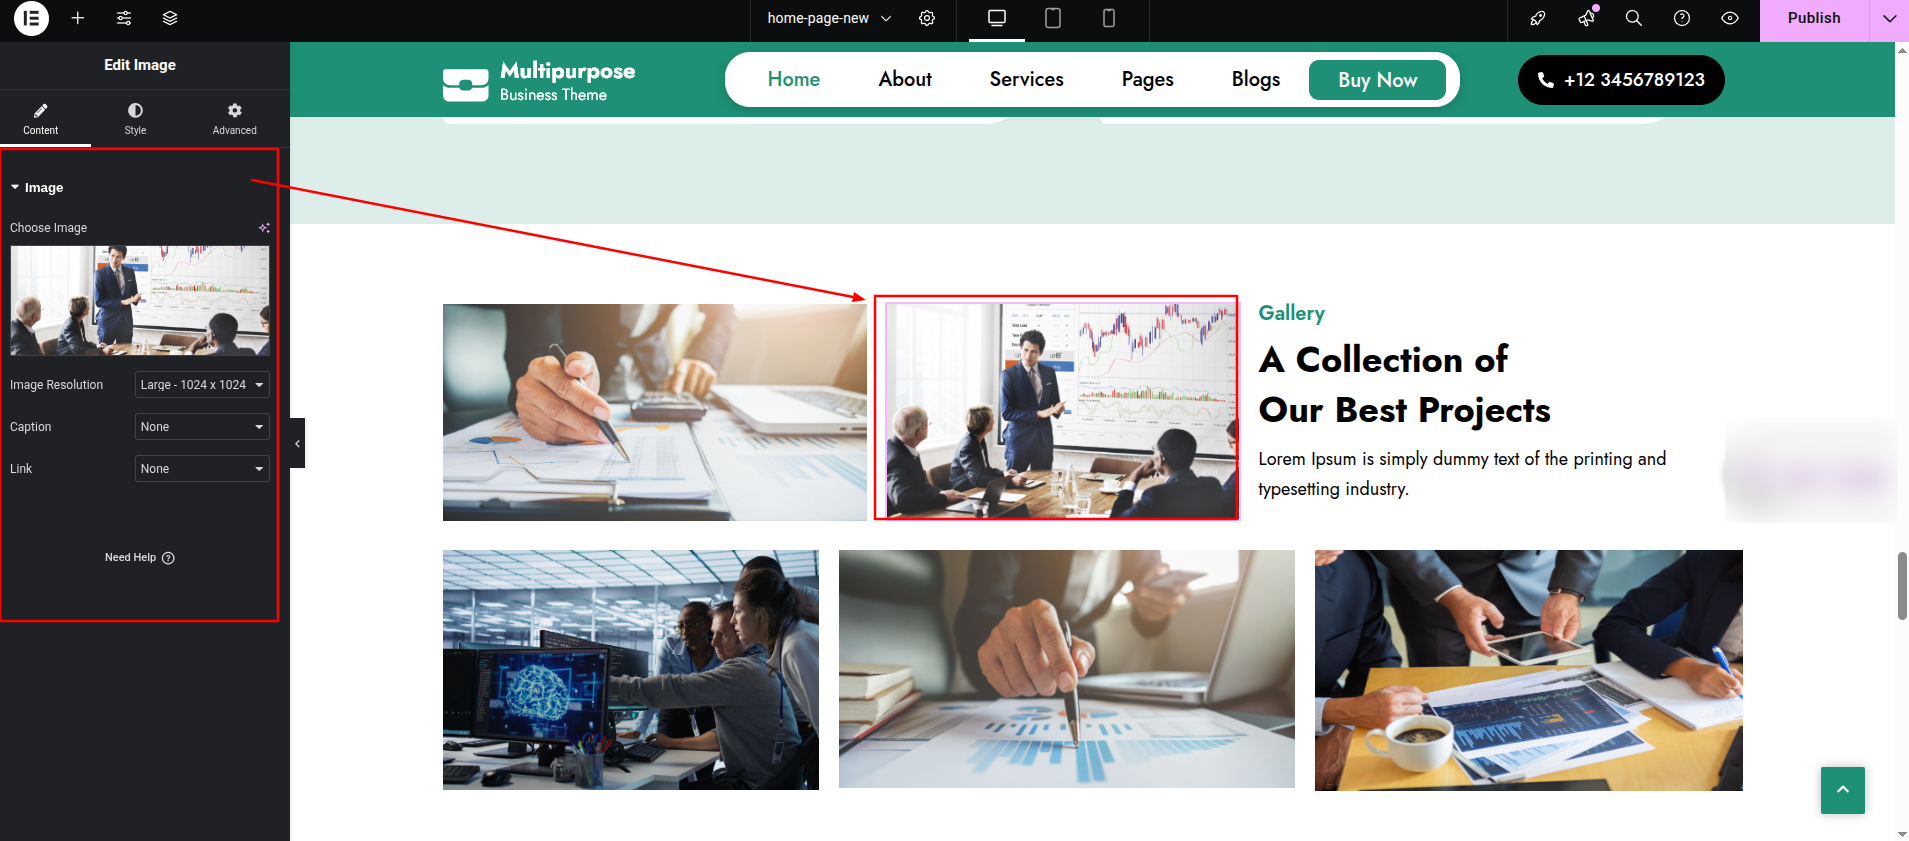
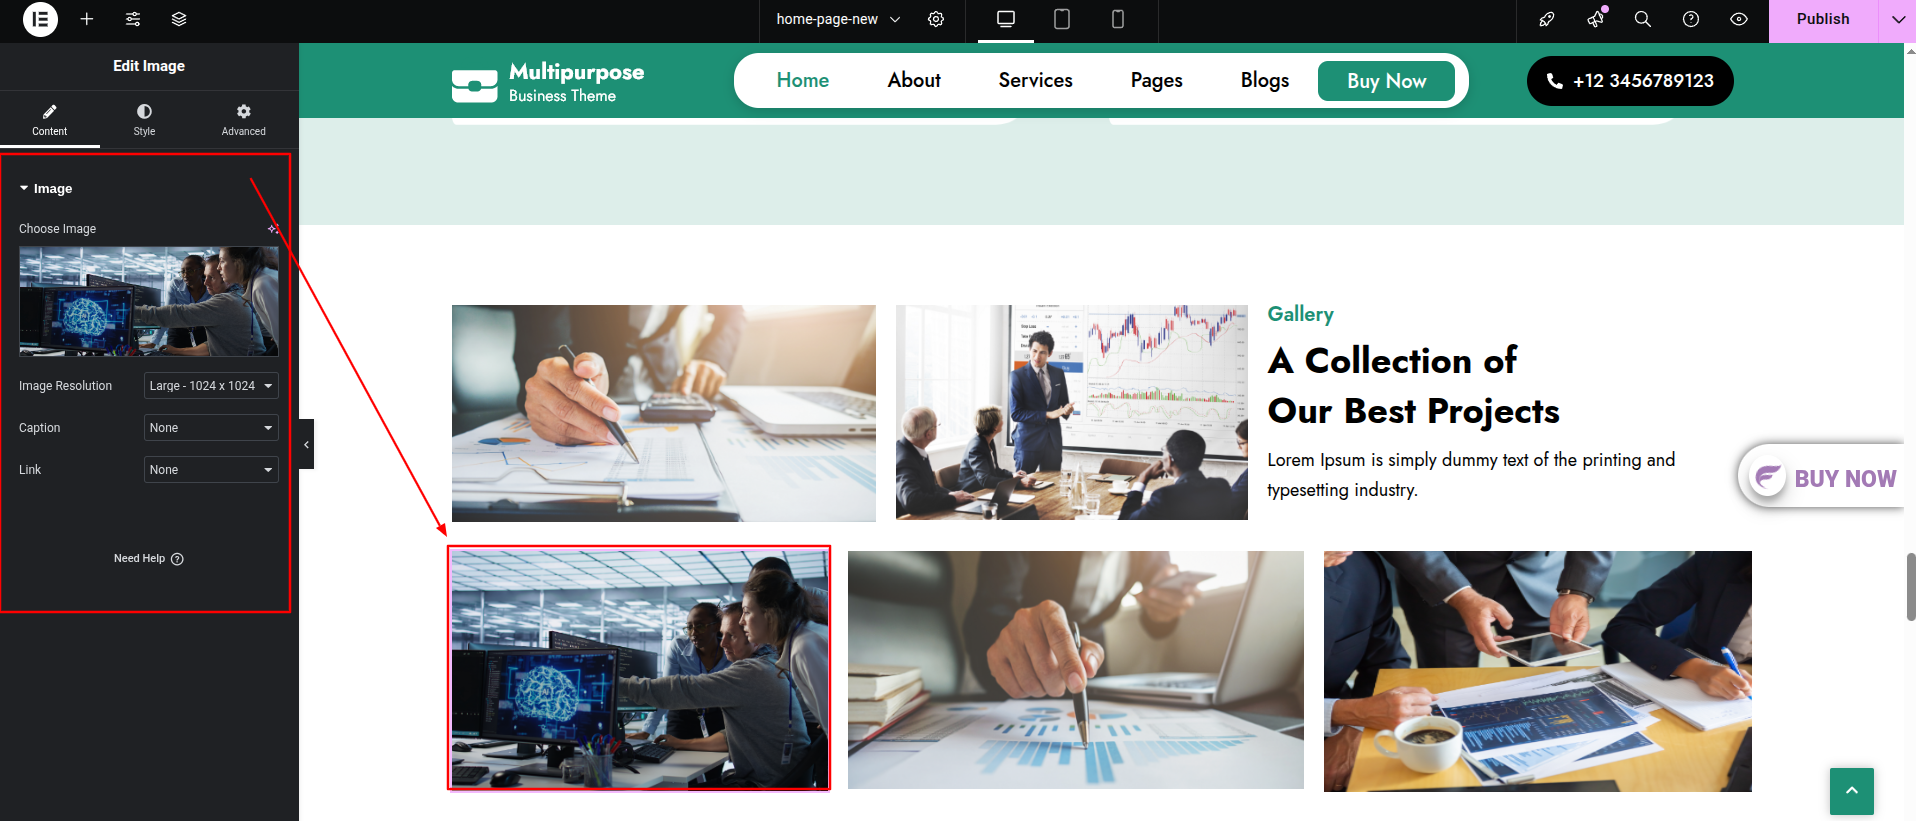
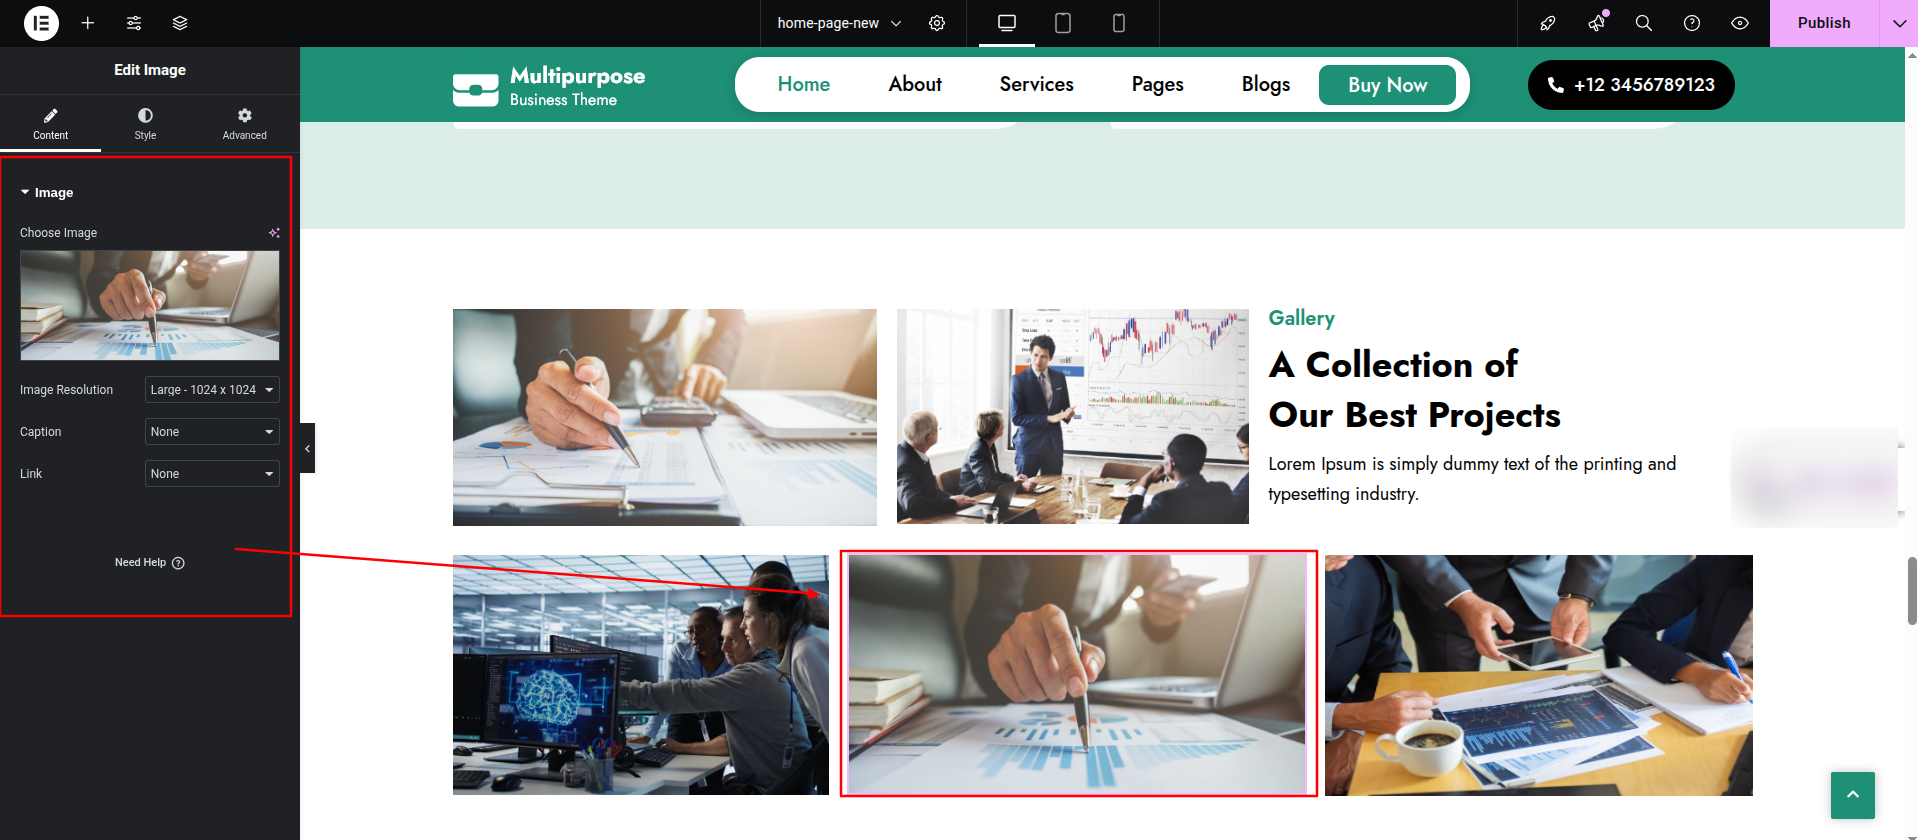
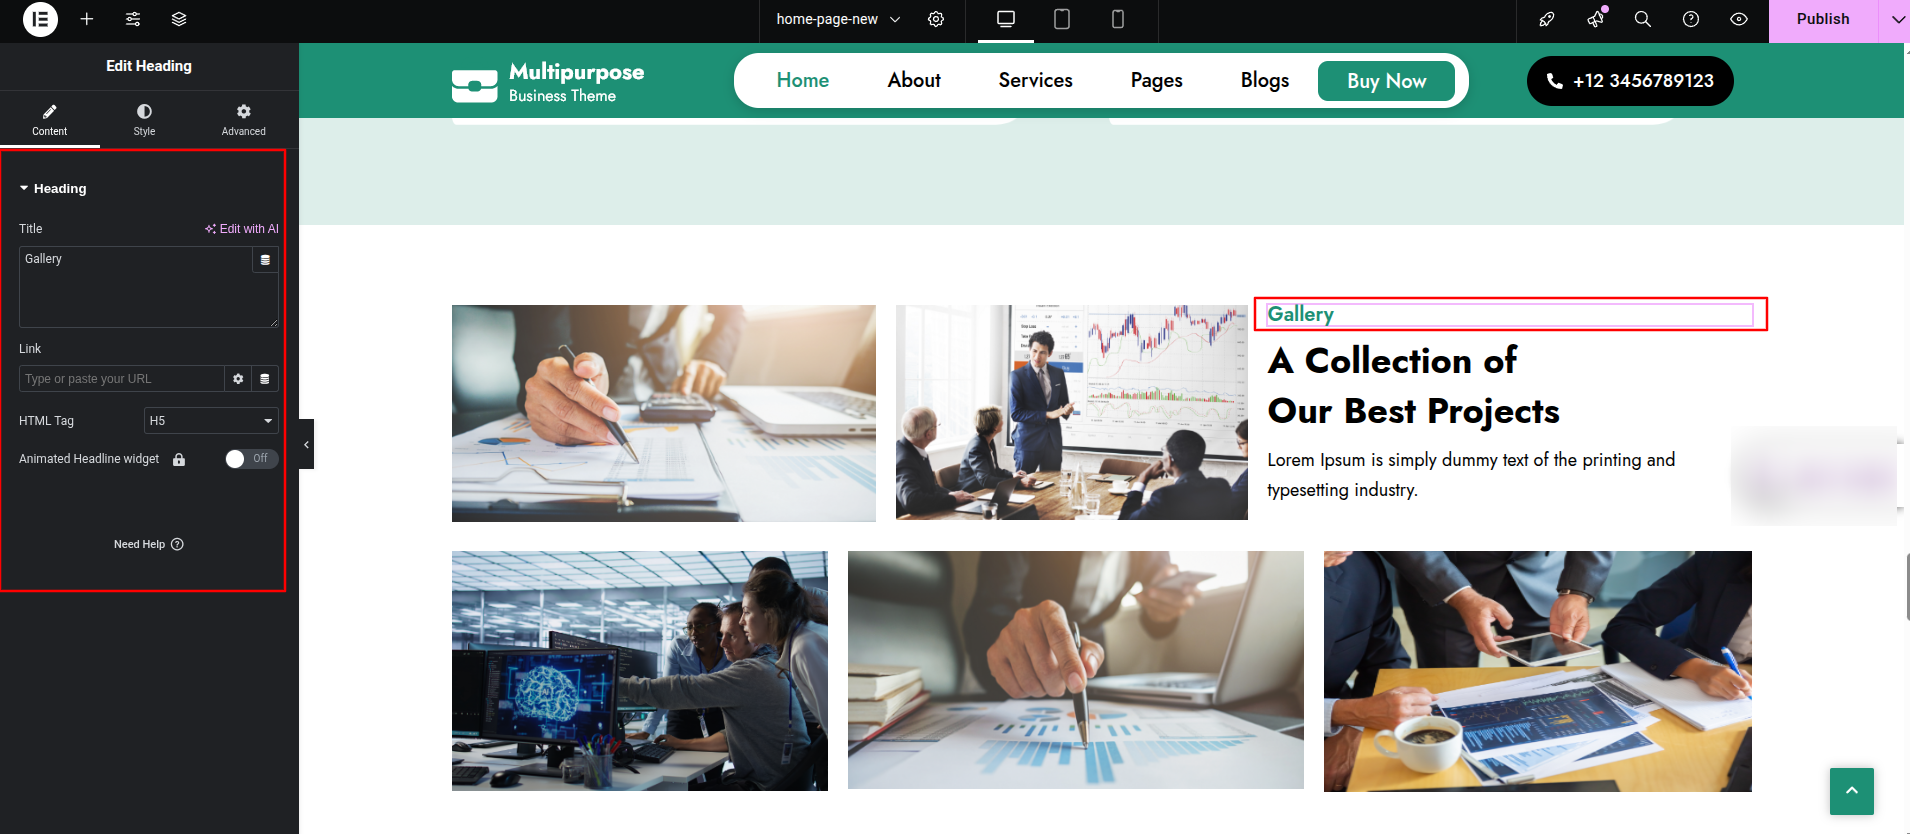
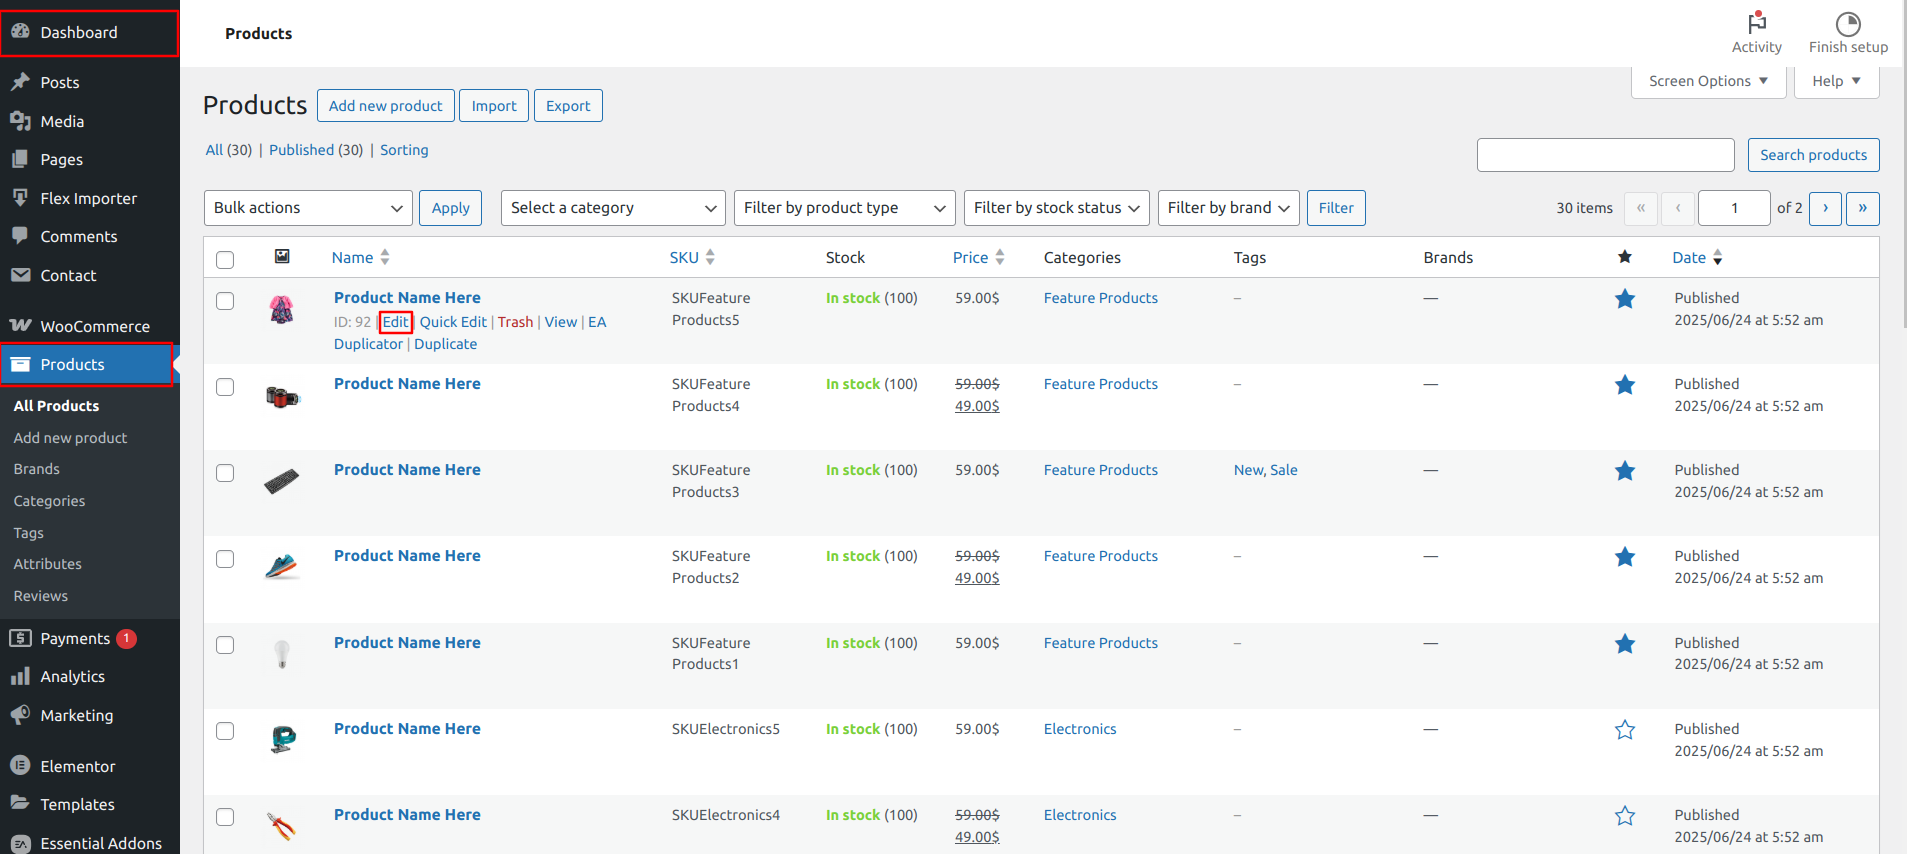
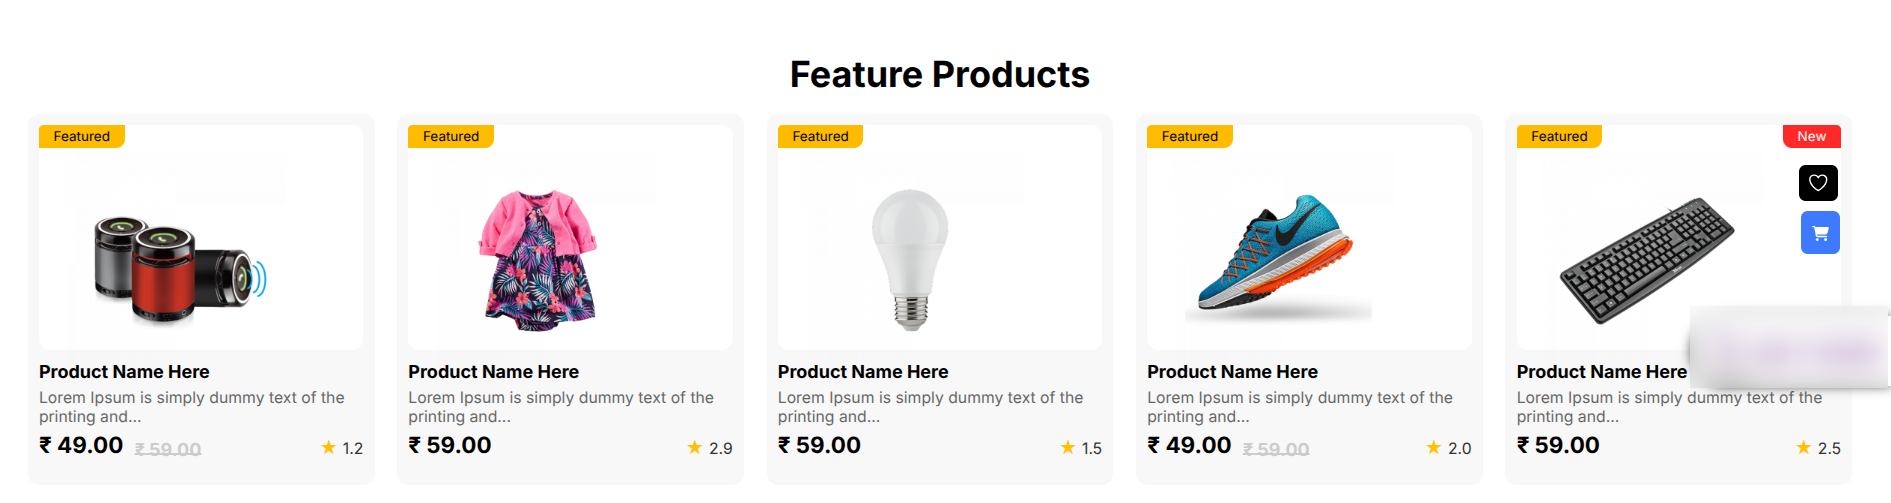
Setup Feature Products Section
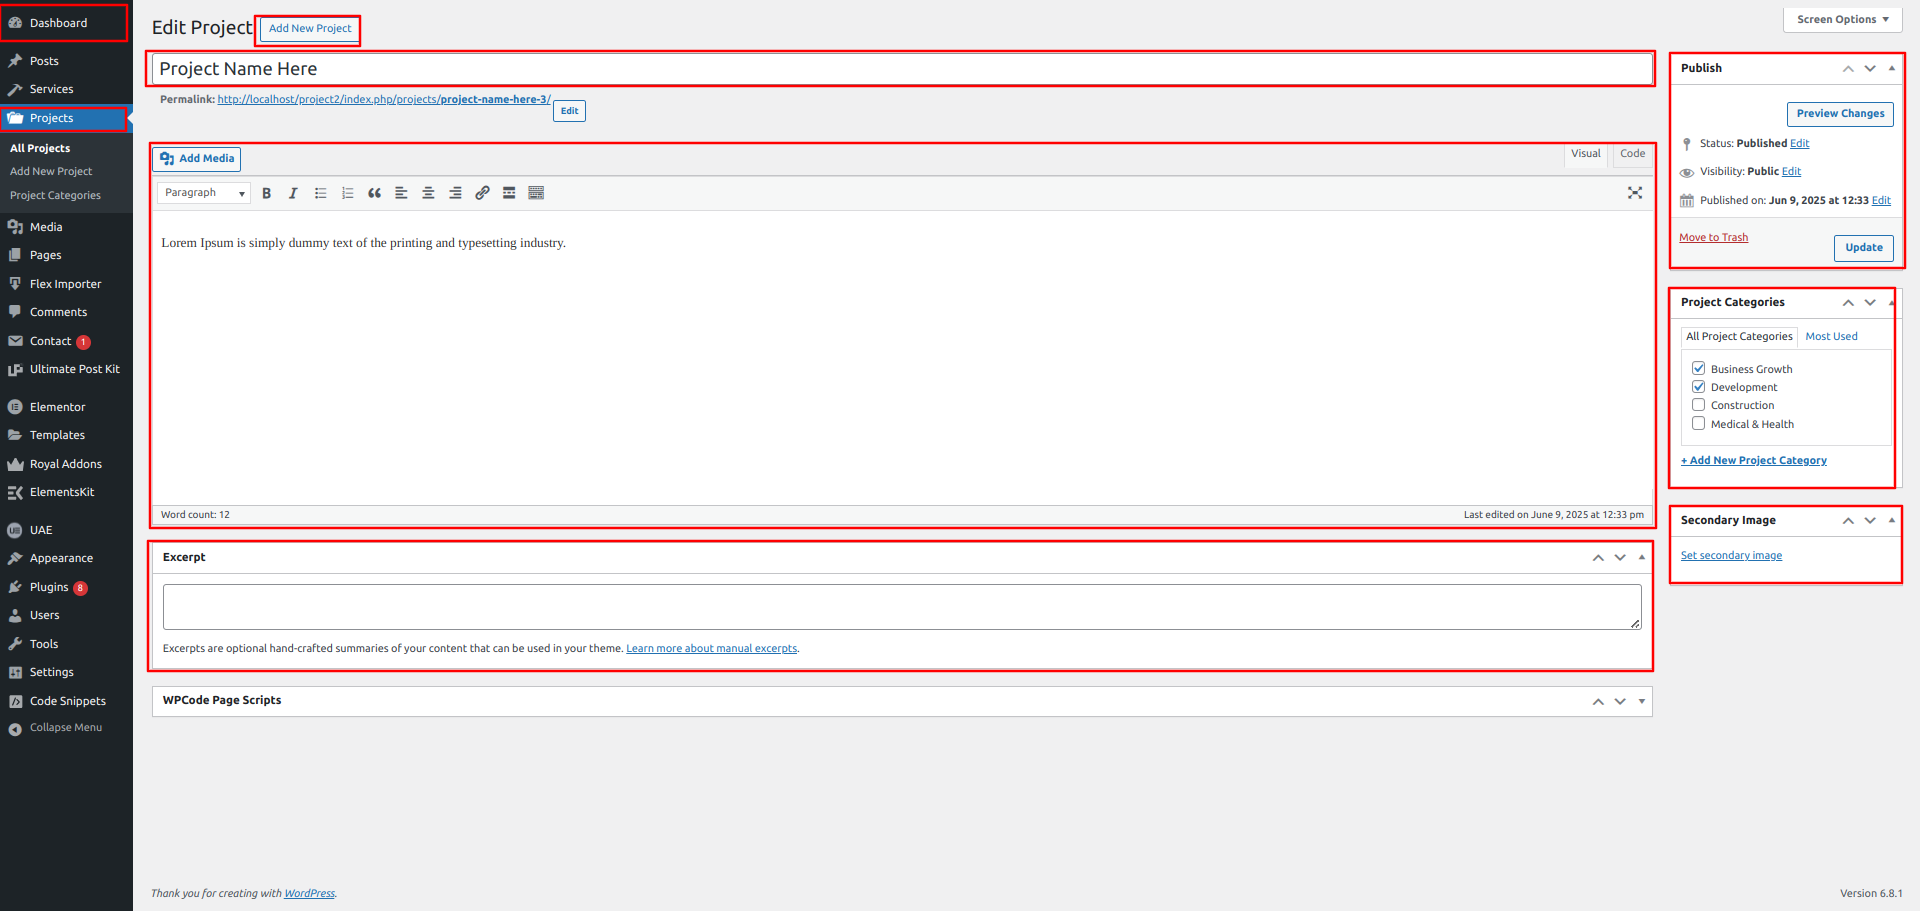
Set up the Our projects Section according to the instructions below.
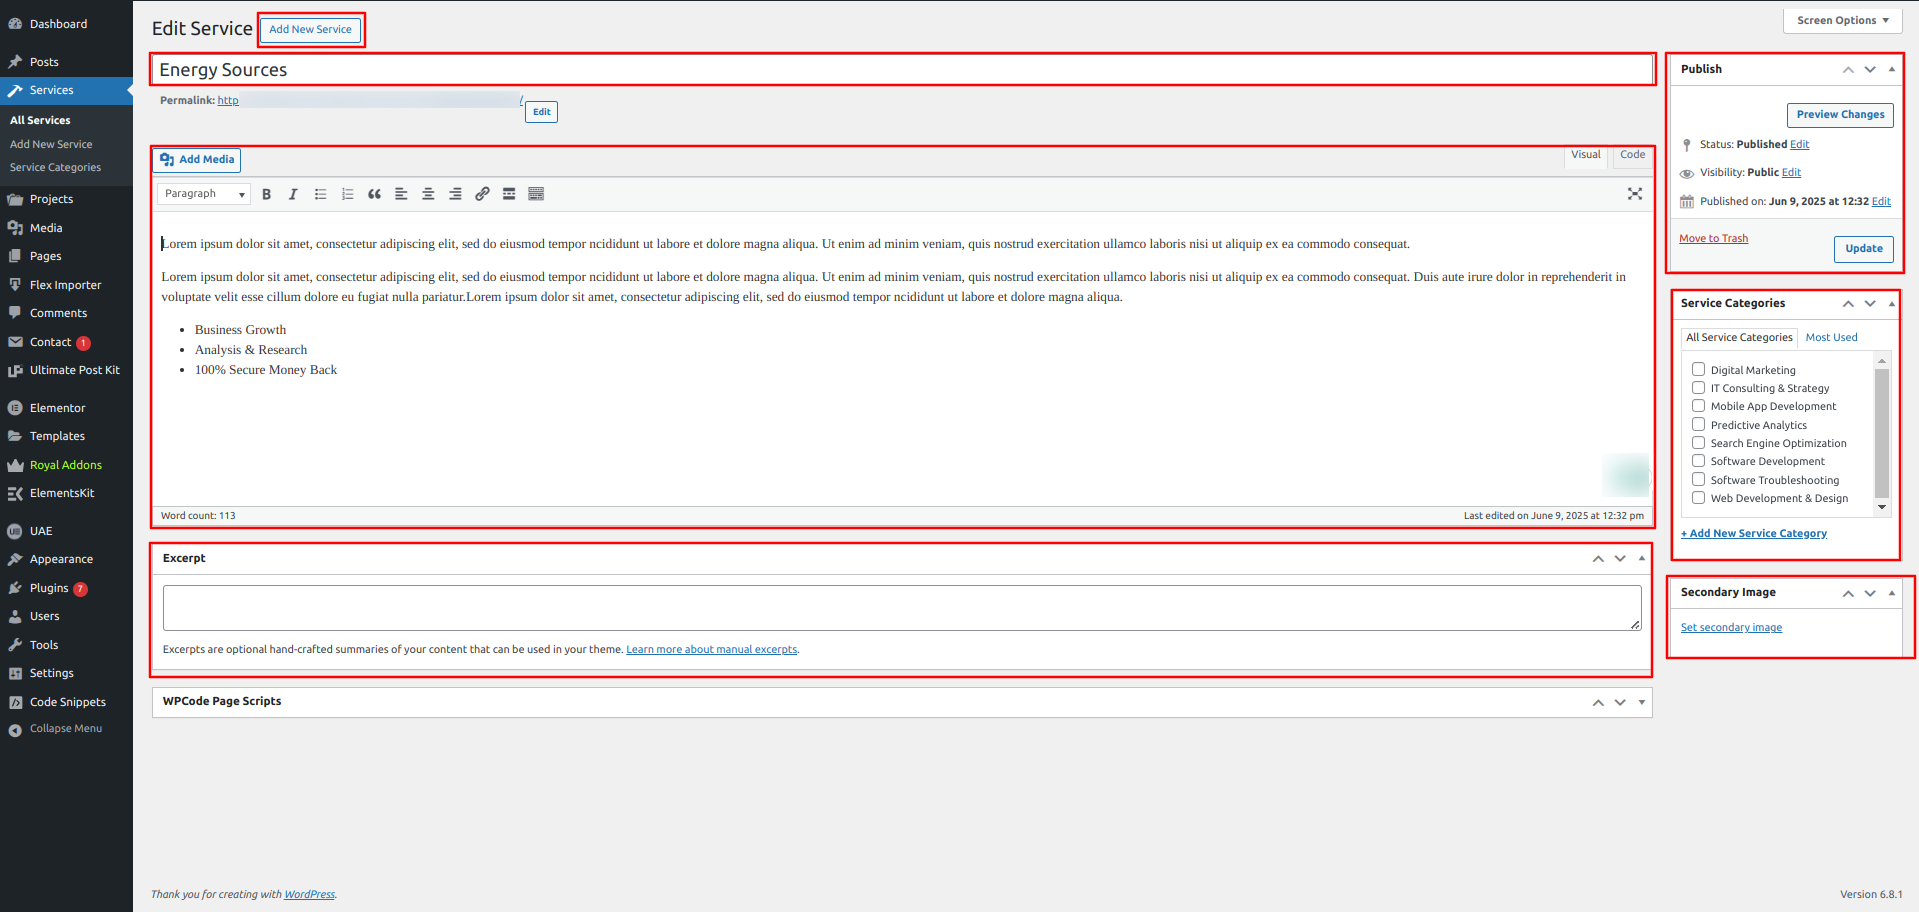
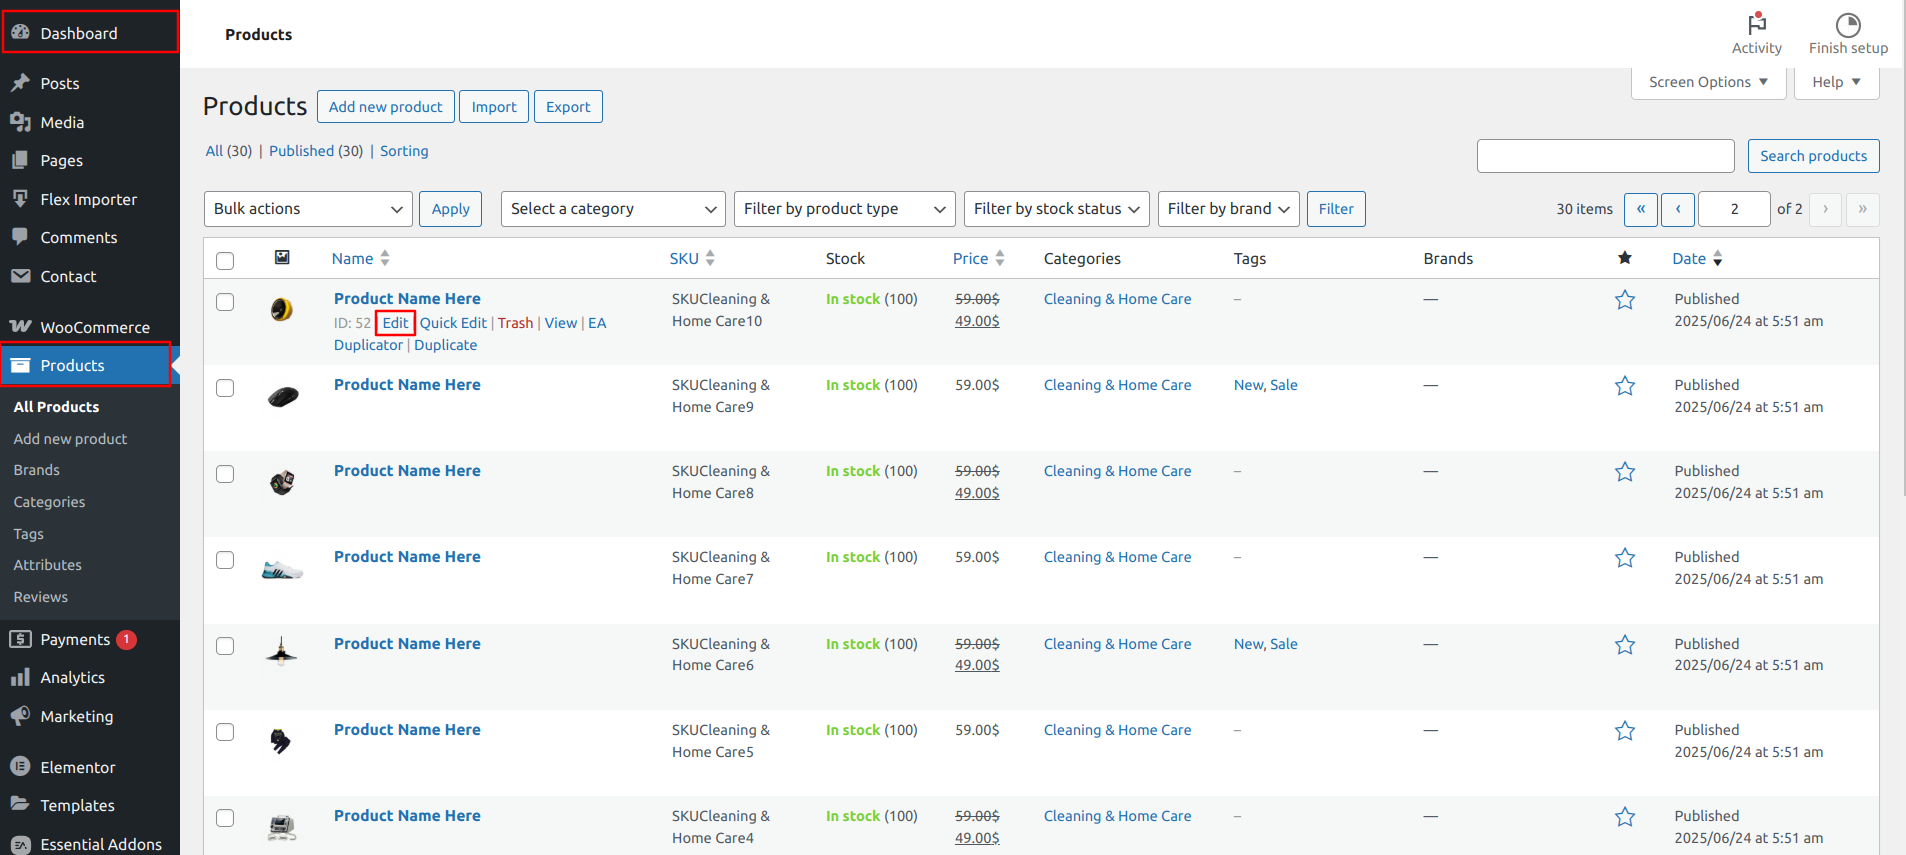
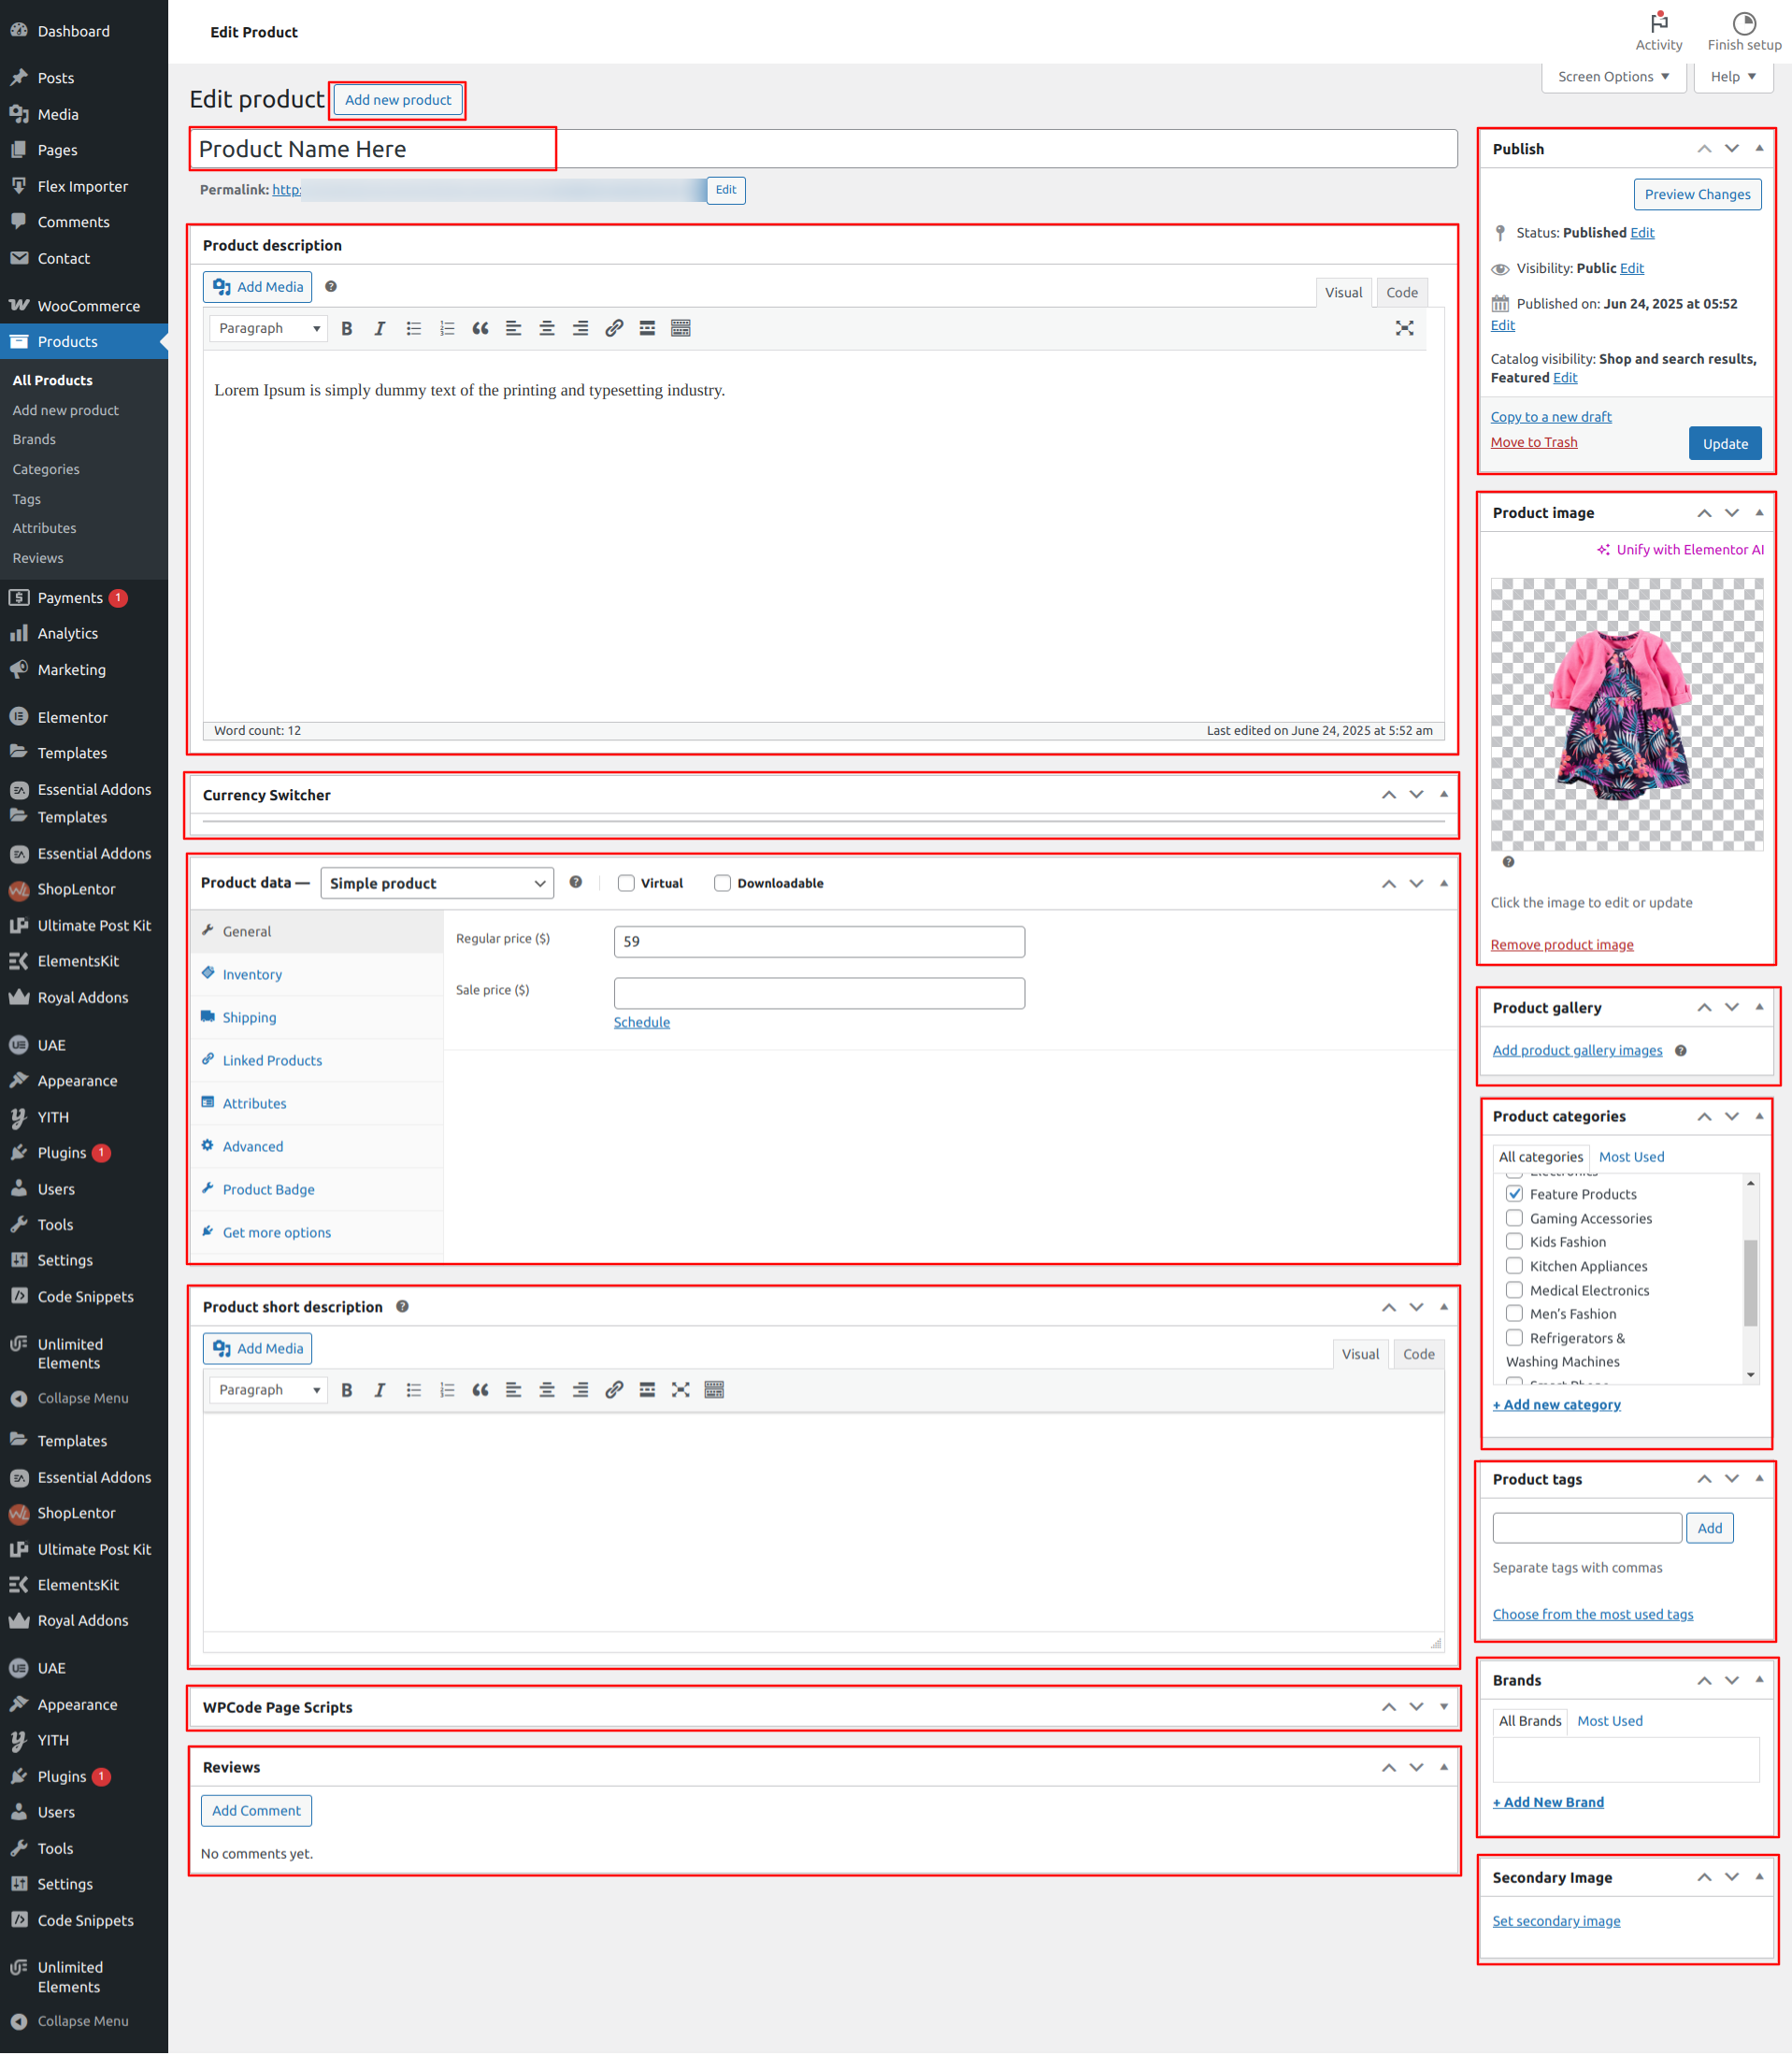
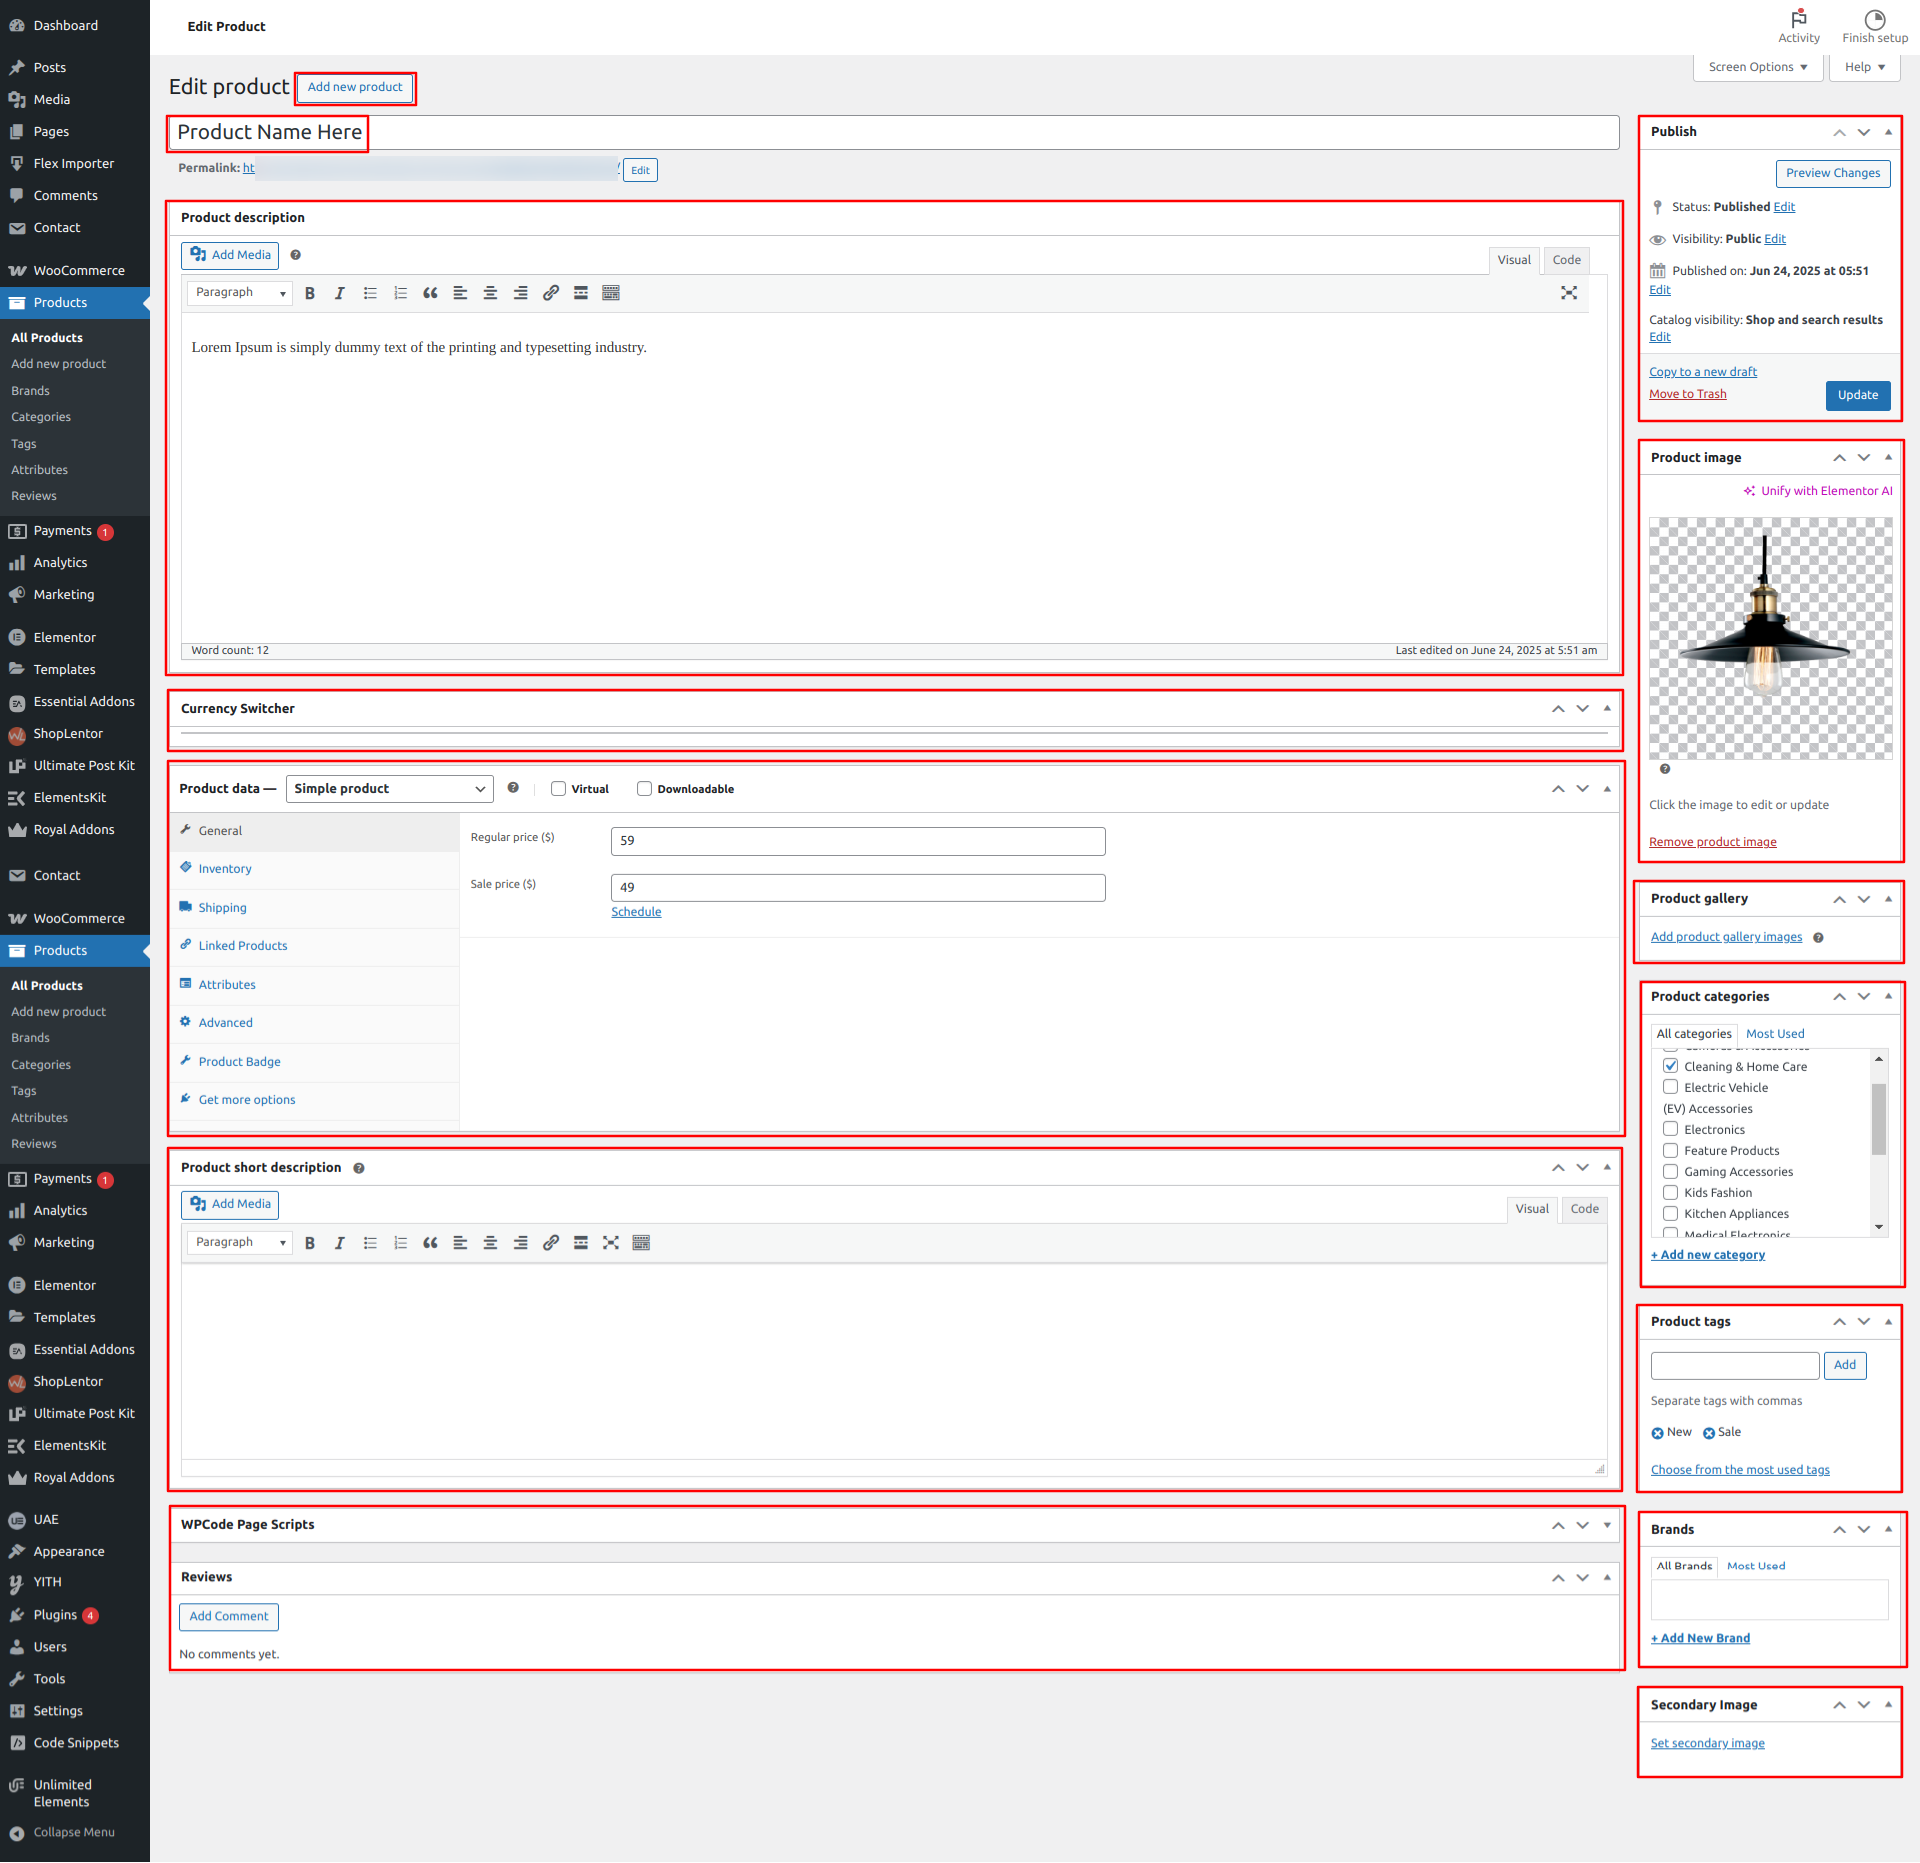
Dashboard Products Add New
Now Add the Feature Products by Following the steps in the Feature Products Section given above,
and assign the category to the projects as per your Need.
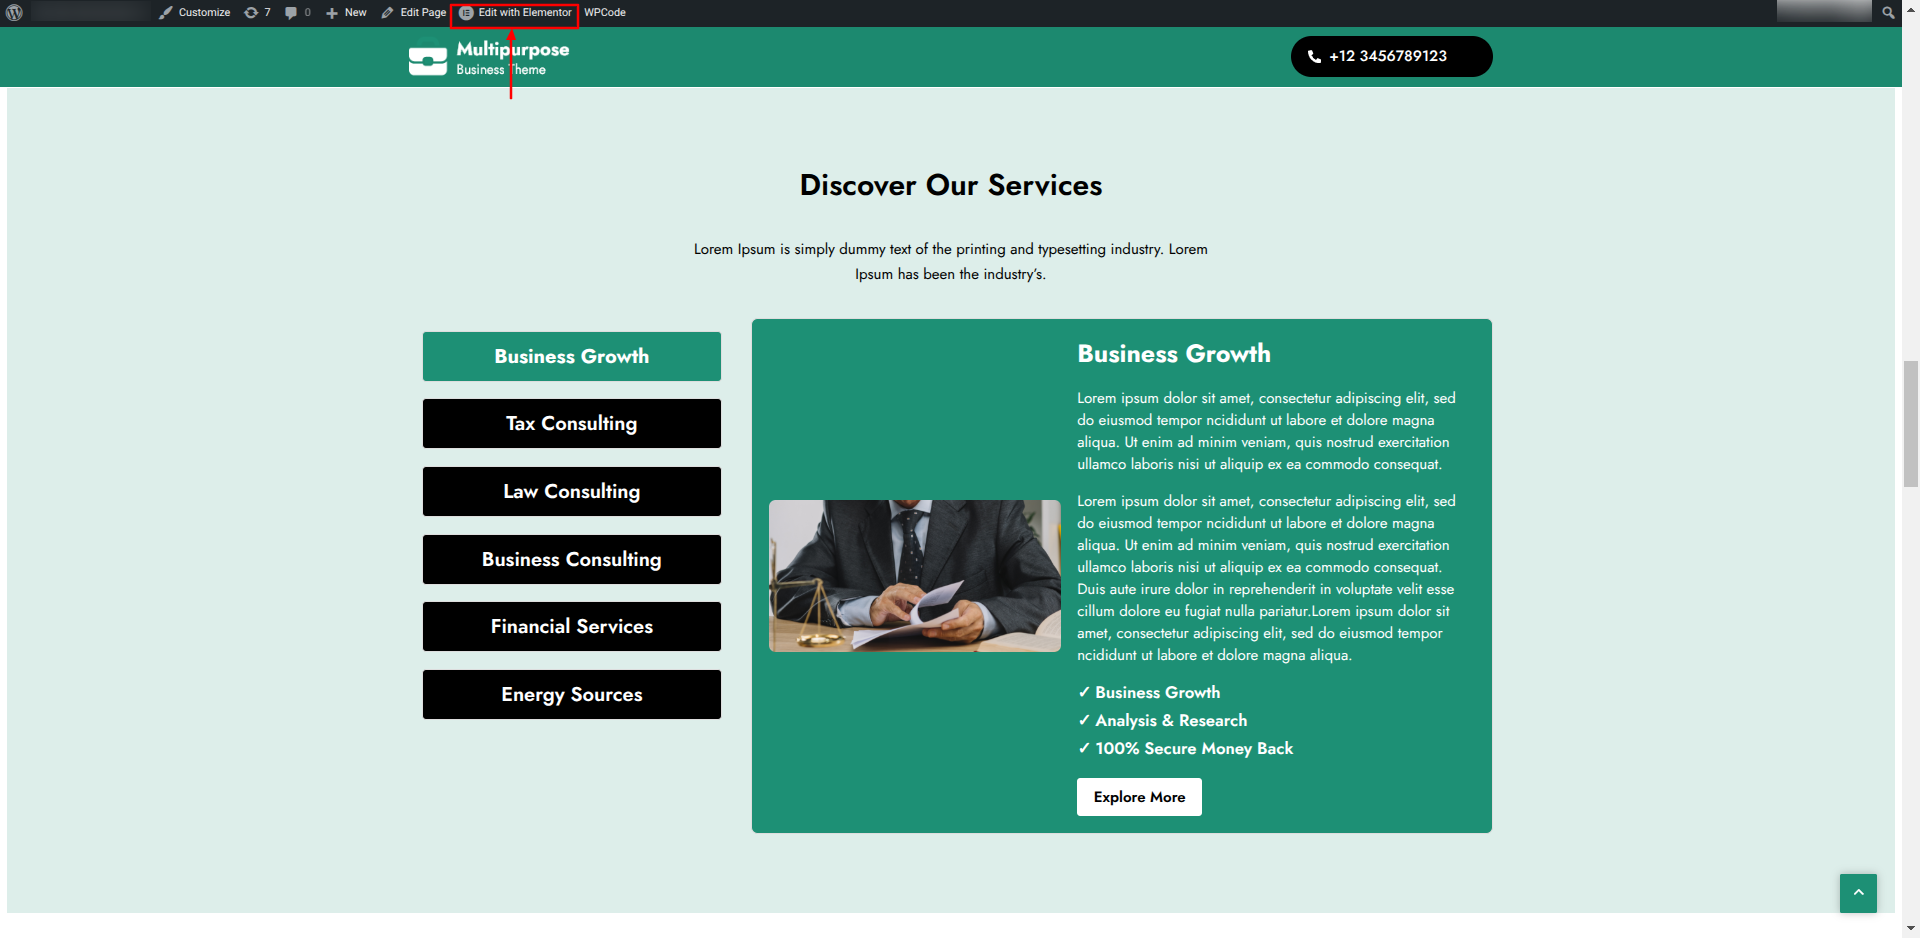
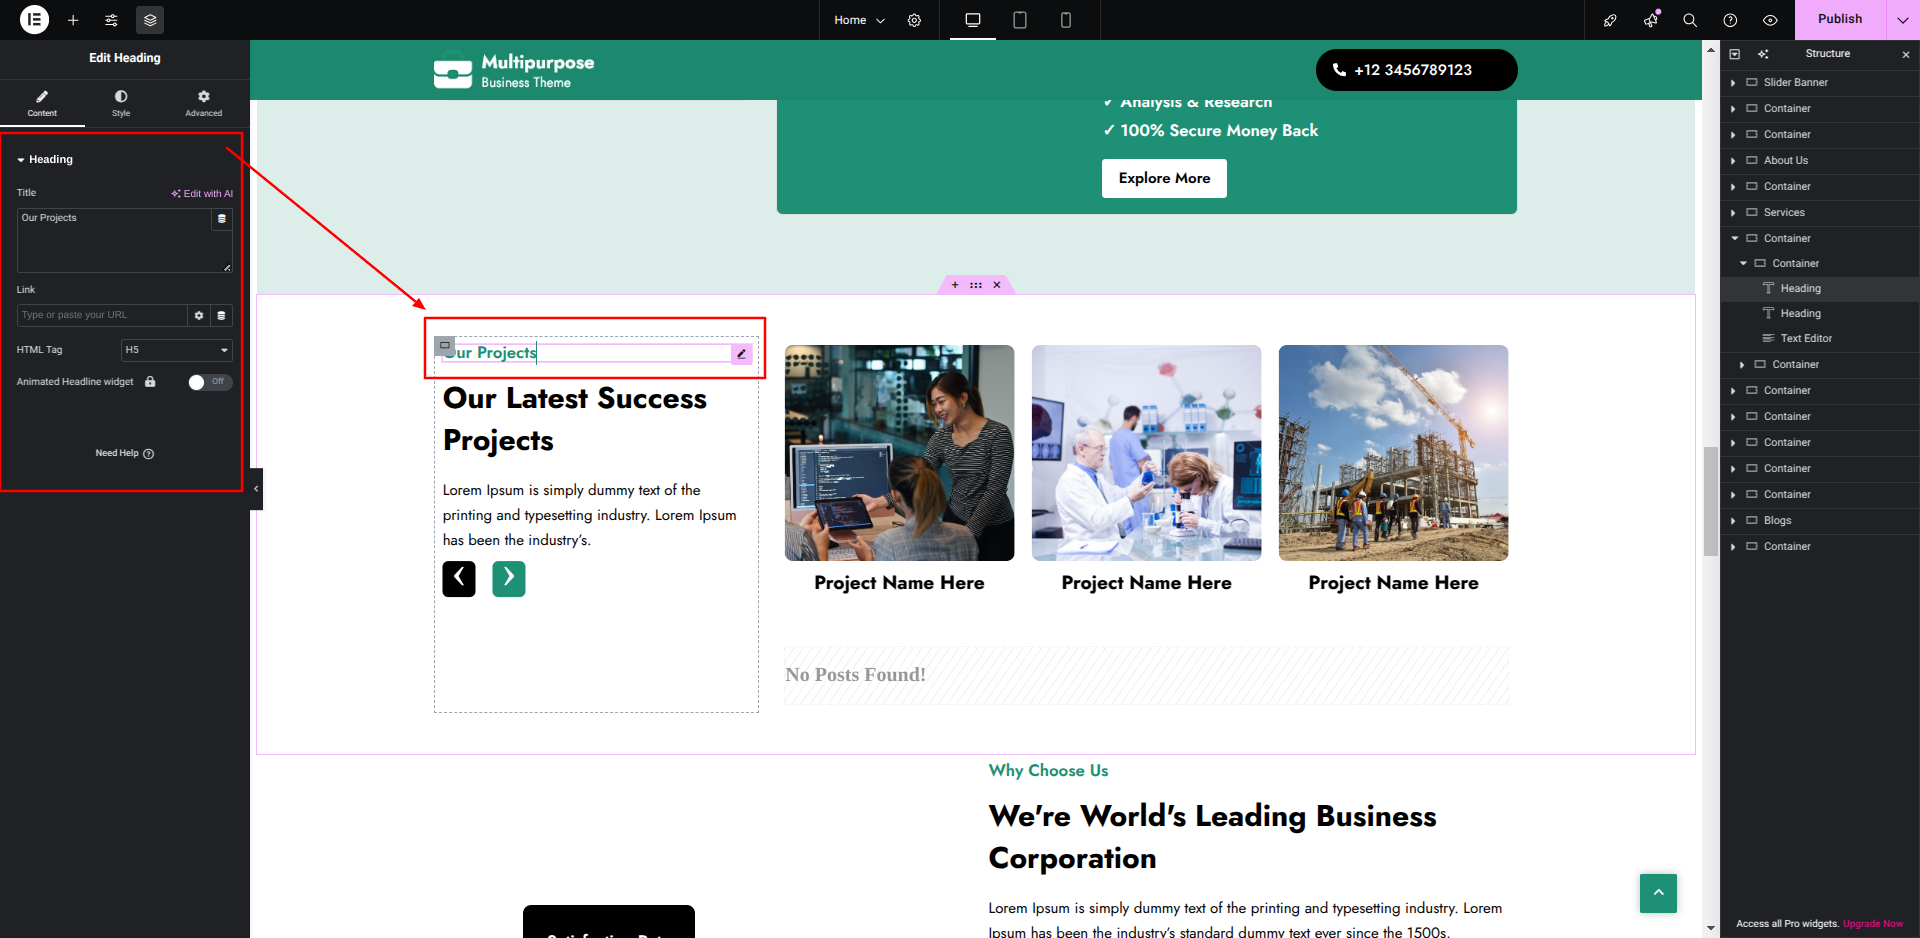
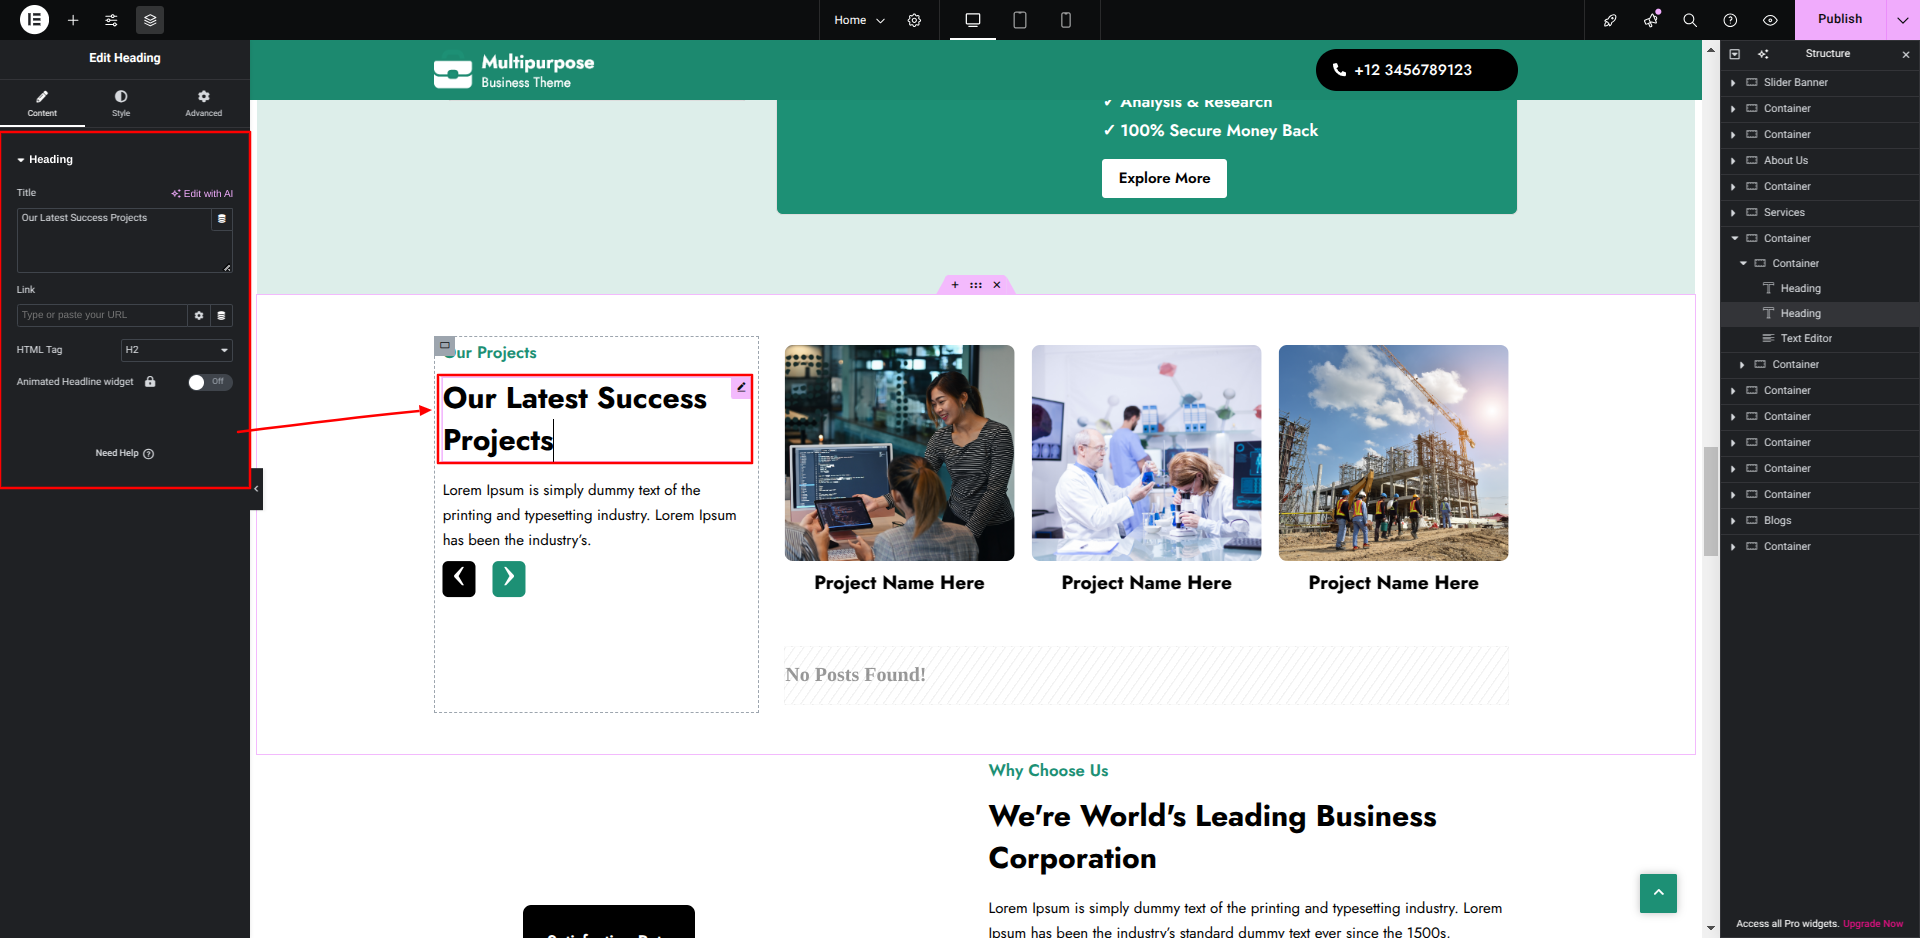
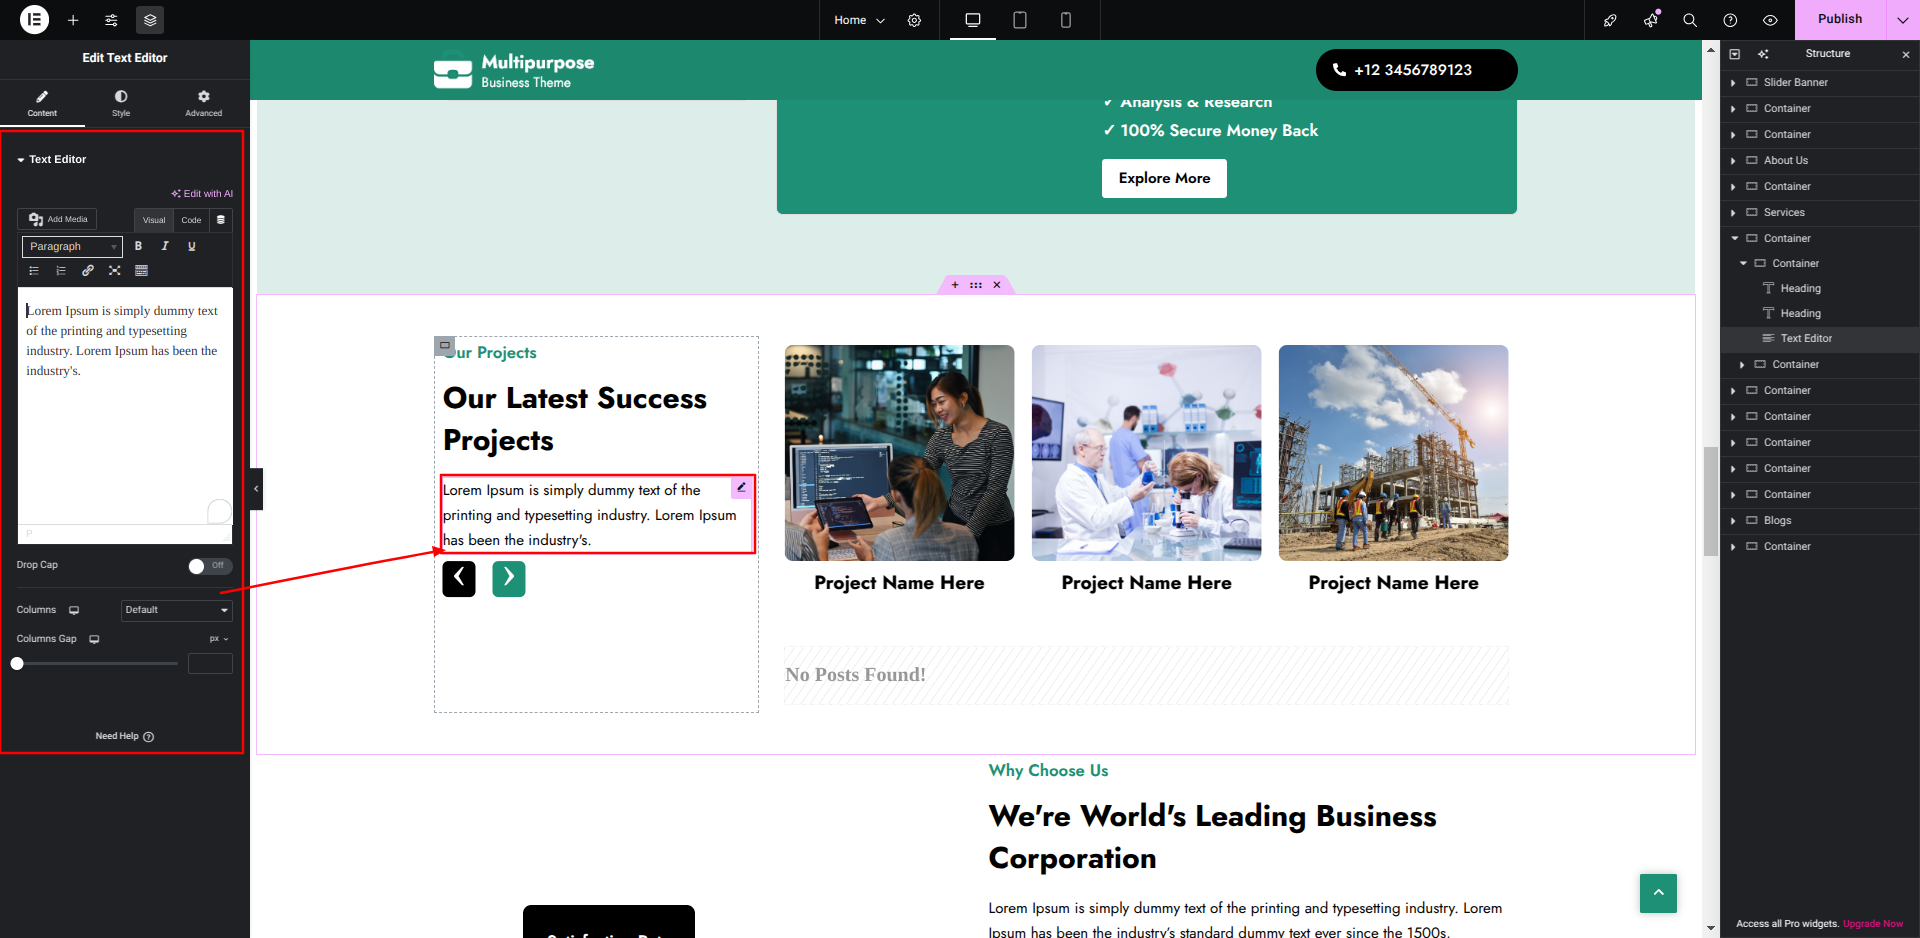
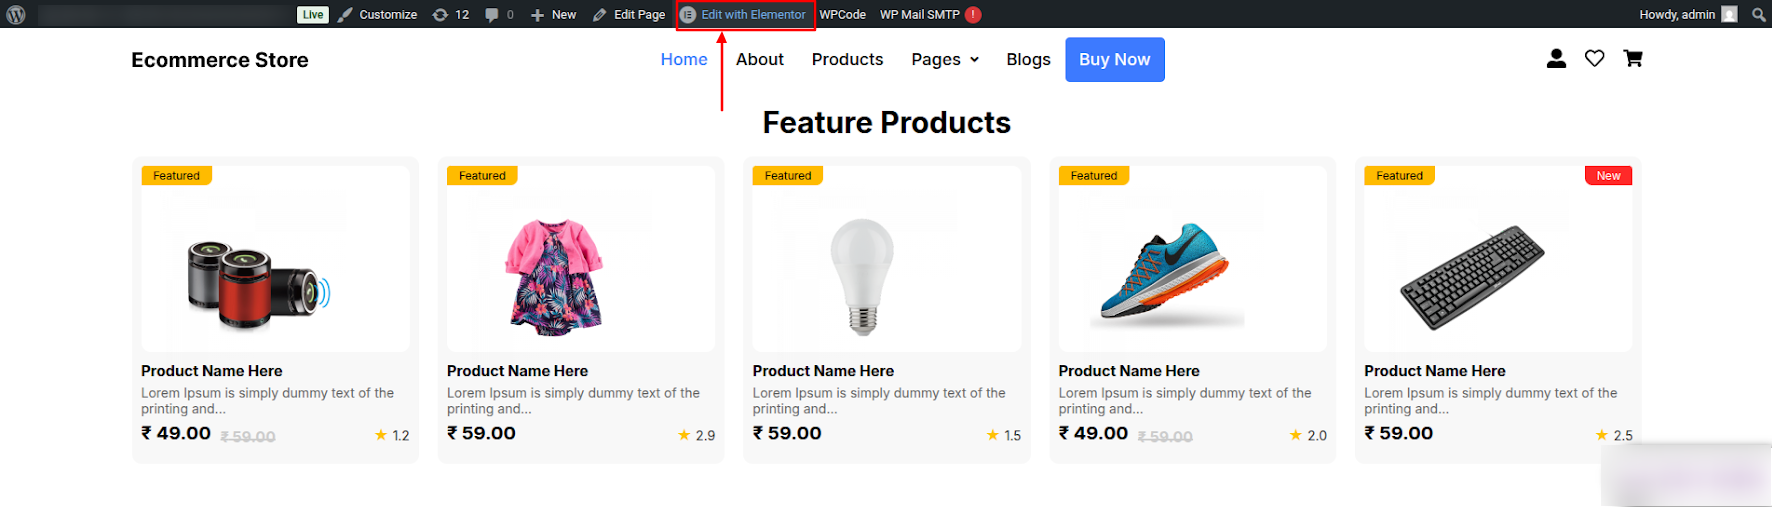
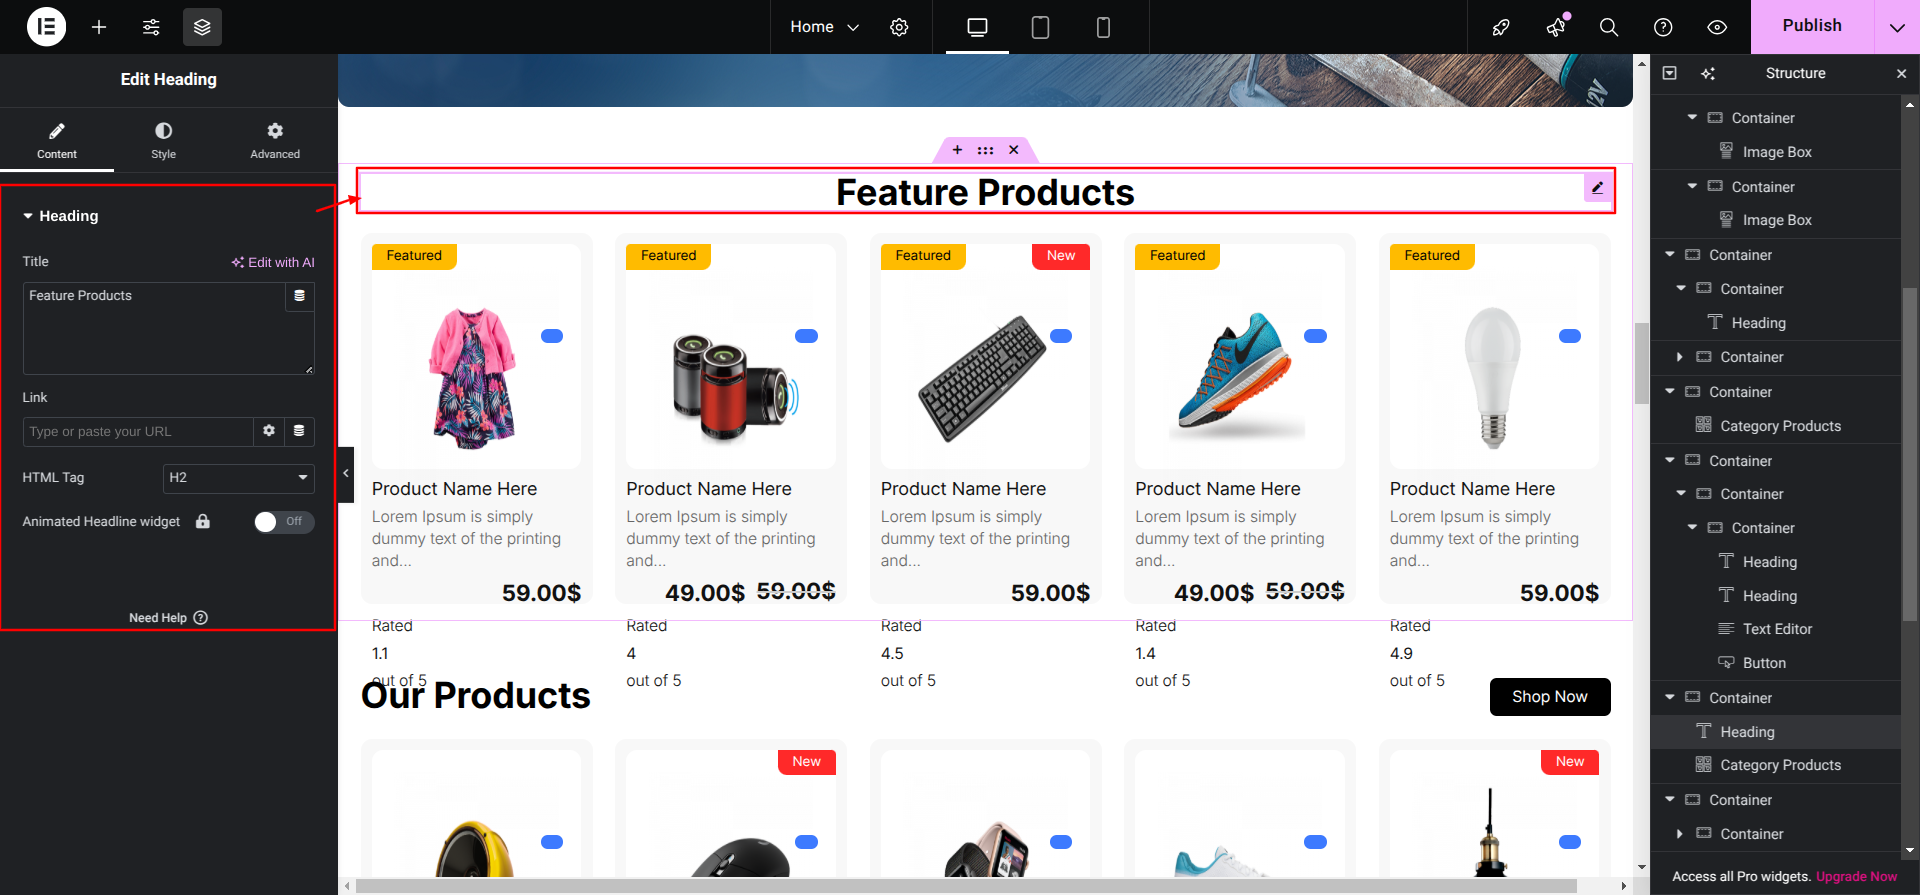
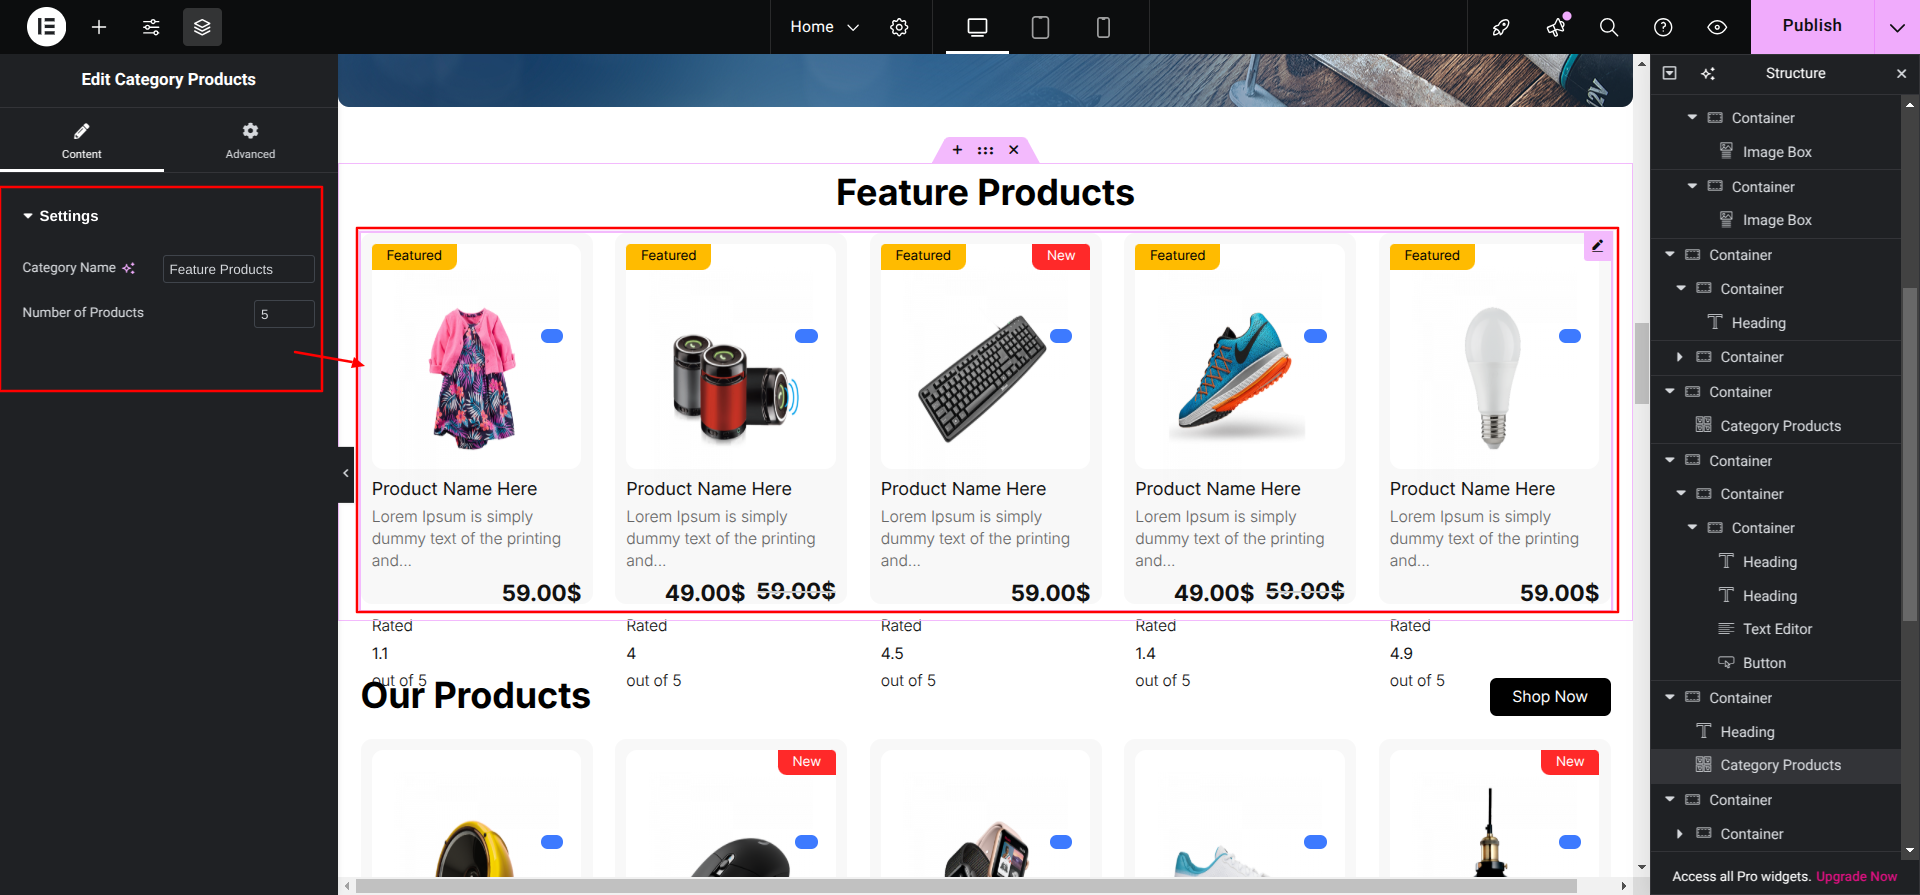
To Edit this Section, Click On the "Edit With Elementor" Button which will open the
Elementor Widget editor.
This is how you may set up and add the Feature Products Section.
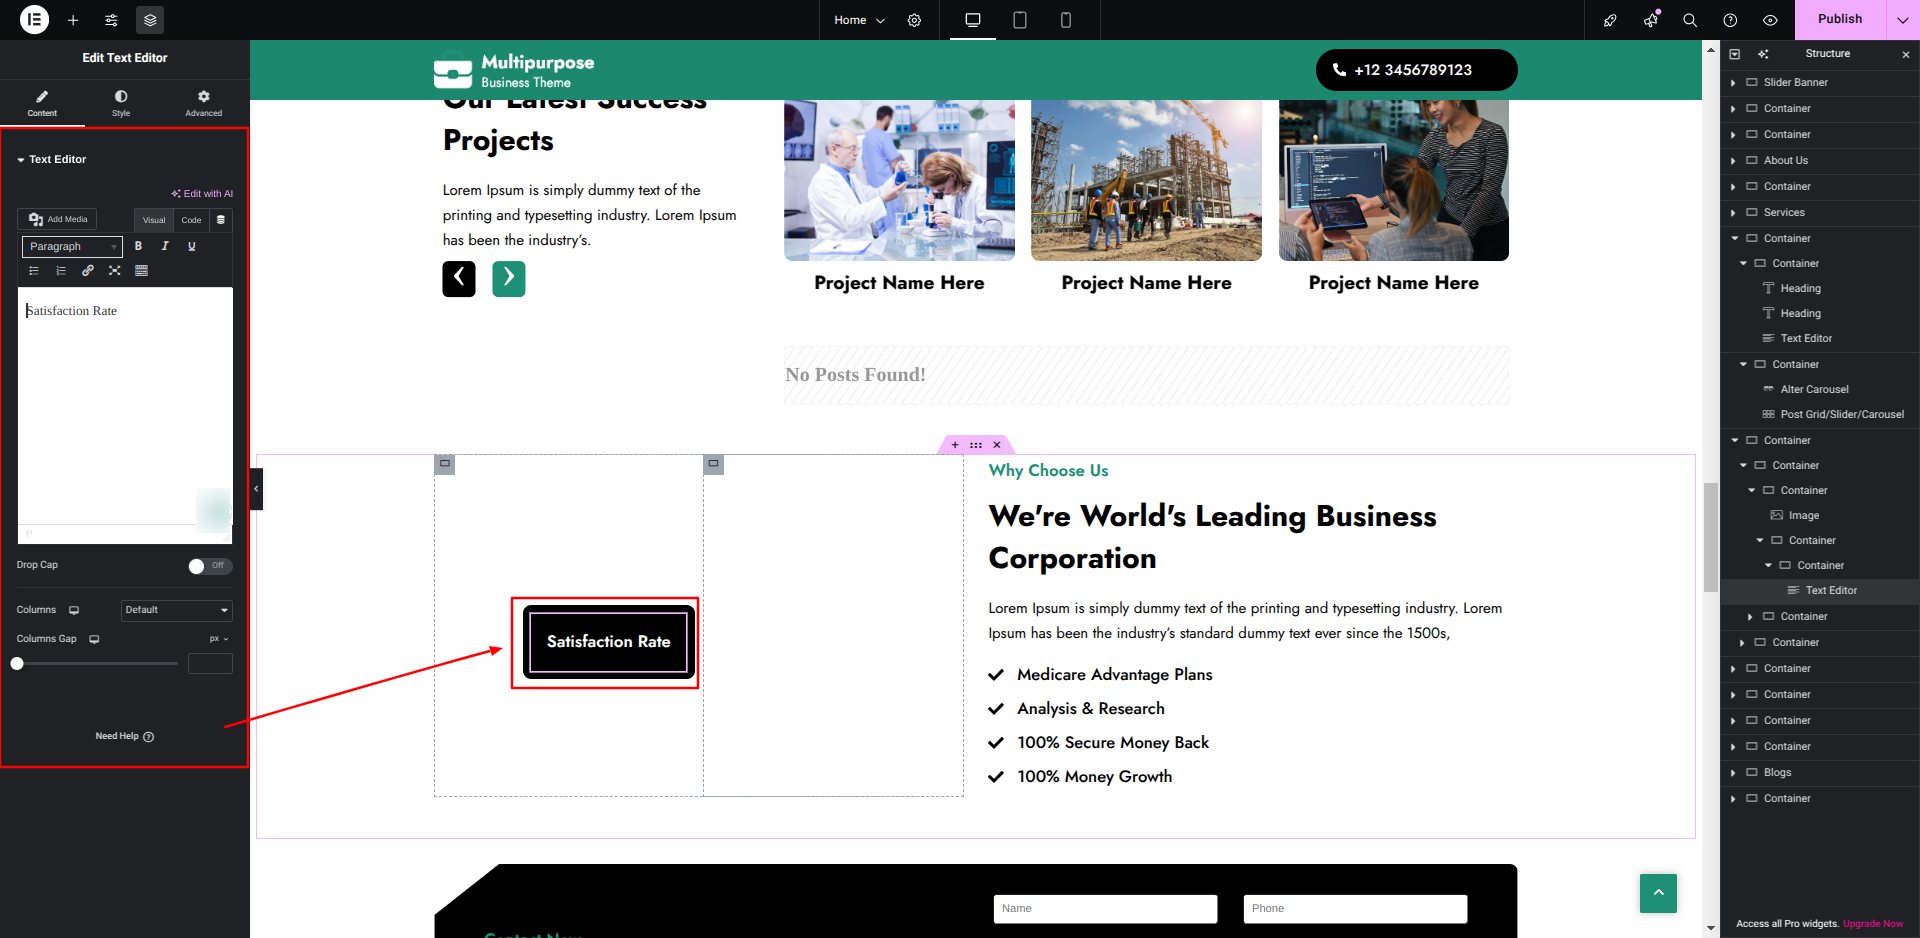
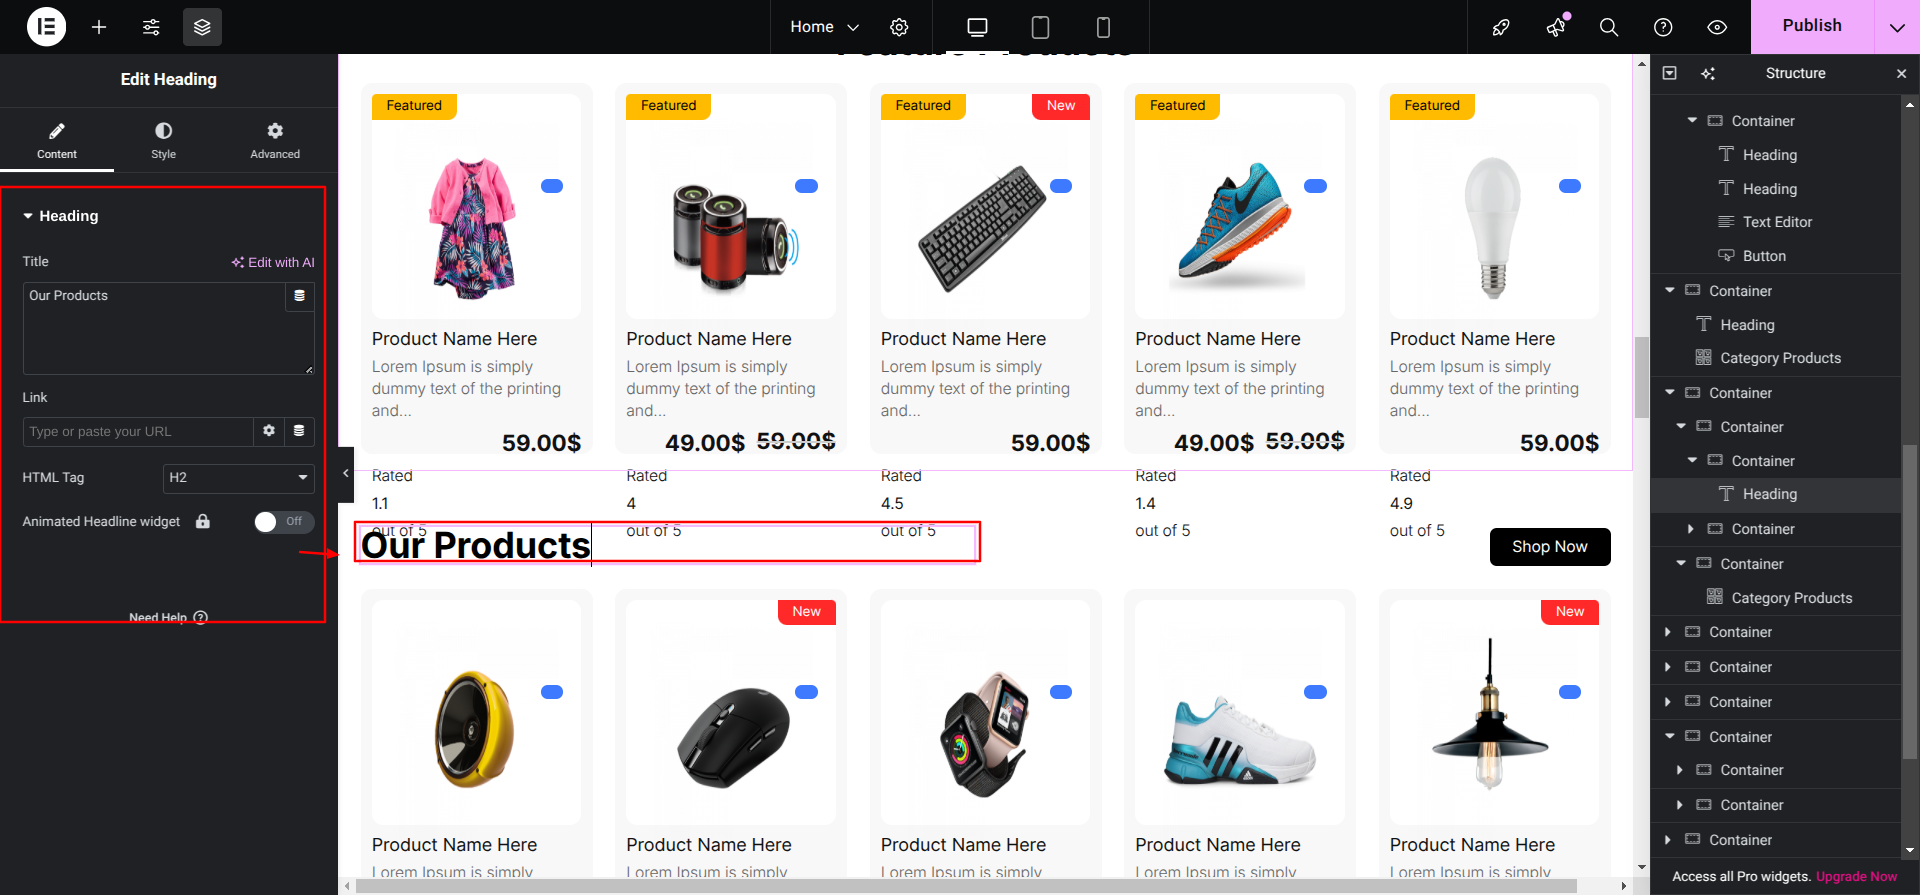
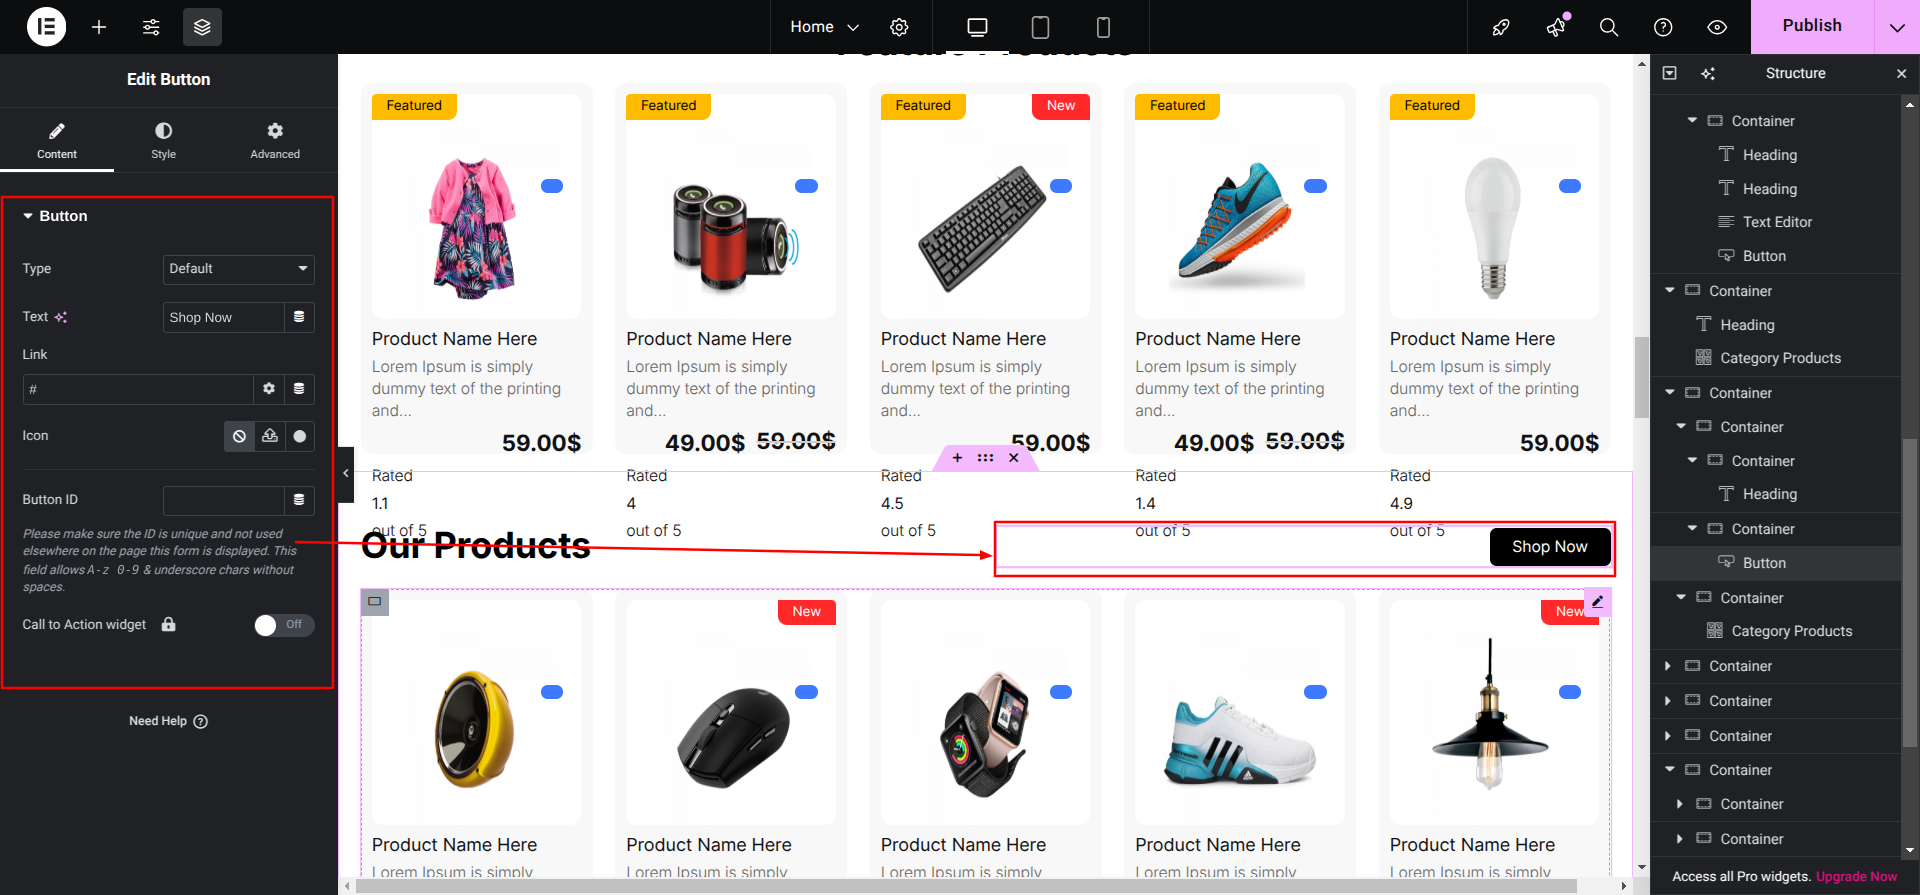
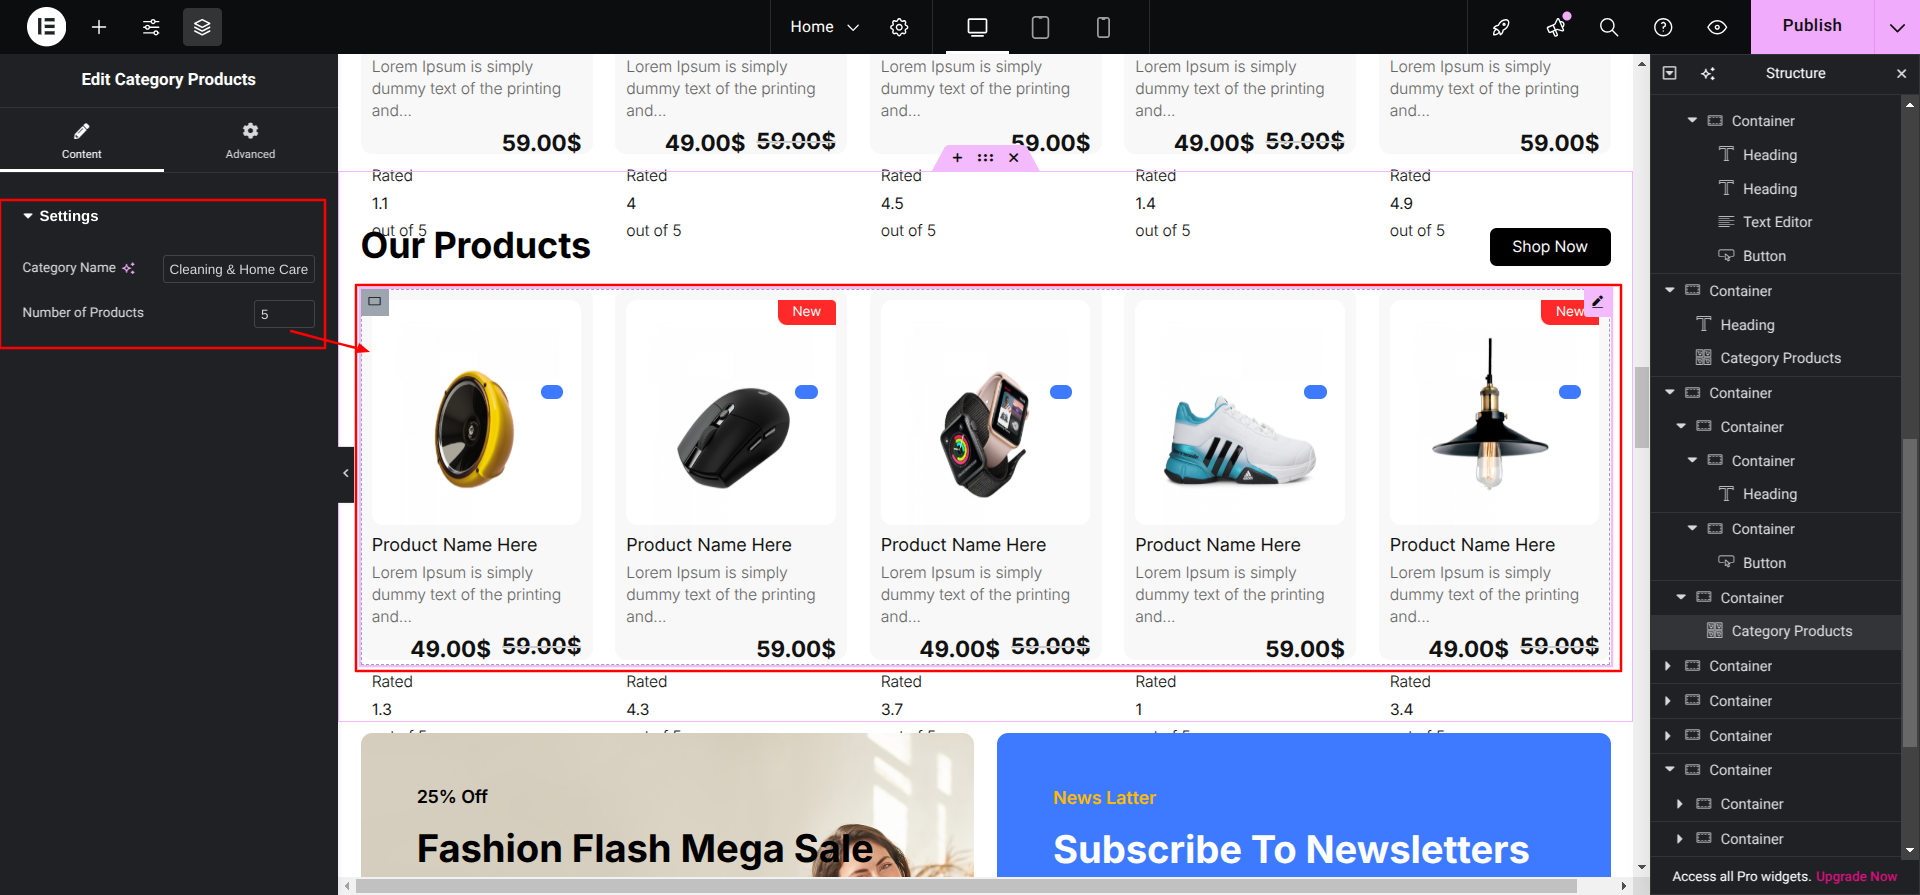
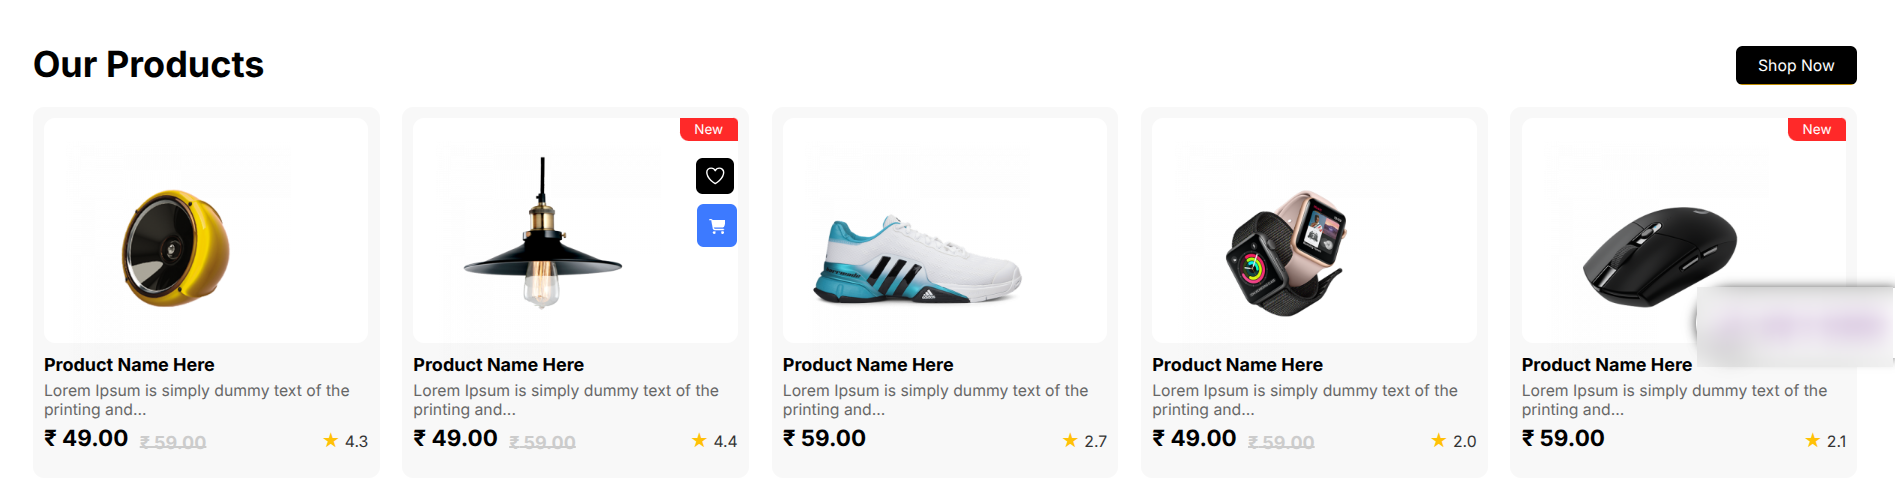
Setup Our Products Section
Set up the Our Products Section according to the instructions
below.
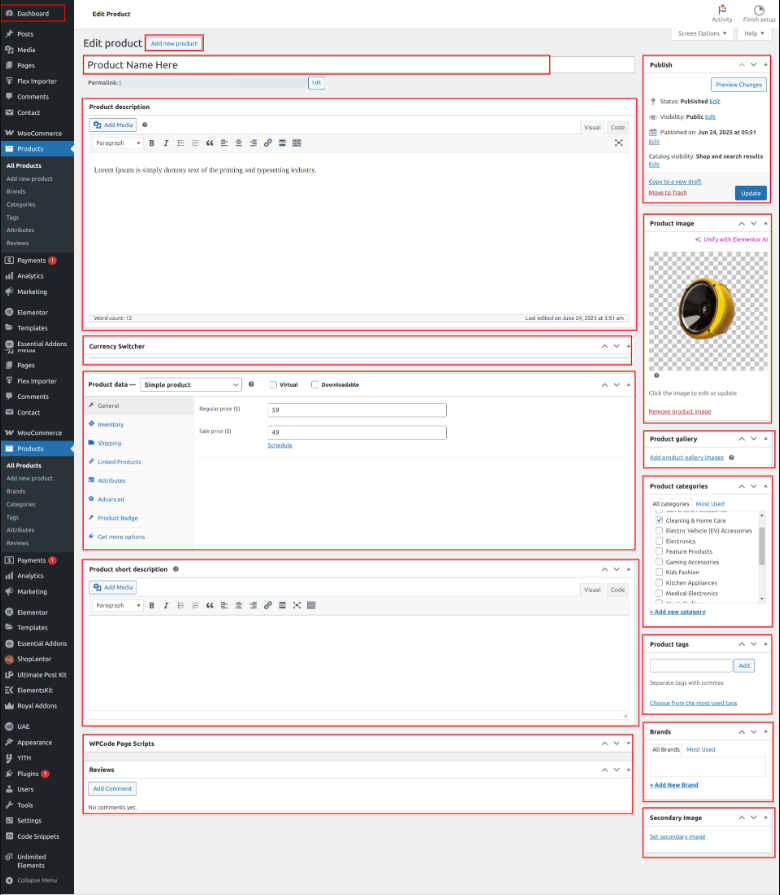
Dashboard Products Add New
Now Add the Our Products by Following the steps in the Our Products Section given
above, and assign the category to the Services as per your Need.
To Edit this Section, Click On the "Edit With Elementor" Button which will open
the Elementor Widget editor.
This is how you may set up and add the Our Products Section.
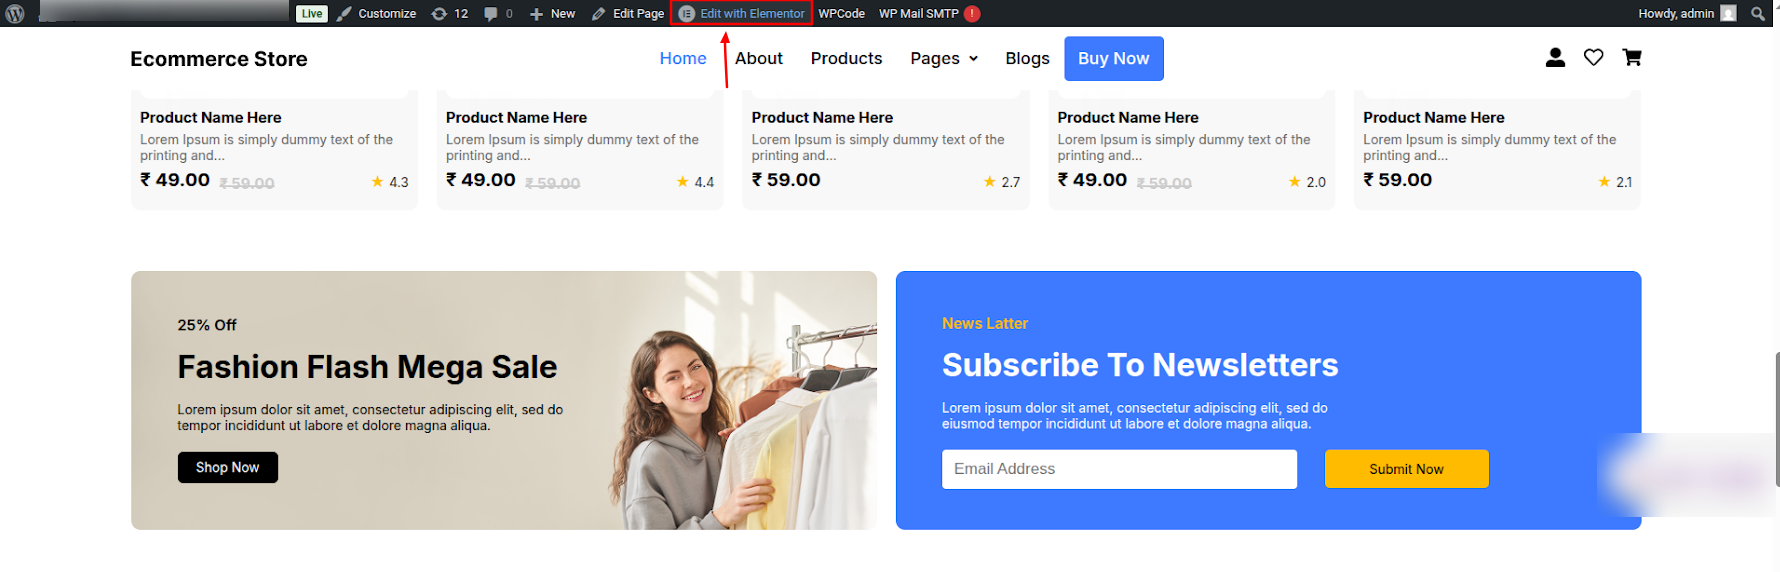
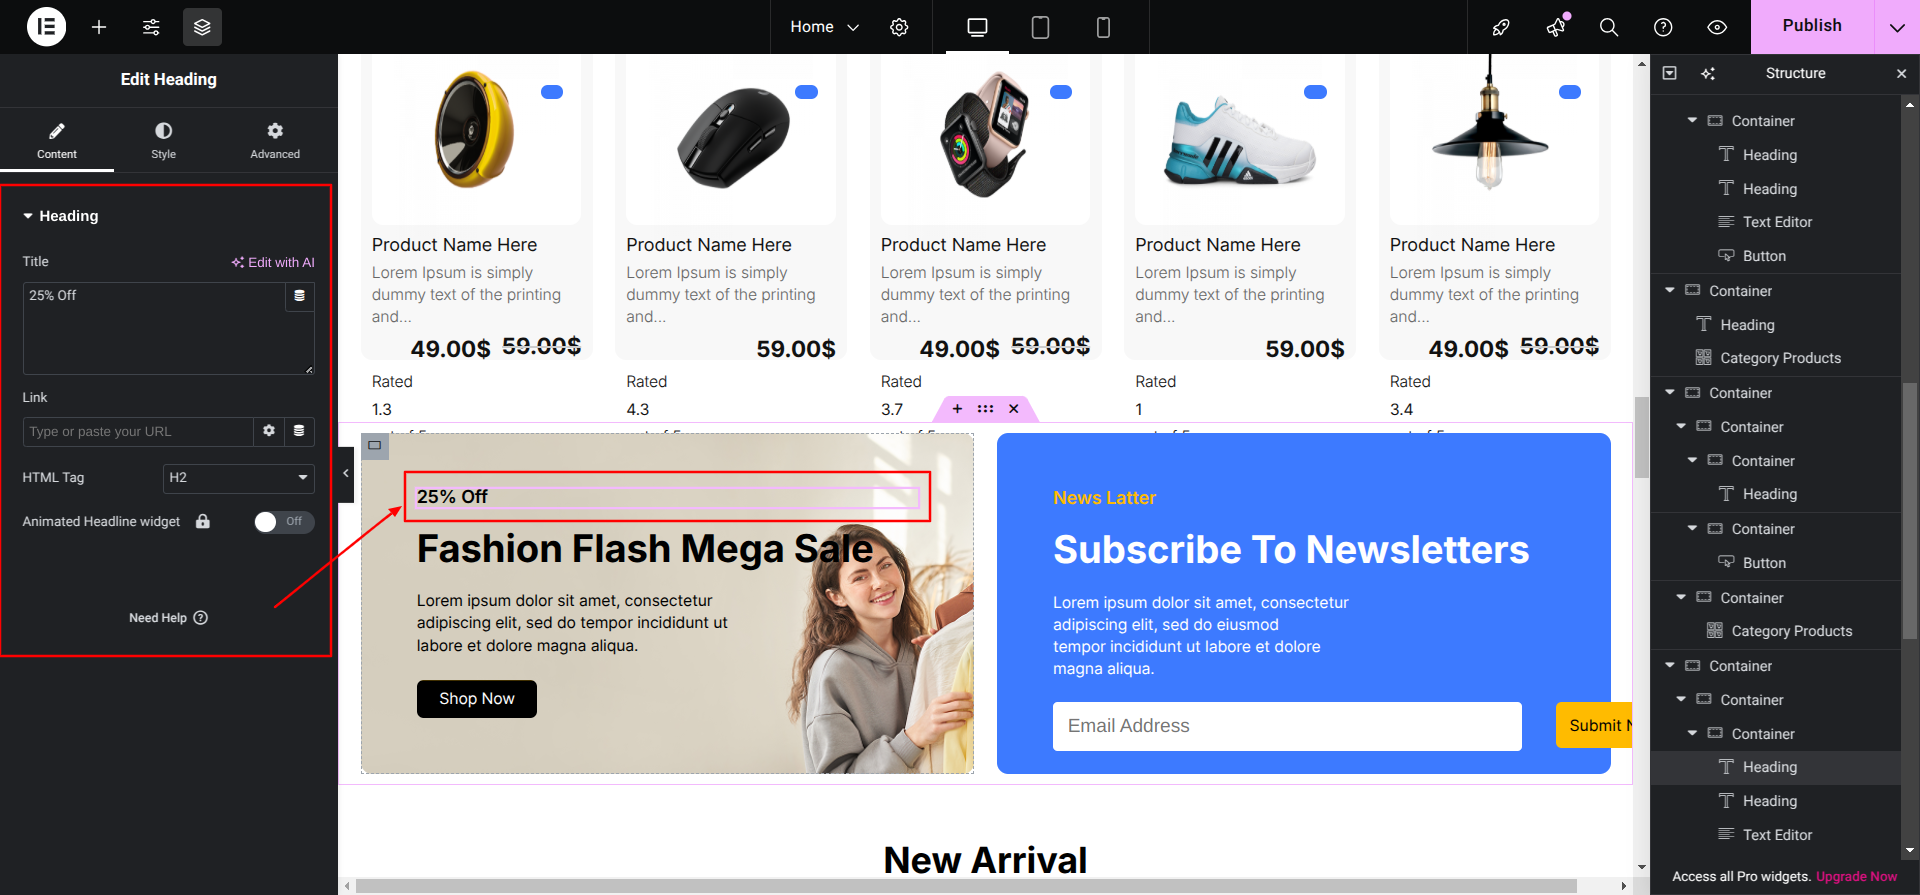
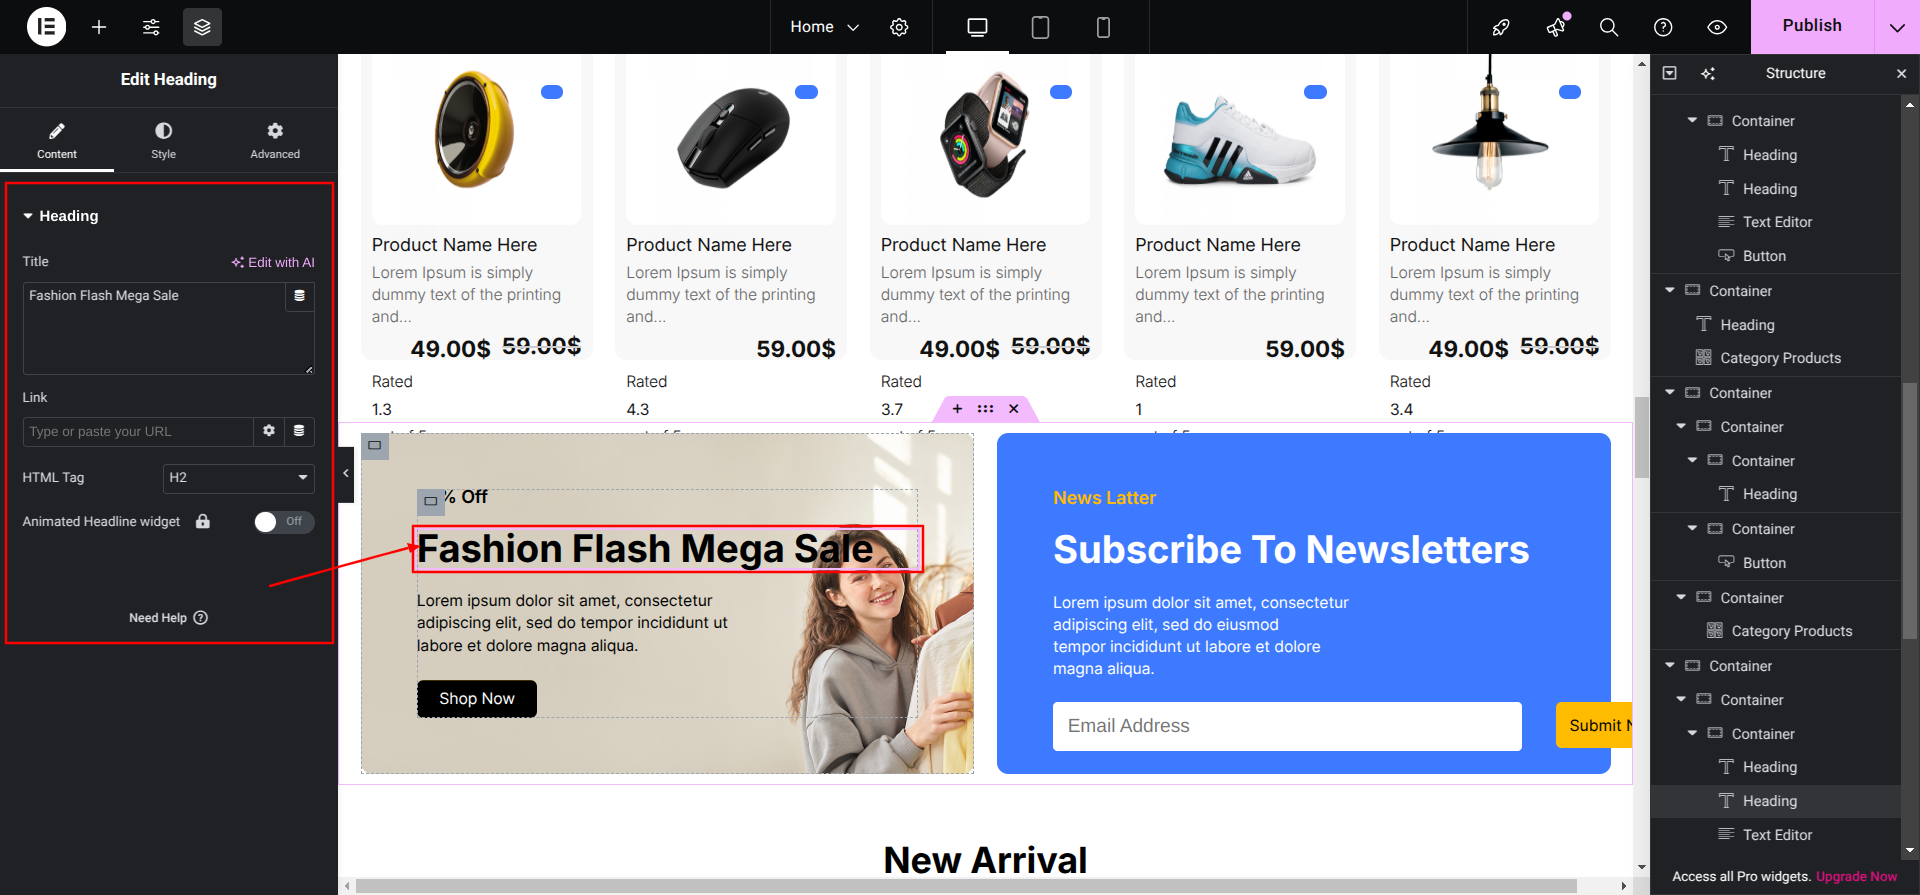
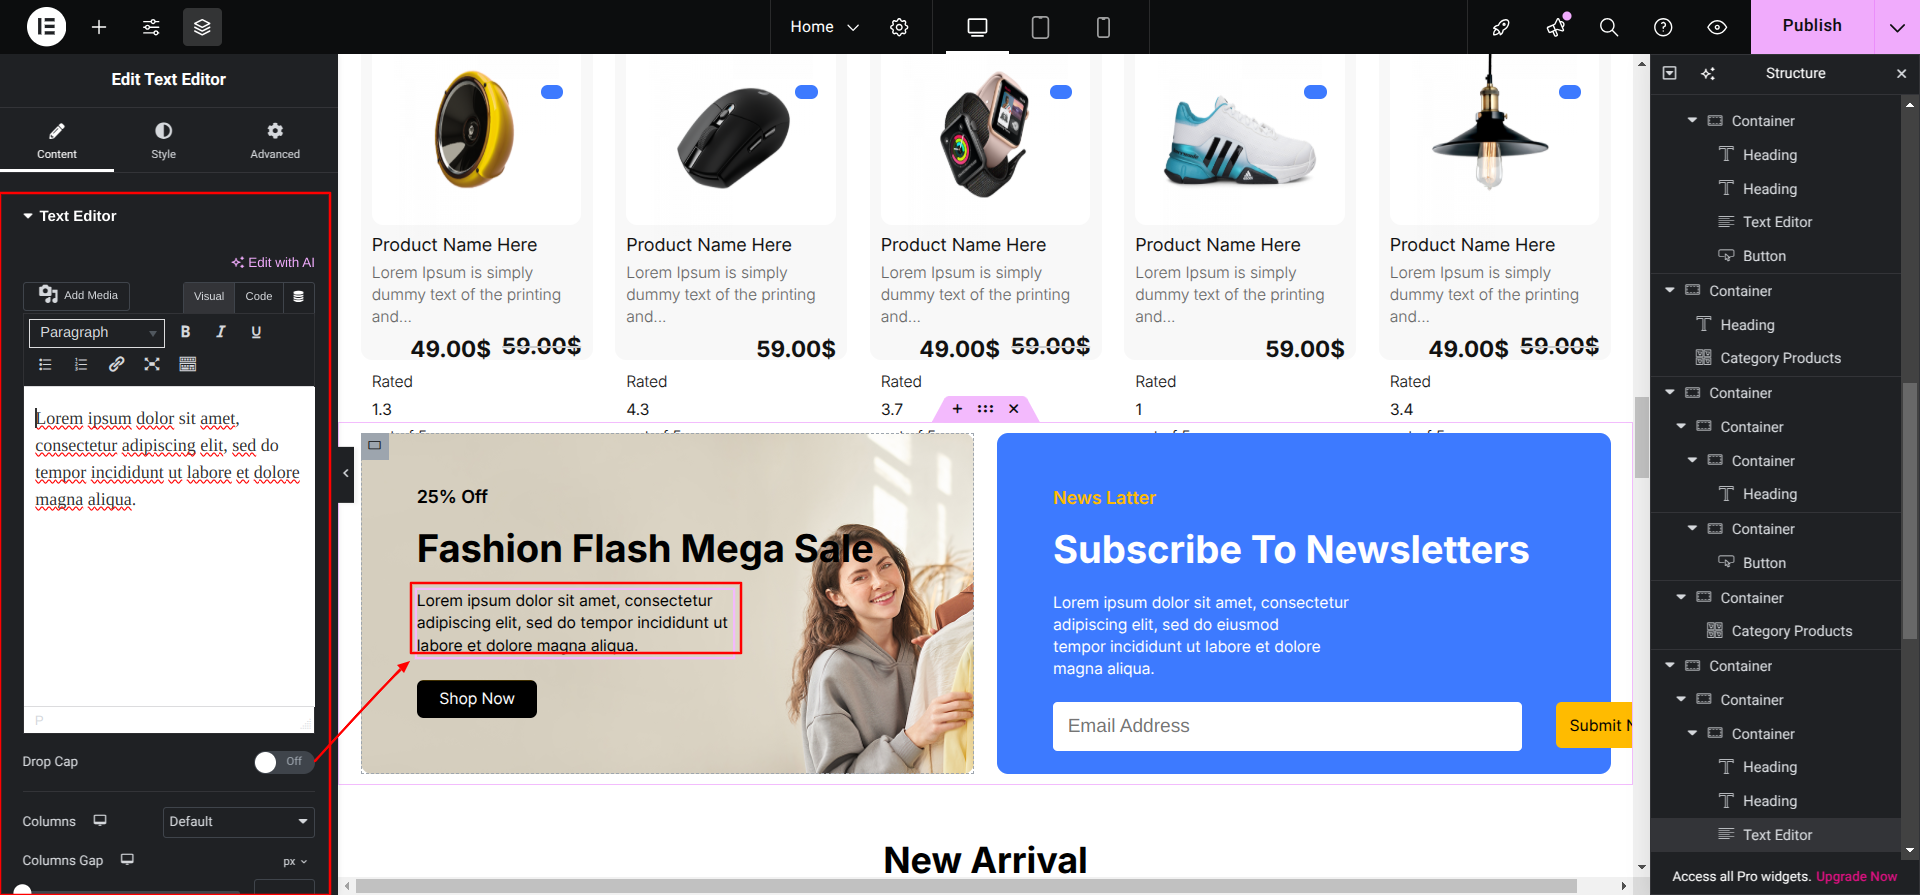
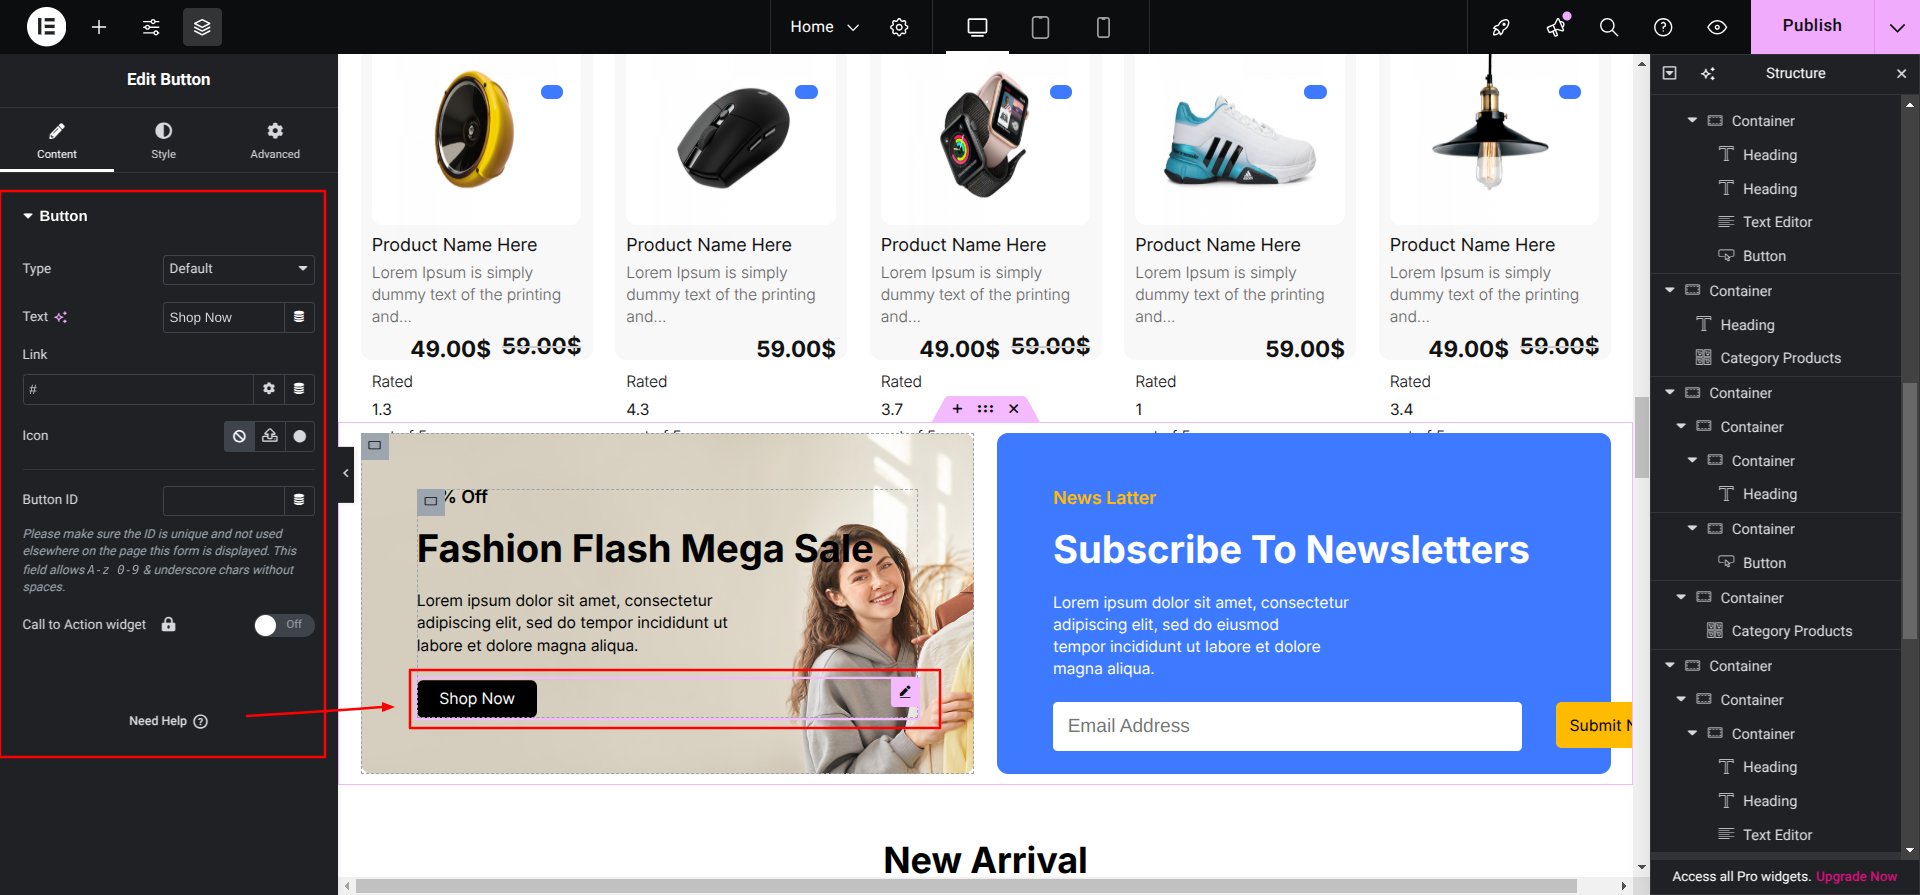
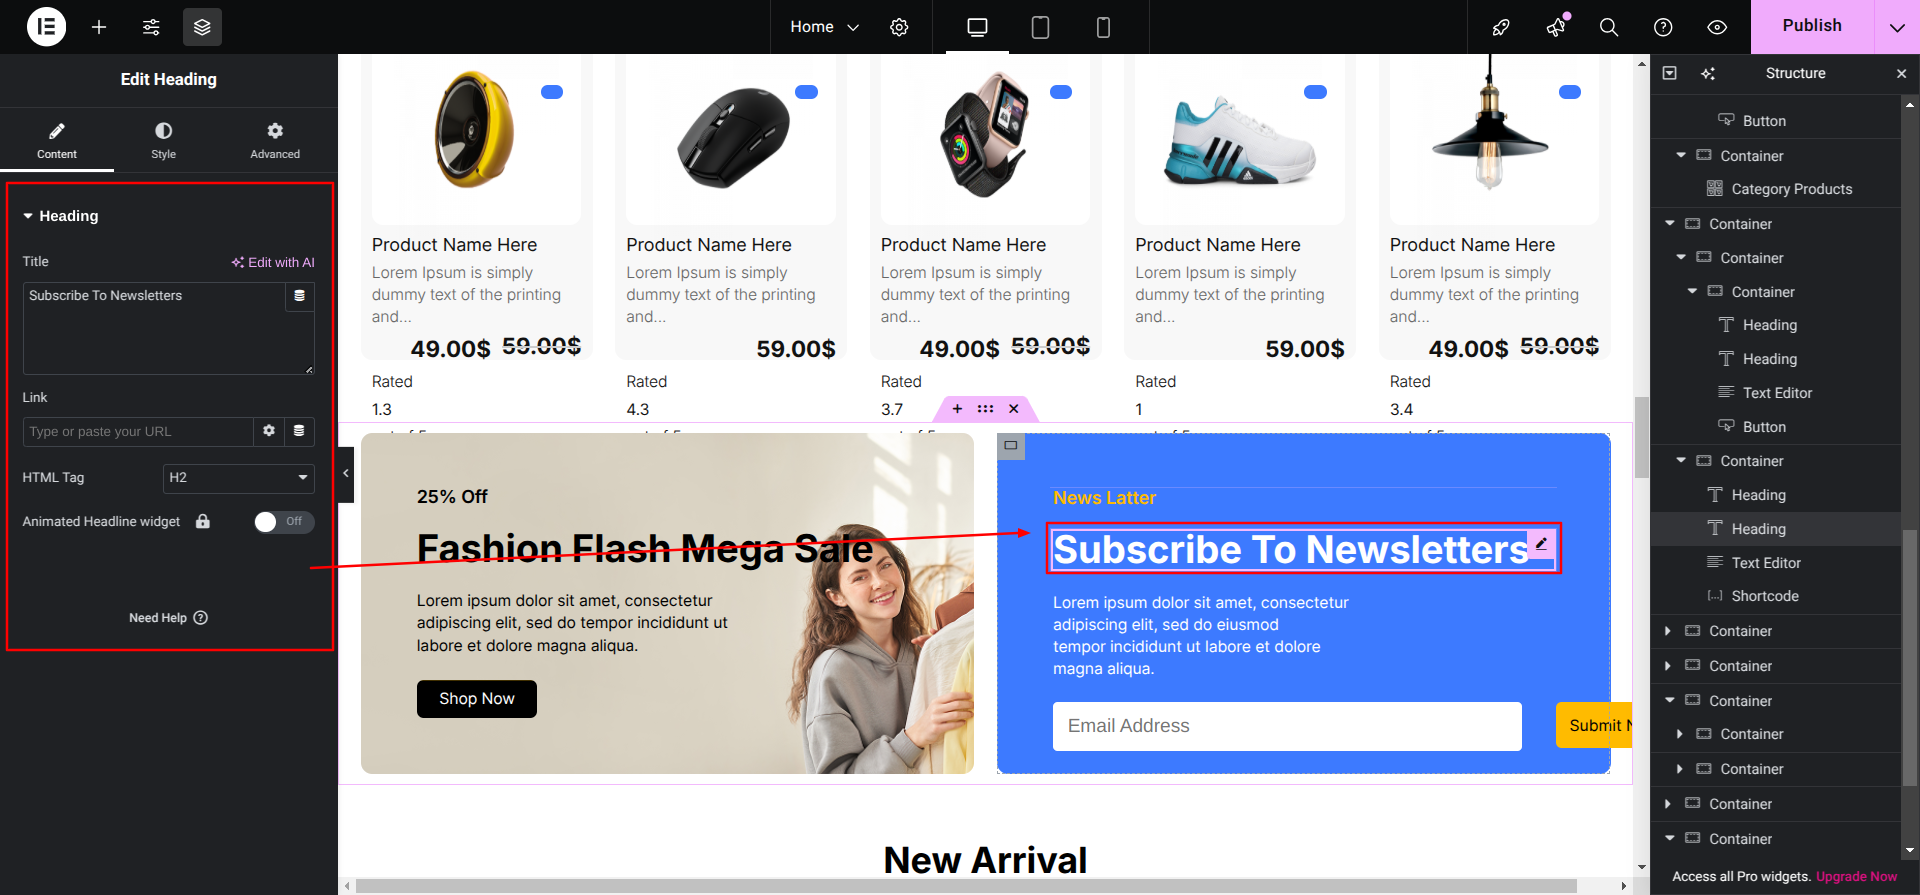
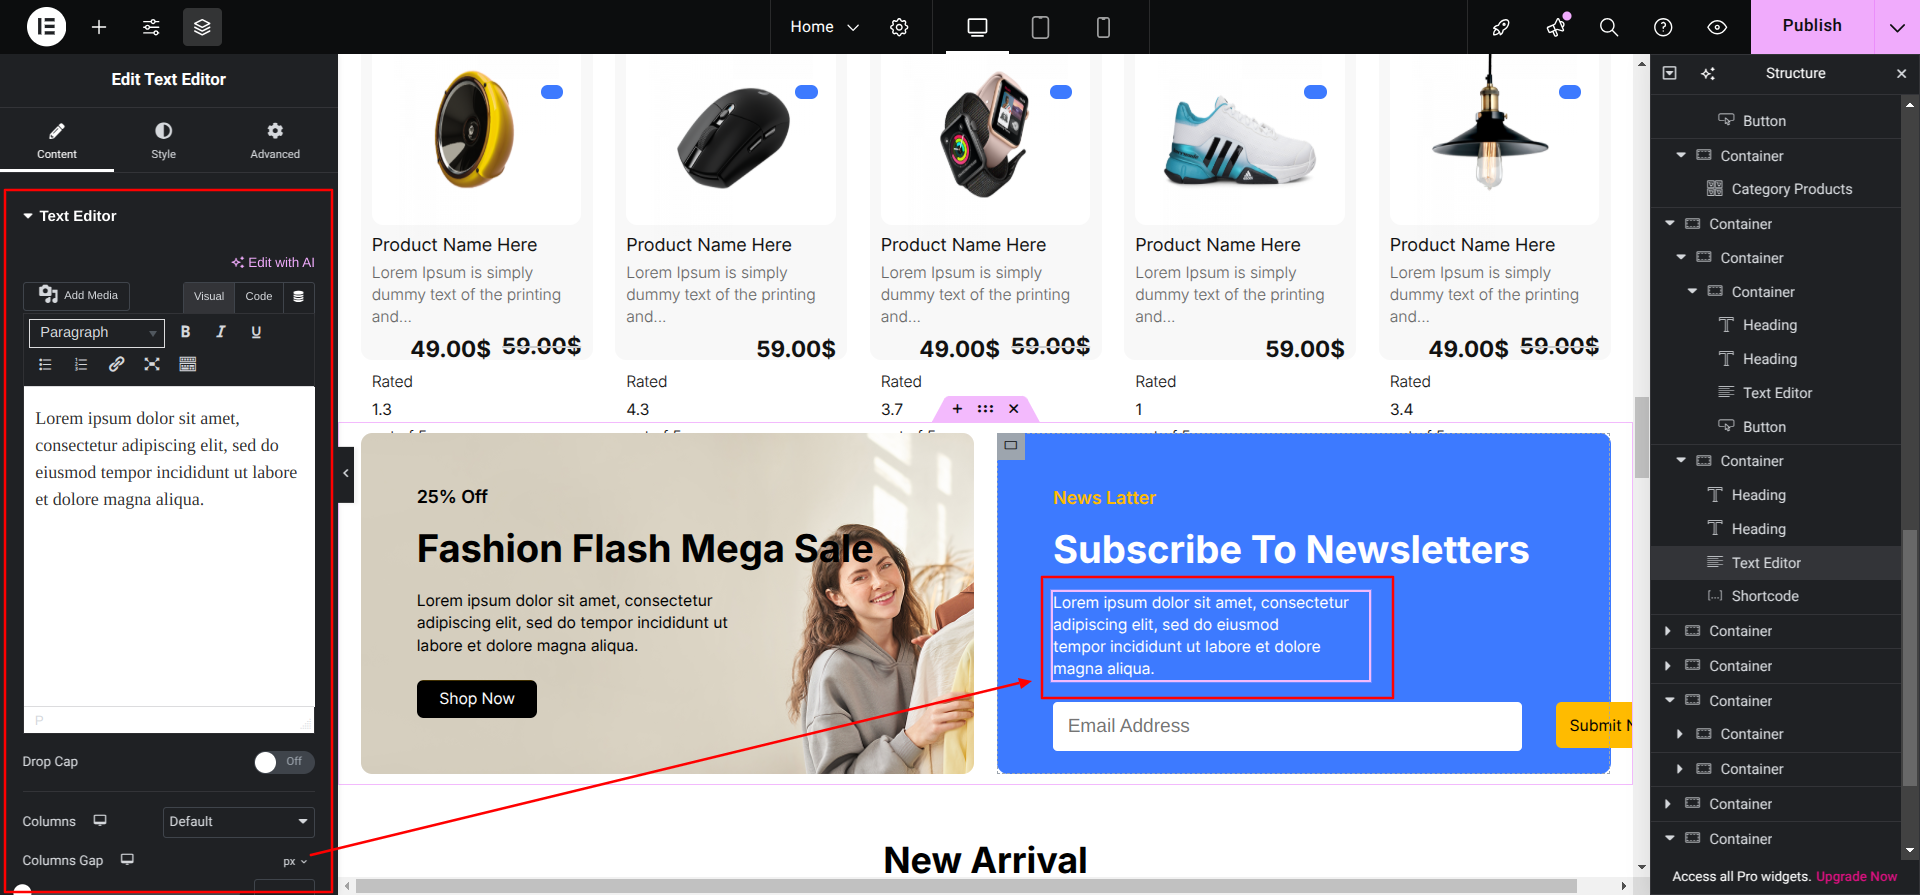
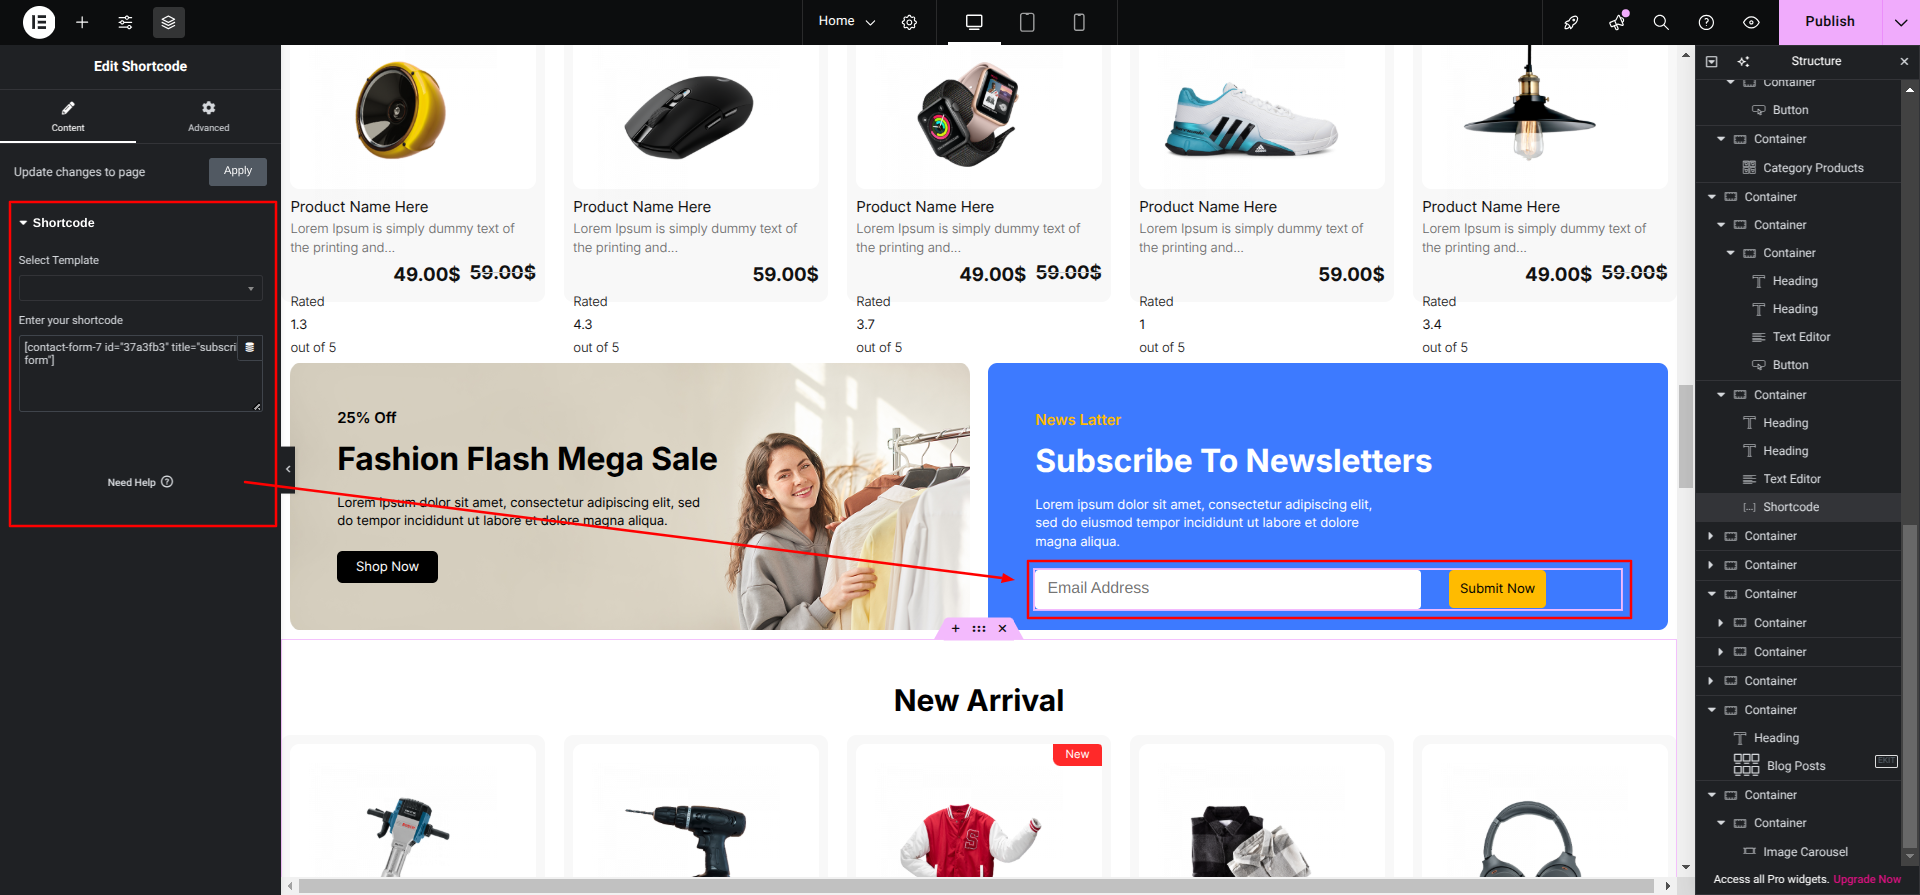
Setup Off and News Letter Section
To Edit this Section, Click On the "Edit With Elementor" Button which will open the
Elementor Widget editor.
This is how you may set up and add the Off and News Latter Section.
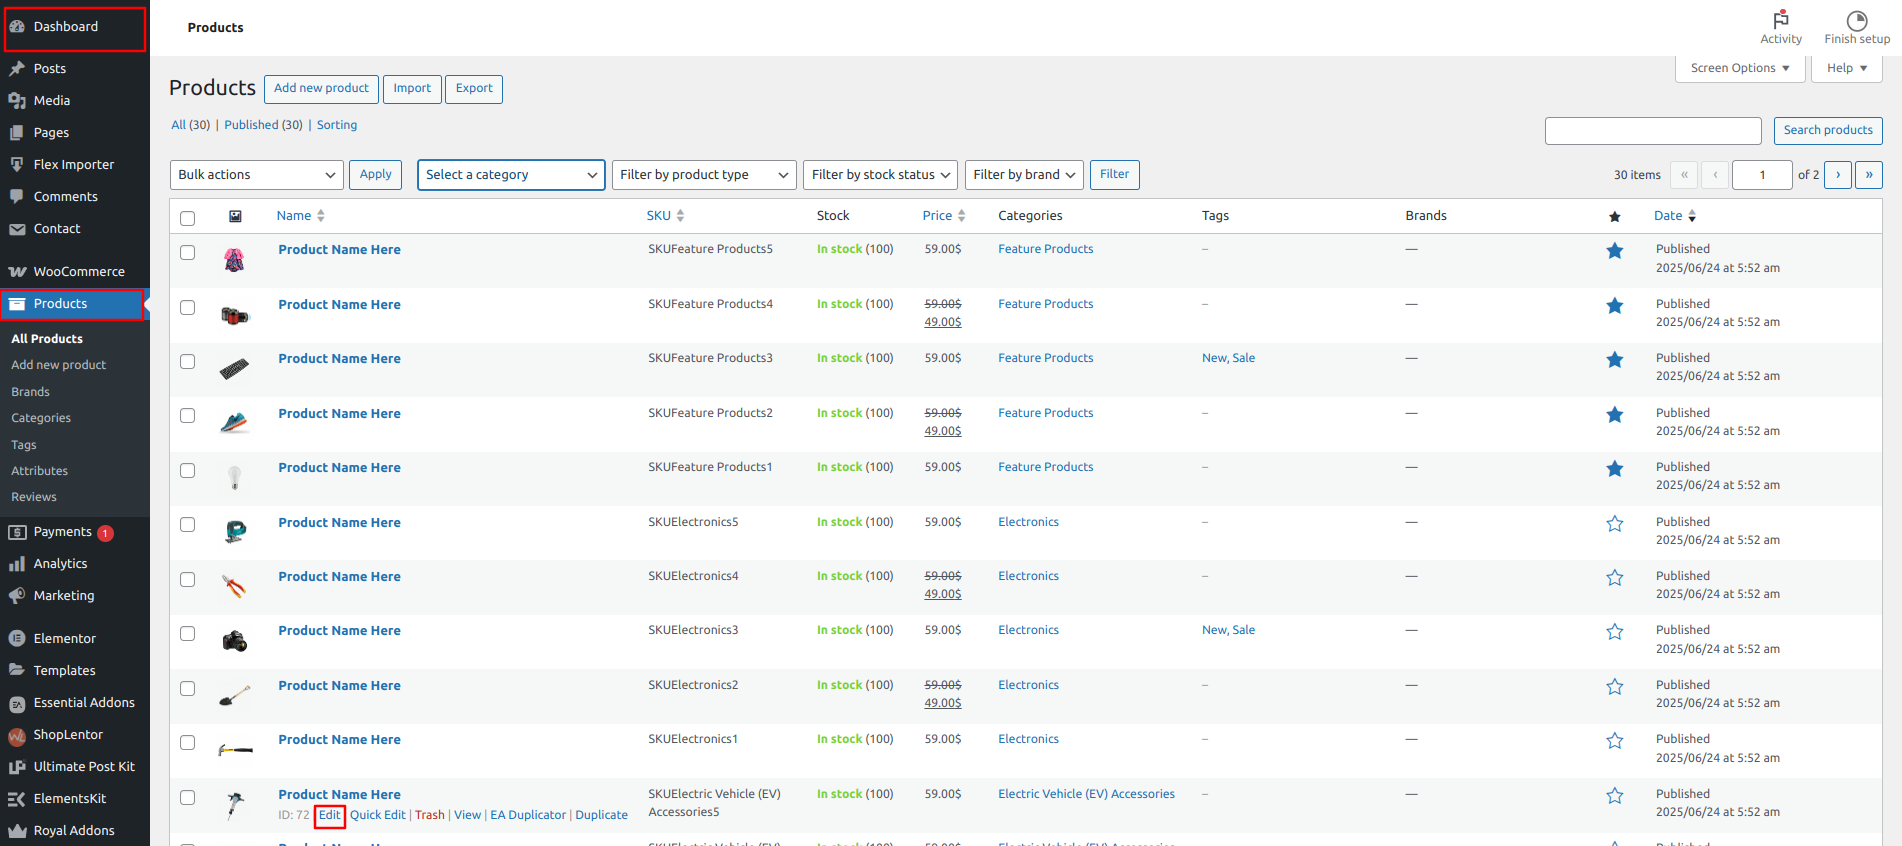
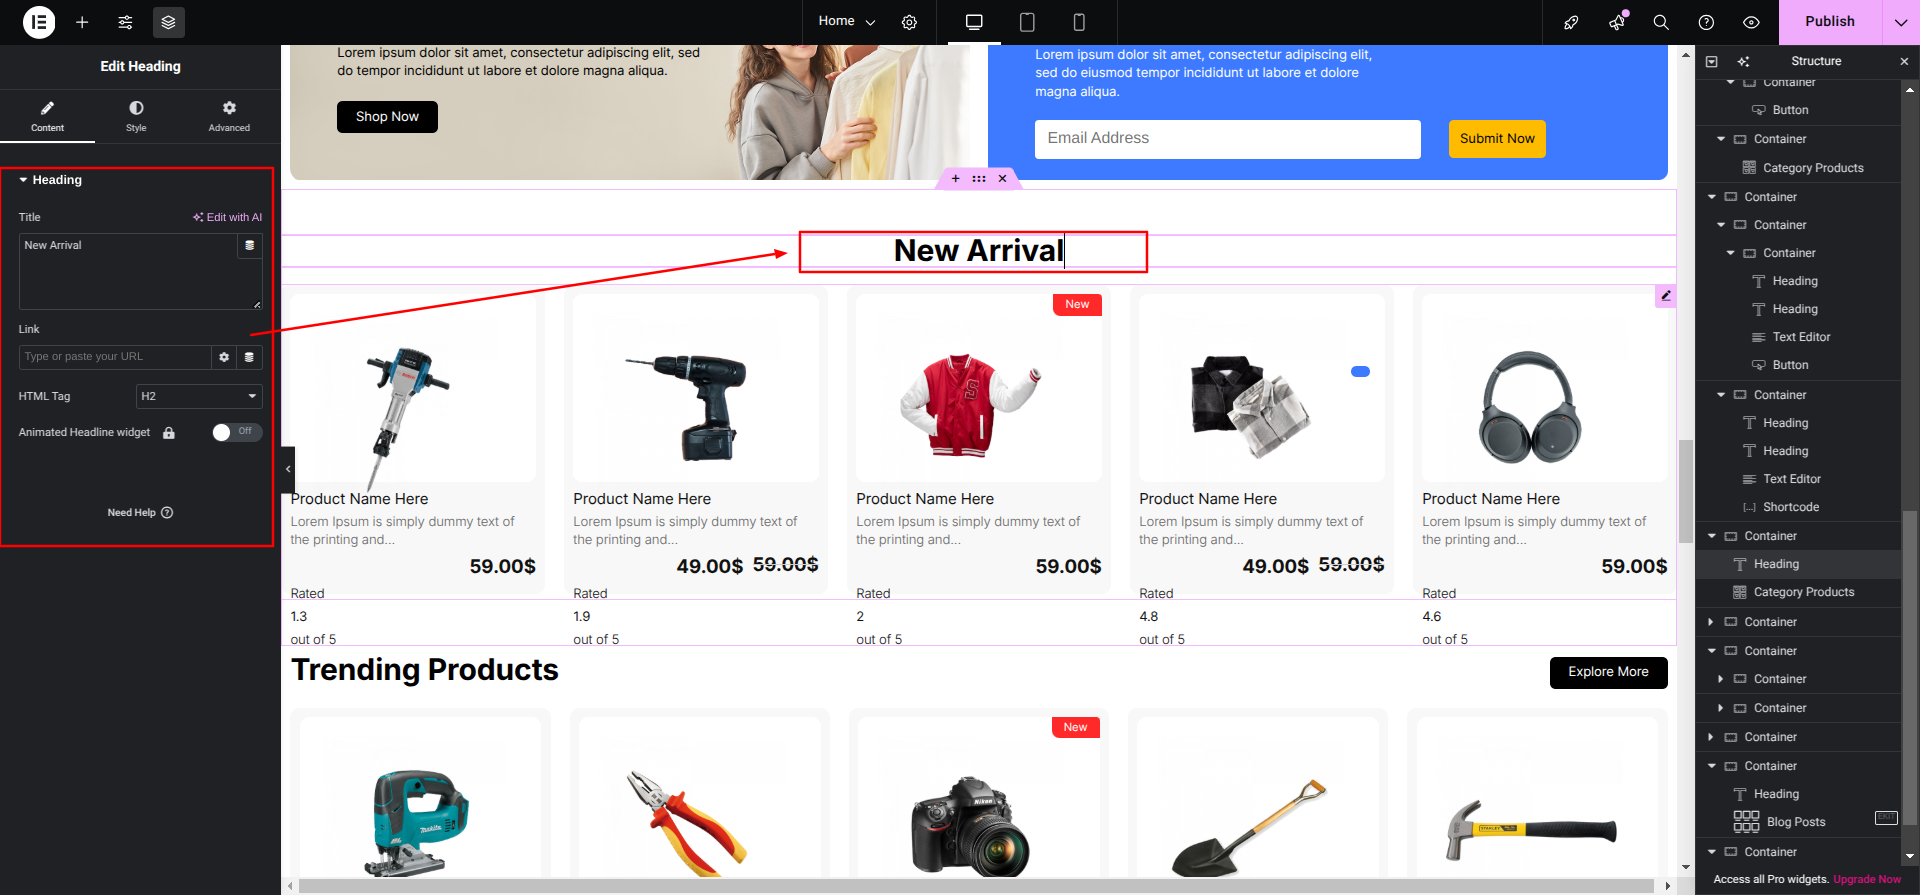
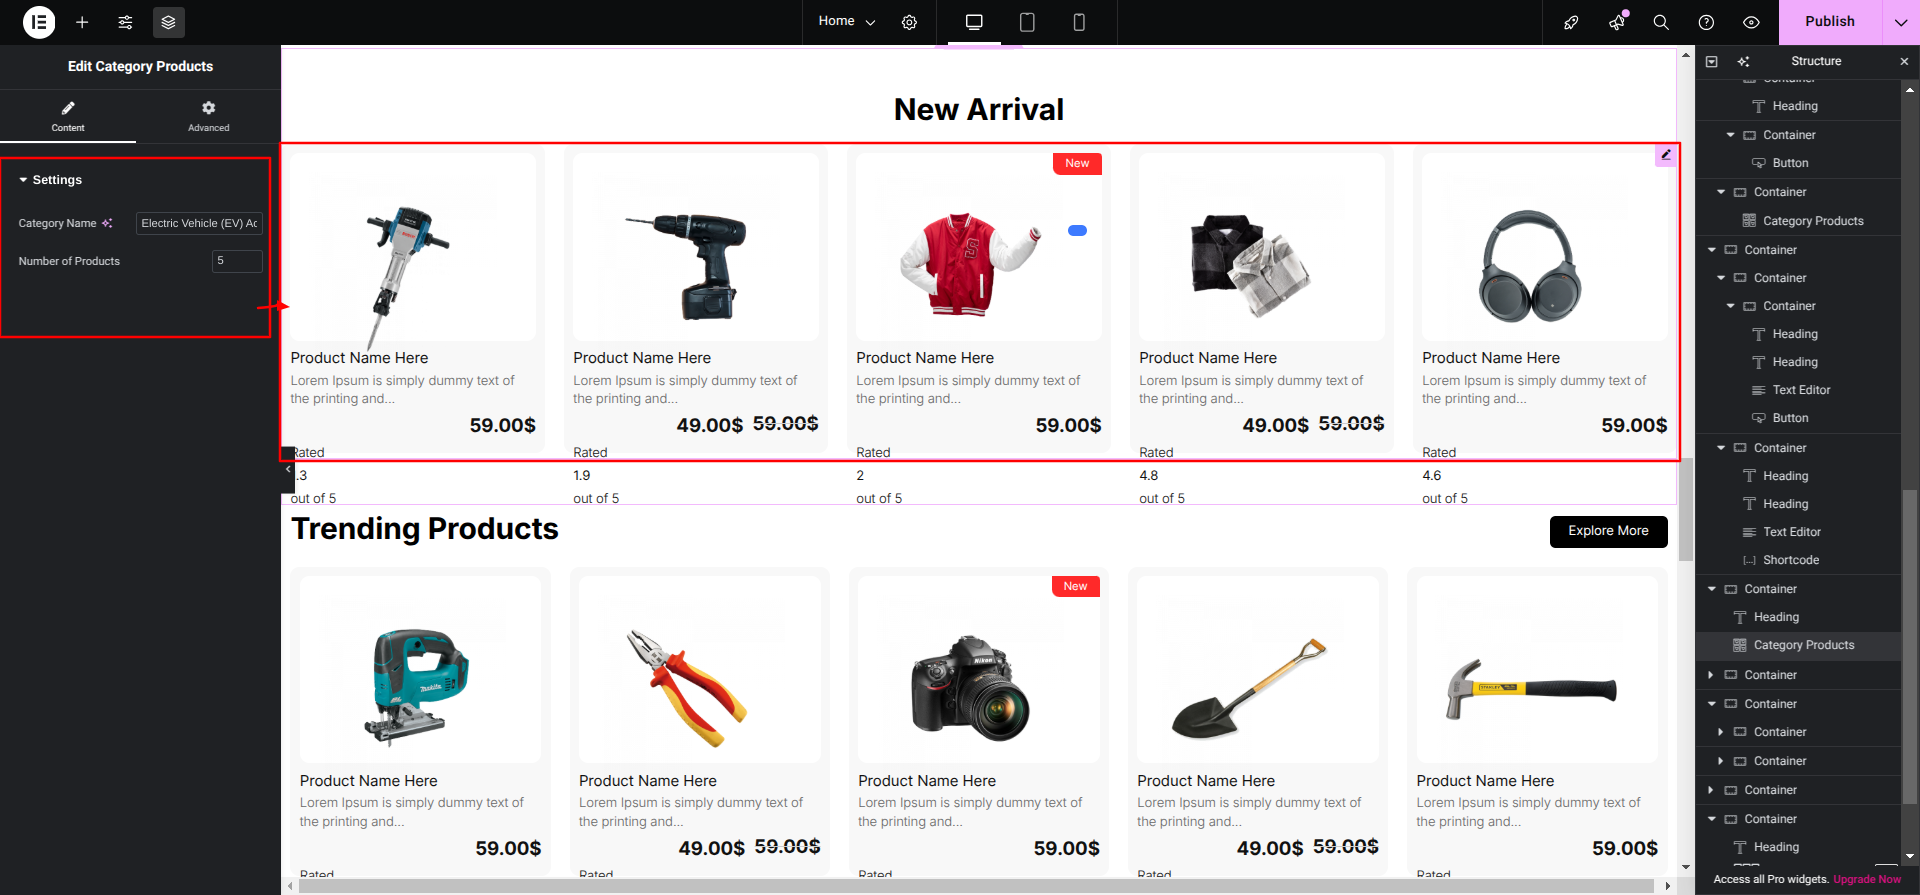
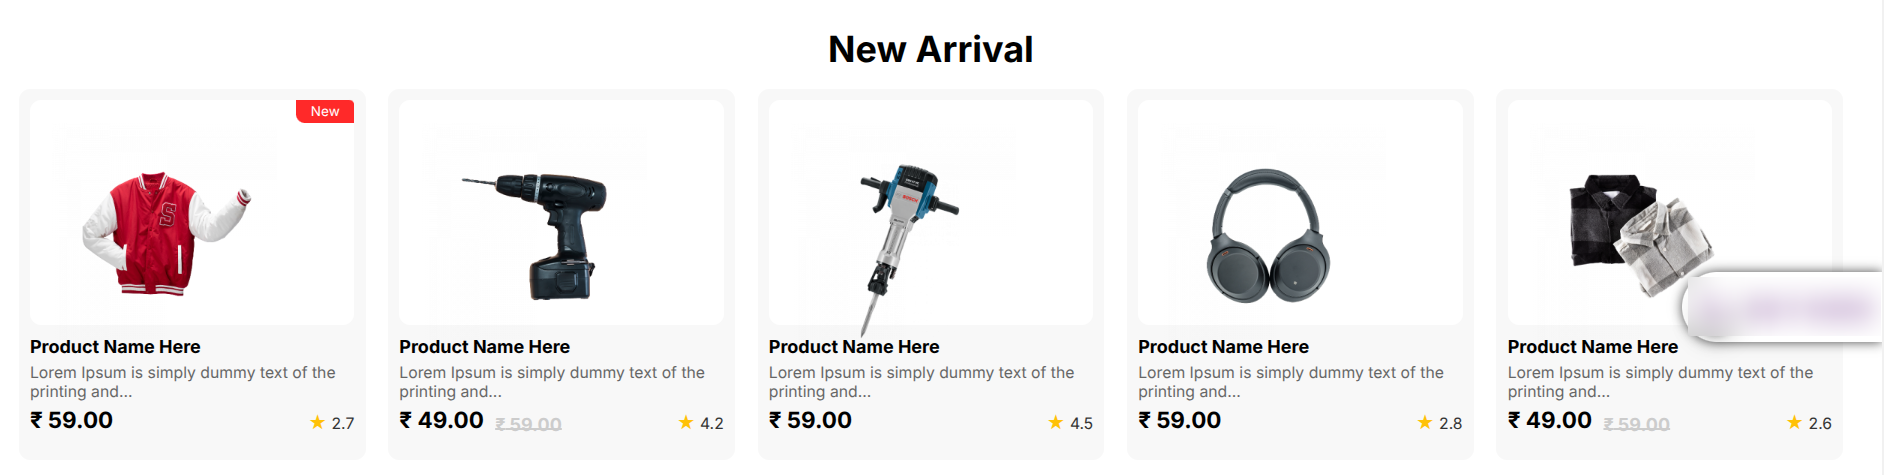
Setup New Arrival Section
Set up the New Arrival Section according to the instructions
below.
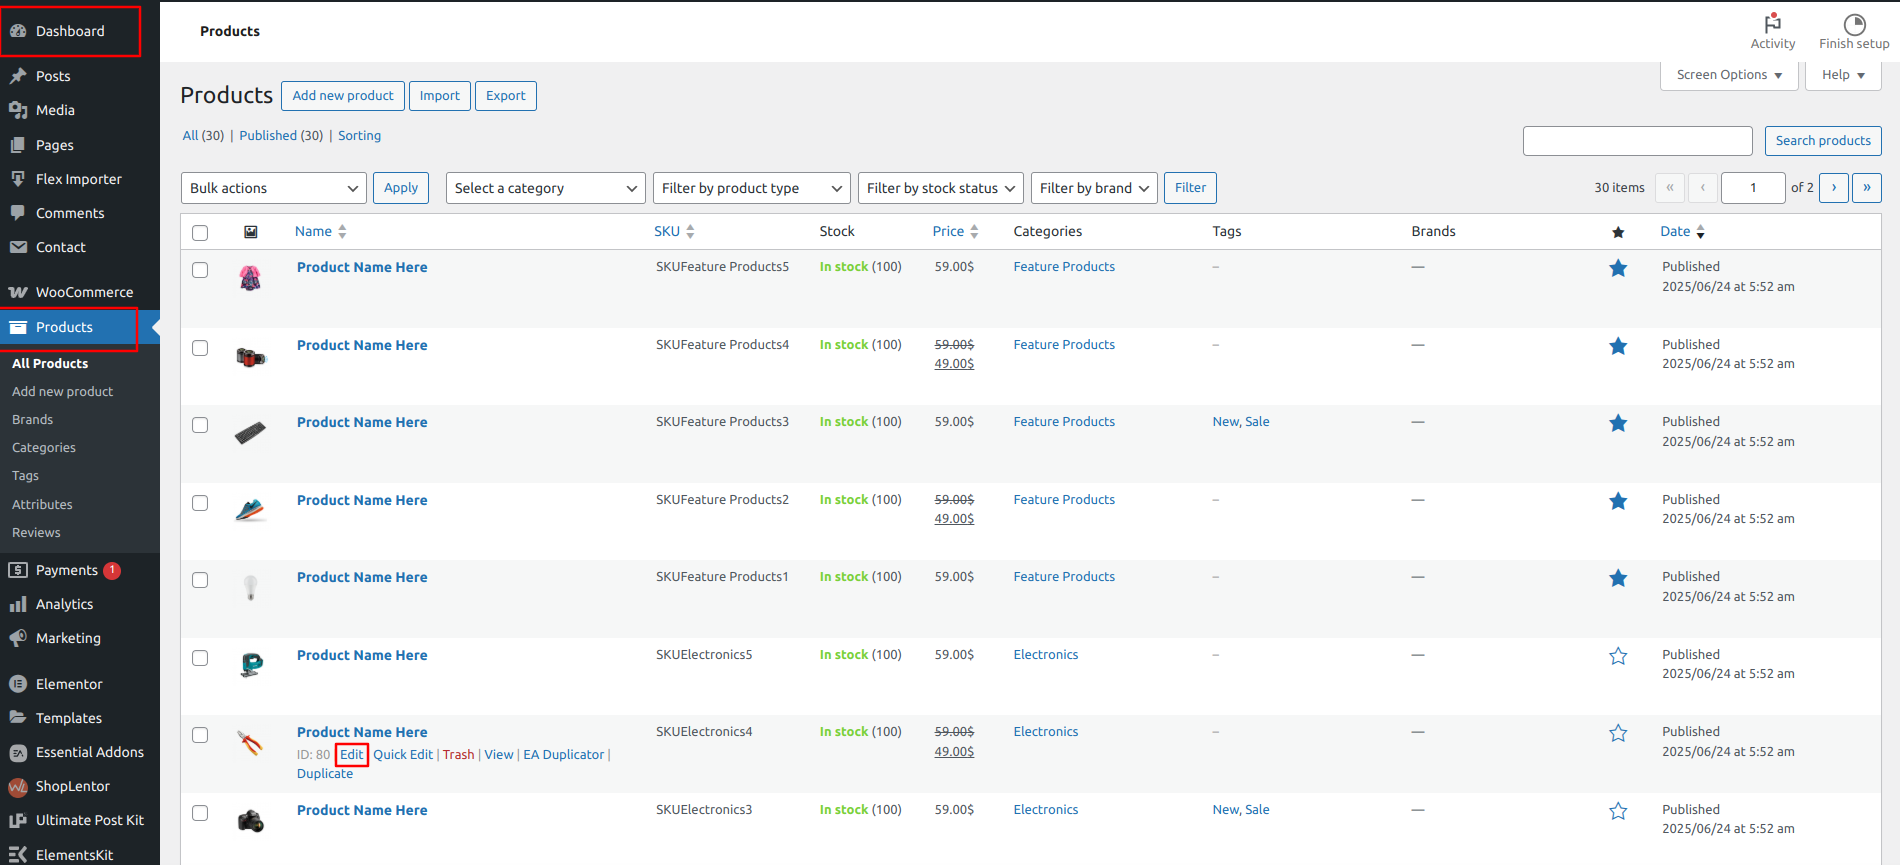
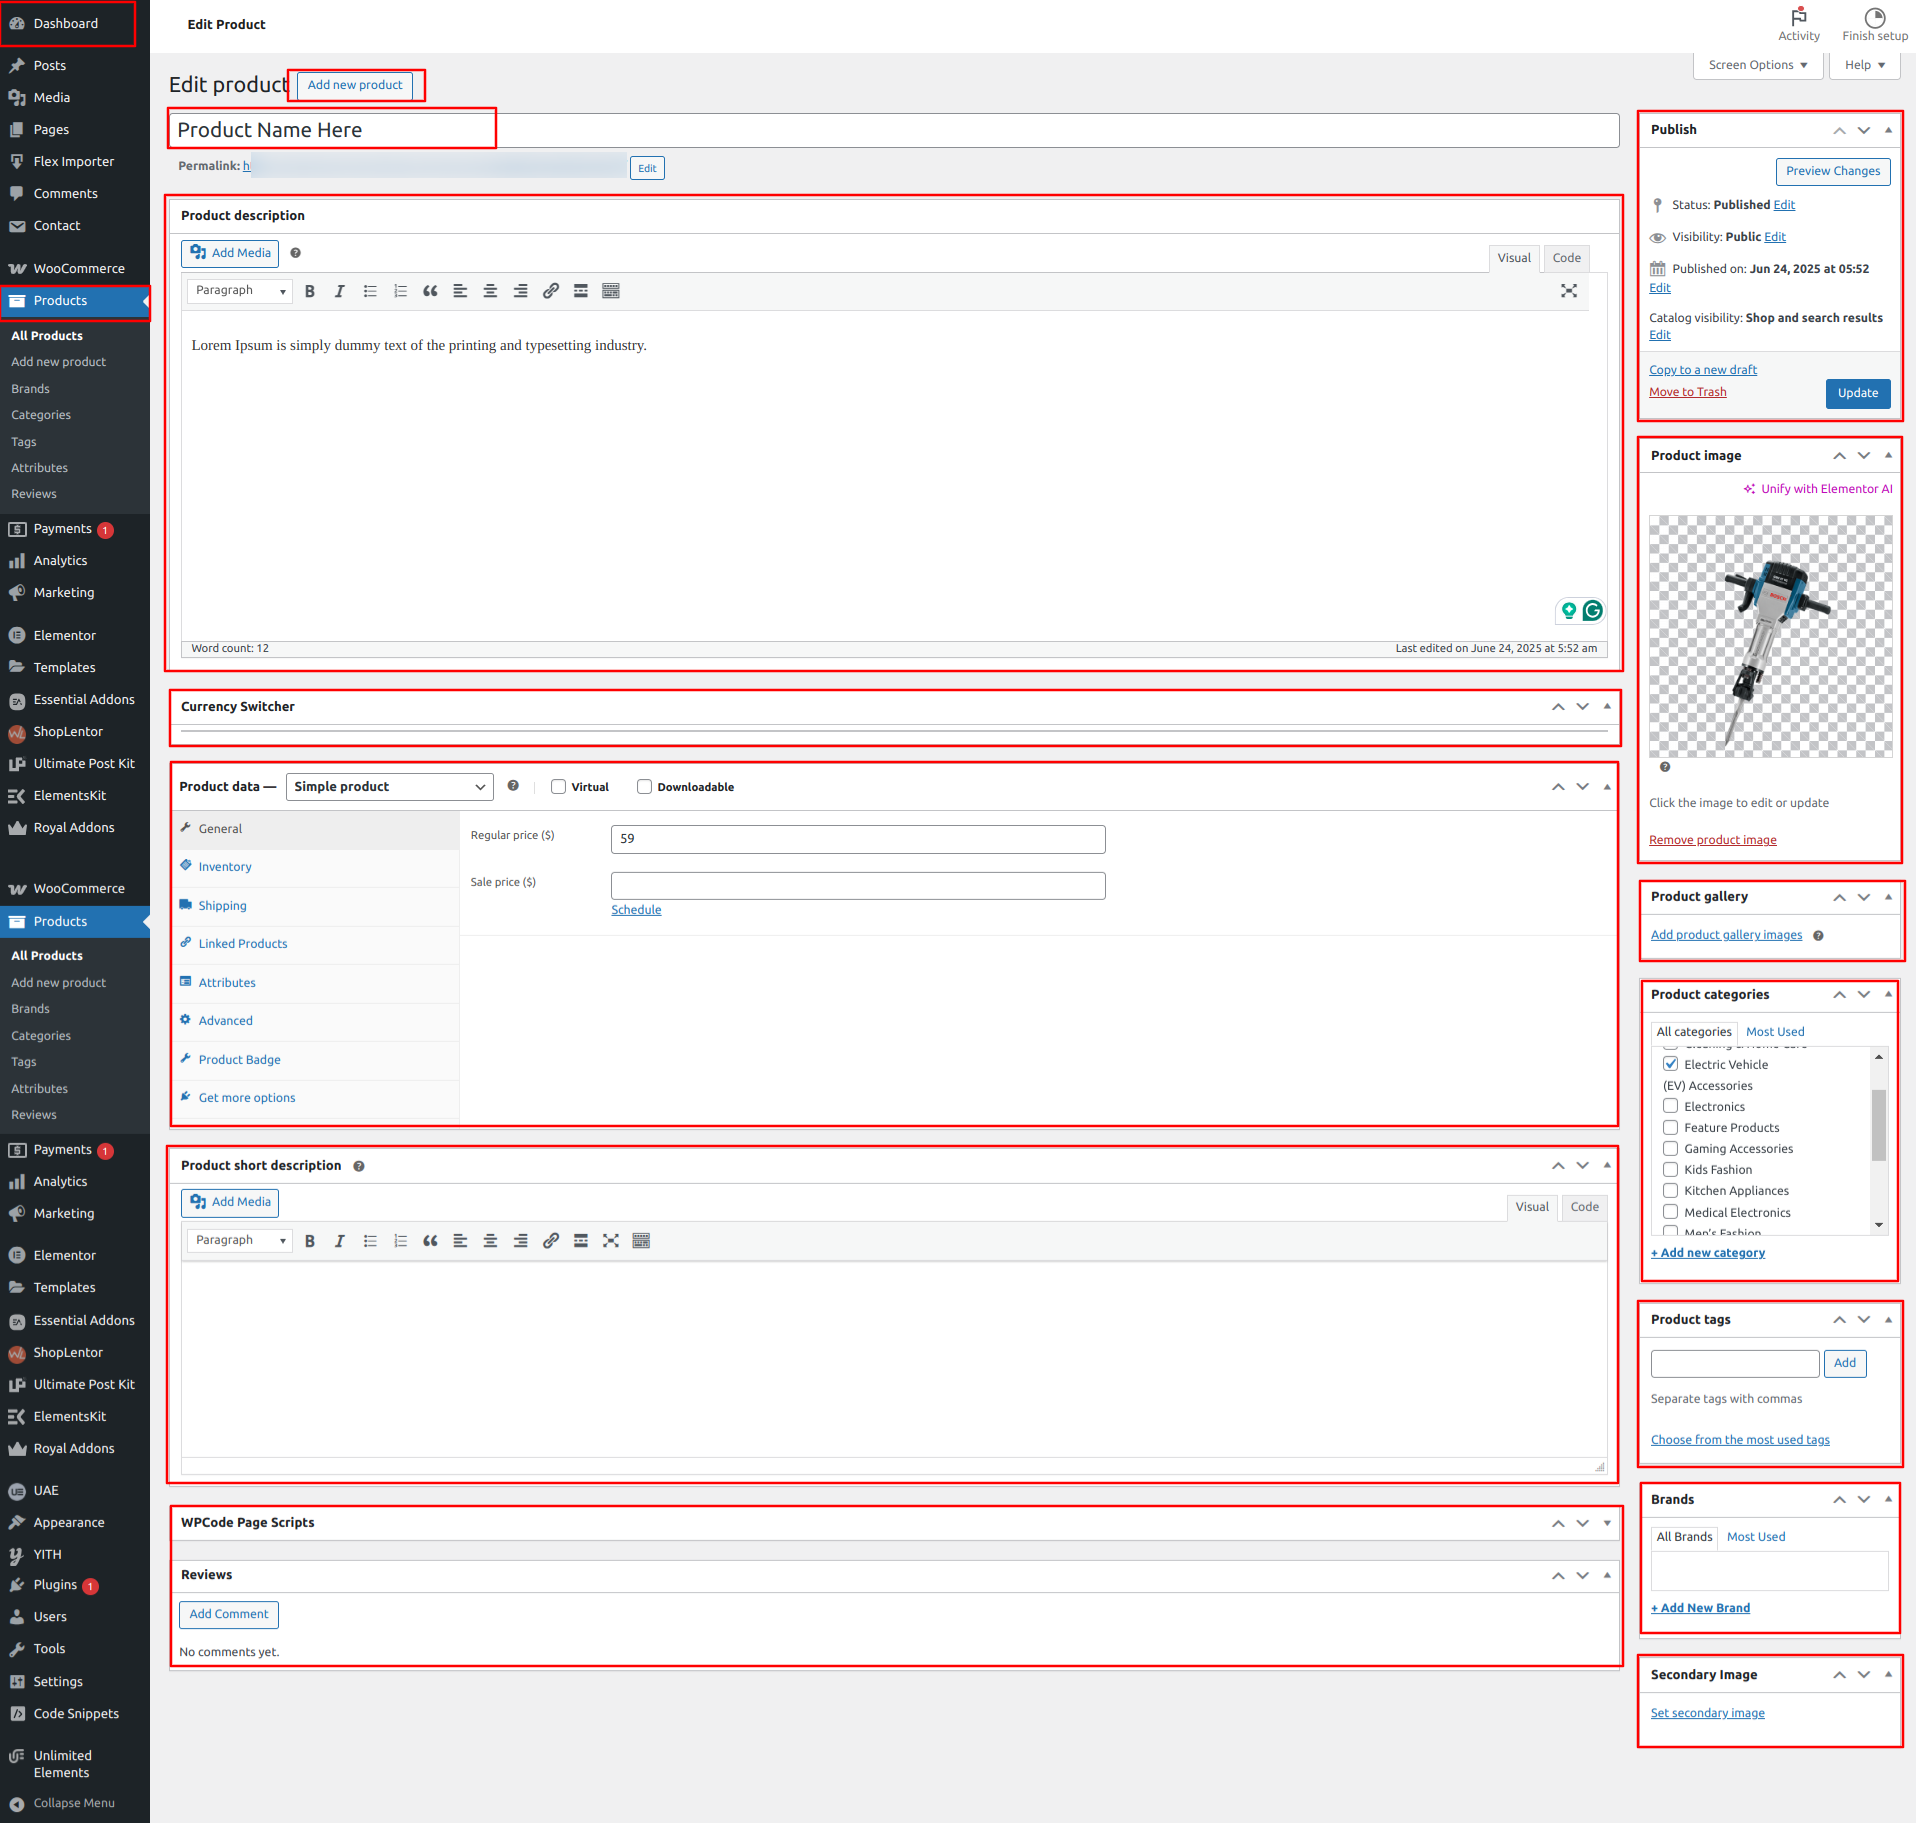
Dashboard Products Add New
Now Add the New Arrival by Following the steps in the New Arrival Section given
above, and assign the category to the Services as per your Need.
To Edit this Section, Click On the "Edit With Elementor" Button which will open the
Elementor Widget editor.
This is how you may set up and add the New Arrival Section.
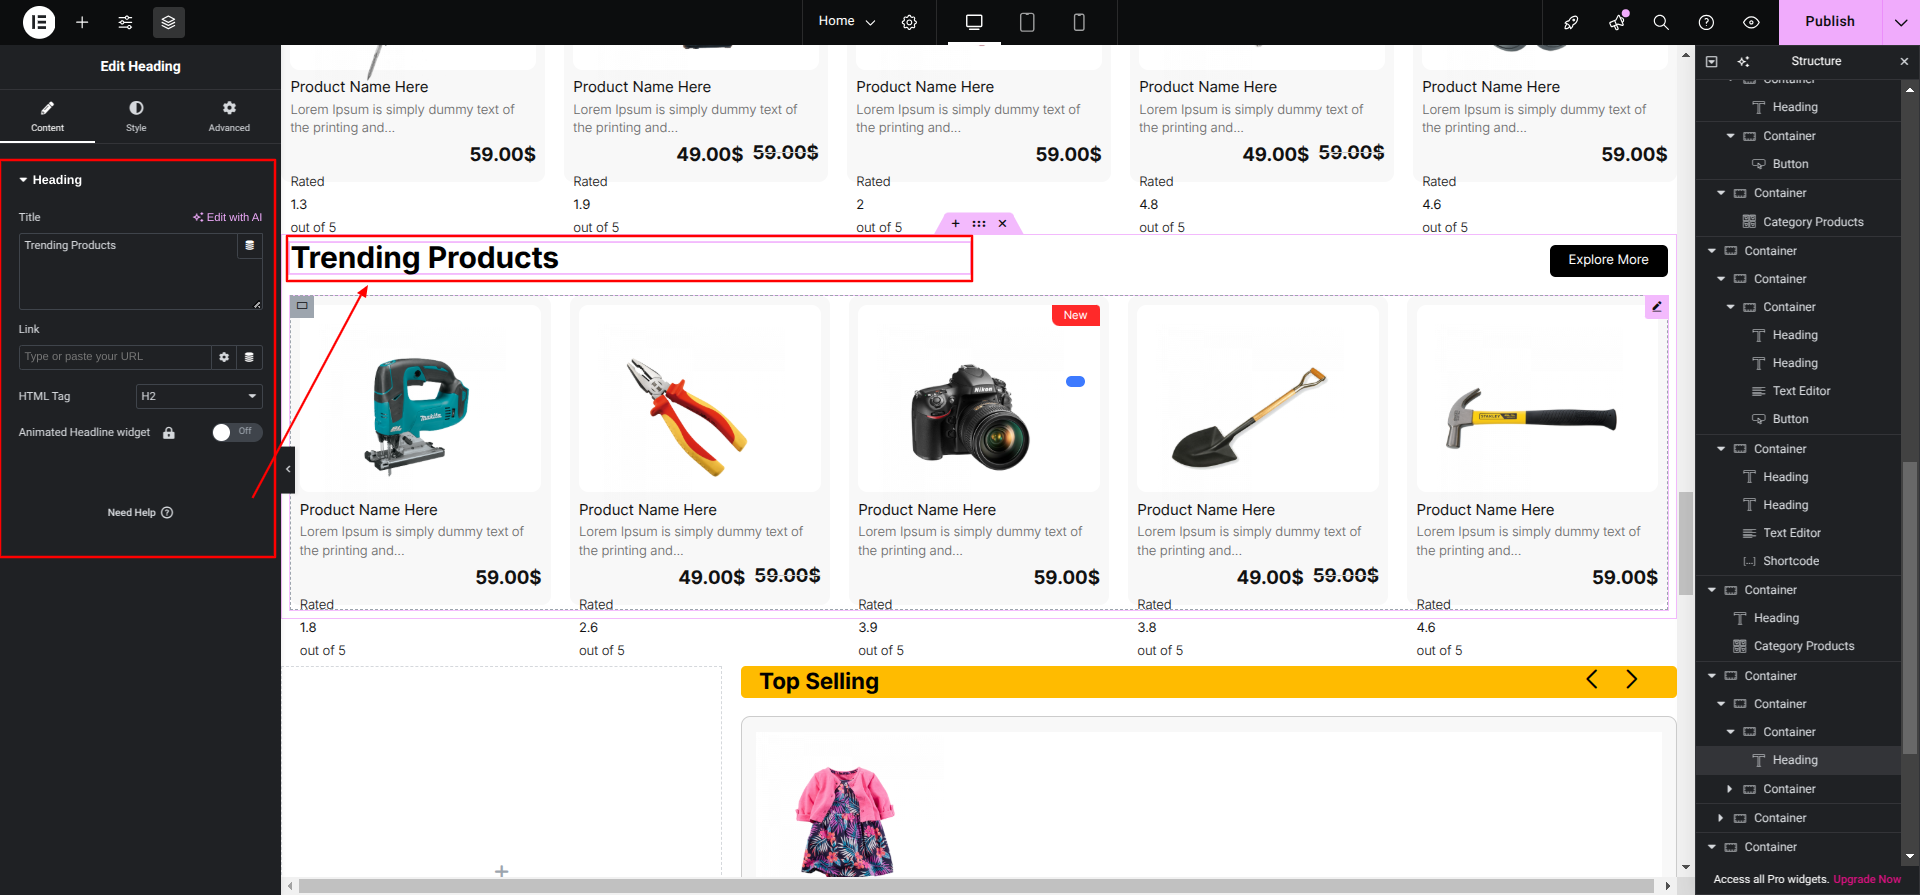
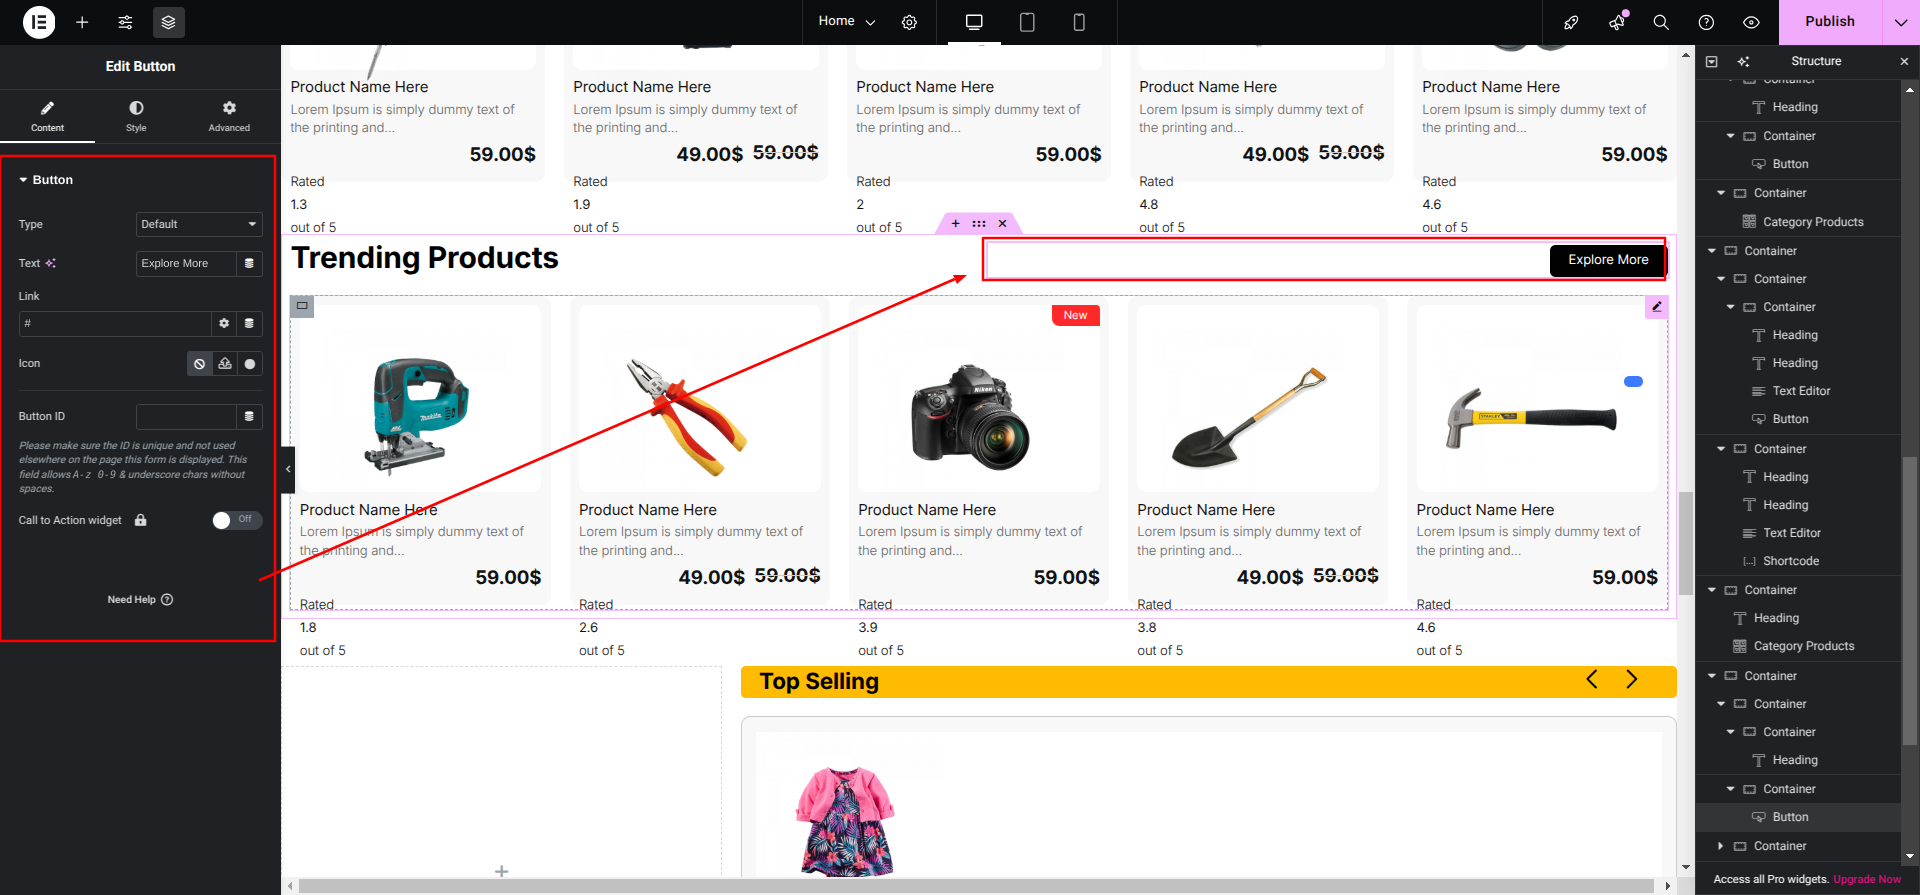
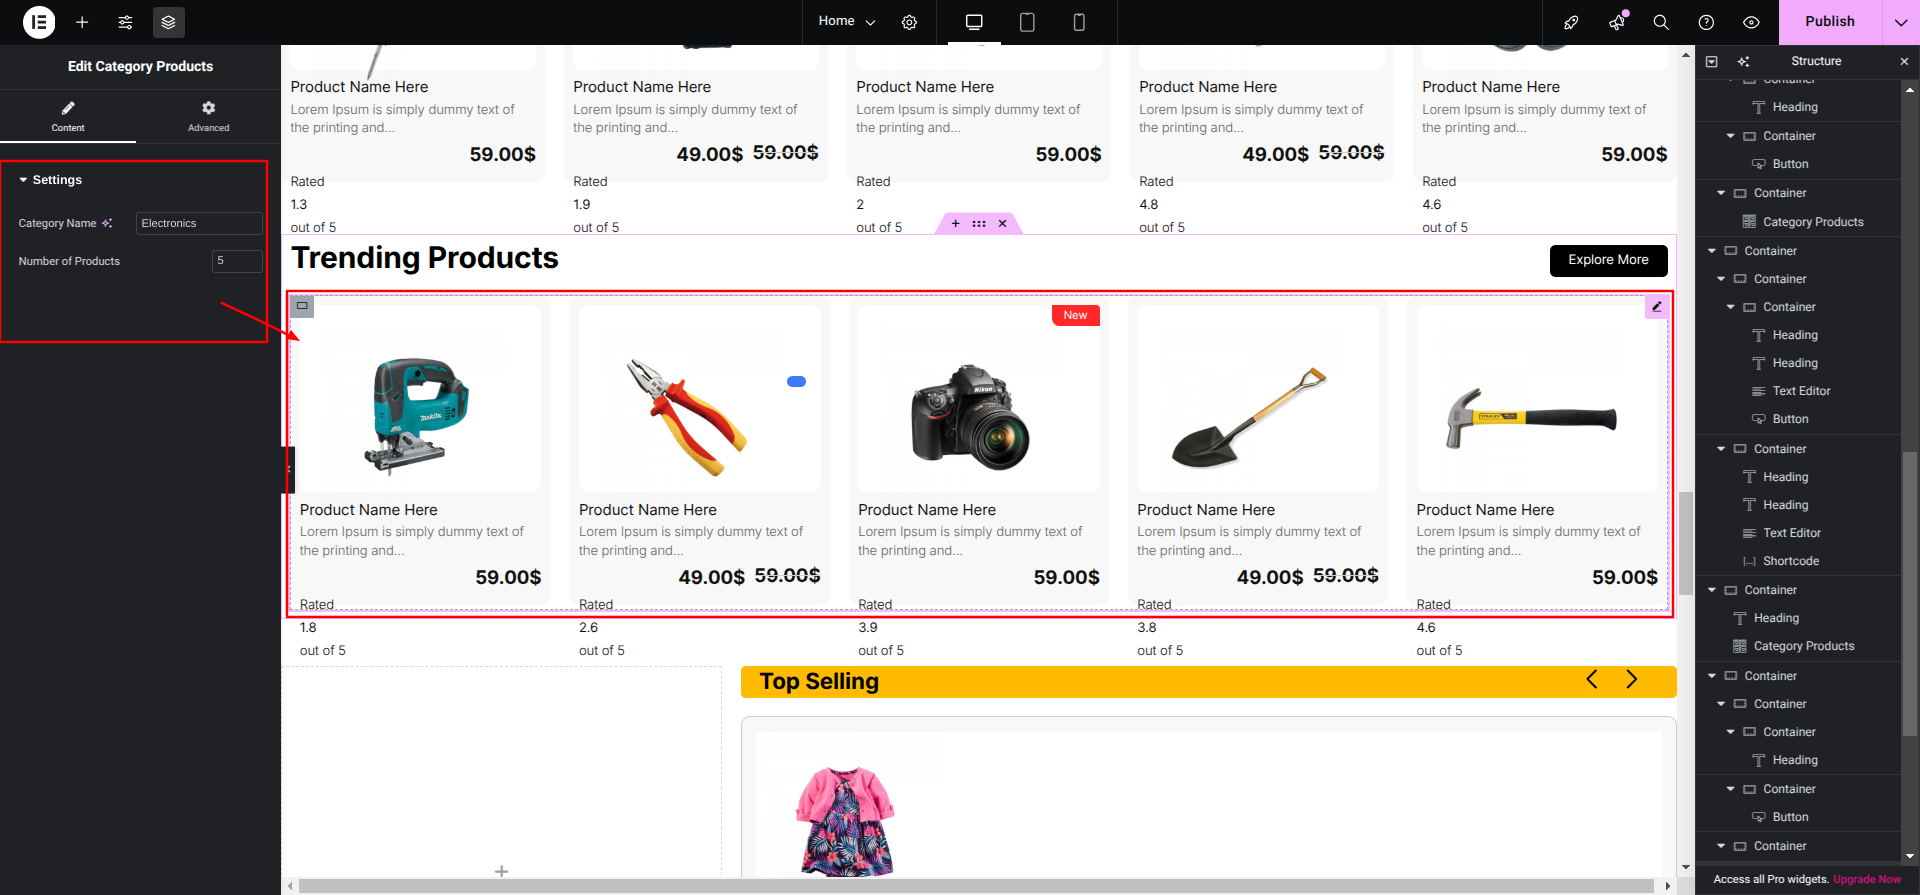
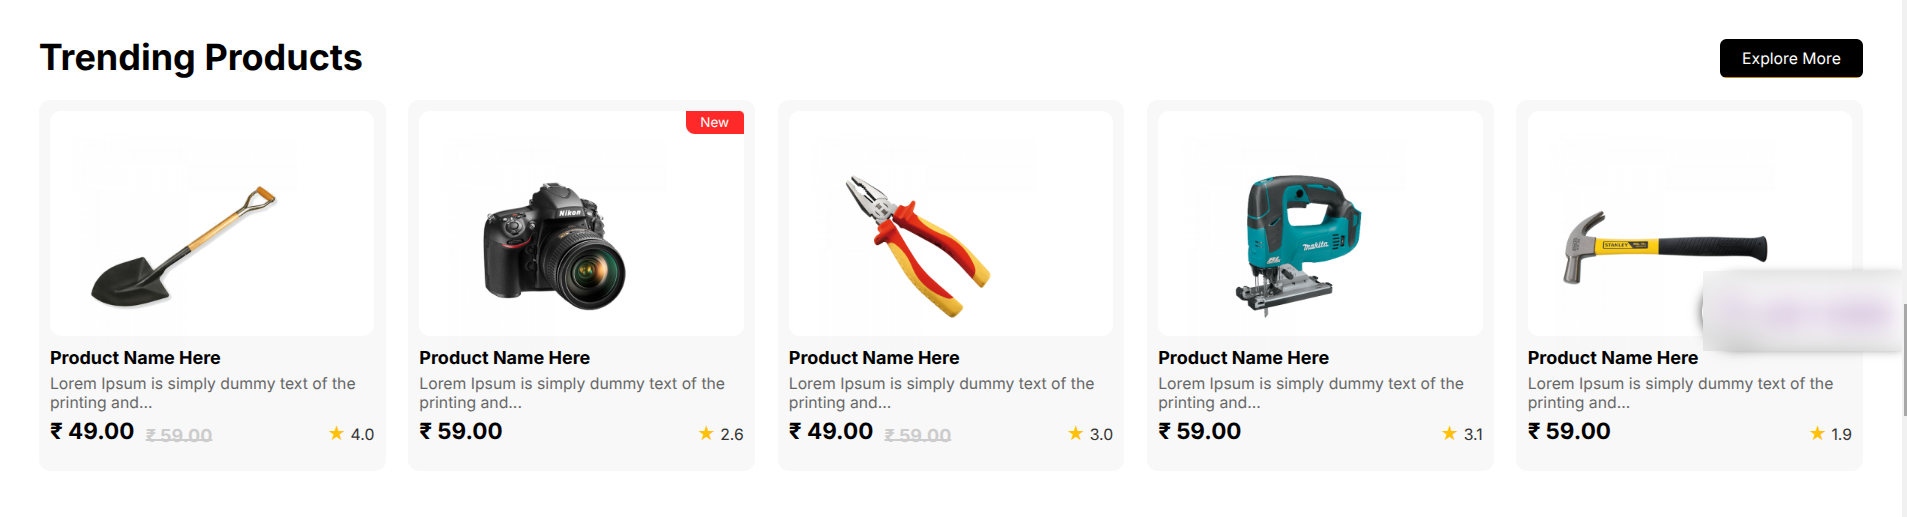
Setup Trending Products Section
Set up the Trending Products Section according to the instructions
below.
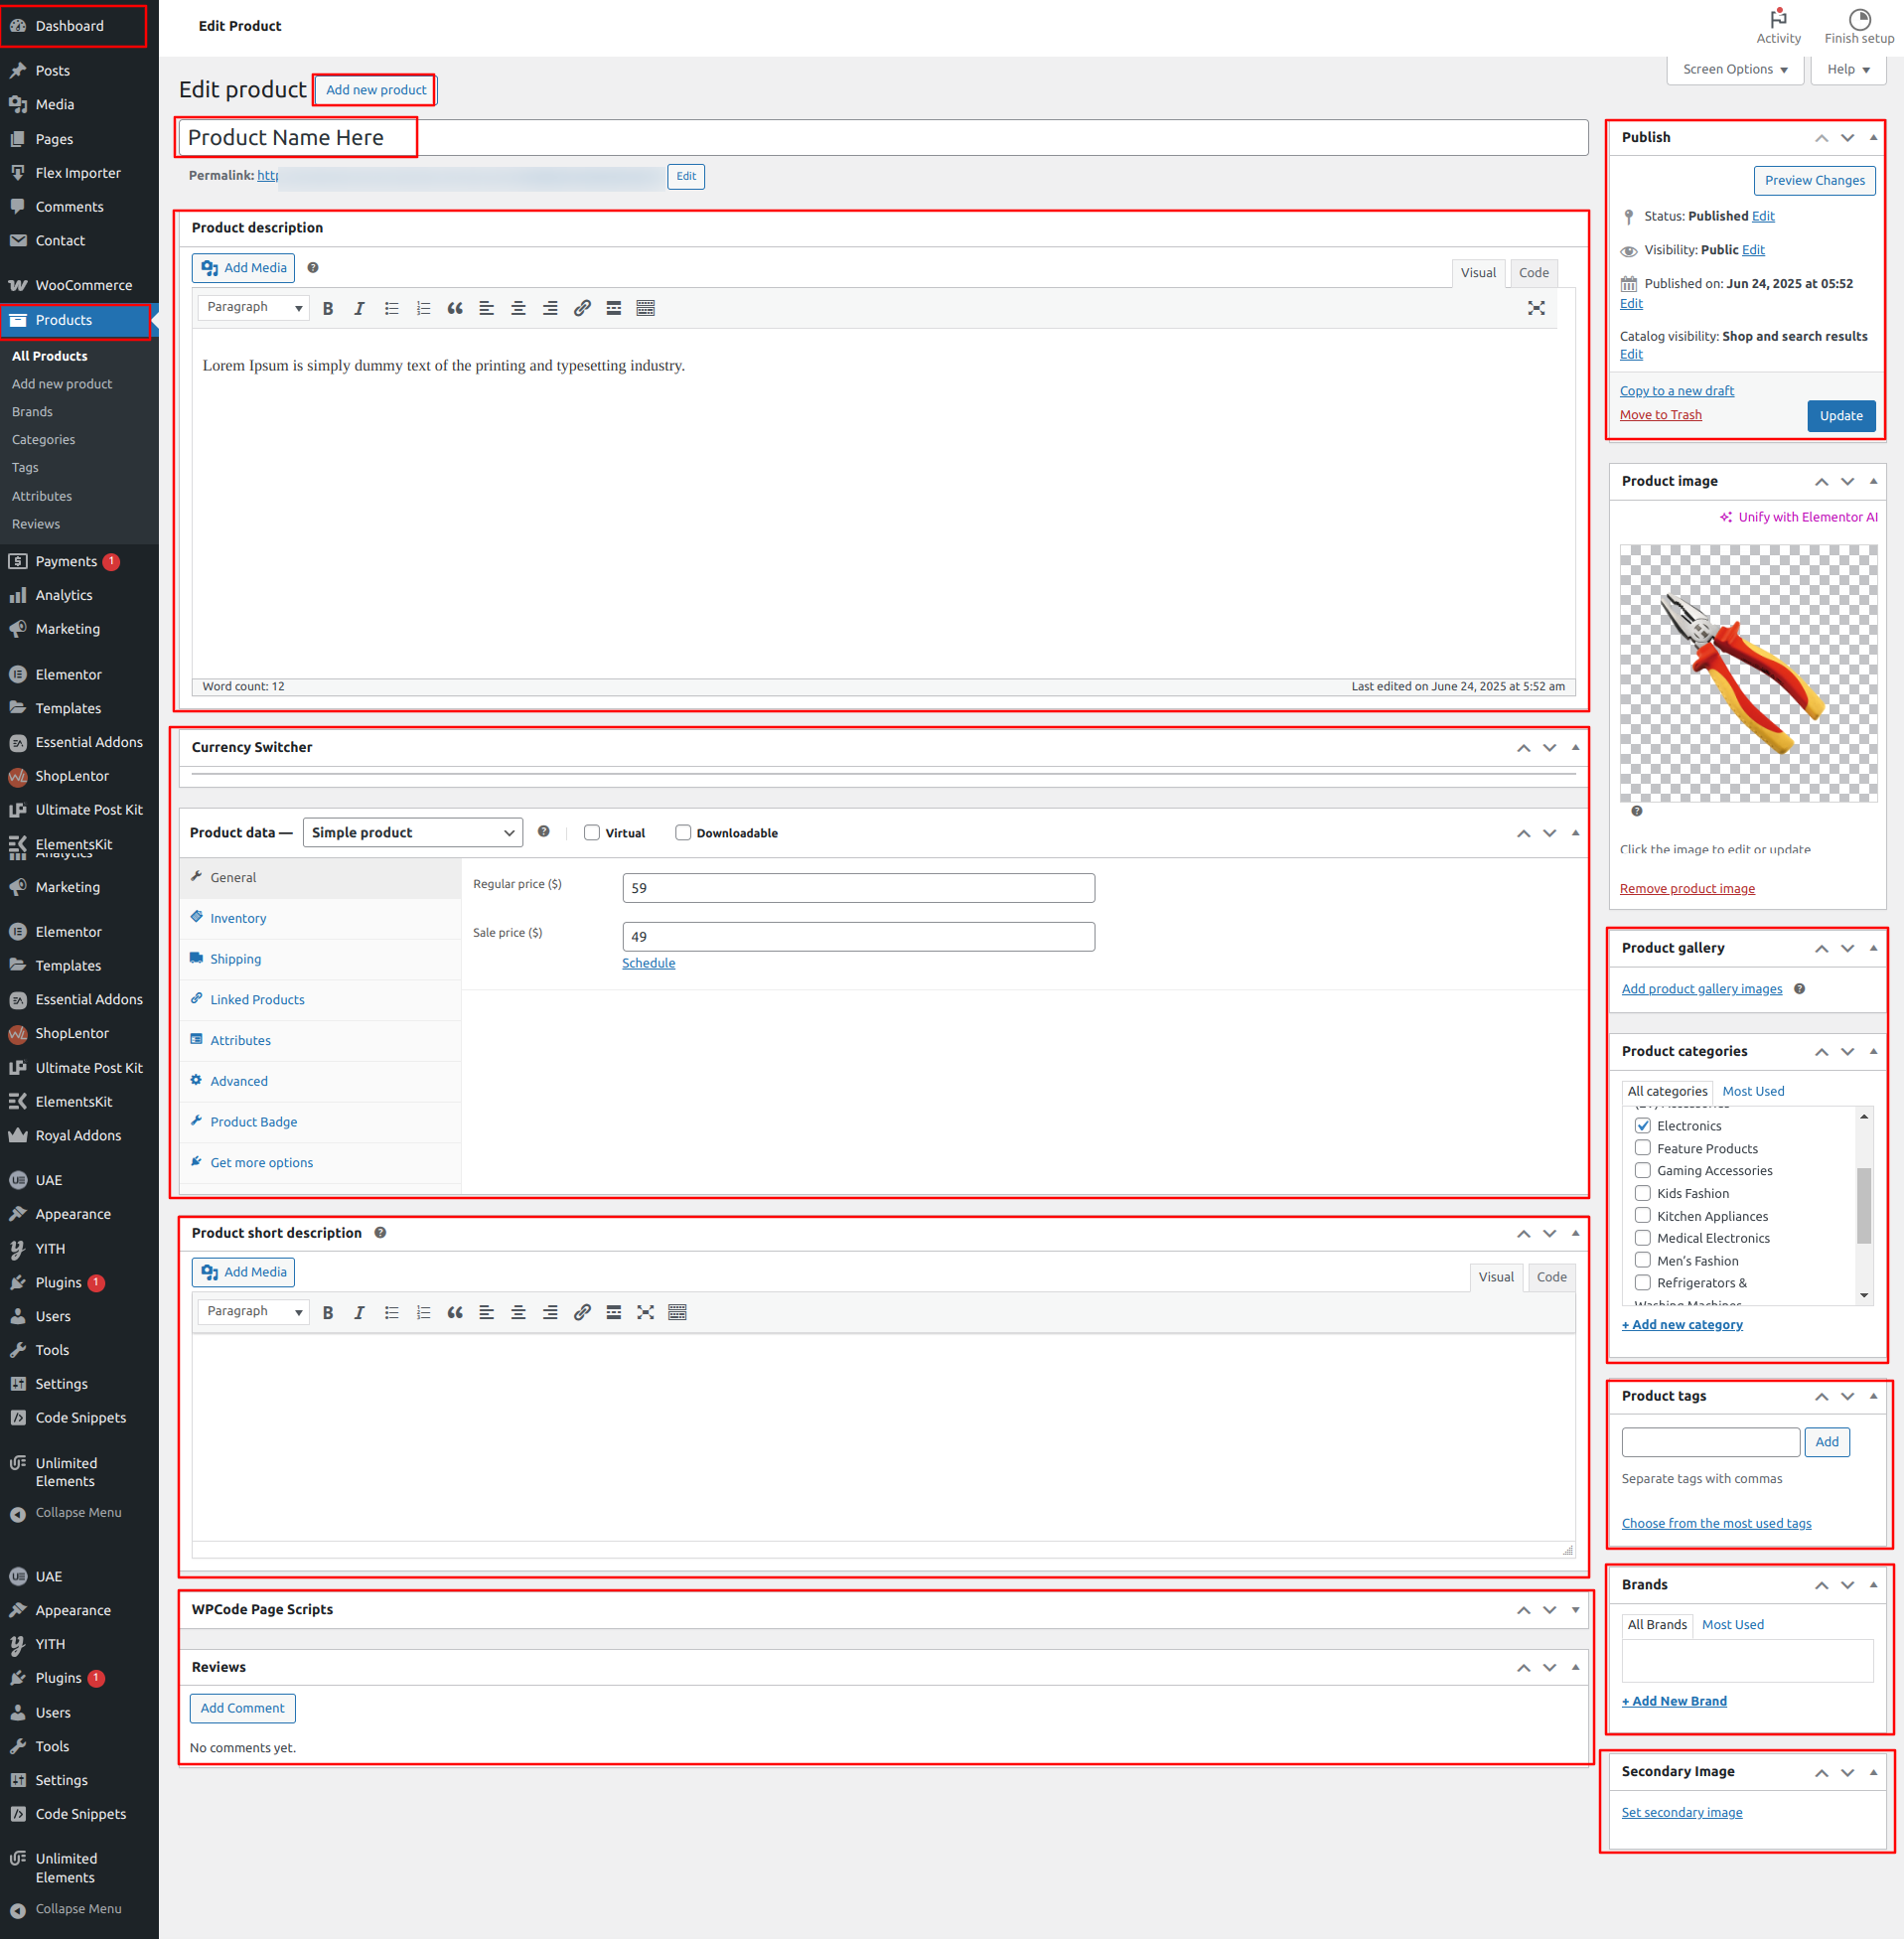
Dashboard Products Add New
Now Add the Trending Products by Following the steps in the Trending Products Section given
above, and assign the category to the Services as per your Need.
To Edit this Section, Click On the "Edit With Elementor" Button which will open the
Elementor Widget editor.
This is how you may set up and add the Trending Products Section.
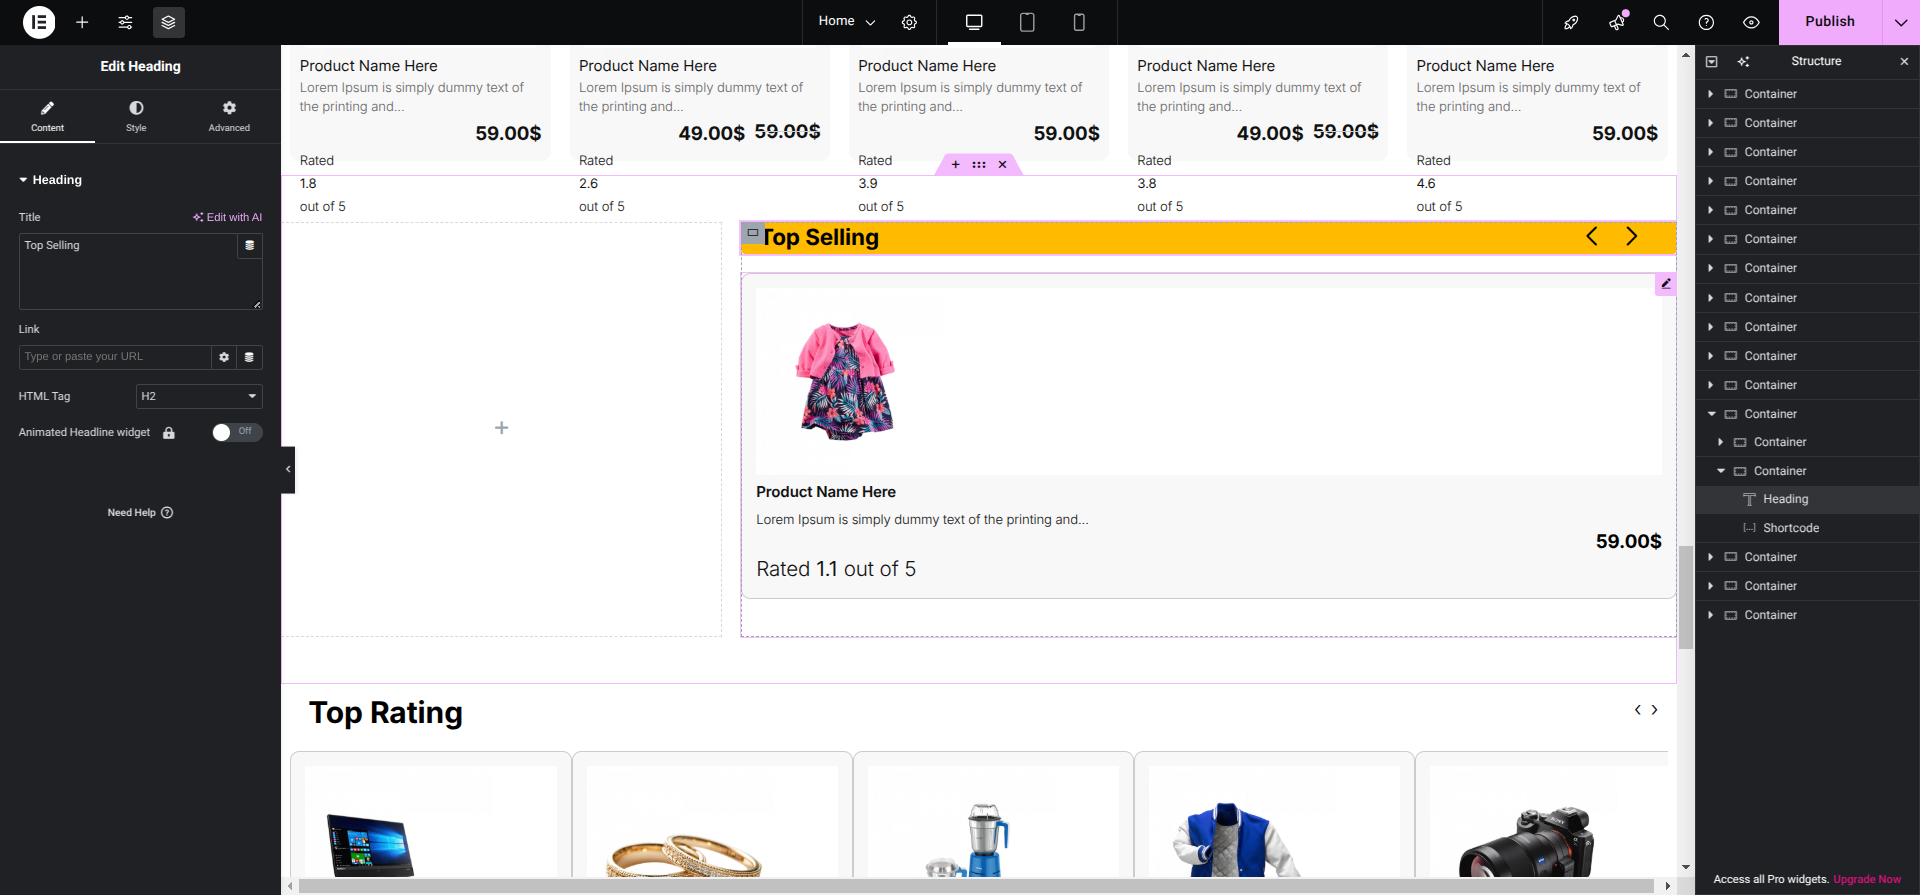
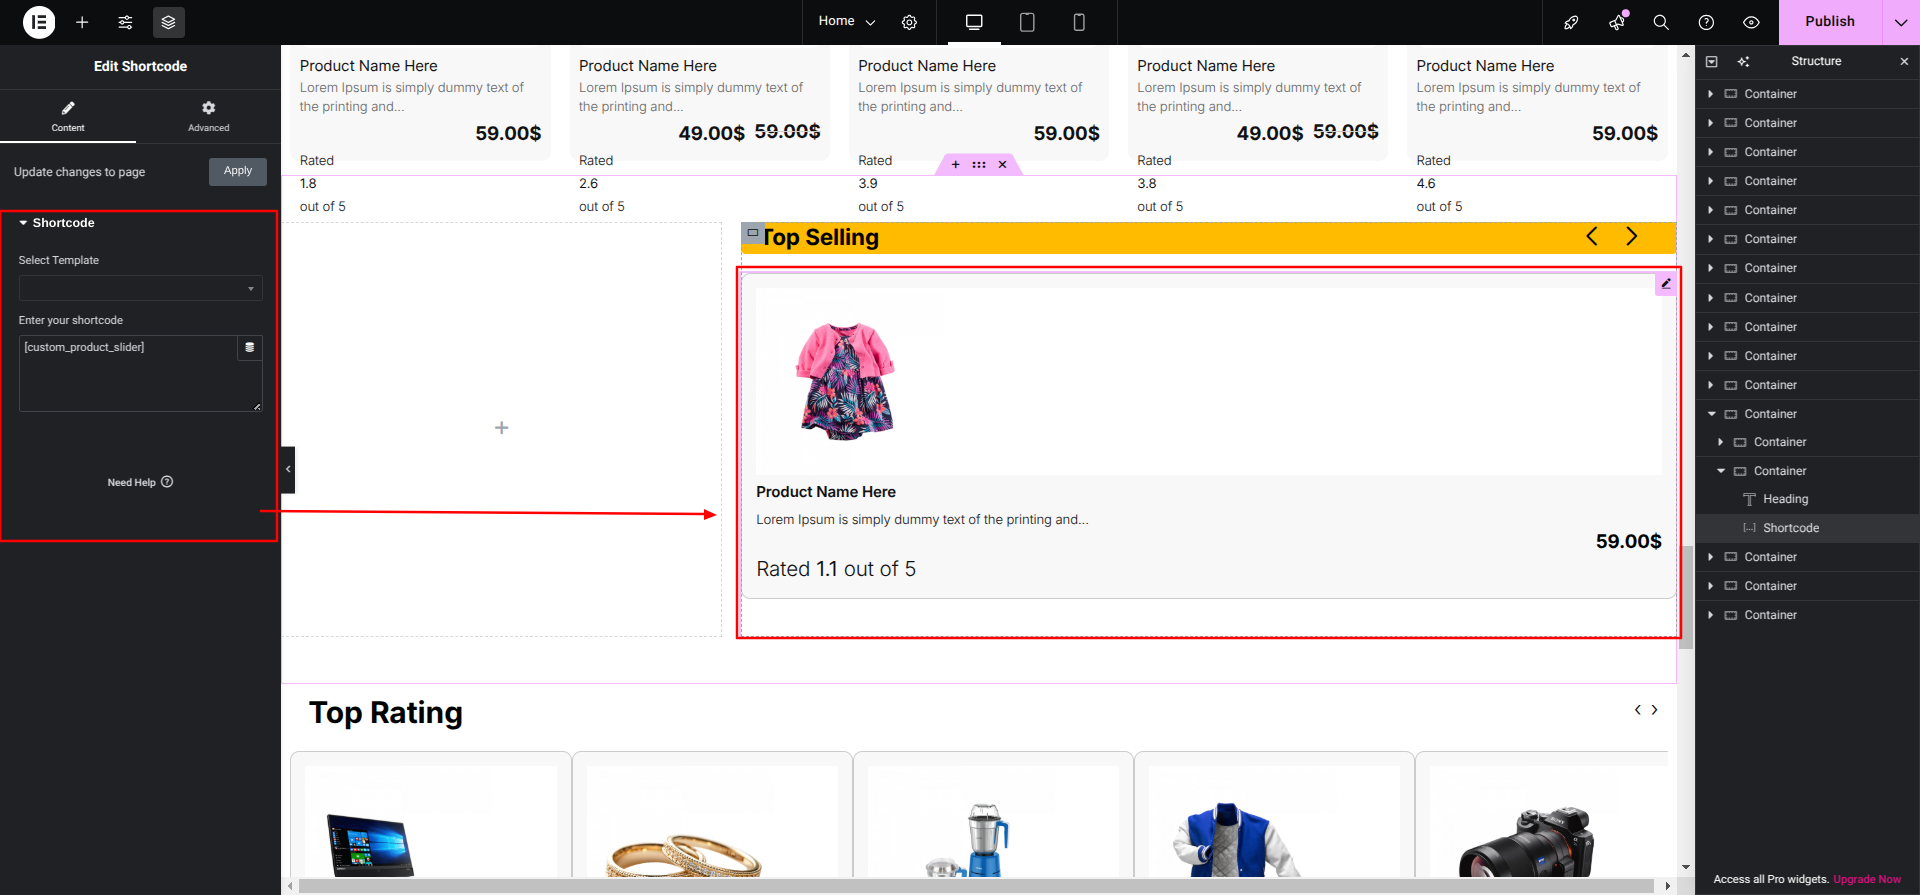
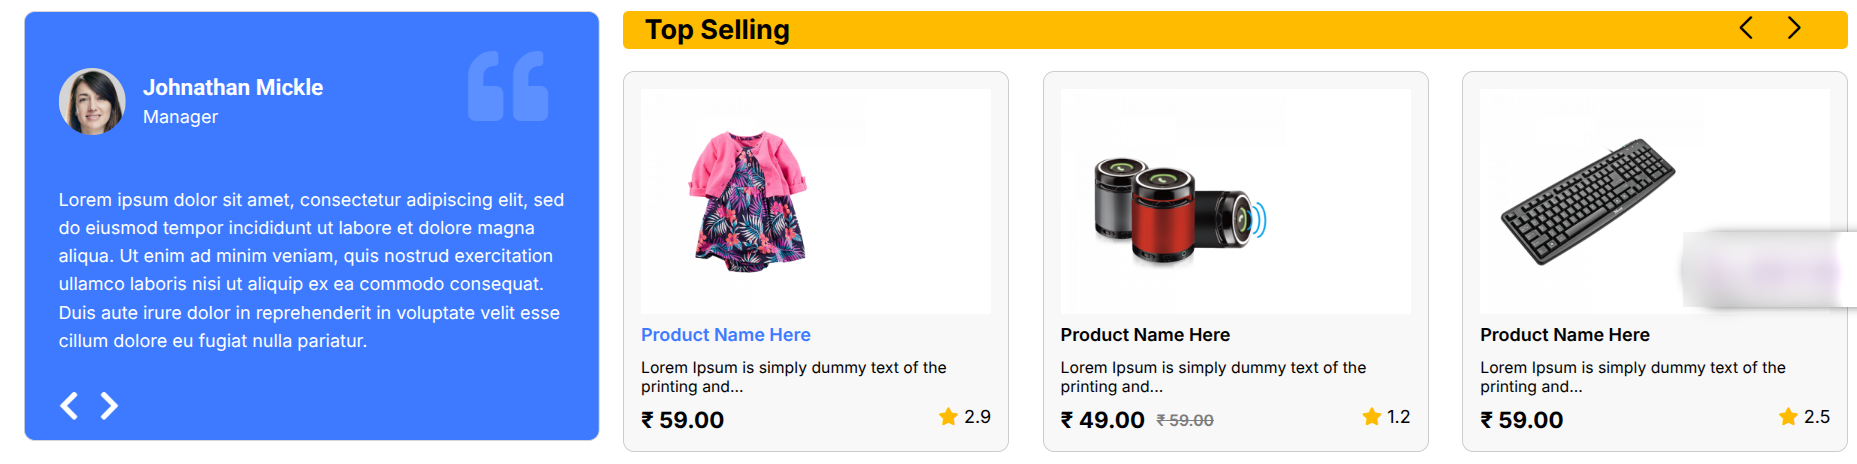
Setup Top Selling Section
To Edit this Section, Click On the "Edit With Elementor" Button which will open the
Elementor Widget editor.
This is how you may set up and add the Top Selling Section.
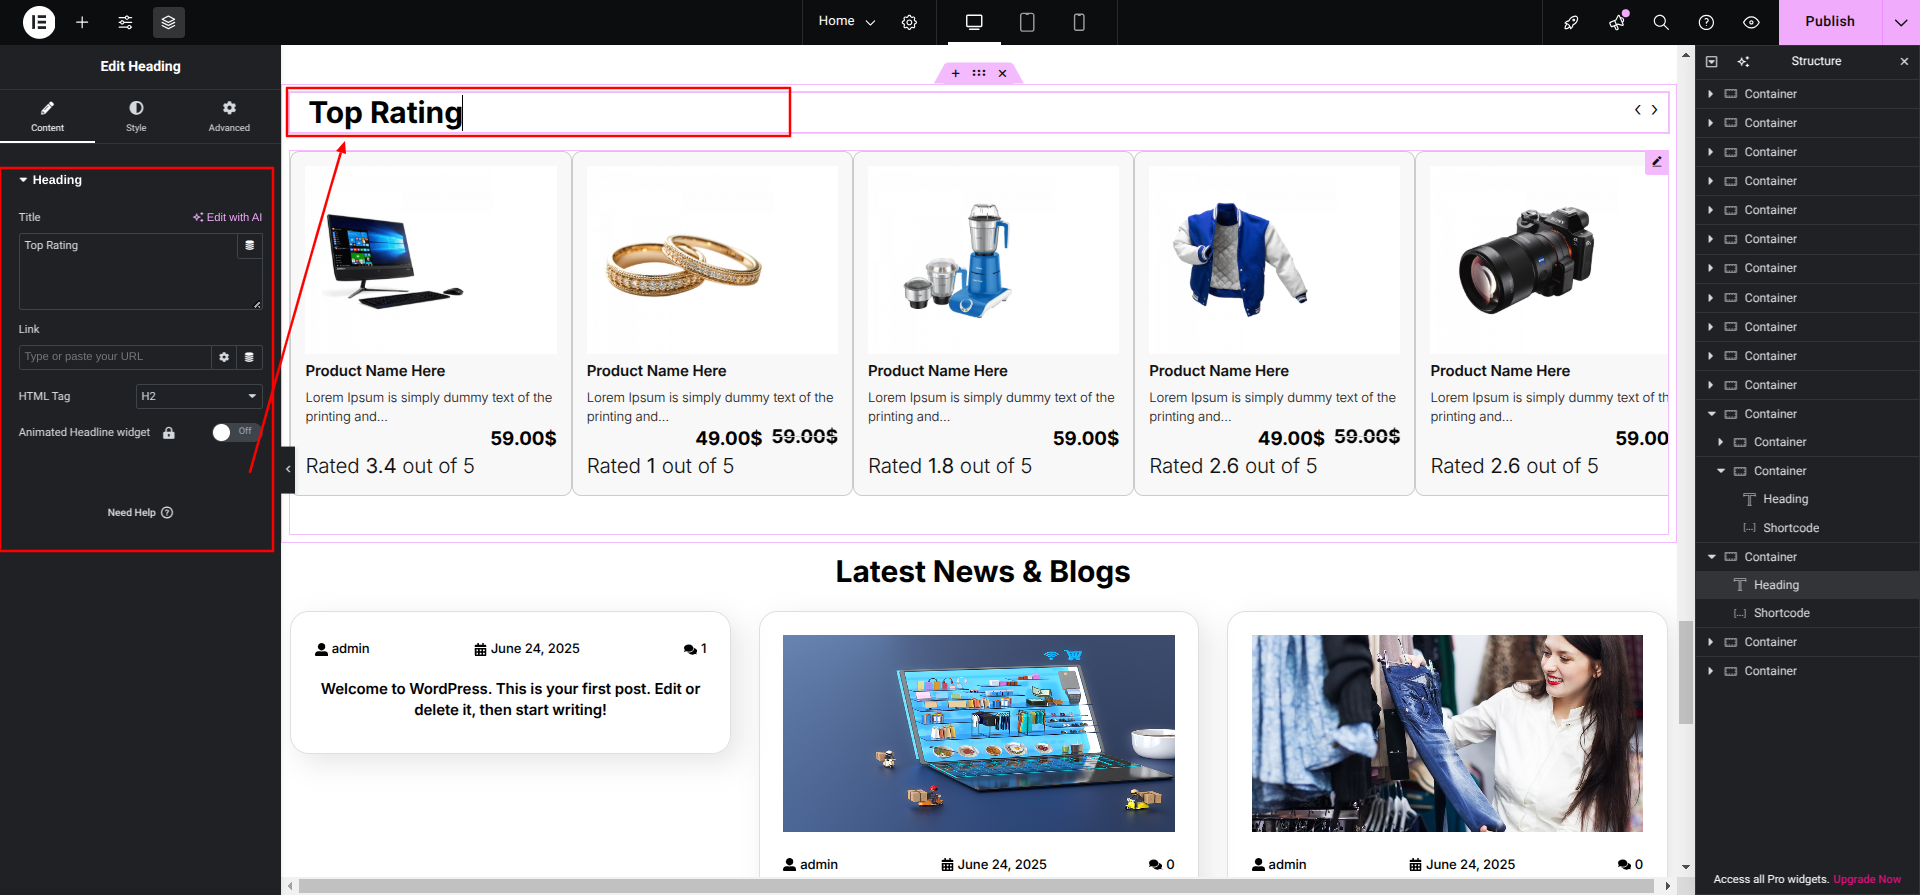
Setup Top Rating Section
Set up the Trending Products Section according to the instructions
below.
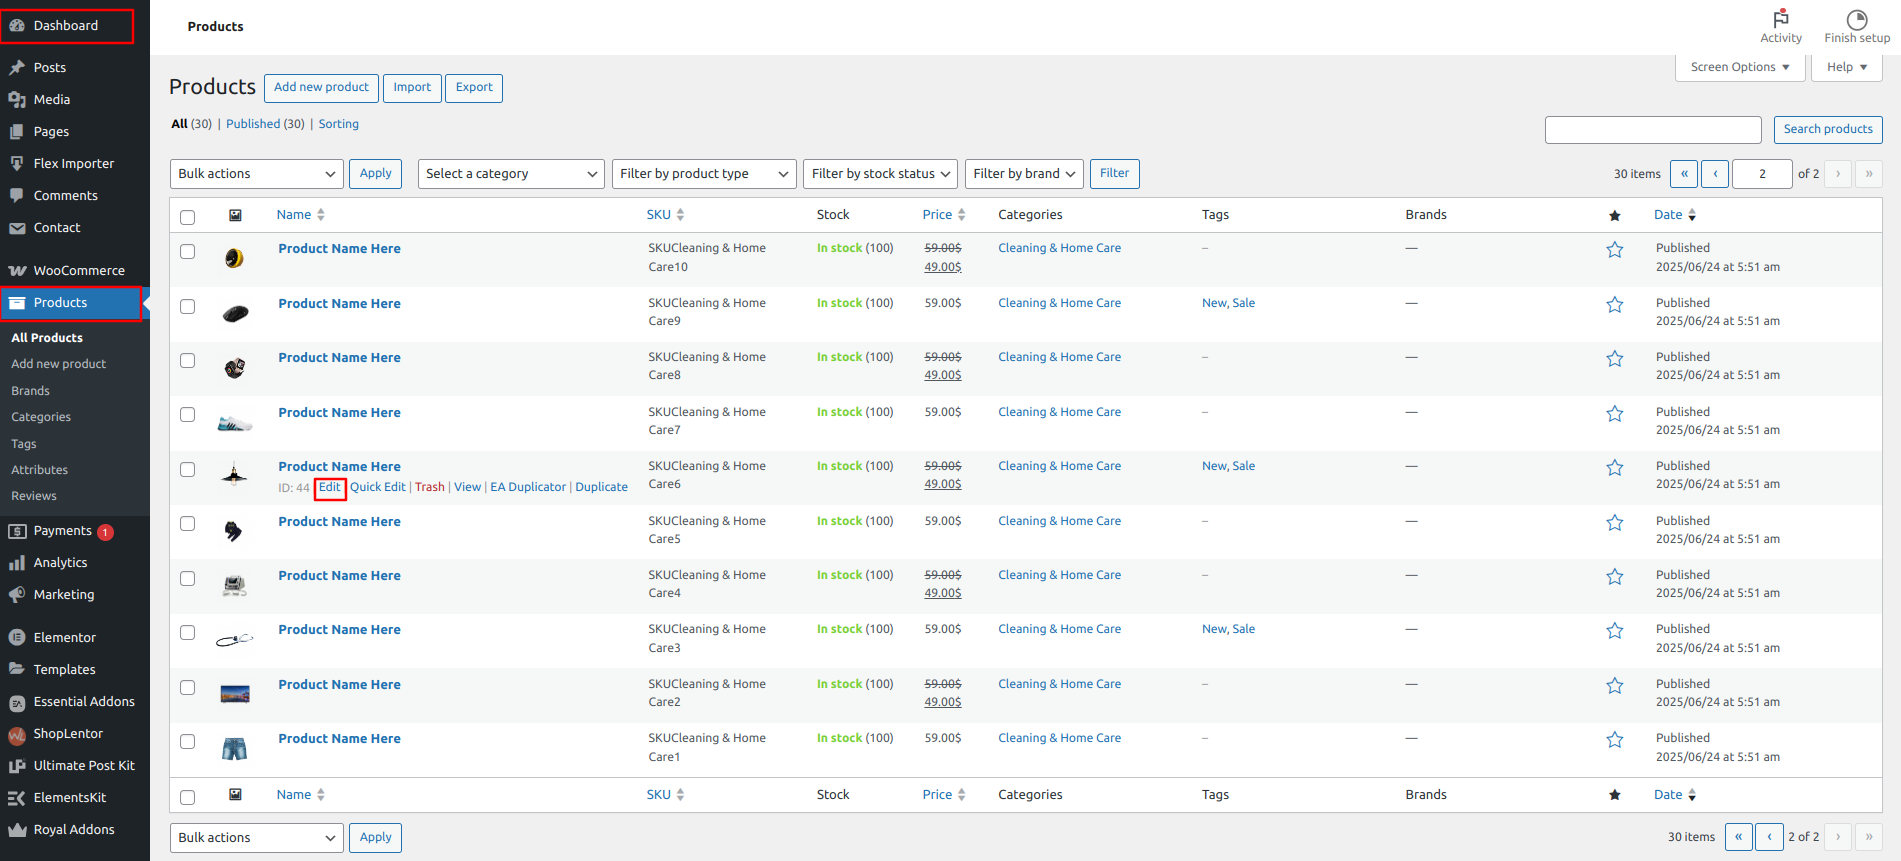
Dashboard Products Add New
Now Add the Top Rating by Following the steps in the Top Rating Section given
above, and assign the category to the Services as per your Need.
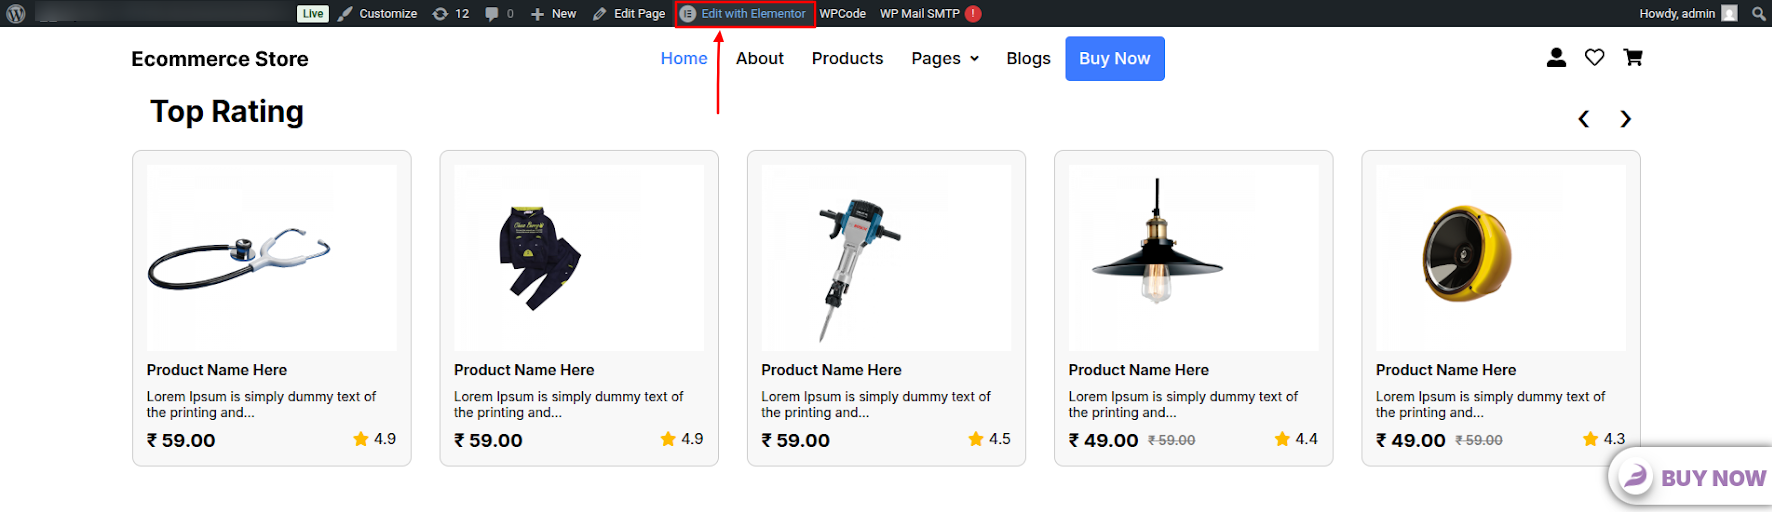
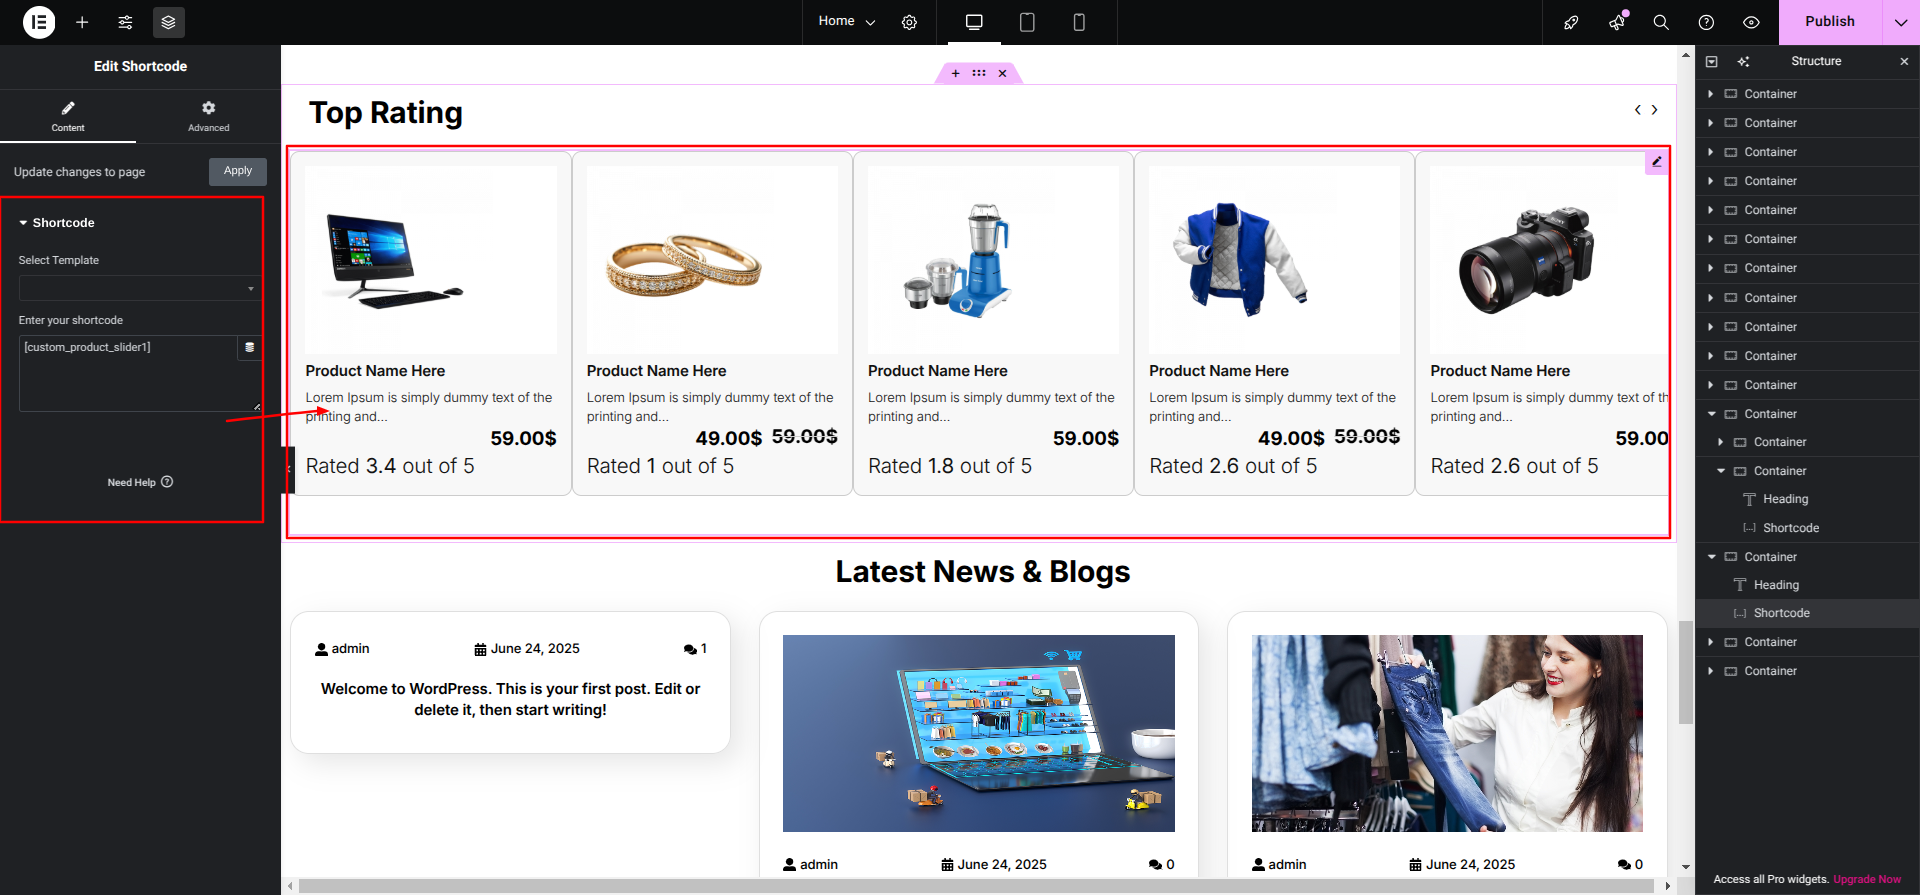
To Edit this Section, Click On the "Edit With Elementor" Button which will open the
Elementor Widget editor.
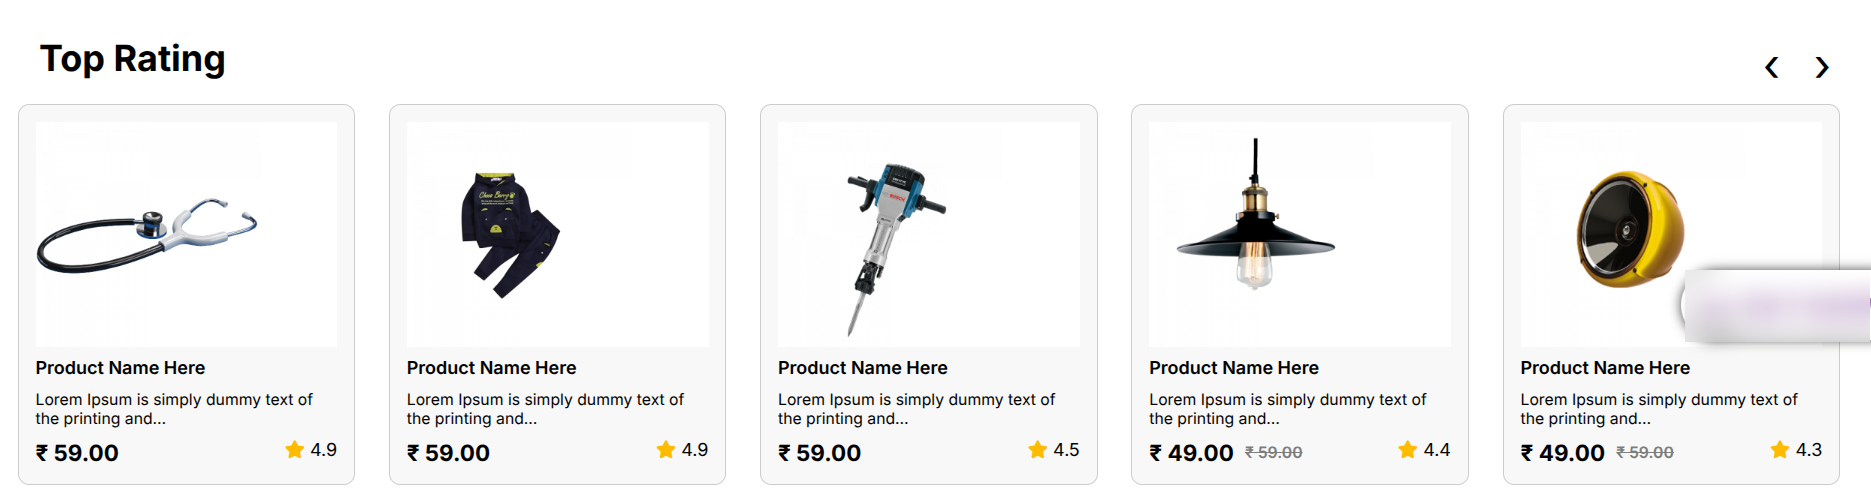
This is how you may set up and add the Top RatingTop Rating Section.
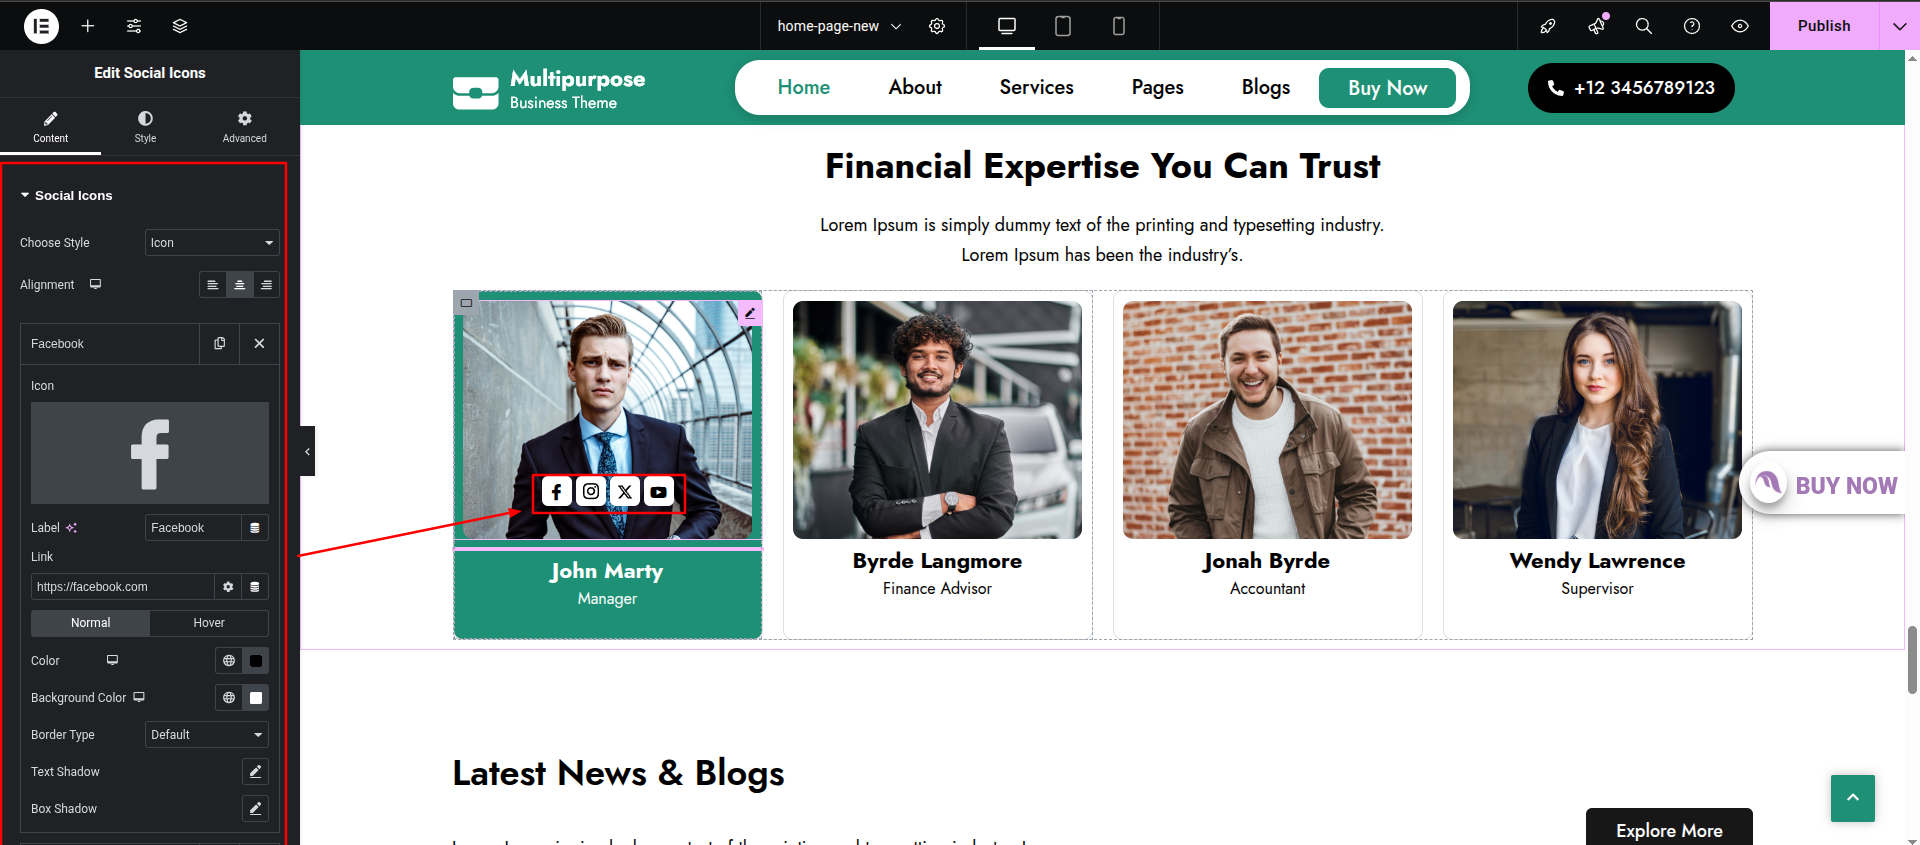
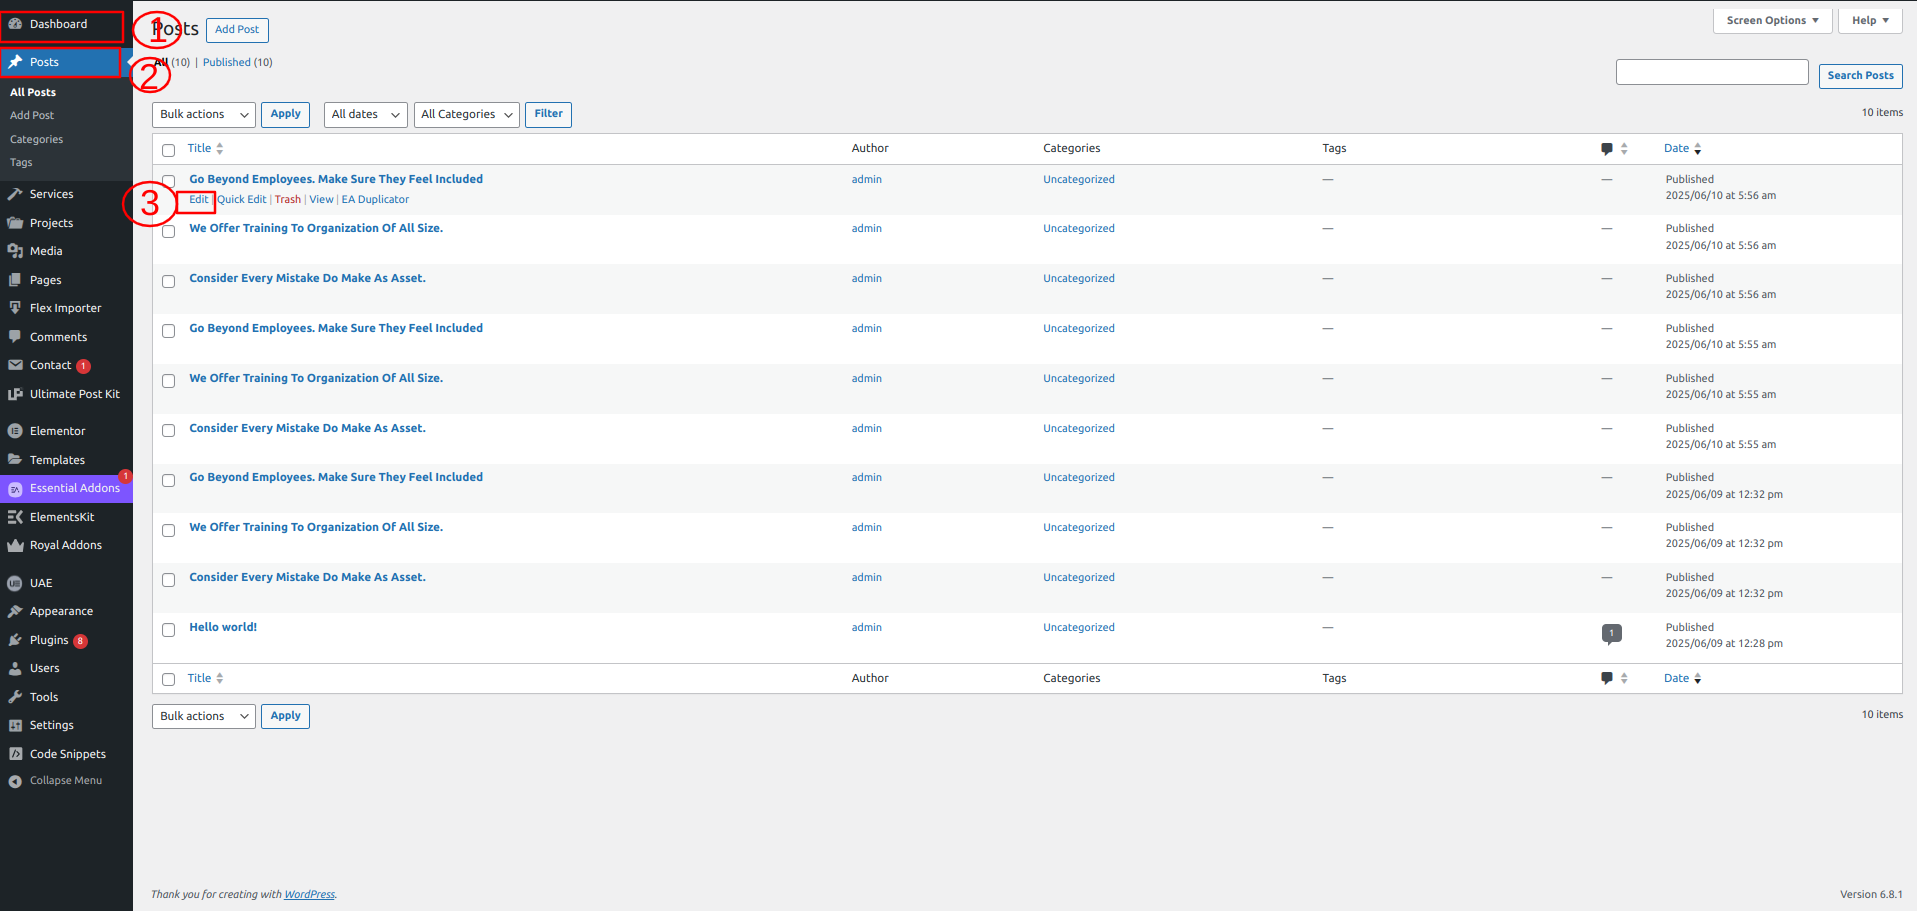
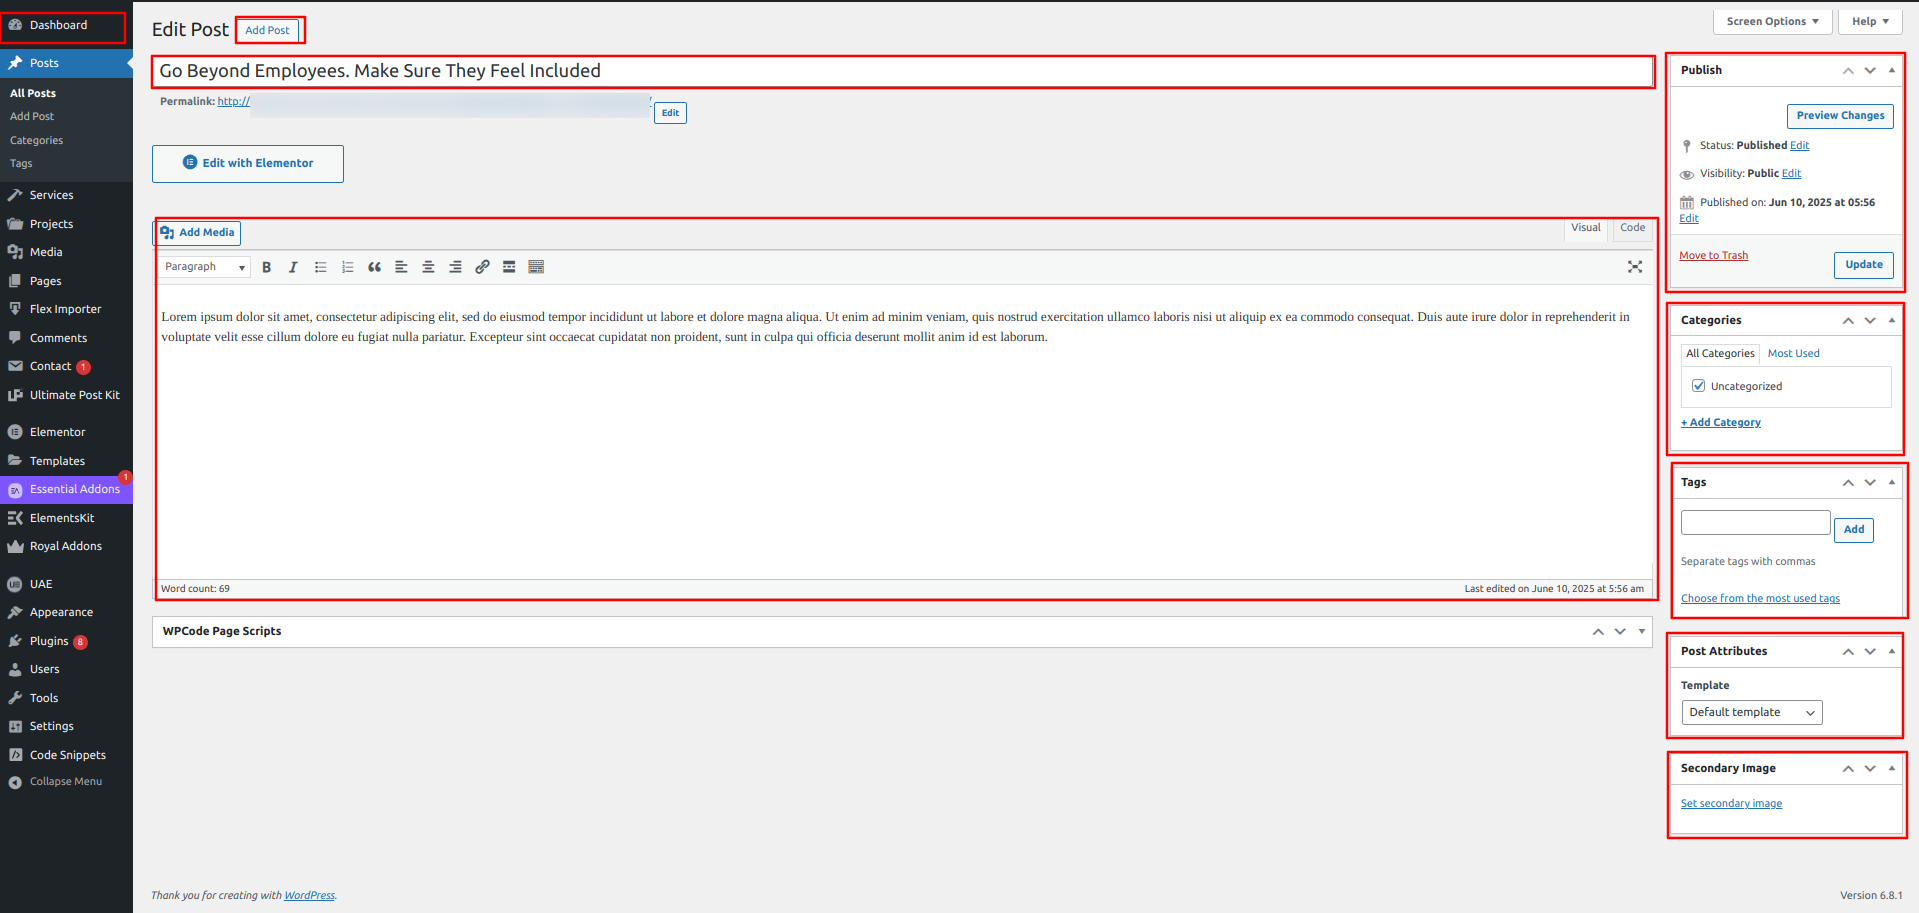
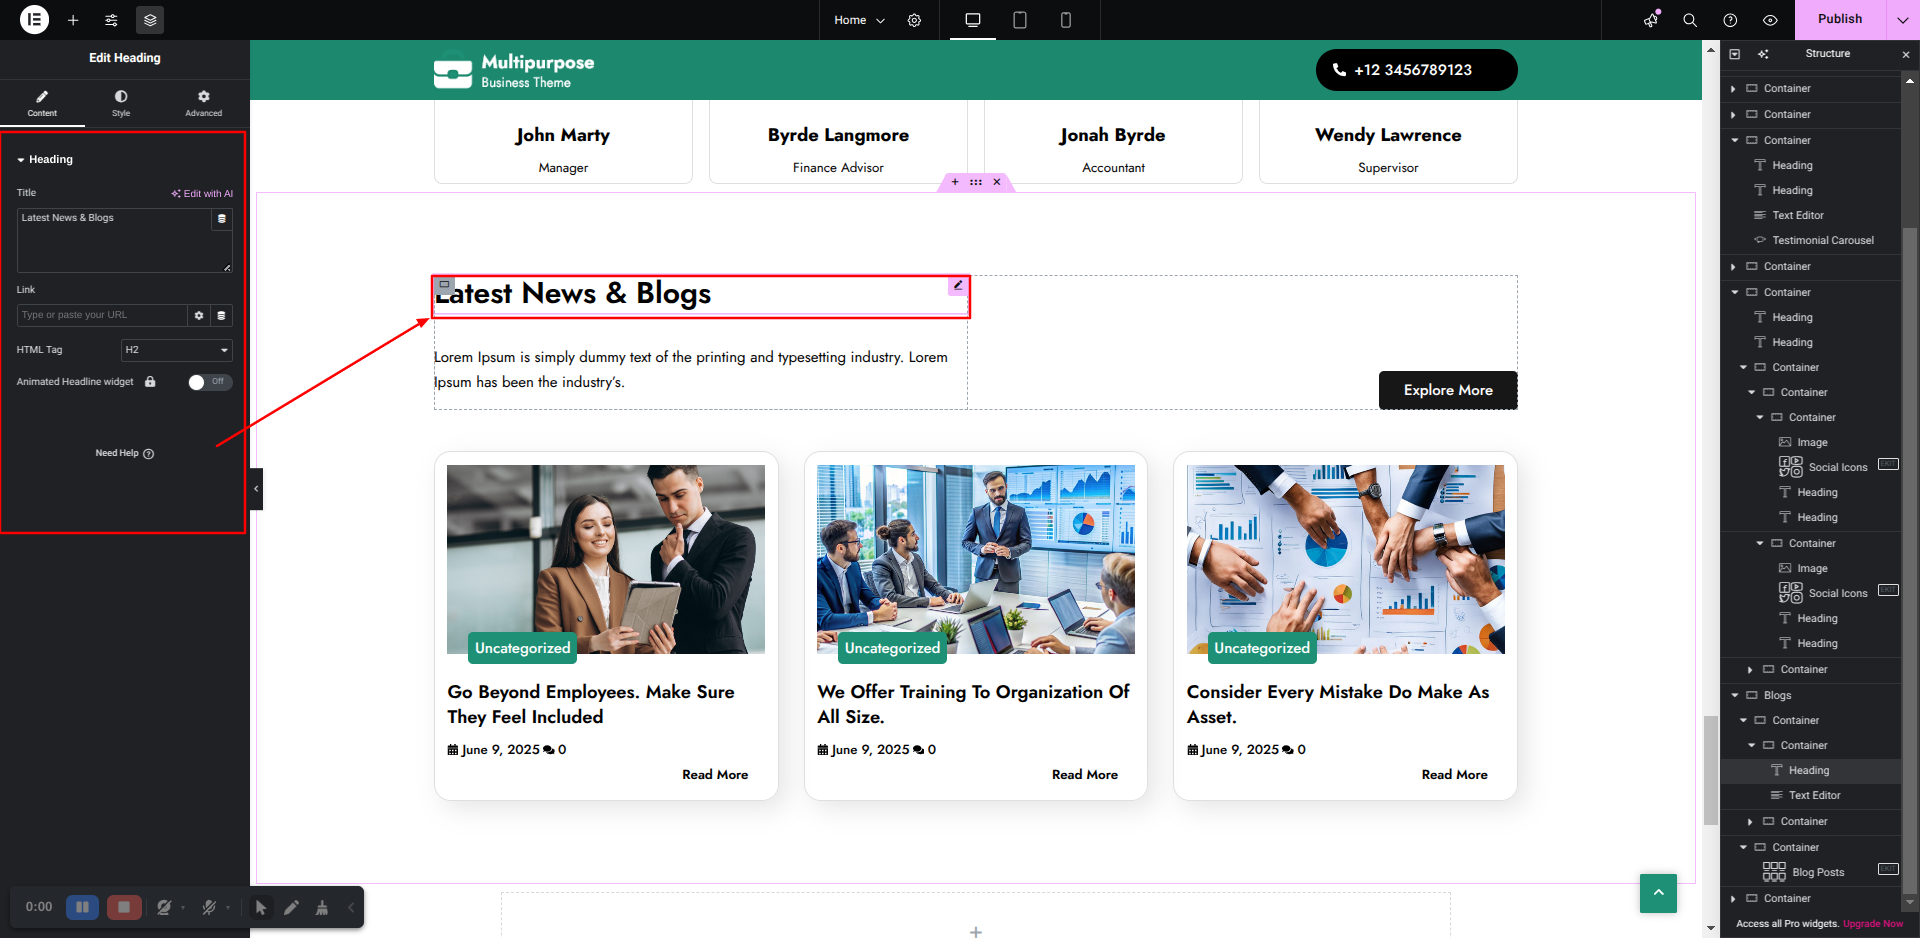
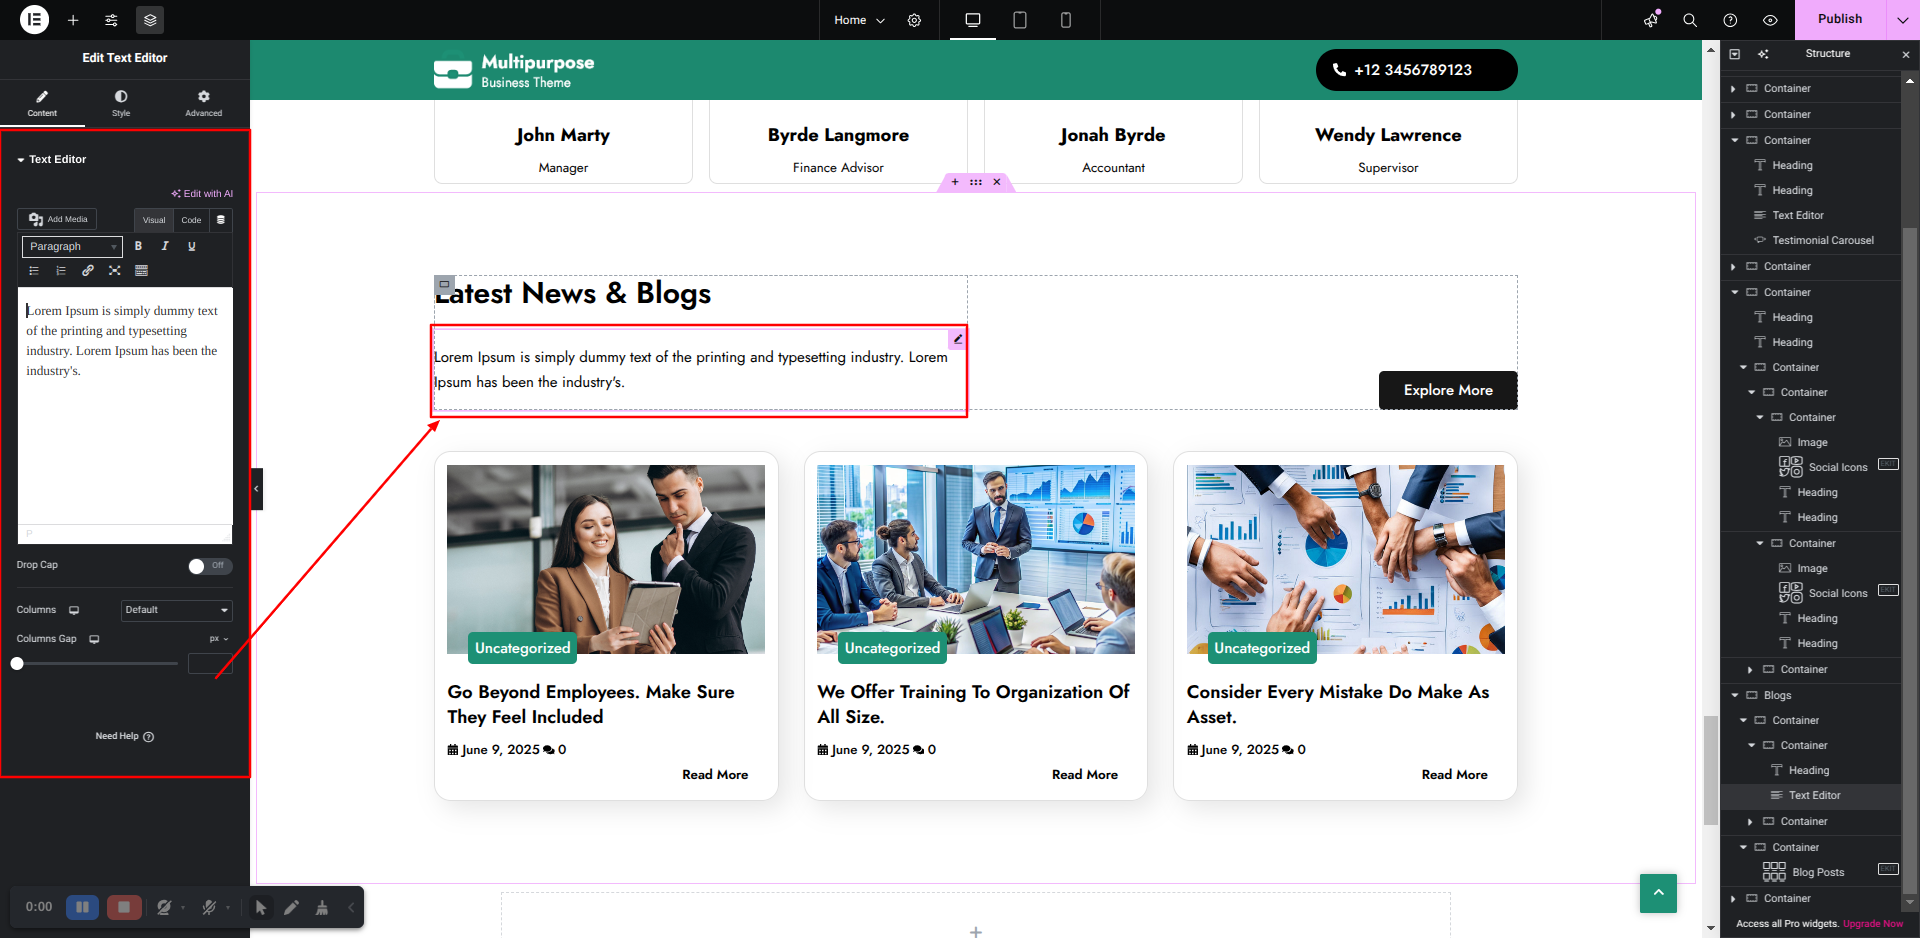
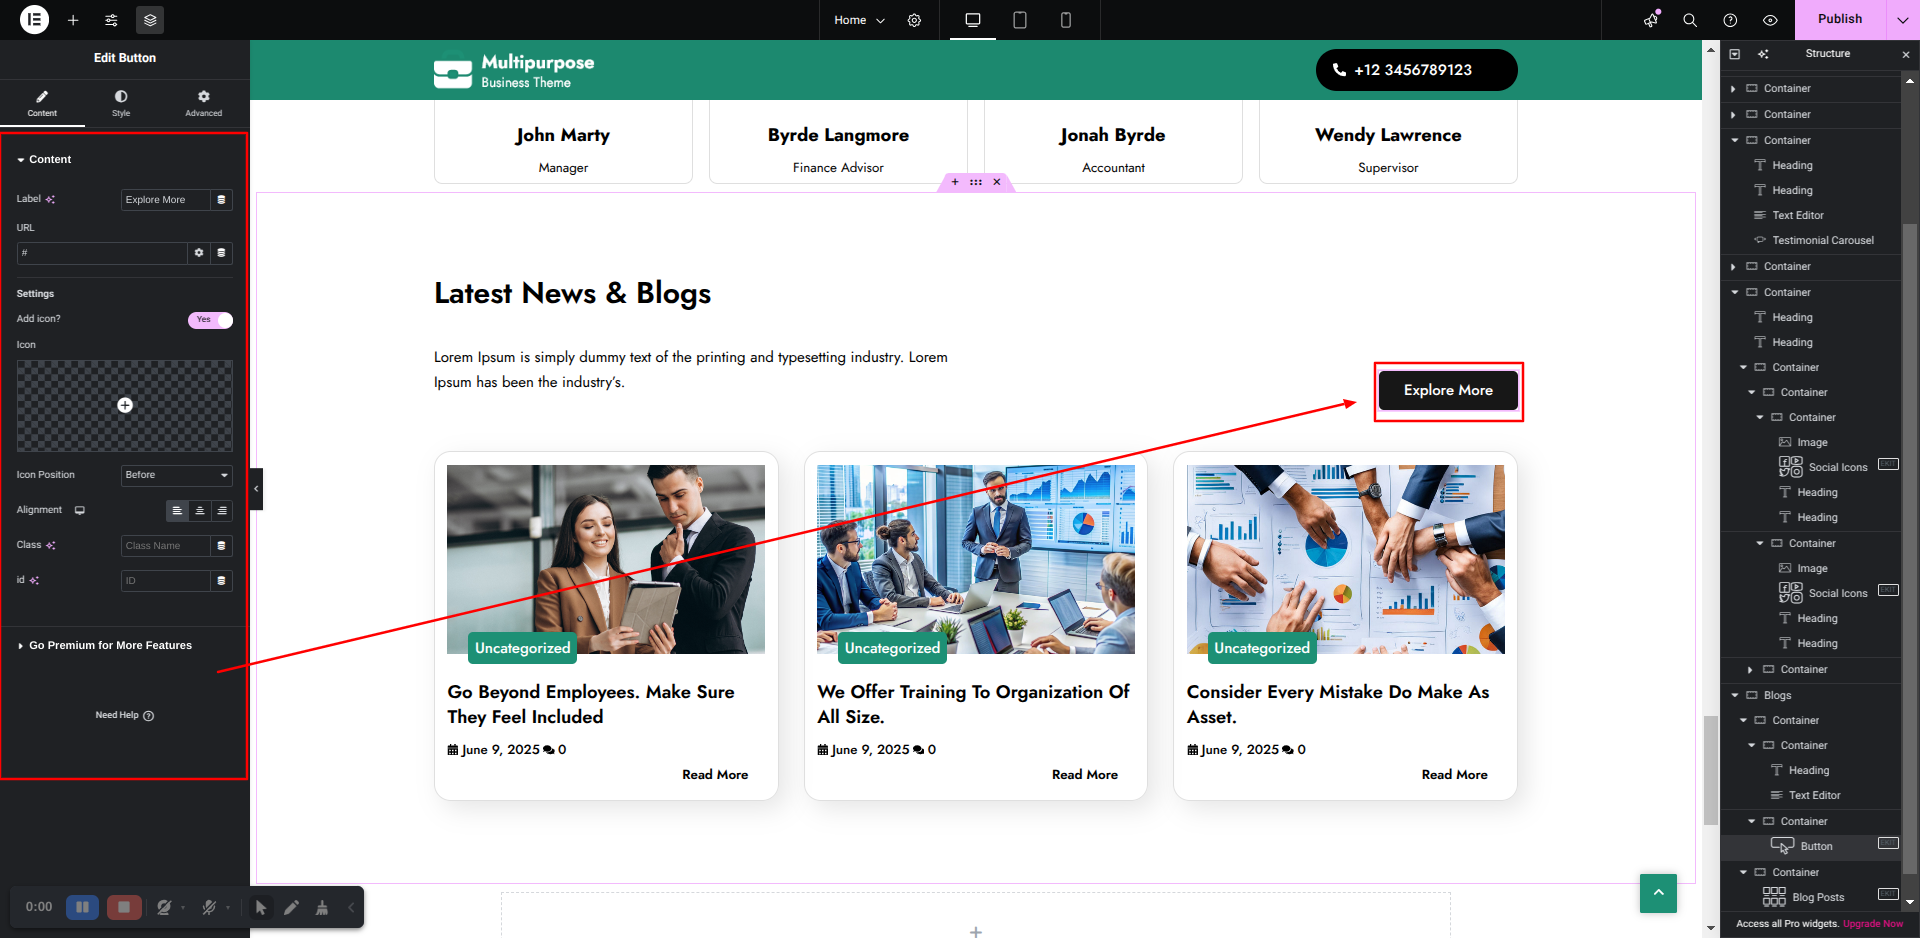
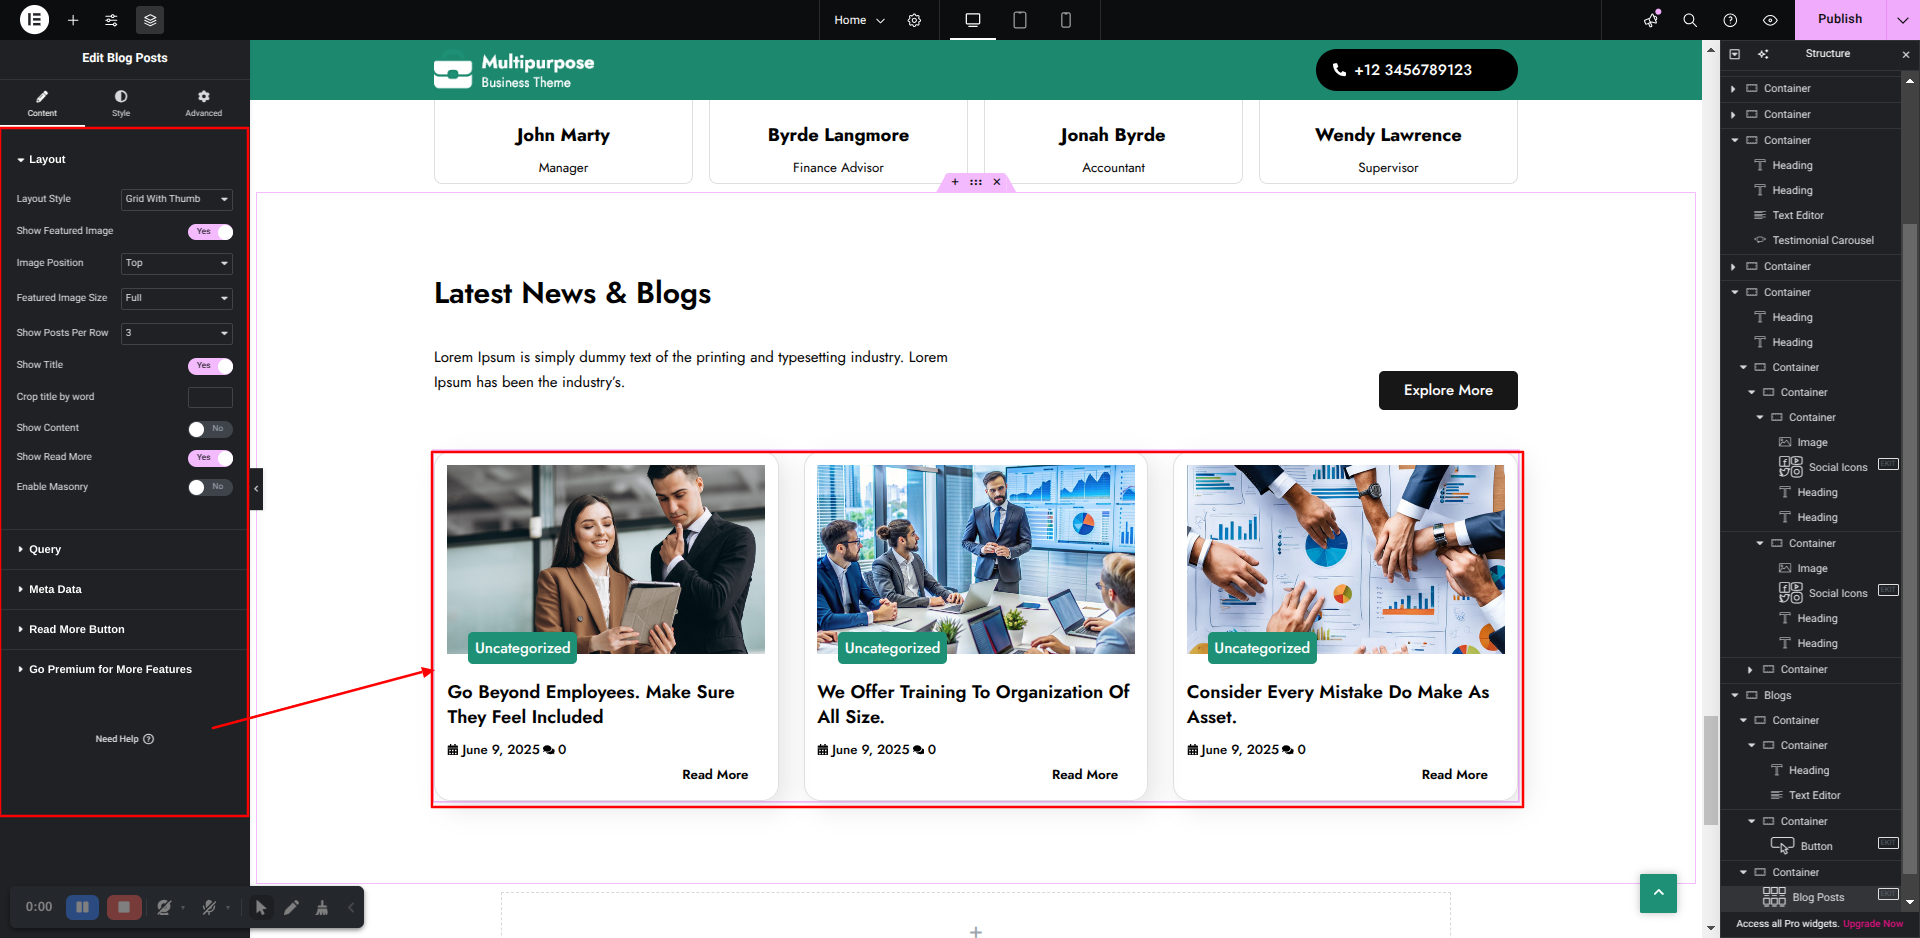
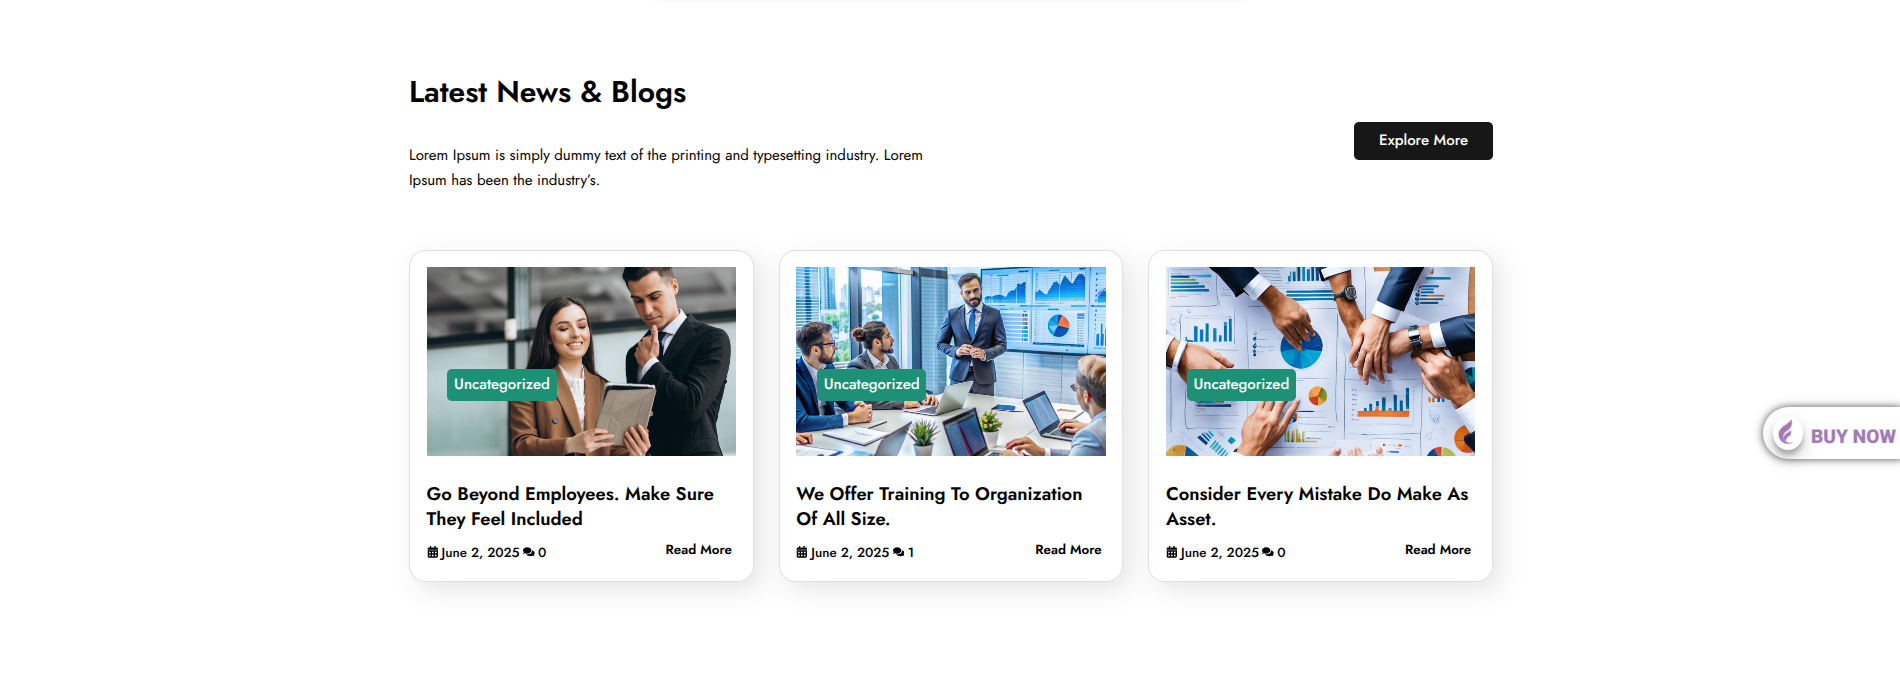
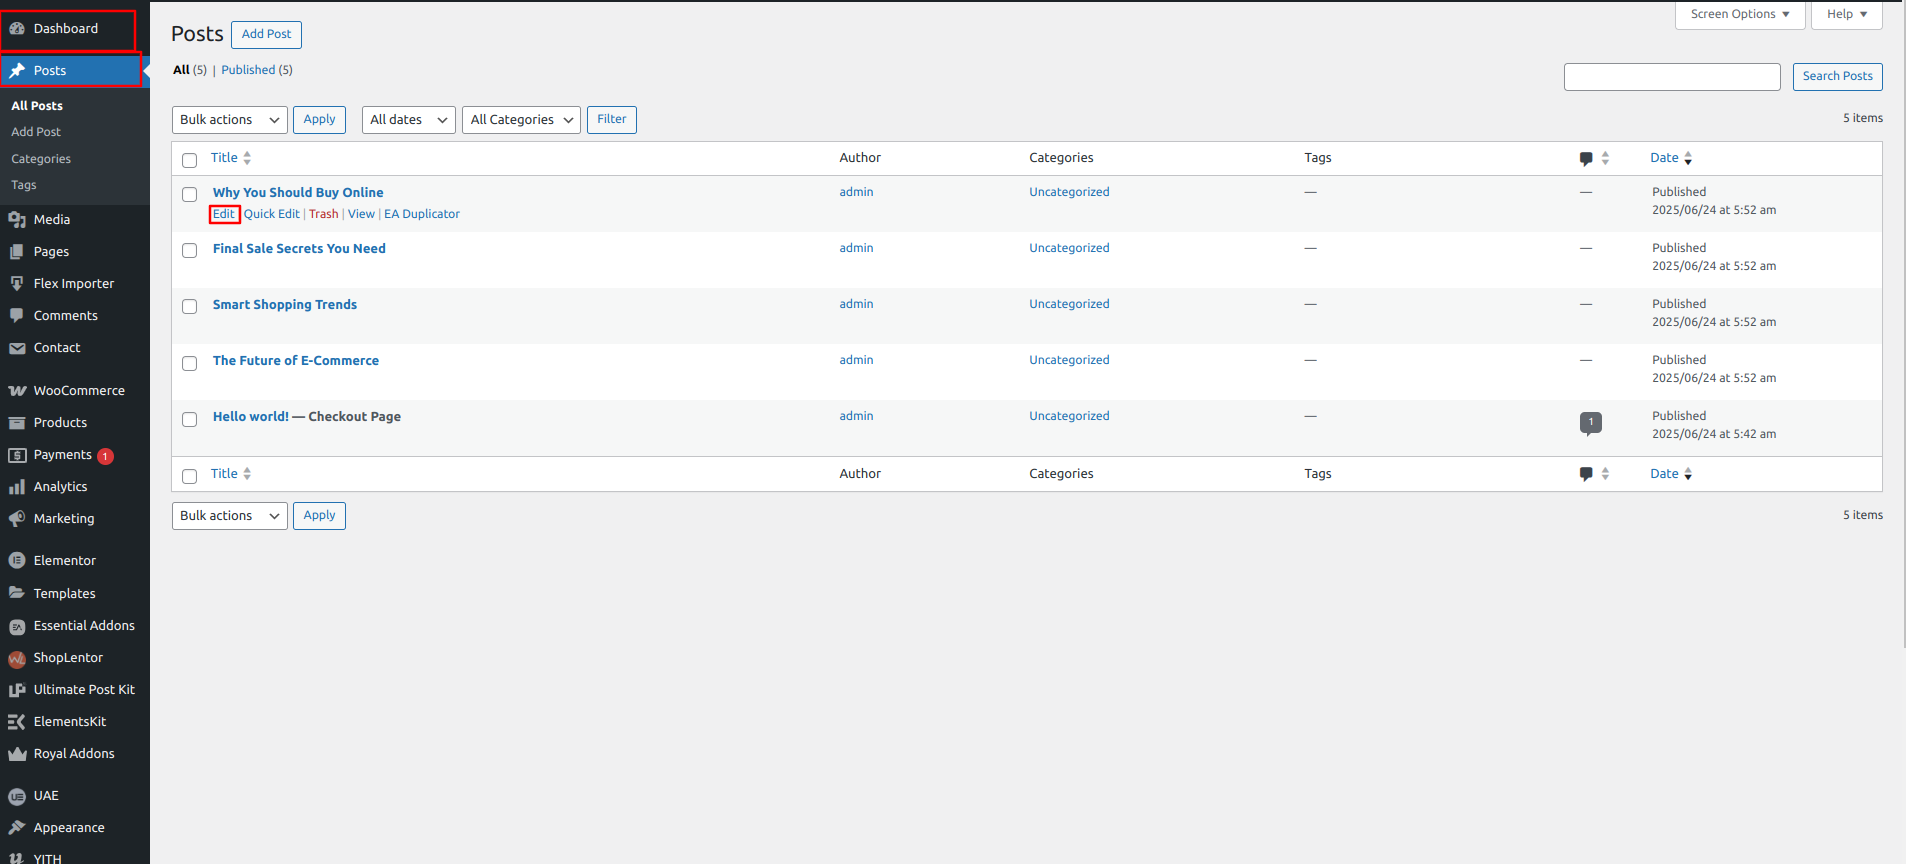
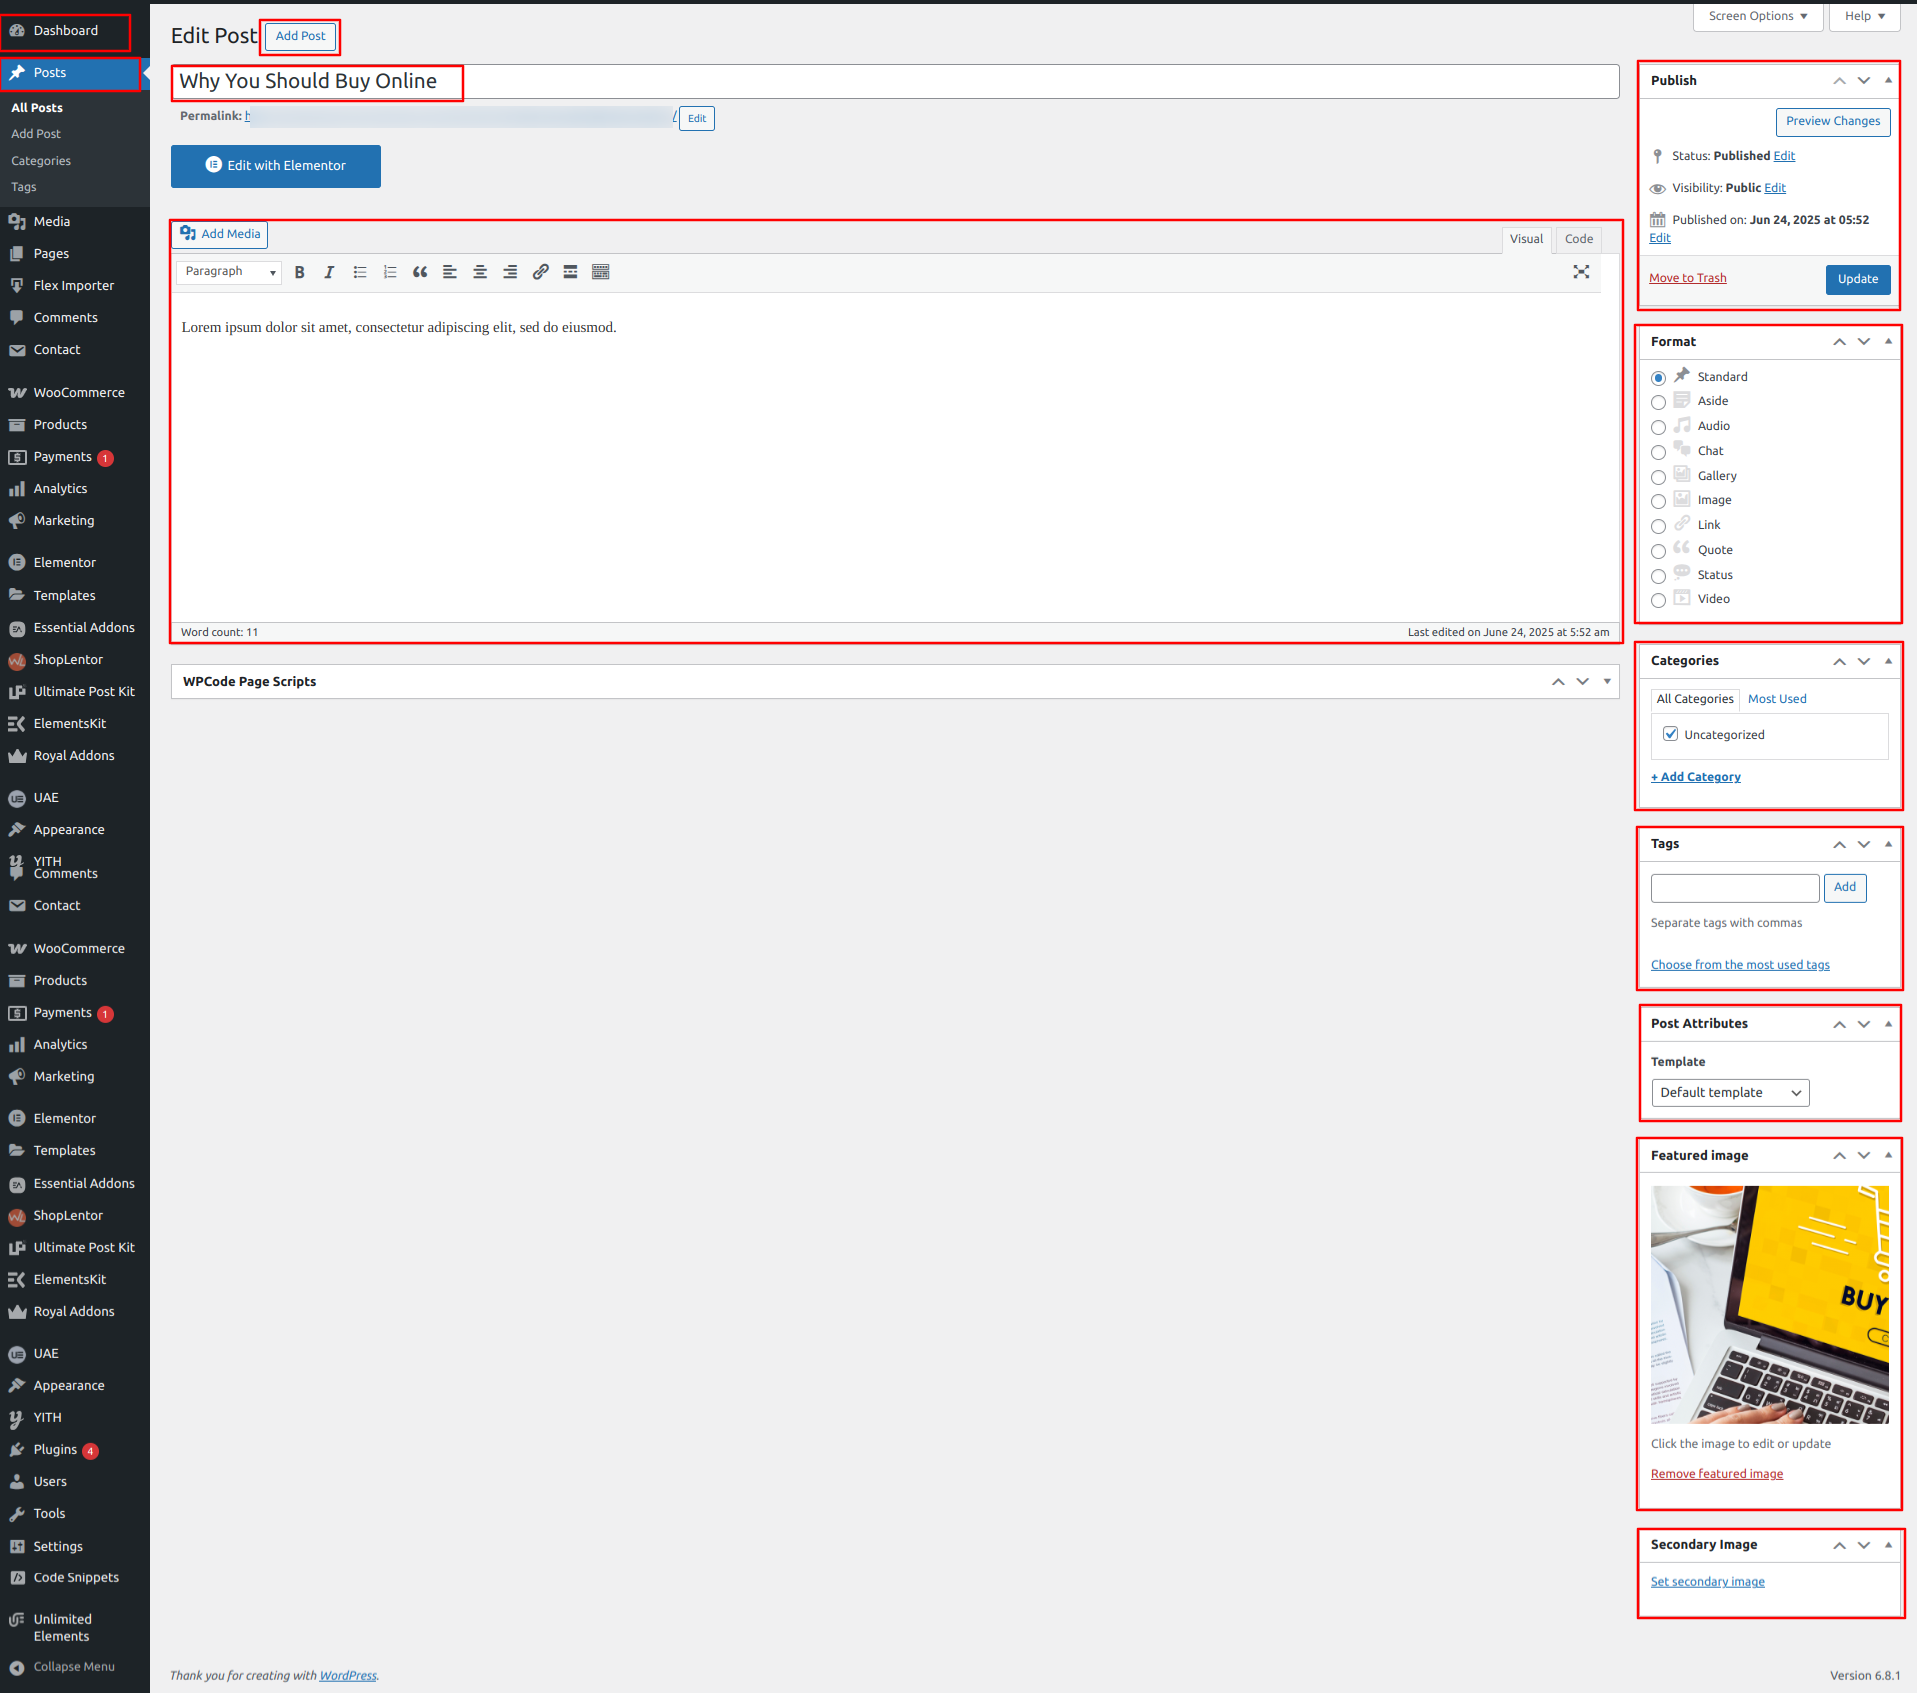
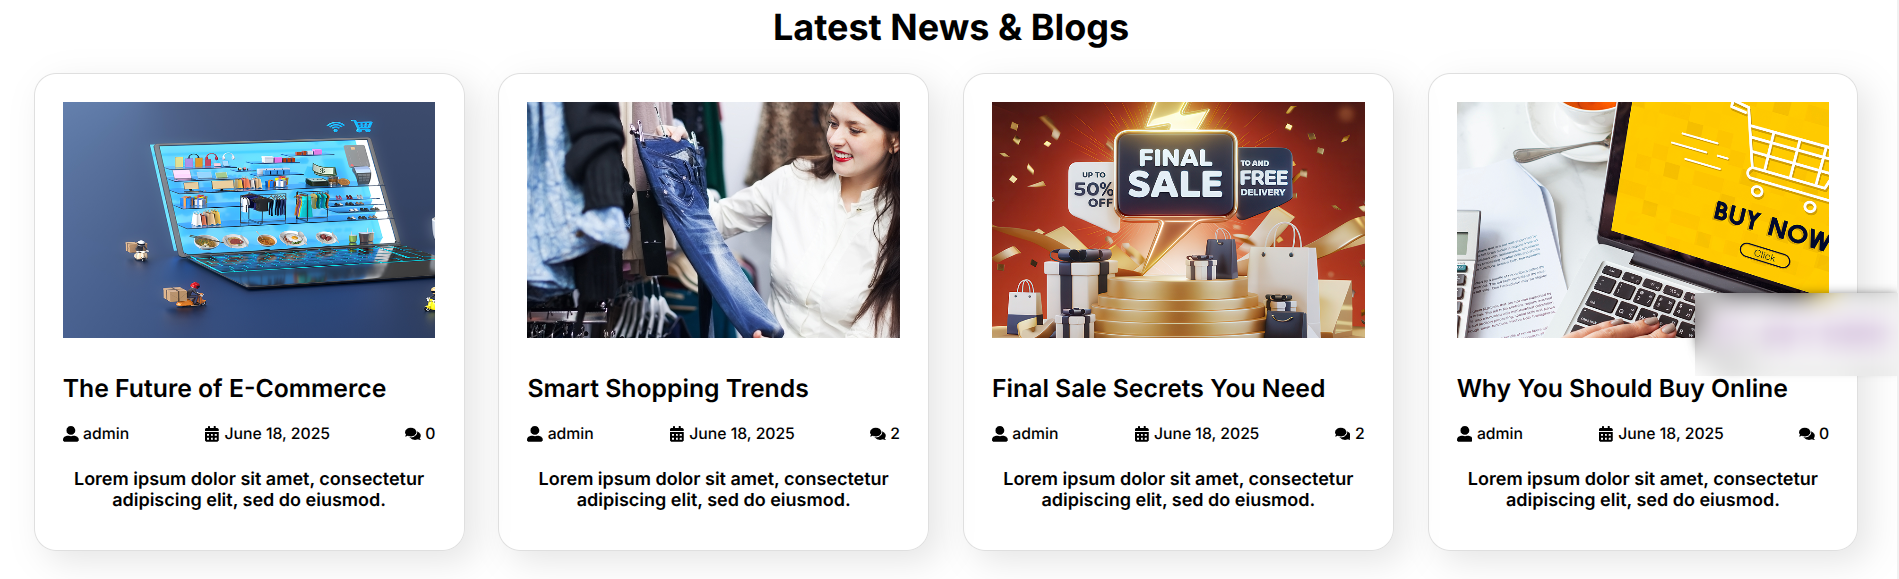
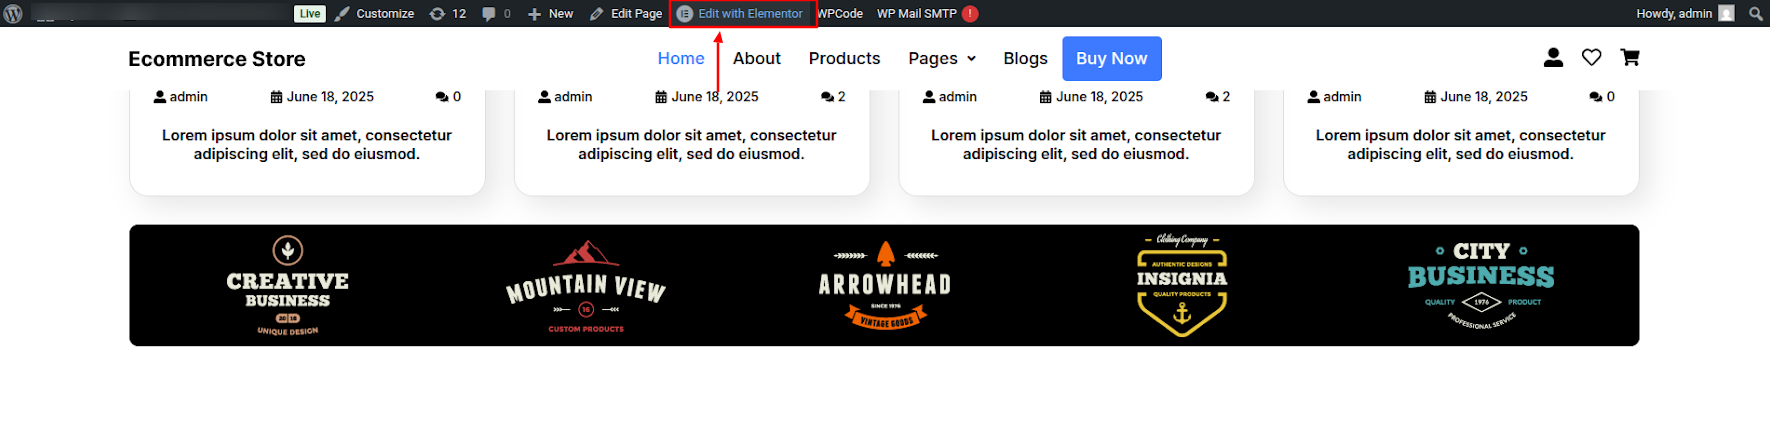
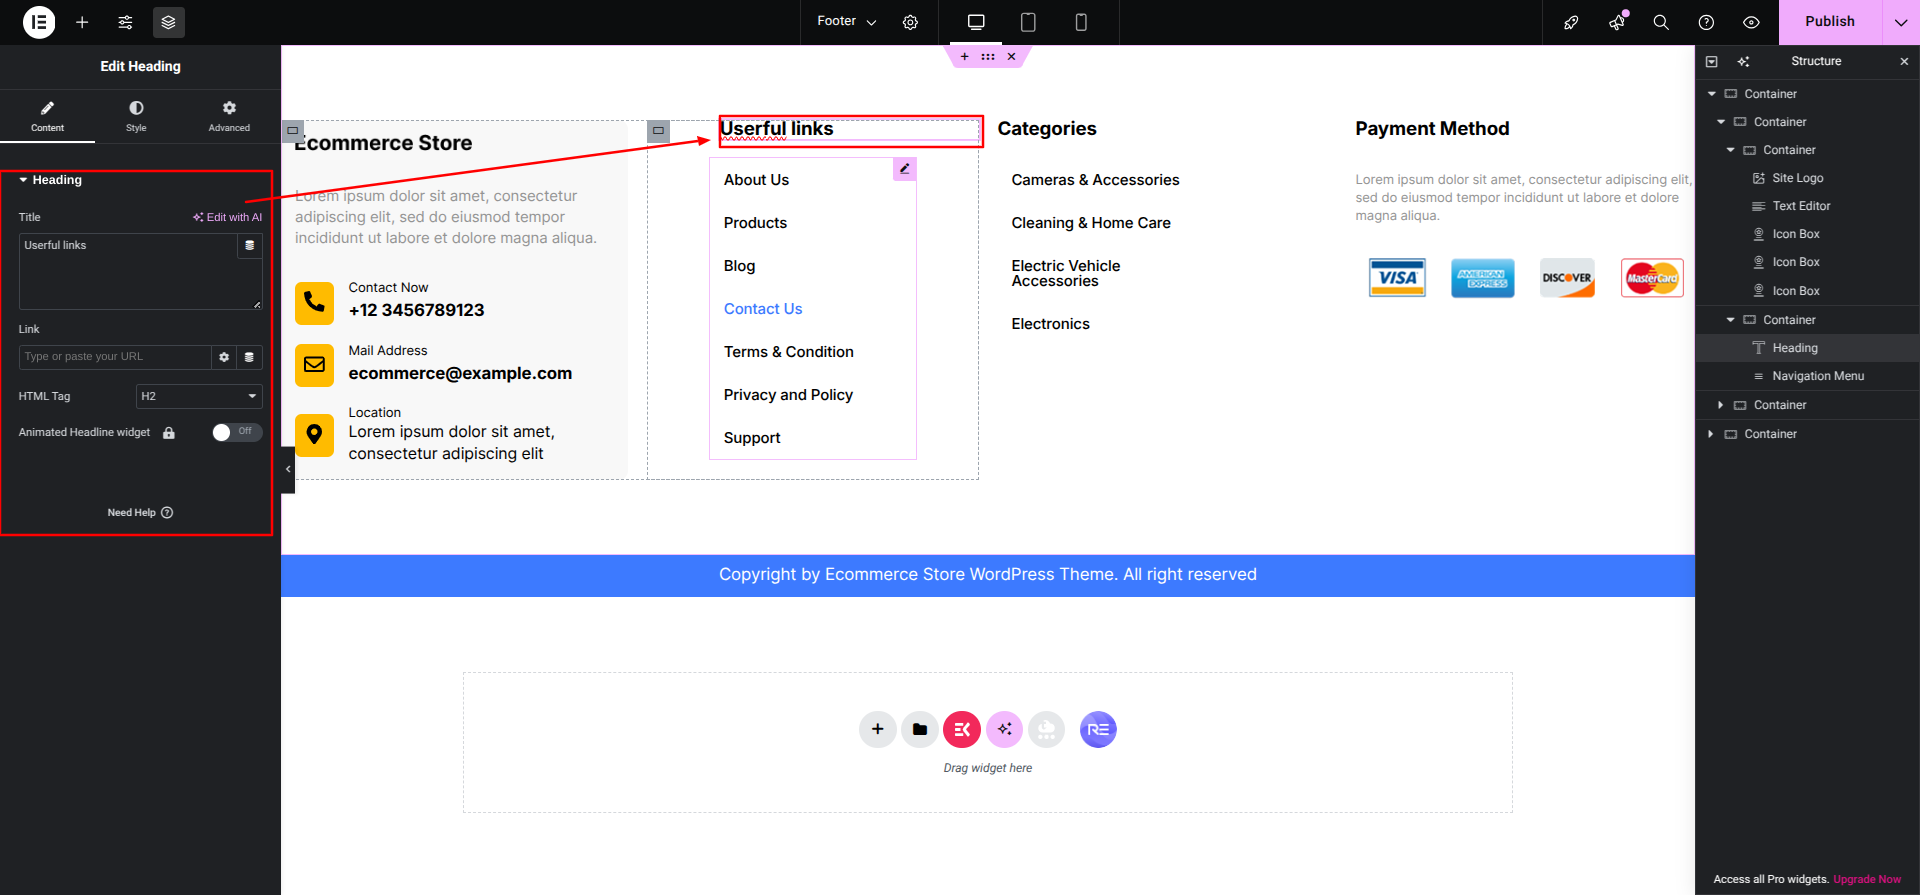
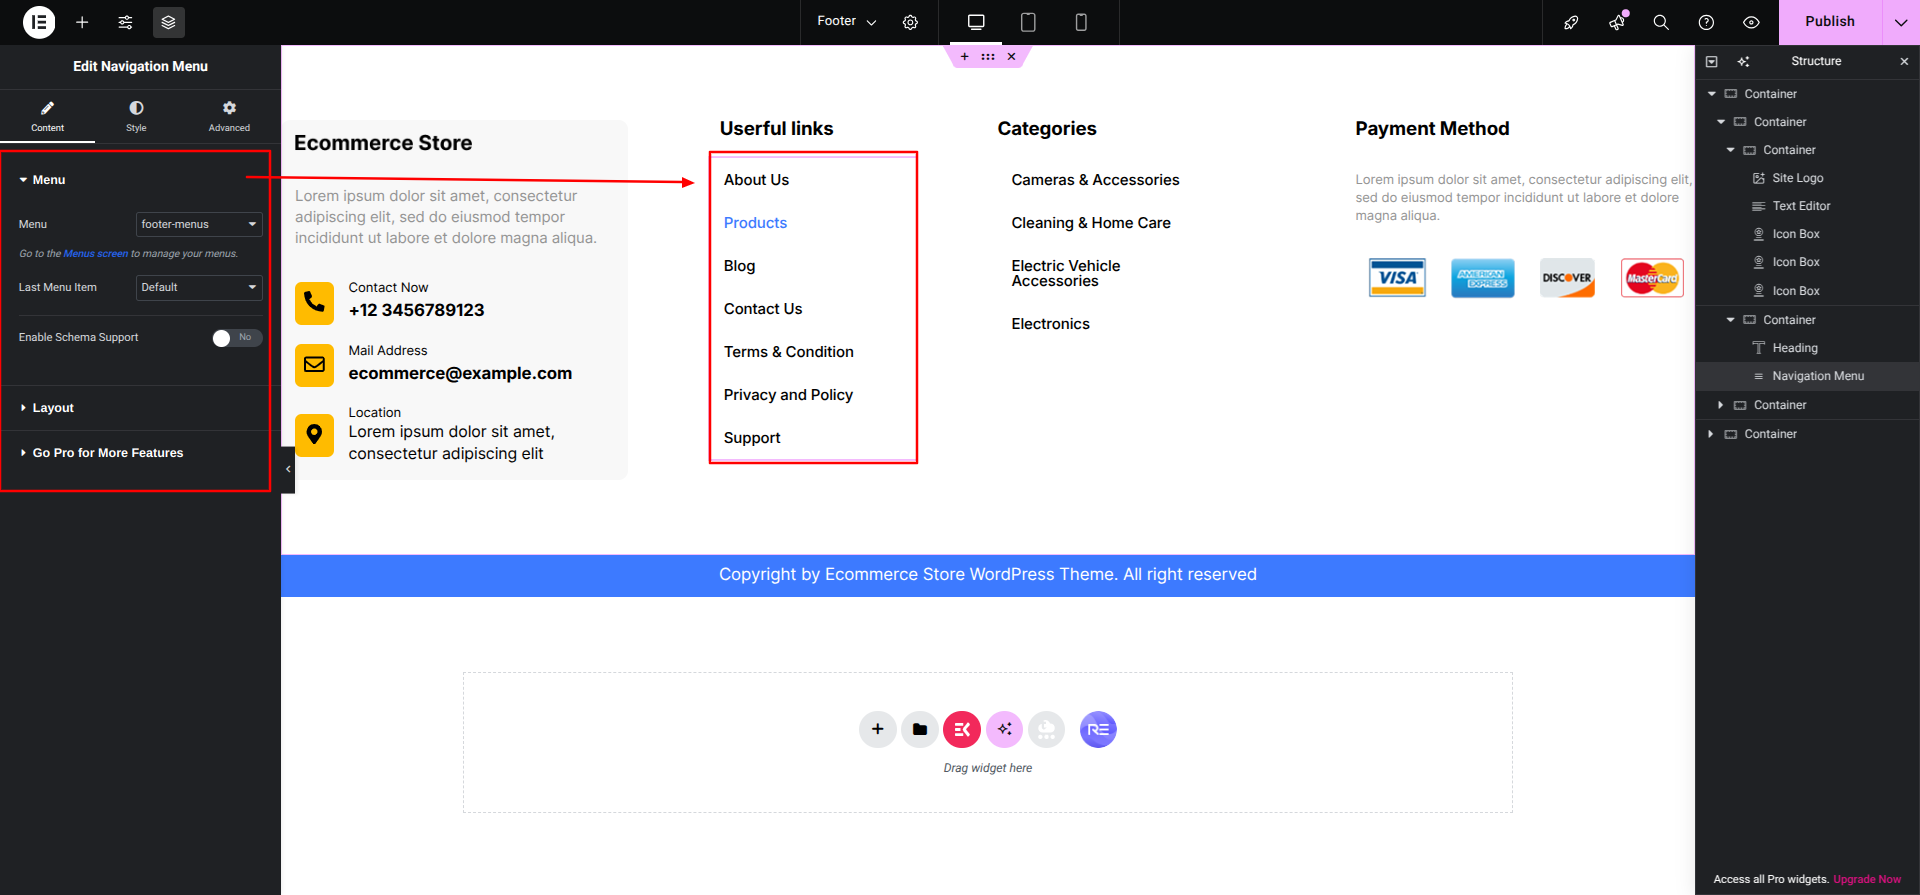
Setup Latest News & Blogs Section
Set up the Latest News & Blogs Section according to the instructions below.
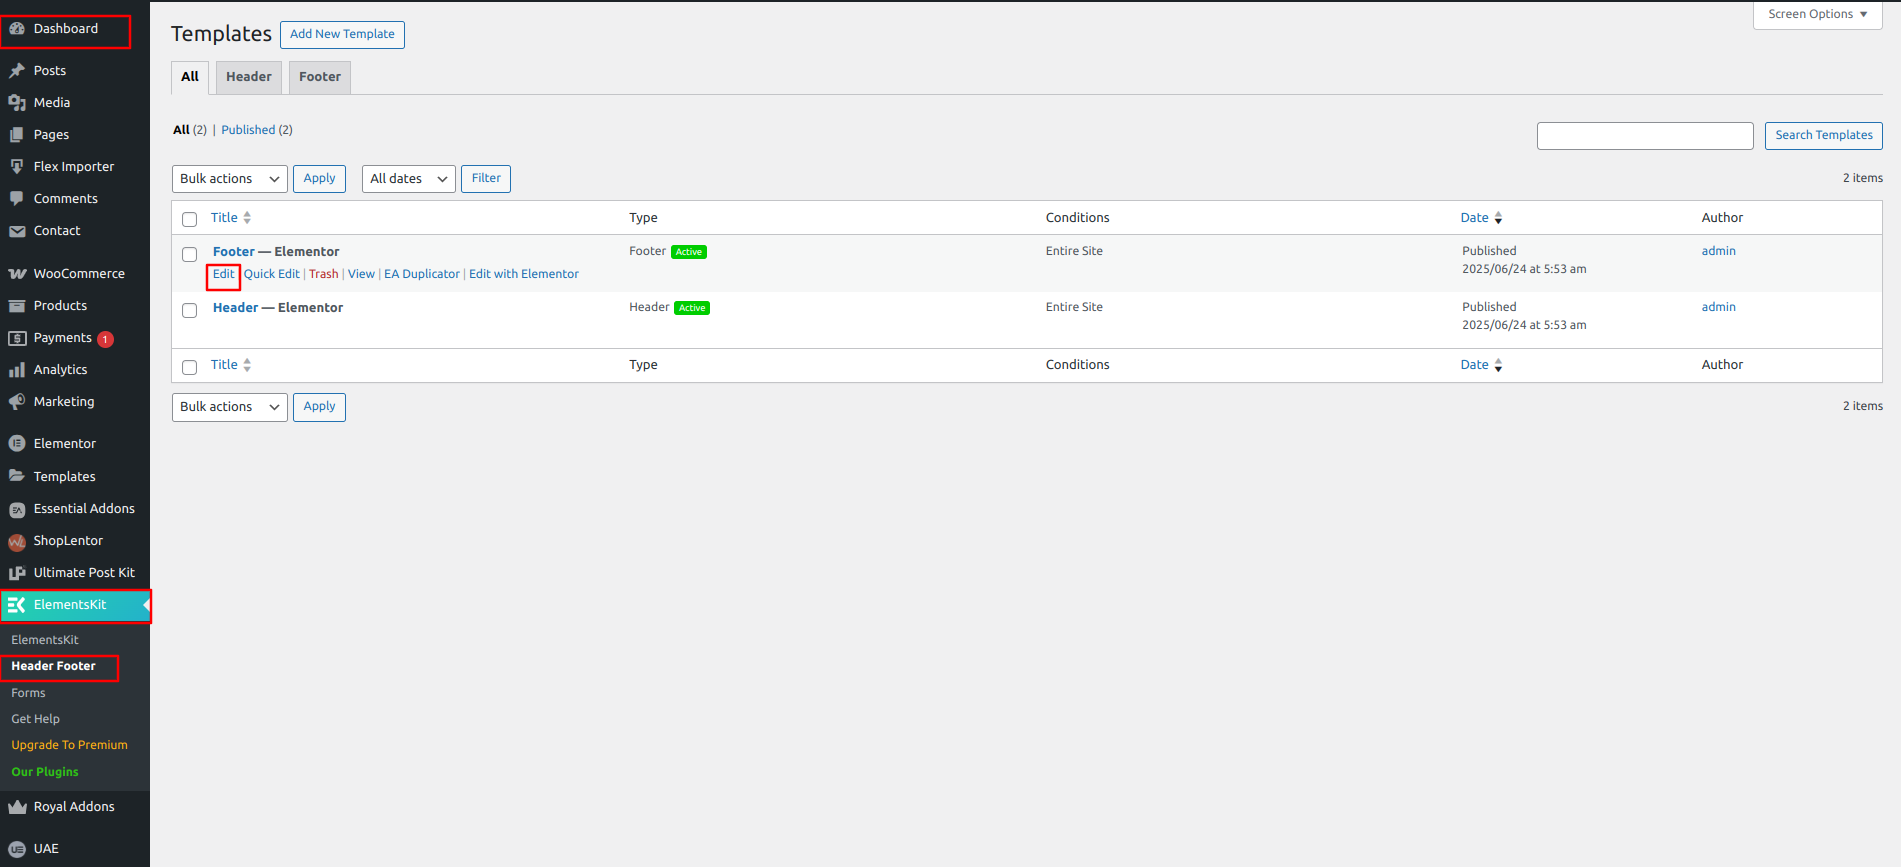
Go to the Dashboard Appearance Editor.
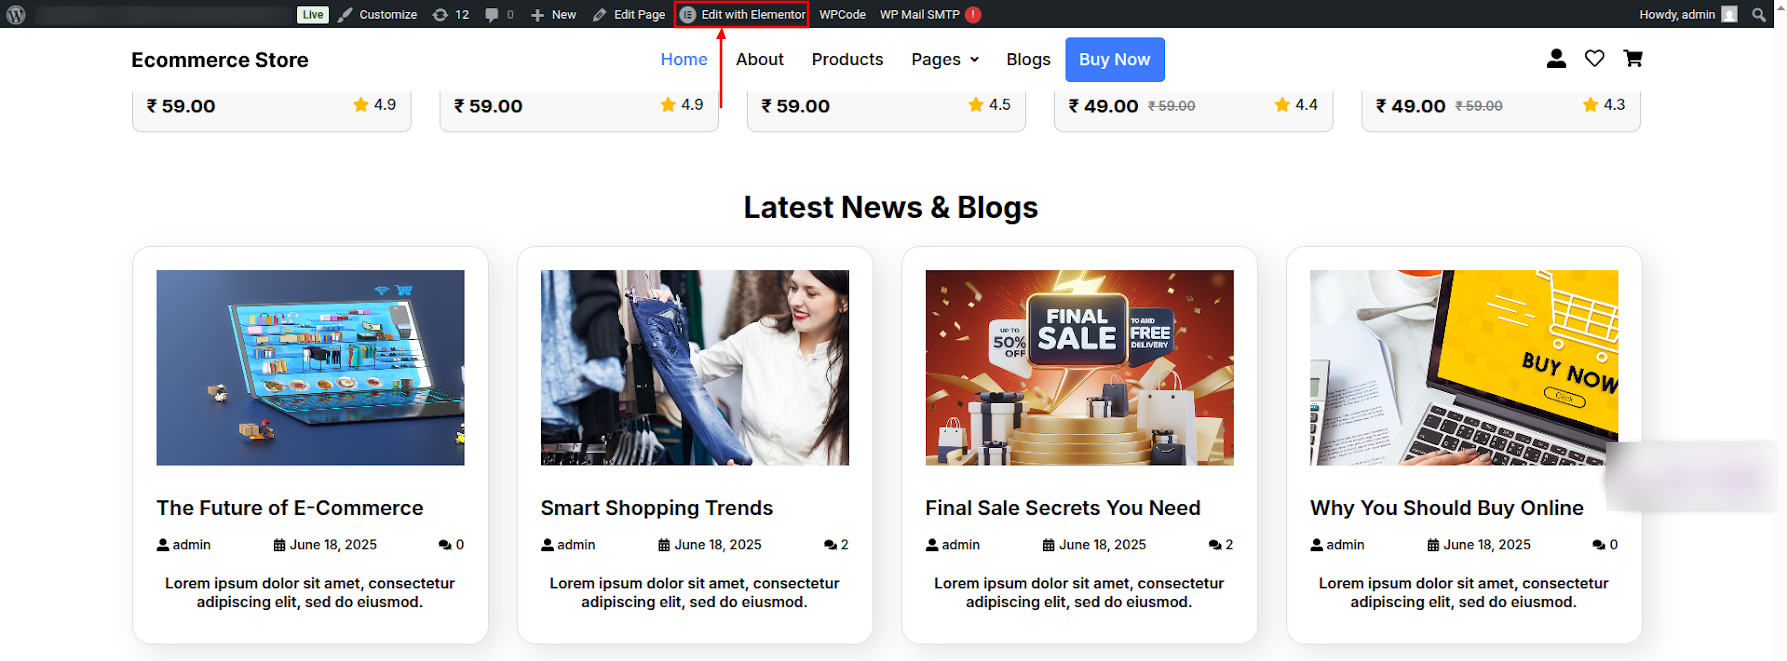
To Edit this Section, Click On the "Edit With Elementor" Button which will open the
Elementor Widget editor.
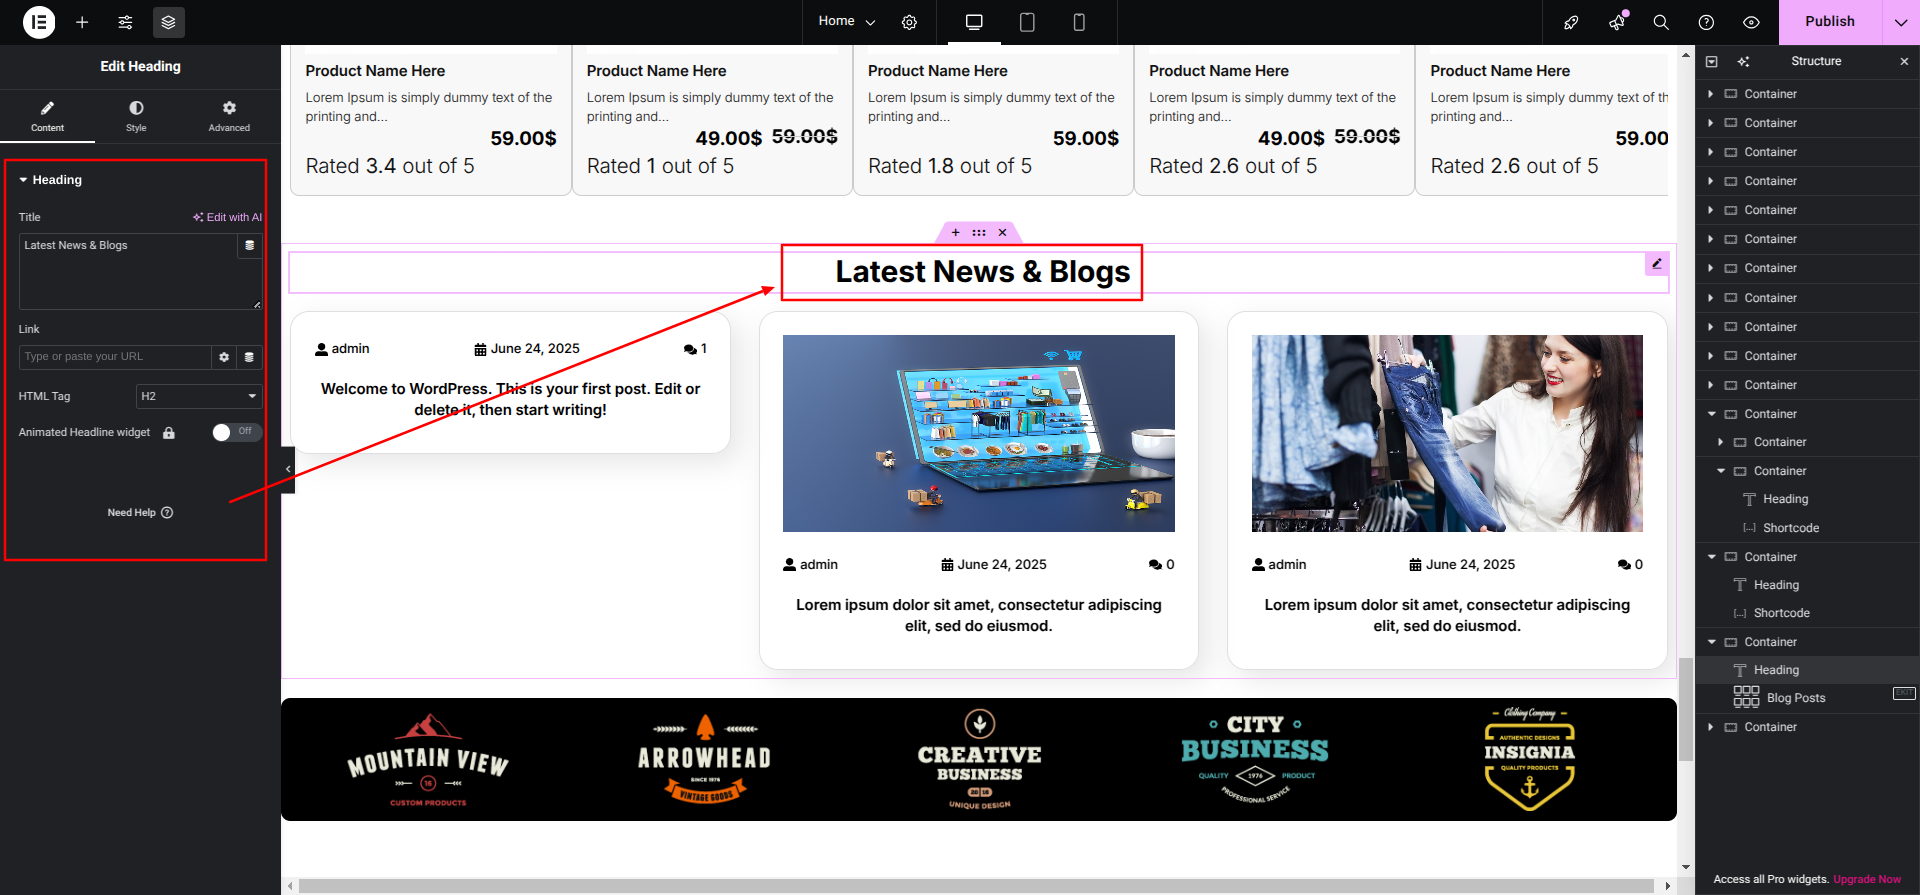
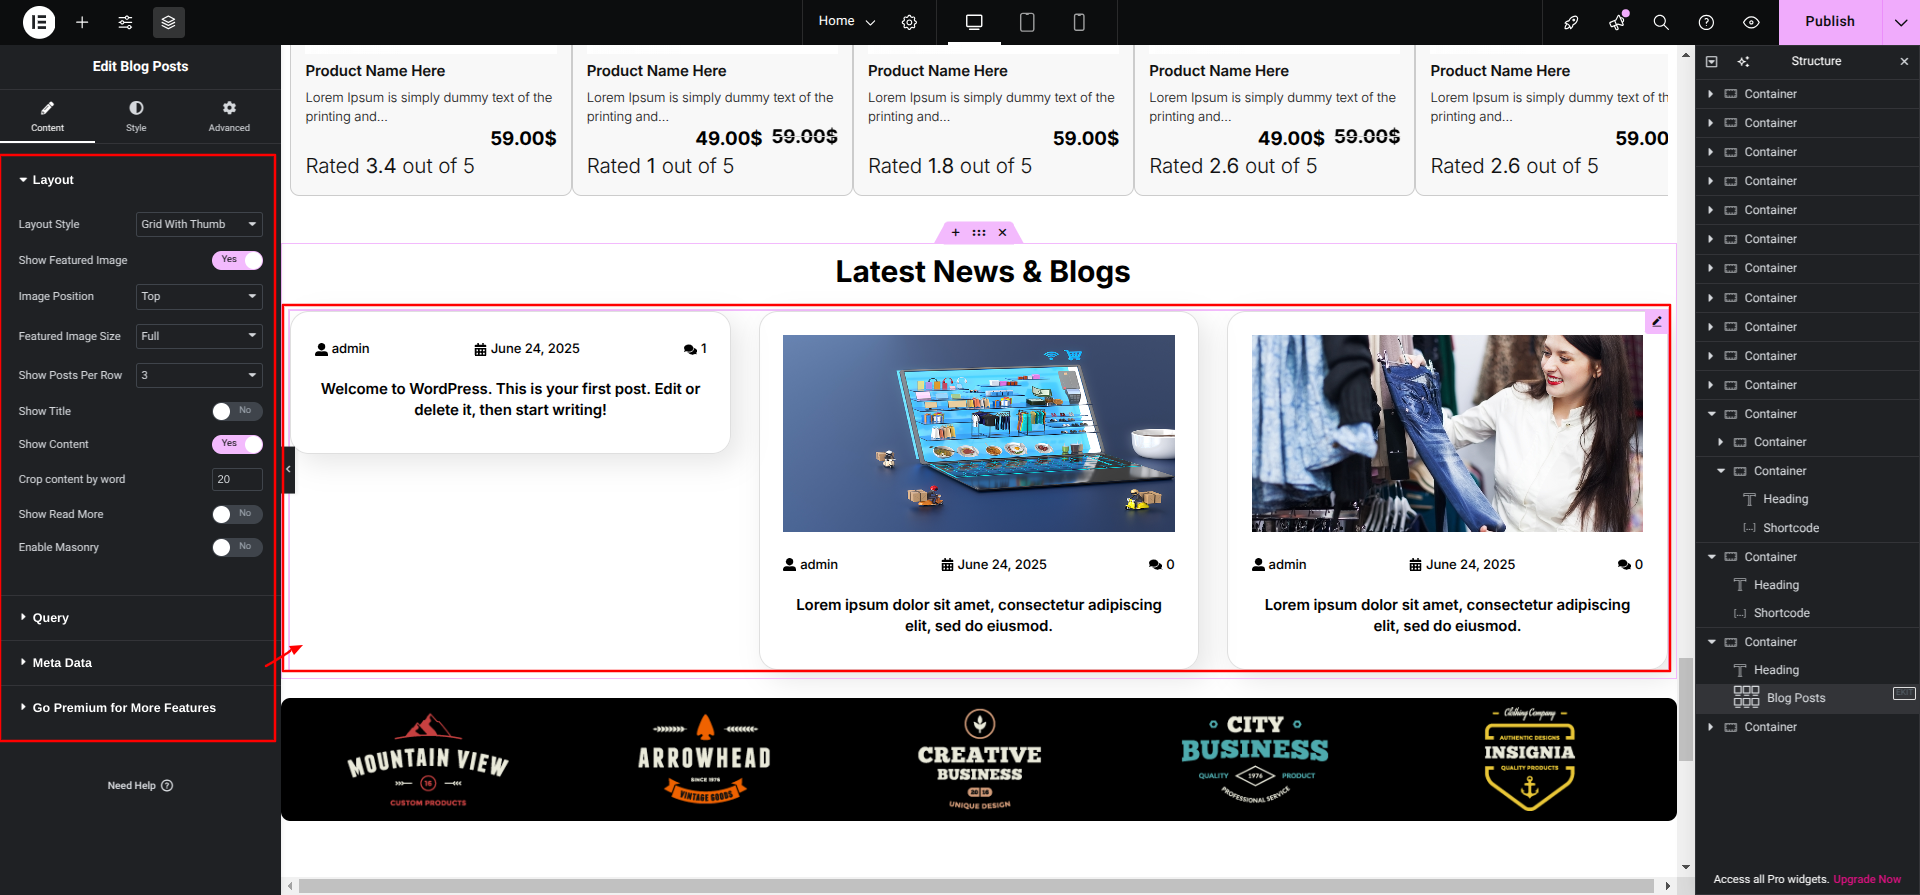
This is how you may set up and add the Latest News & Blogs Section.
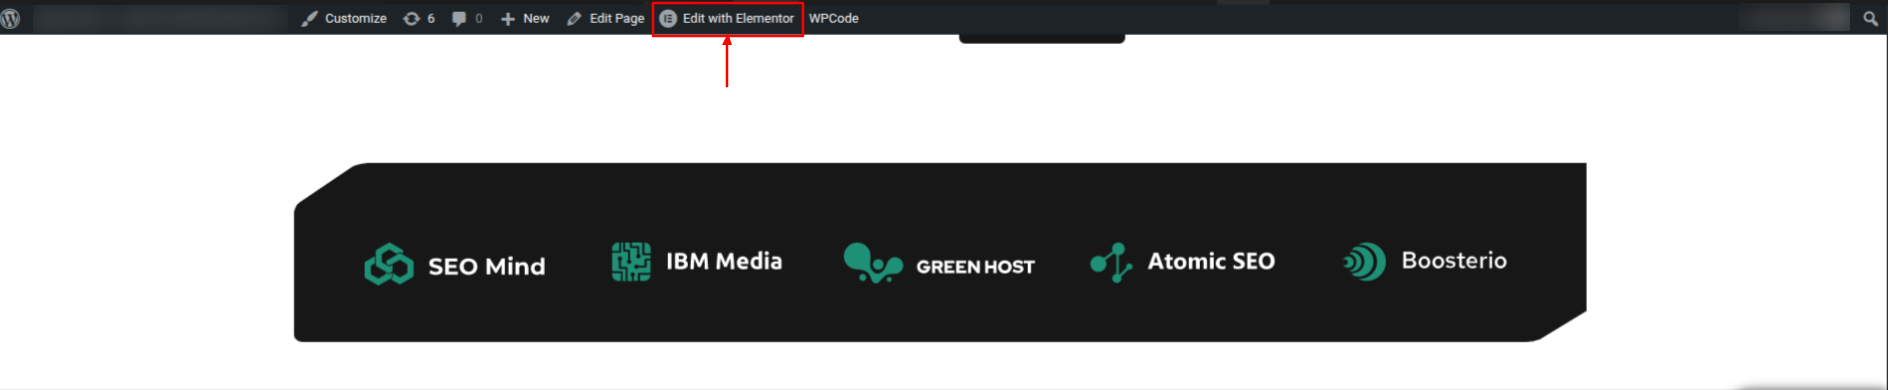
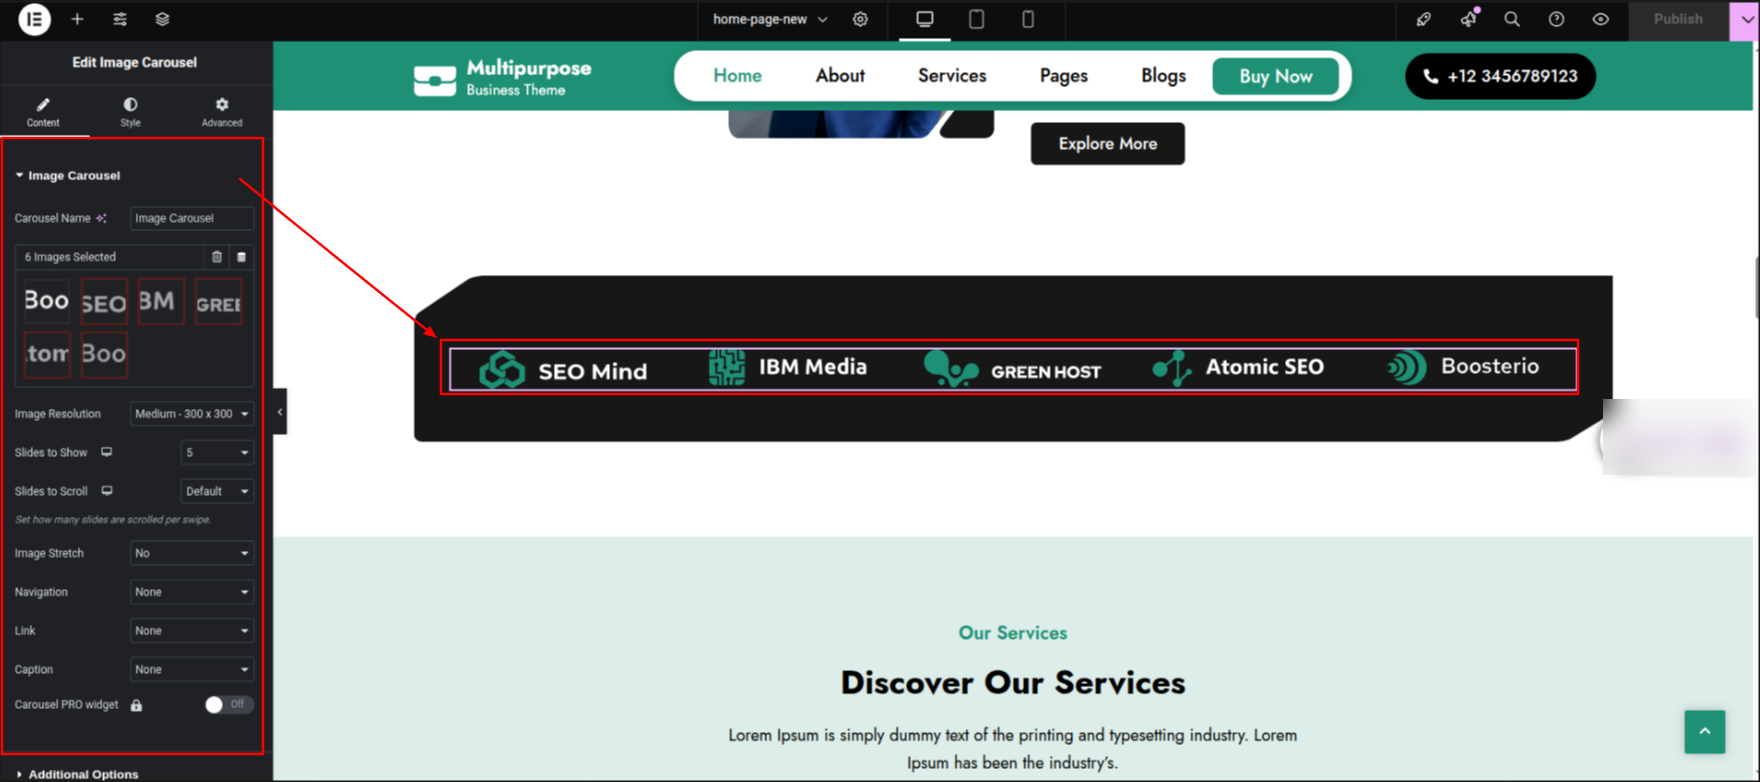
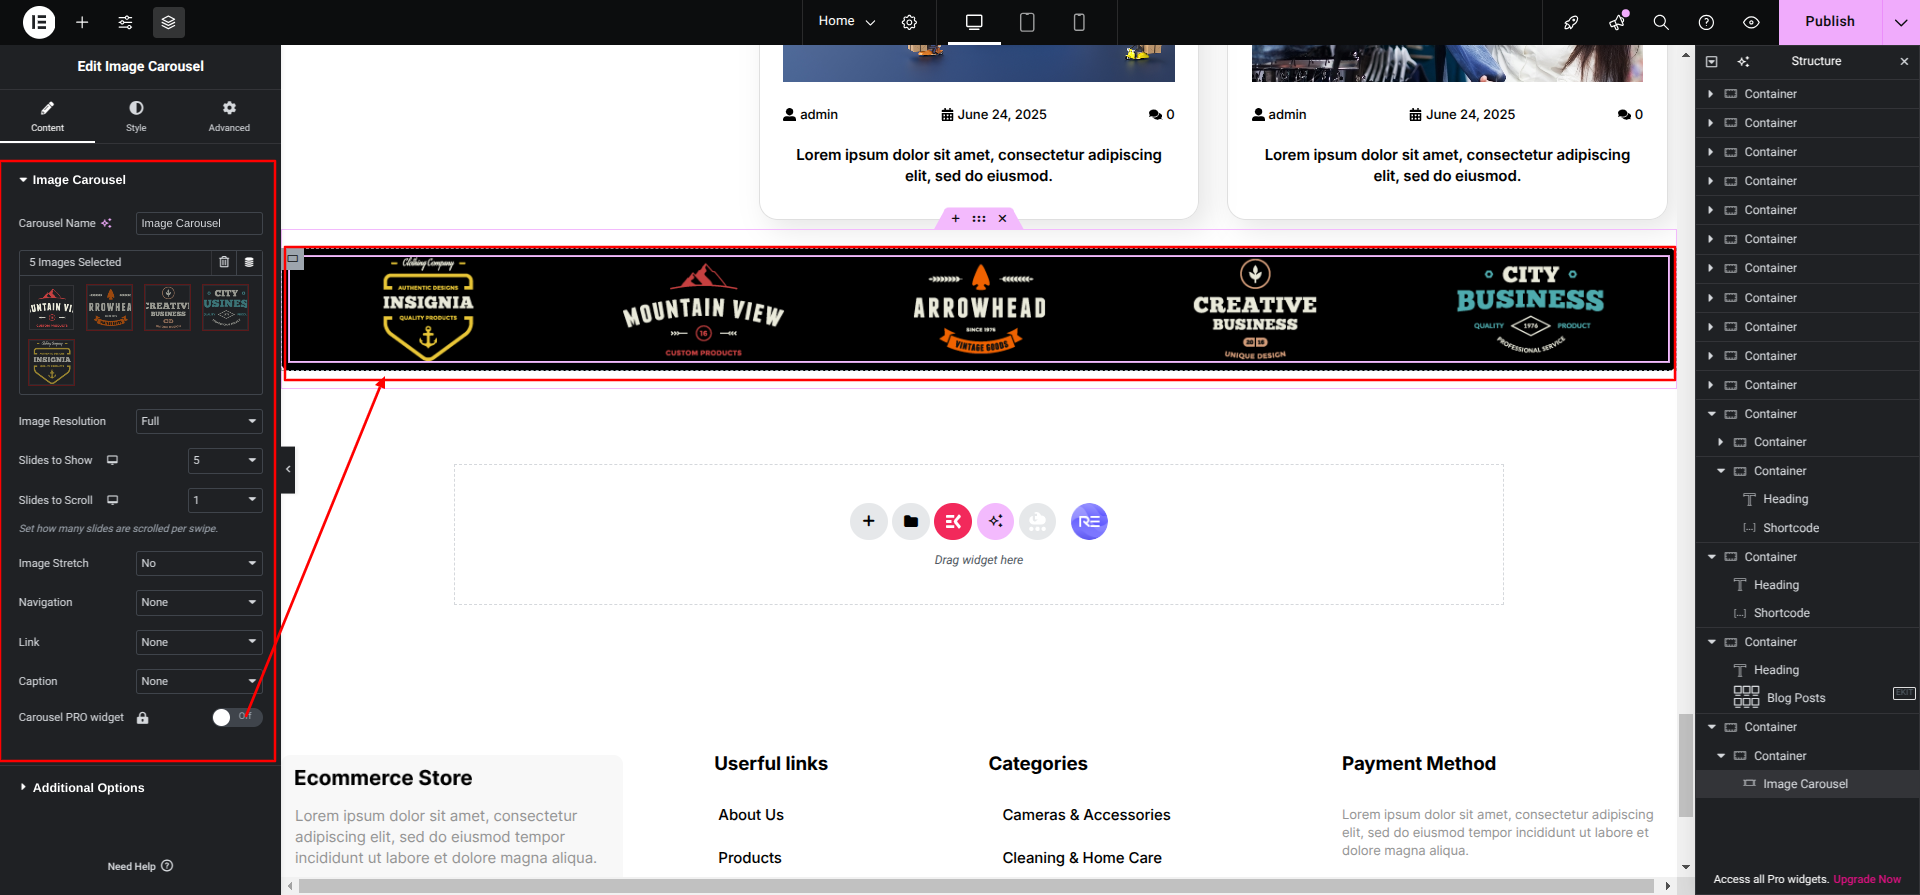
Brand Section
Set up the Brand Section according to the instructions below.
To Edit this Section, Click On the "Edit With Elementor" Button which
will open the Elementor Widget editor.
This is how you may set up Brand Section.